
How to make animations and transitions between slides in PowerPoint: step-by-step guide for beginners. PowerPoint is one of the most powerful tools in the Microsoft Office suite. It is used to create creative slide shows, product demonstrations, infographics, educational materials, and many other tasks. But just creating a presentation based on a template is not enough. It’s important to know how to customize it properly to improve the audience’s experience.
Step One: Add text blocks or graphic elements to your presentation
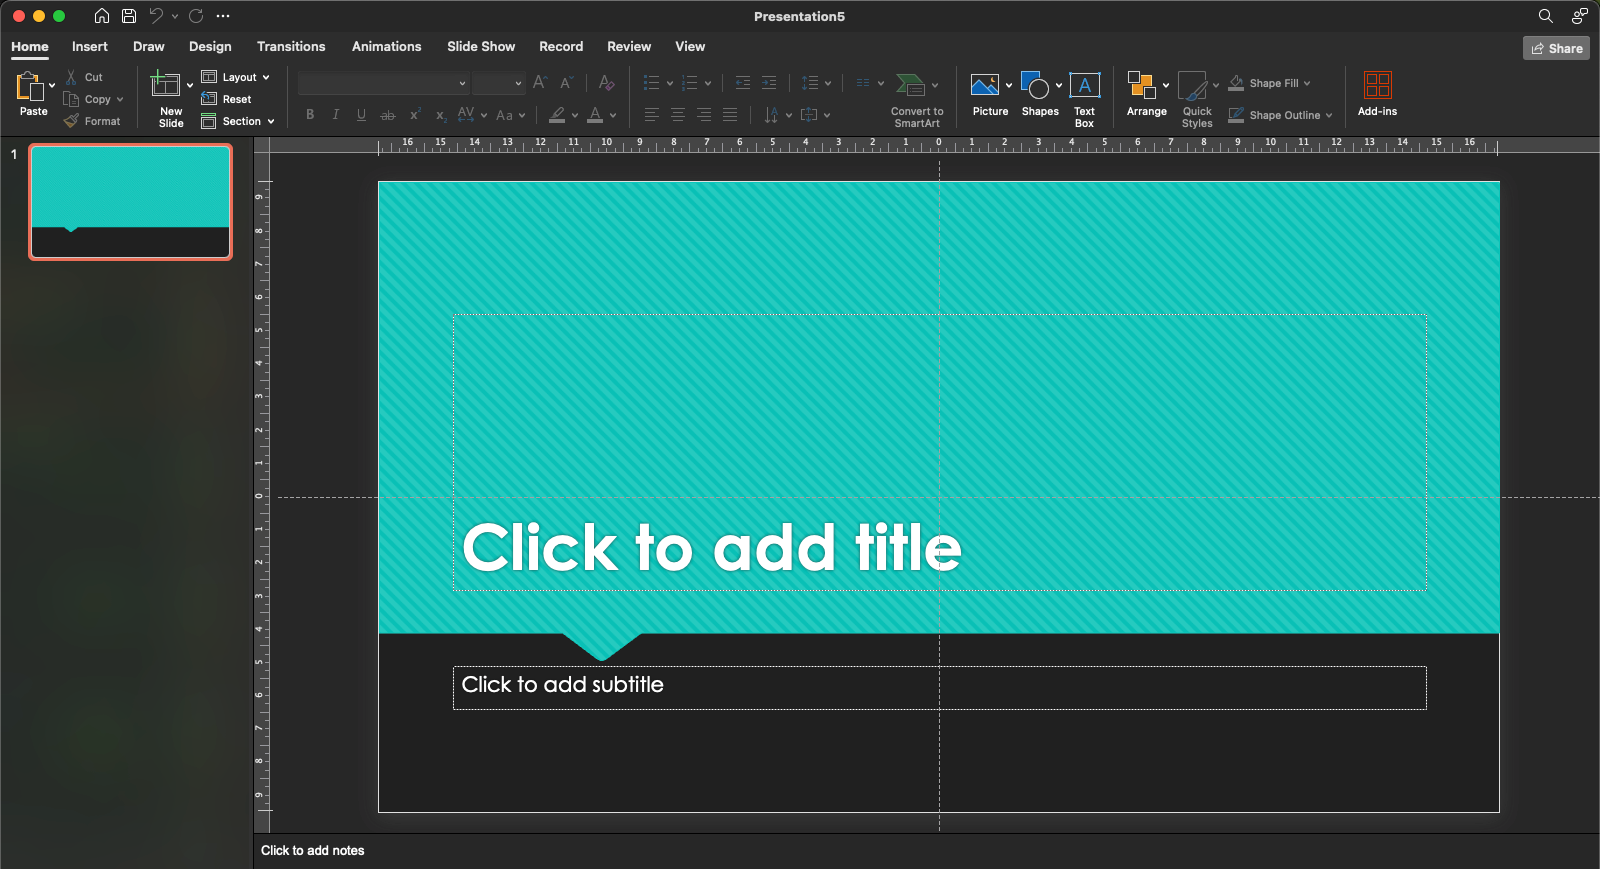
Open a PowerPoint project and specify the slide on which you want to include animation.
- Click the text block or object for which you want to add animation.
2. Click the Animations tab. Here you’ll be presented with options ranging from Appearance to Waving to Flying Text.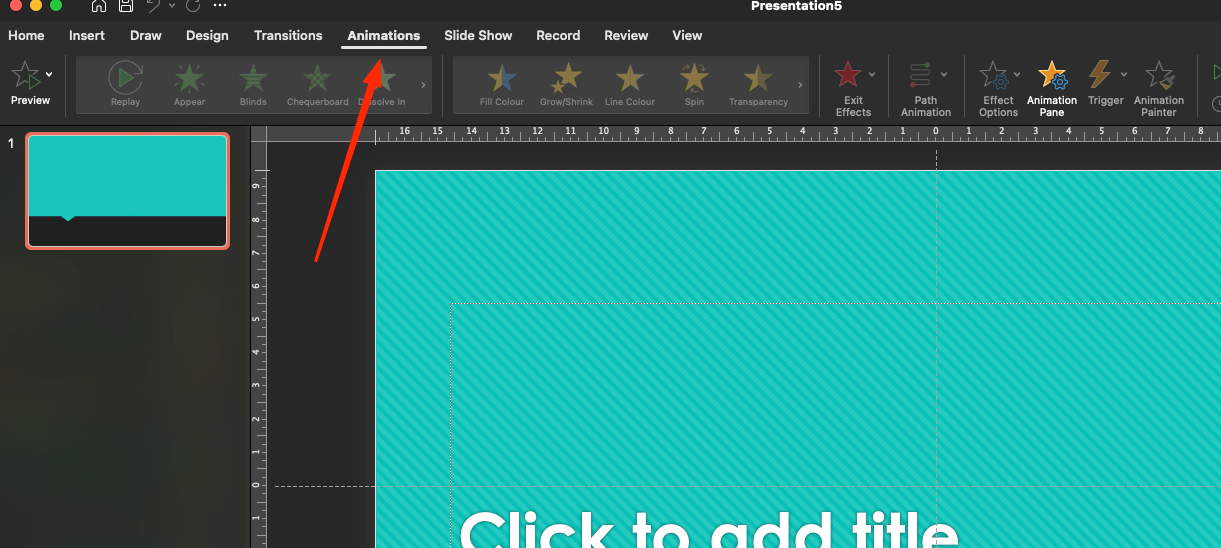 3. Select the best animation, such as “Appearance” – it will smoothly introduce text to the display.
4. After activating the desired animation, additional settings will open: you can choose the direction (for example, “Left” or “Bottom”), as well as the duration and delay of the animation.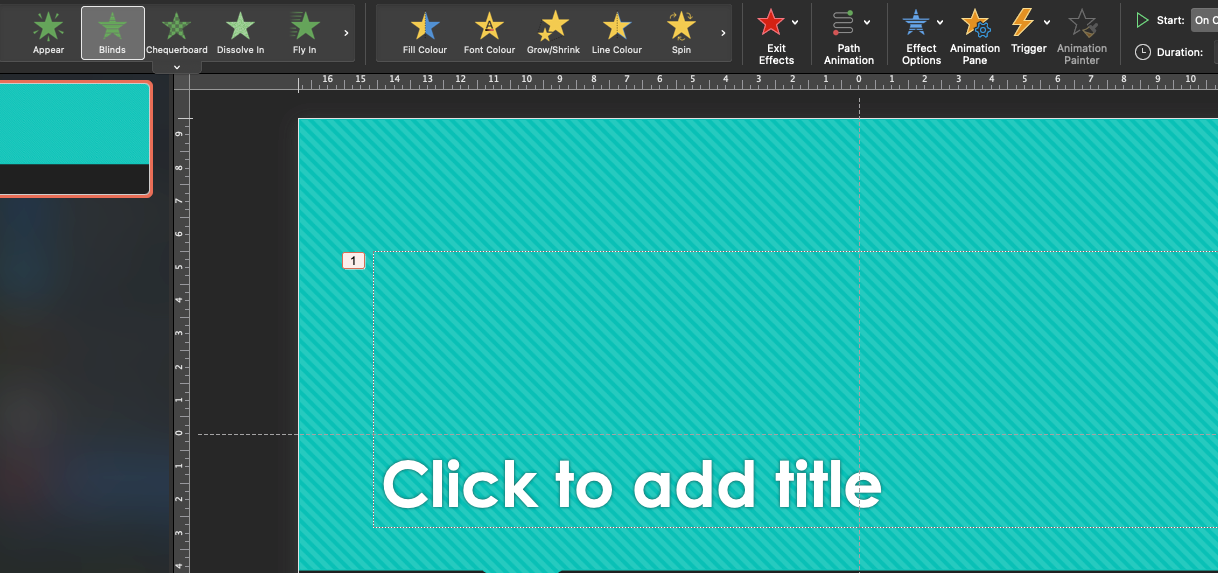
Step Two: Animating Objects
Animated effects can be applied not only to the text block, but also to pictures, graphs and shapes.
1. Specify a picture, figure, or graph.
2. Click the Animation tab and select an effect that is appropriate for the selected object. For example, “Flying” or “Zoom” would be appropriate for an image.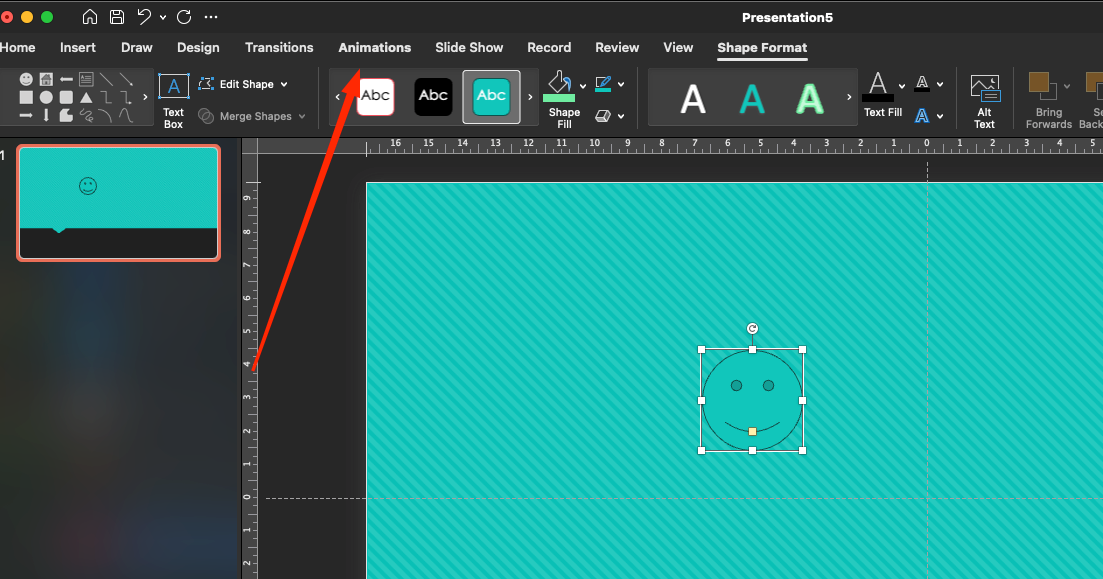 3. Adjust the duration of the animation and add a repeat effect if necessary.
Step Three: Add transitions between slides
Animations between slides can make your presentation smoother and more appealing to viewers.
- Open the slide for which you want to select a transition.
2. Open the Transitions tab, which offers a wide range of effects: “Dissolve,” “Shift,” “Smooth Transition,” and others.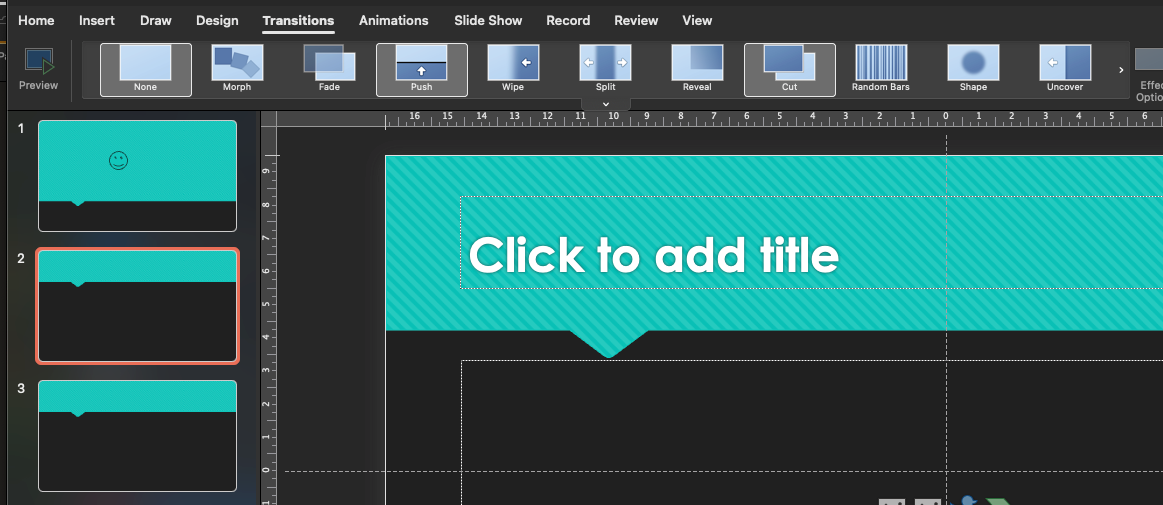 3. Select one of the transitions to apply to the selected slide.
4. Customize the transition settings, such as duration and sound. You can select a sound to play during the transition, such as “Slow Click”.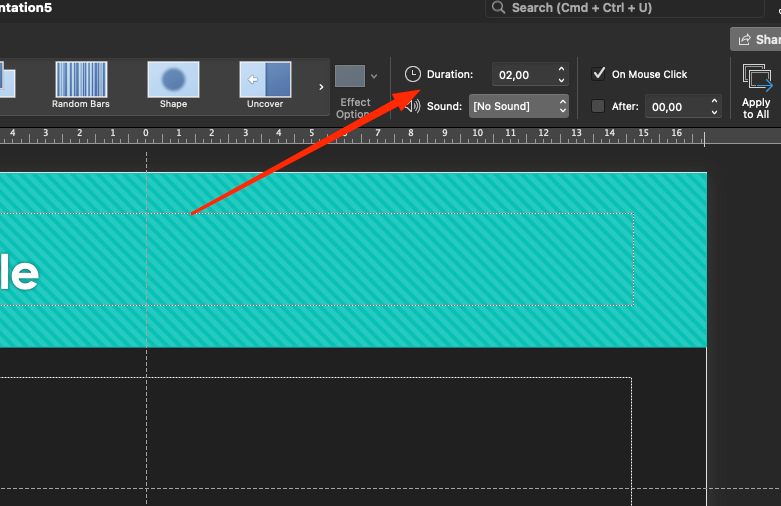 5. To apply the transition to all slides, click Apply to All.
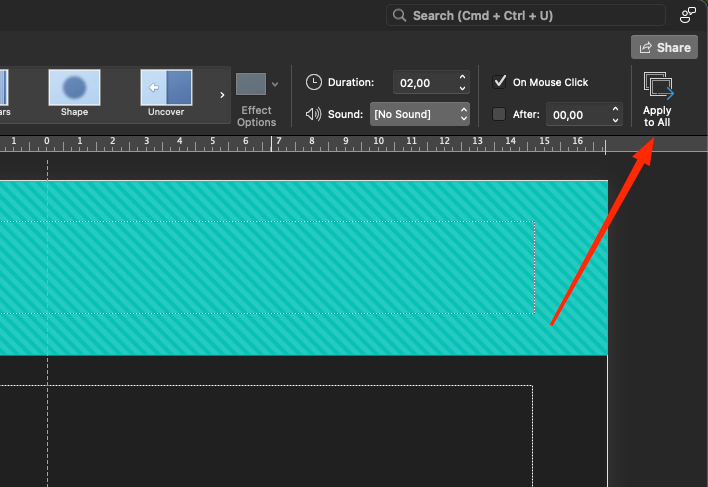
Read also: How to enable Presenter Mode in PowerPoint
Step four. Complex Animations
For more creative and impactful animations, you can combine multiple effects for a single object.
1. Open an object and set up multiple animations. To do this, use the Add Animation button in the panel.
2. Click the Animations panel tab and customize the order of the animations by dragging and dropping them in the desired order.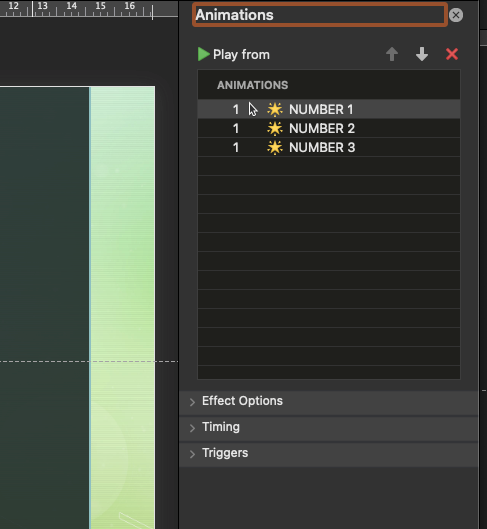 3. In the settings, you can set the delay for each effect and choose when it should start: when you click, after the previous one, or with it.
Step five. Test animations and transitions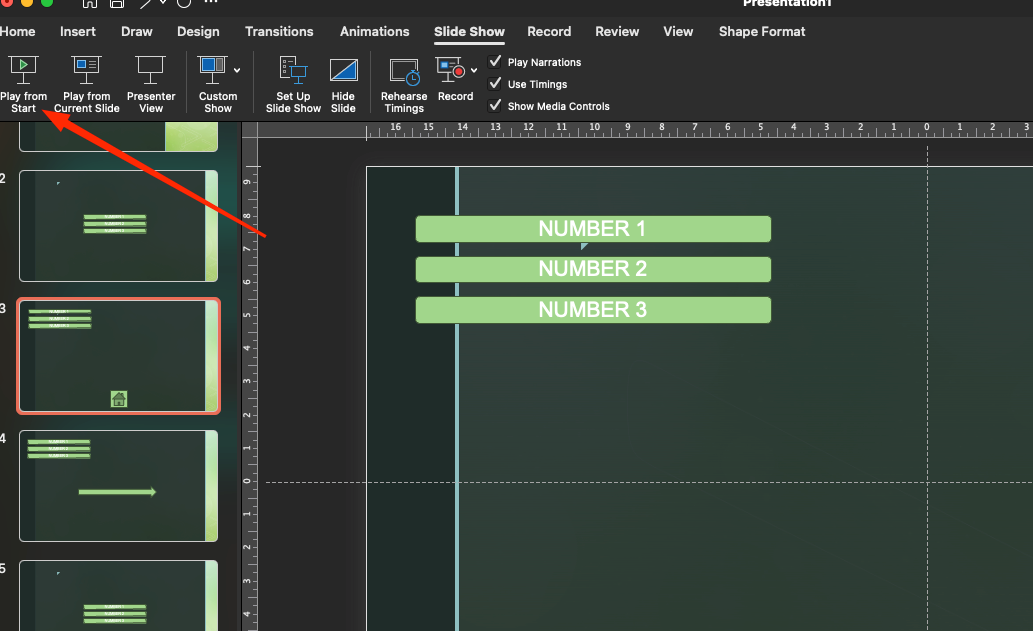
Once all animations and transitions are set up, you need to test how they work in your presentation.
- Switch to slide show mode by pressing F5.
2. Check how the animations and transitions work. Make sure they are smooth and the order in which they appear is as intended.
Conclusion
When all the animations and transitions are set up, don’t forget to check how they will look in practice. It is important that slides and elements appear in the correct sequence as originally intended. This will not only improve perception, but also make the presentation lively and interesting.
Well, and, of course, animations with transitions should be on top. The main thing – do not overdo it, or you can overload the presentation. Smooth transitions and cool effects will make everything really lively and exciting. Everything should be coolly set up so as not to take attention away from the main topic.


