
Photoshop is a powerful tool that allows you to create amazing visual effects. Among the many tools available, a special place is occupied by light and neon effects that give the image a stylish and modern look. Neon light has long been associated with futurism, technology and nighttime urban atmosphere. In this tutorial, we’ll break down how to create a realistic neon glow effect from scratch using standard Photoshop tools.
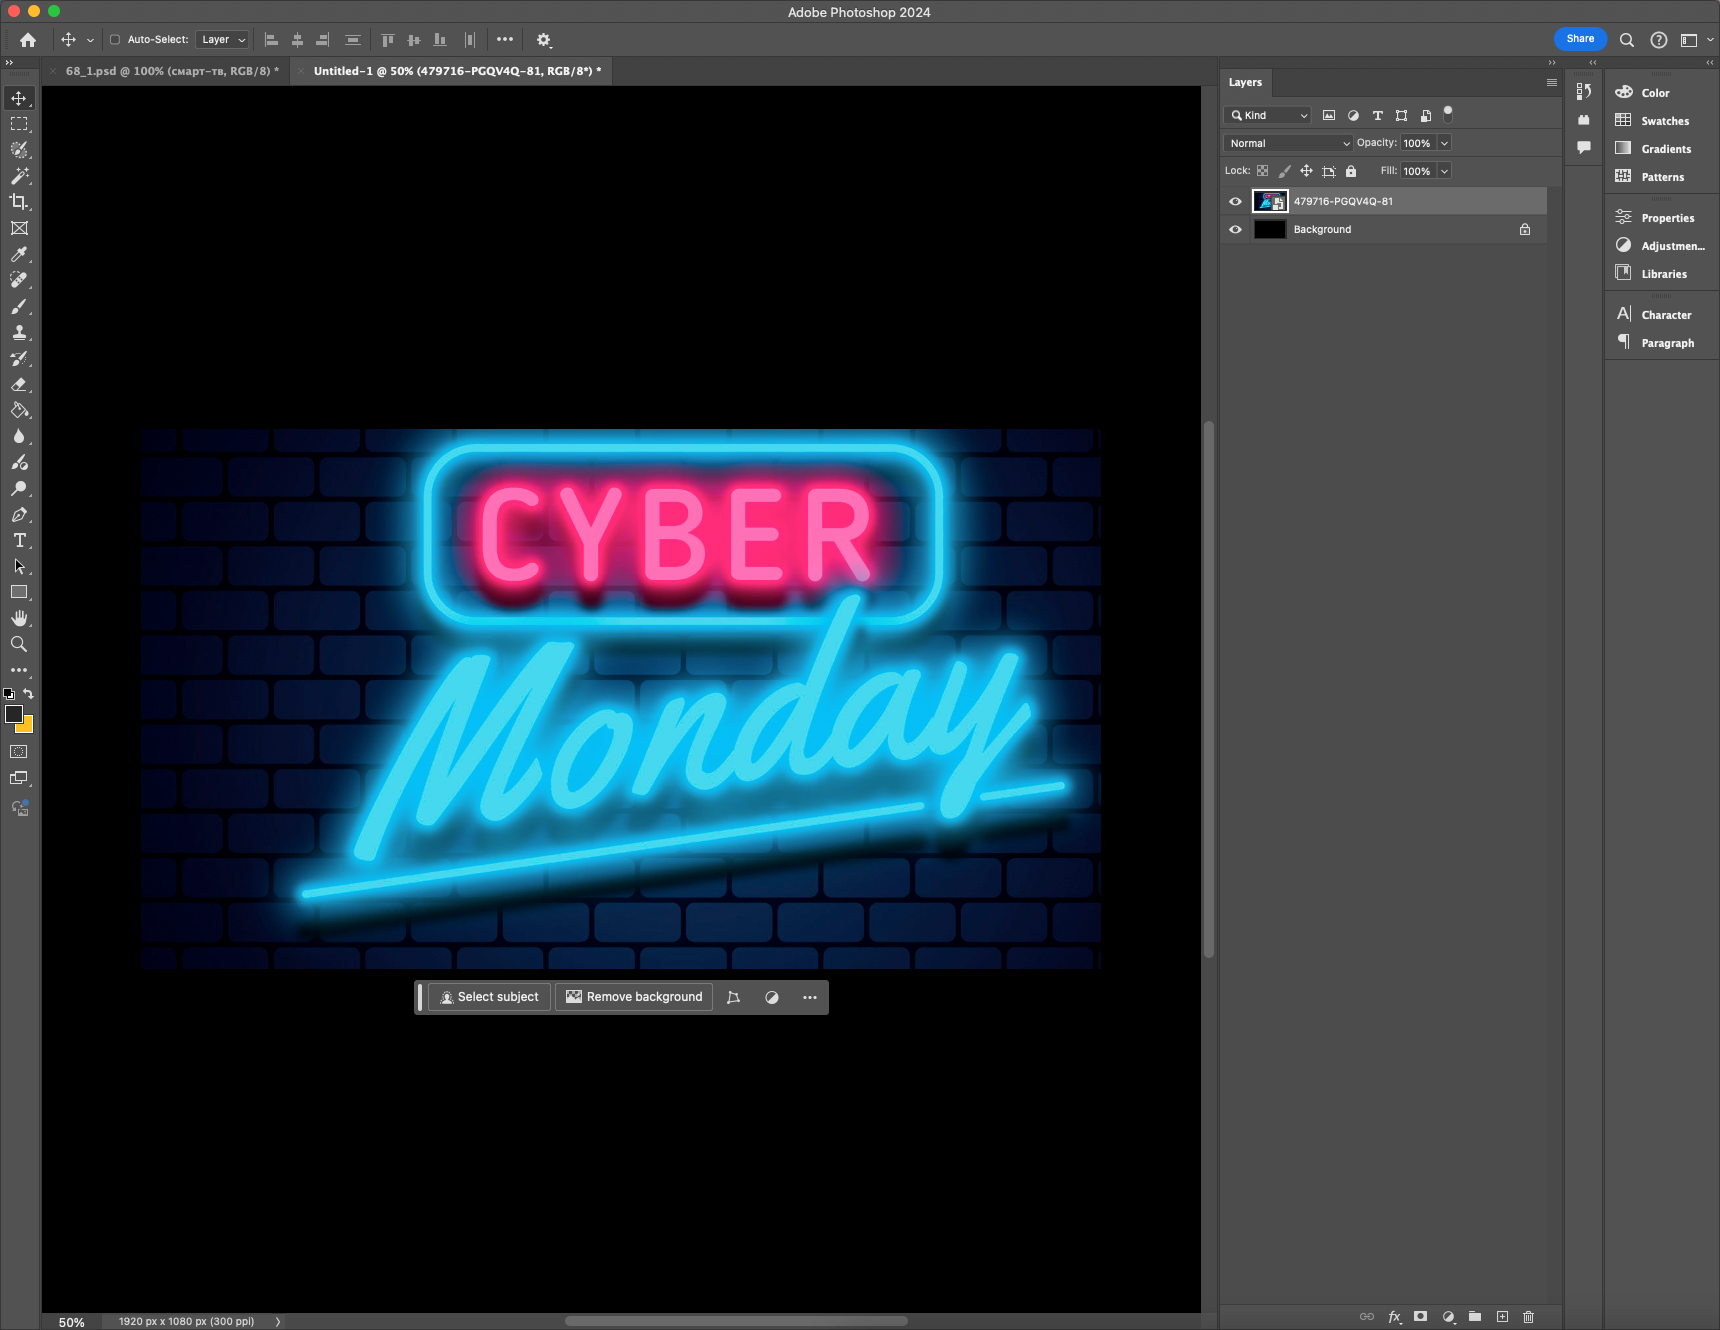
How to create neon text in Adobe Photoshop
We’ll take a detailed look at the process of adding glow, enhancing it, and creating additional effects such as reflection and blur. After going through this tutorial, you will be able to apply the neon glow technique not only to text, but also to various objects and logos, giving them a stylish and colorful look.
Step 1: Create a new document
Before you get started, it’s important to prepare a canvas. This will allow you to customize your workspace from the very beginning so that all the elements of your future design look harmonious.
- Open Photoshop and create a new document (Ctrl + N).
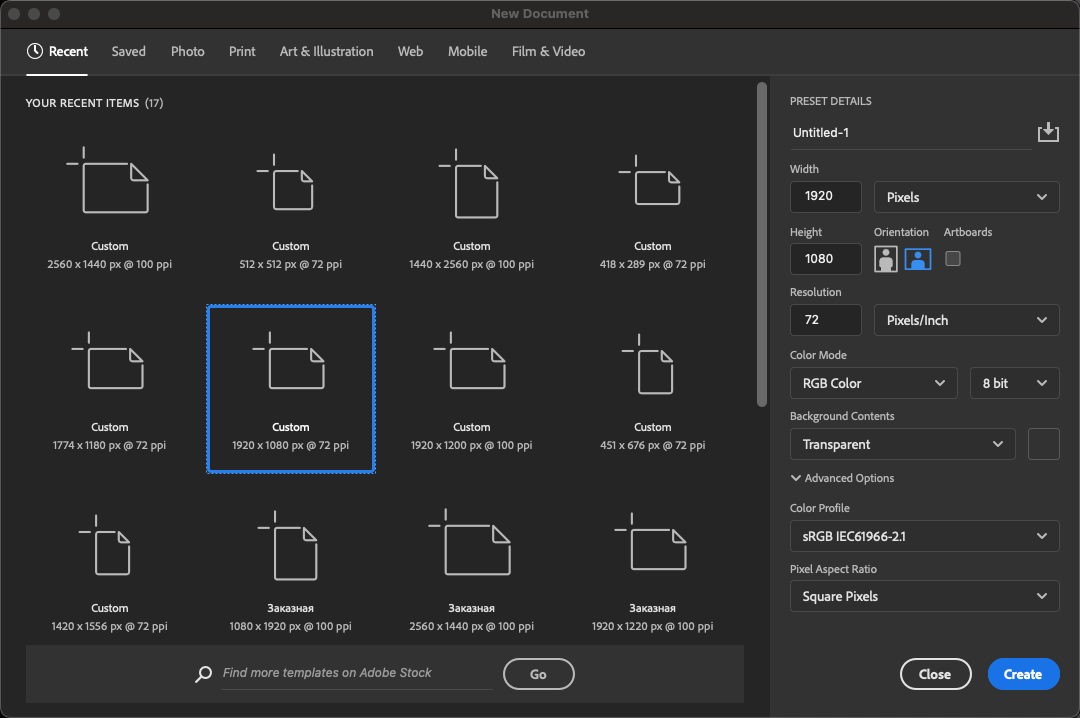
- Choose the optimal size: 1920×1080 pixels – this is the standard Full HD resolution, which is suitable for most screens.
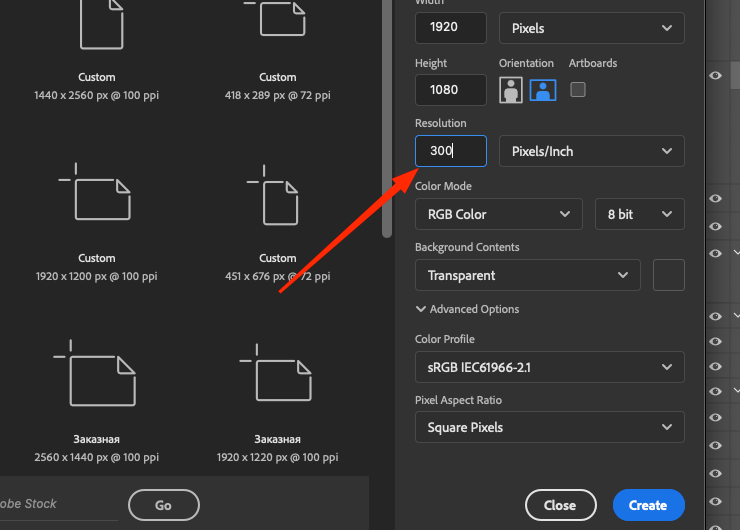
- Set the resolution to 300 dpi to keep the image sharp and high quality.
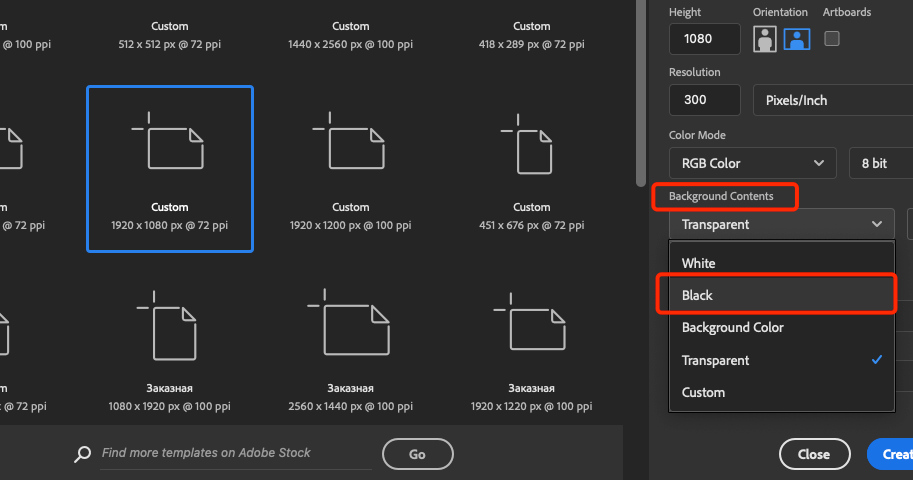
- Choose black as the background color, as the neon glow effect will look most realistic and expressive on a dark background.
Step 2: Adding text or object
Now that we have a prepared canvas, we can move on to creating the glow object itself. In this case, we will be using a texet, but the same effect can be applied to any other shapes or logos.
- Select the Text tool (T) from the toolbar and click on the canvas to create a text box.
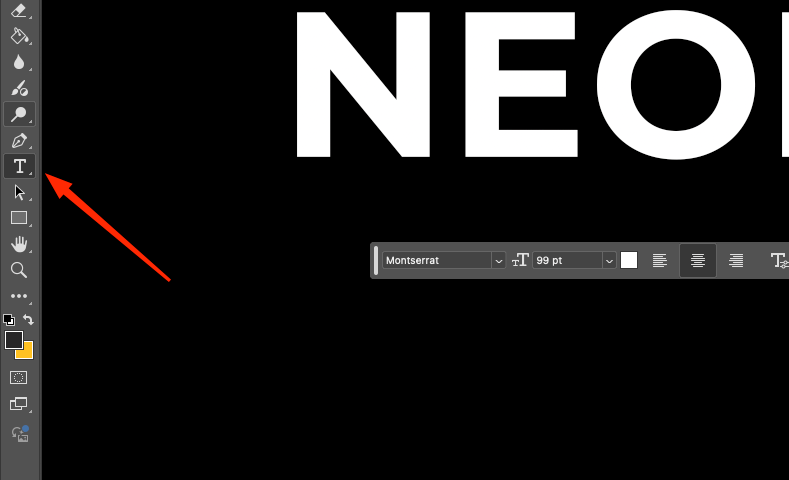
- Write a word, such as “NEON.” This works best for demonstrating the neon effect.
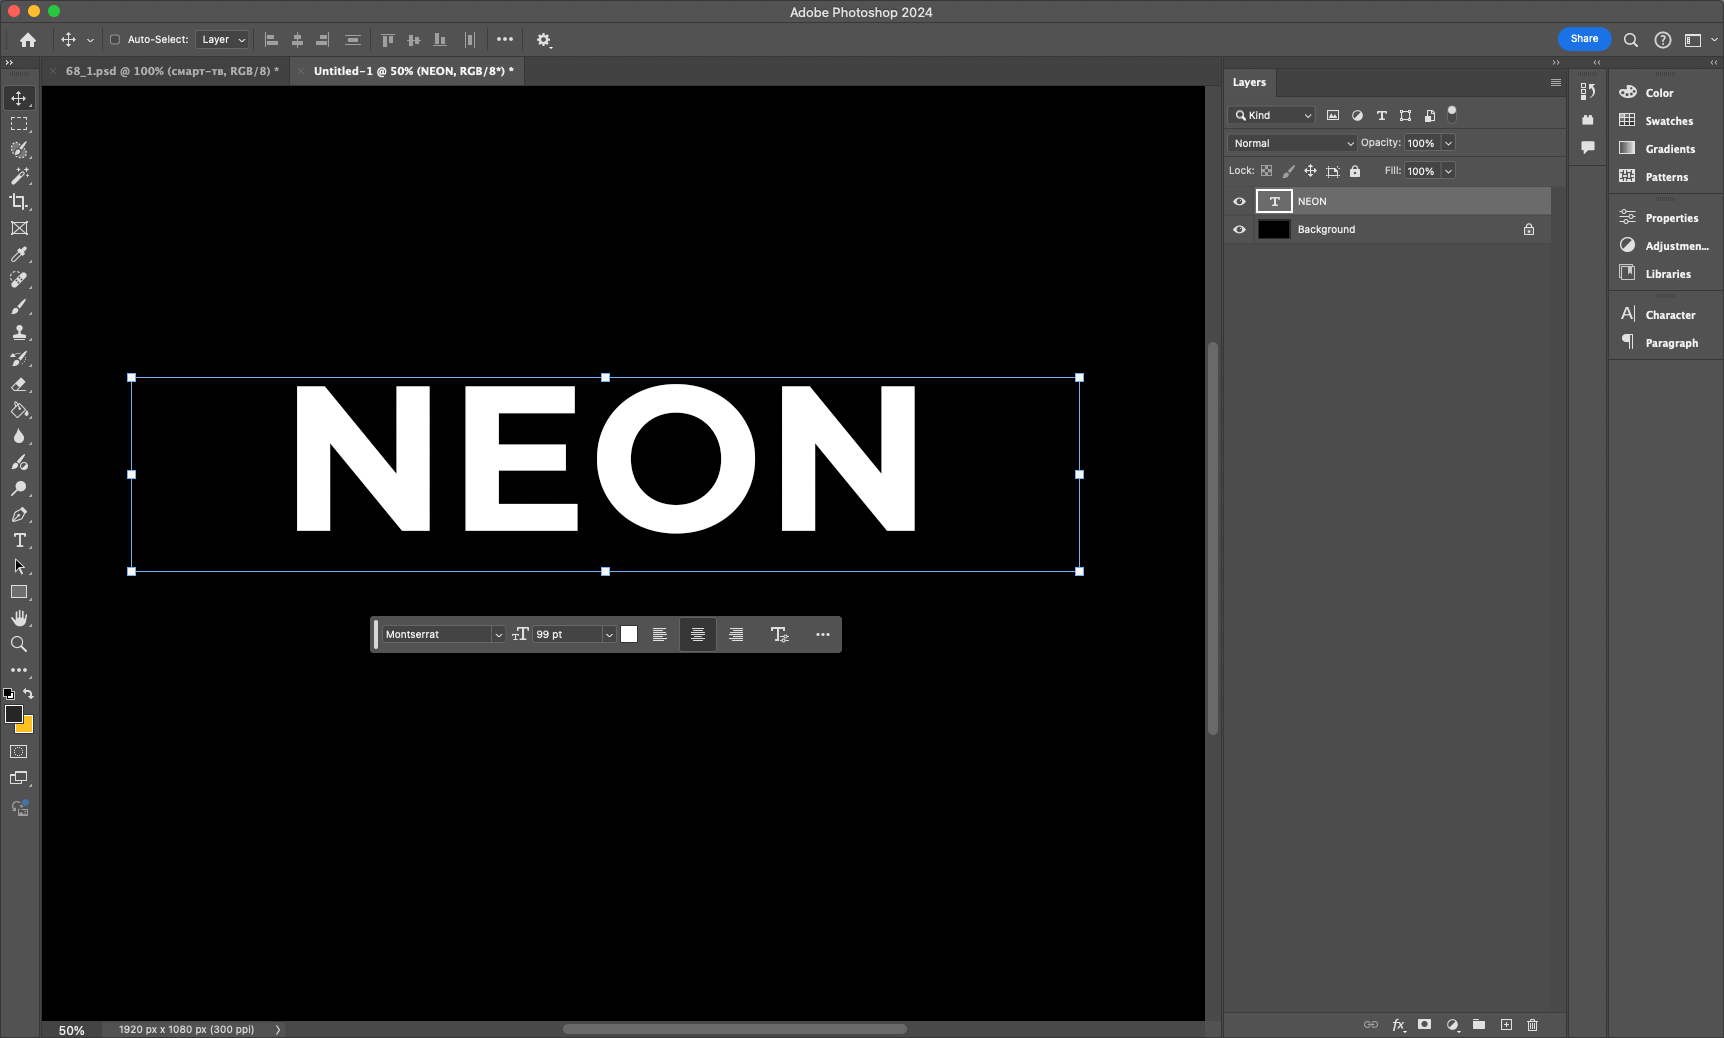
- Set a bold sans serif font, such as “Montserrat Bold” to make the glow look clearer and more pronounced.
- Use the Move tool (V) to center the text on the canvas.
Read also: How to draw a circle in Adobe Photoshop
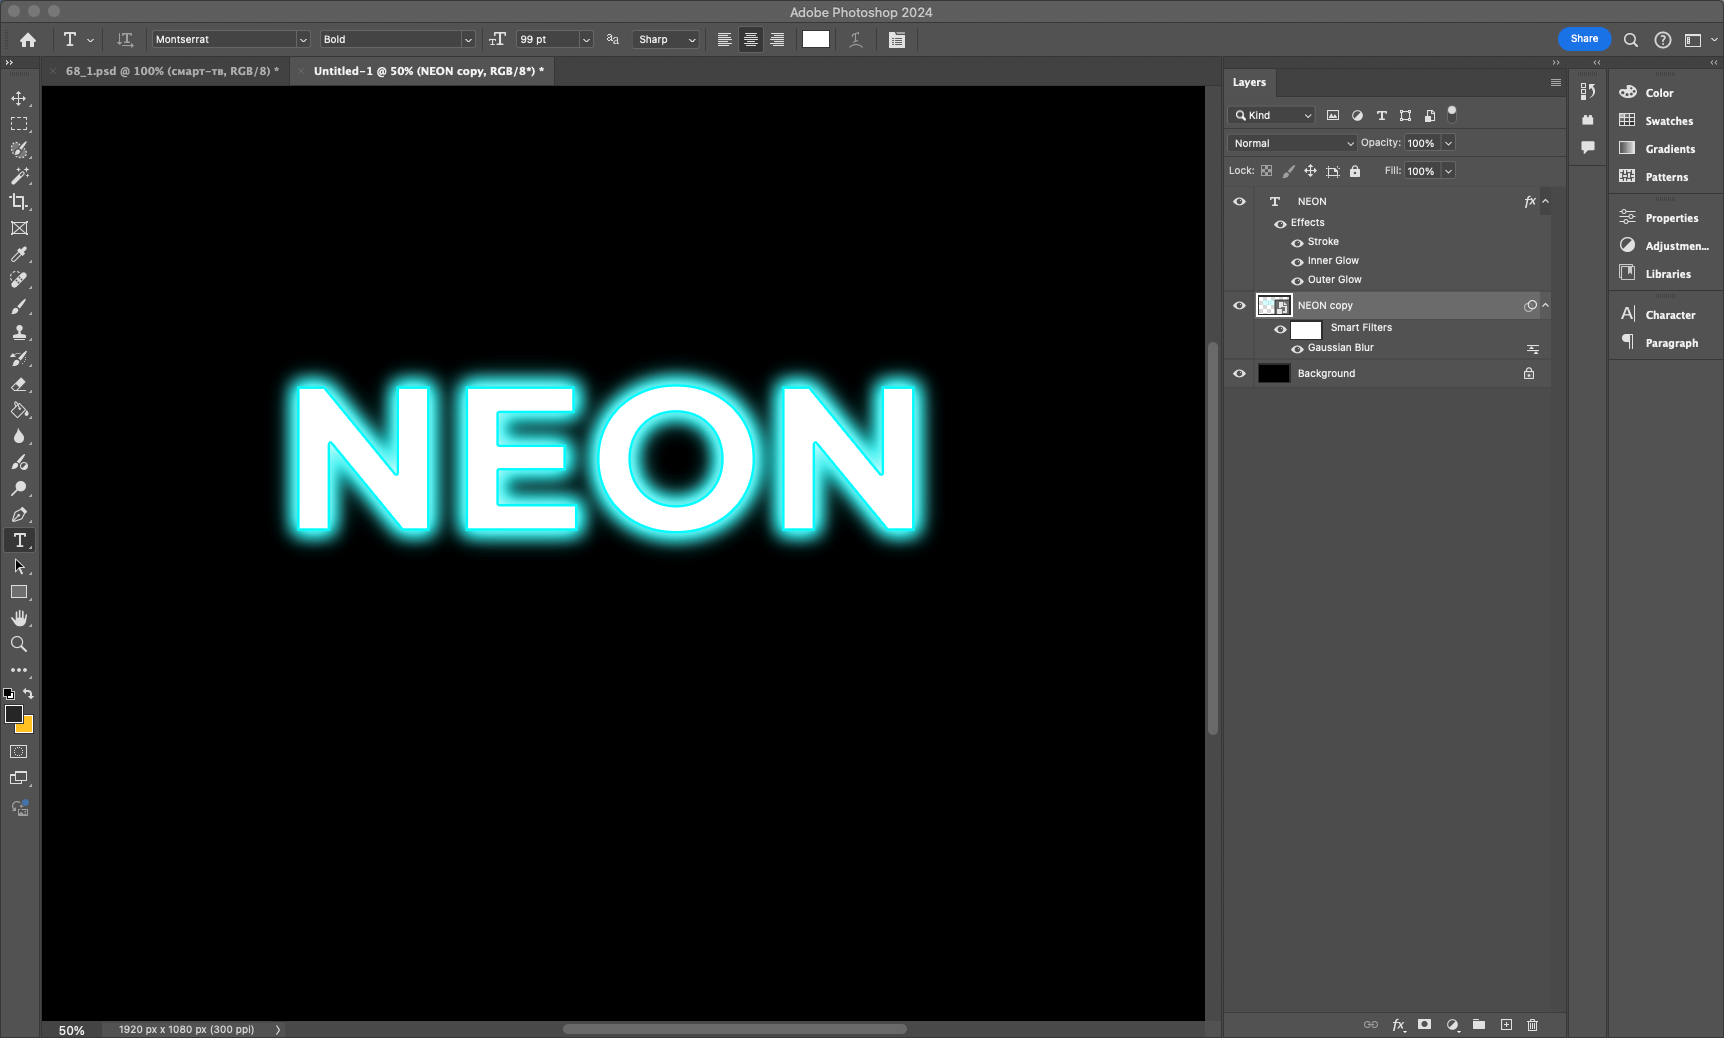
Step 3: Creating the basic glow
Now we’ll add the basic glow effects using layer styles. This is one of the most convenient ways to work with neon effects, as it allows you to flexibly control the glow settings.
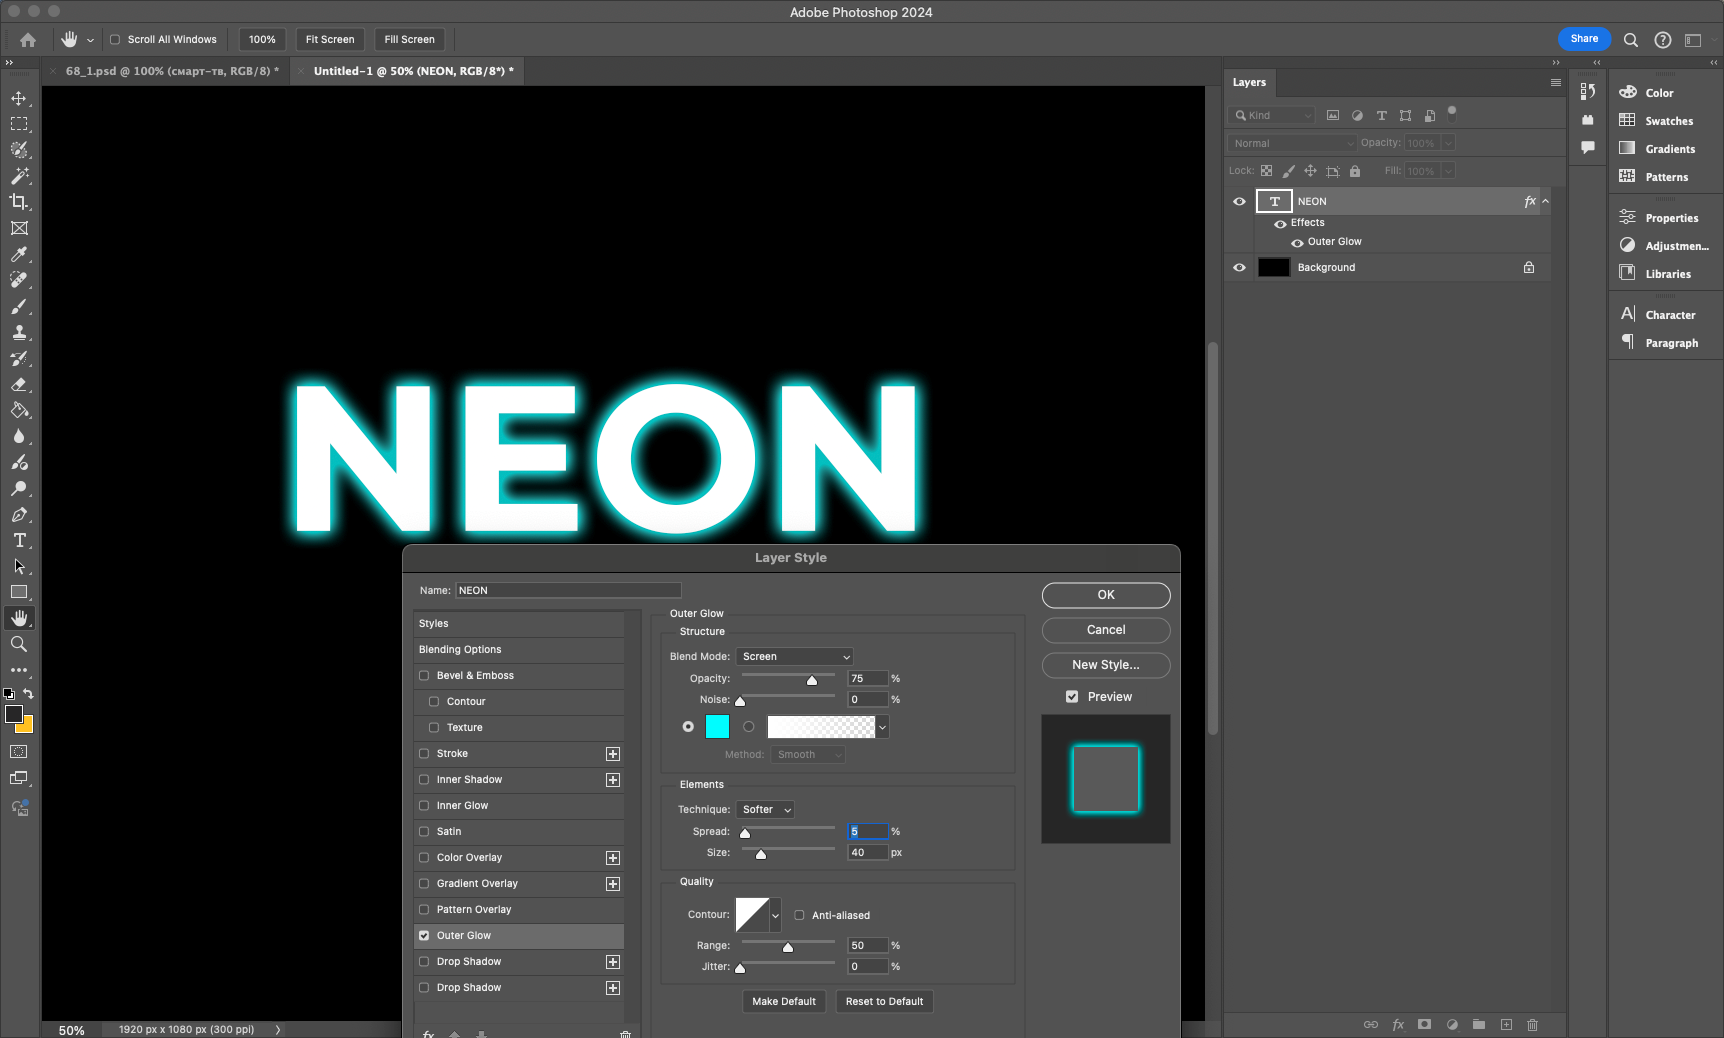
- Double-click on the text layer to open “Layer Style”.
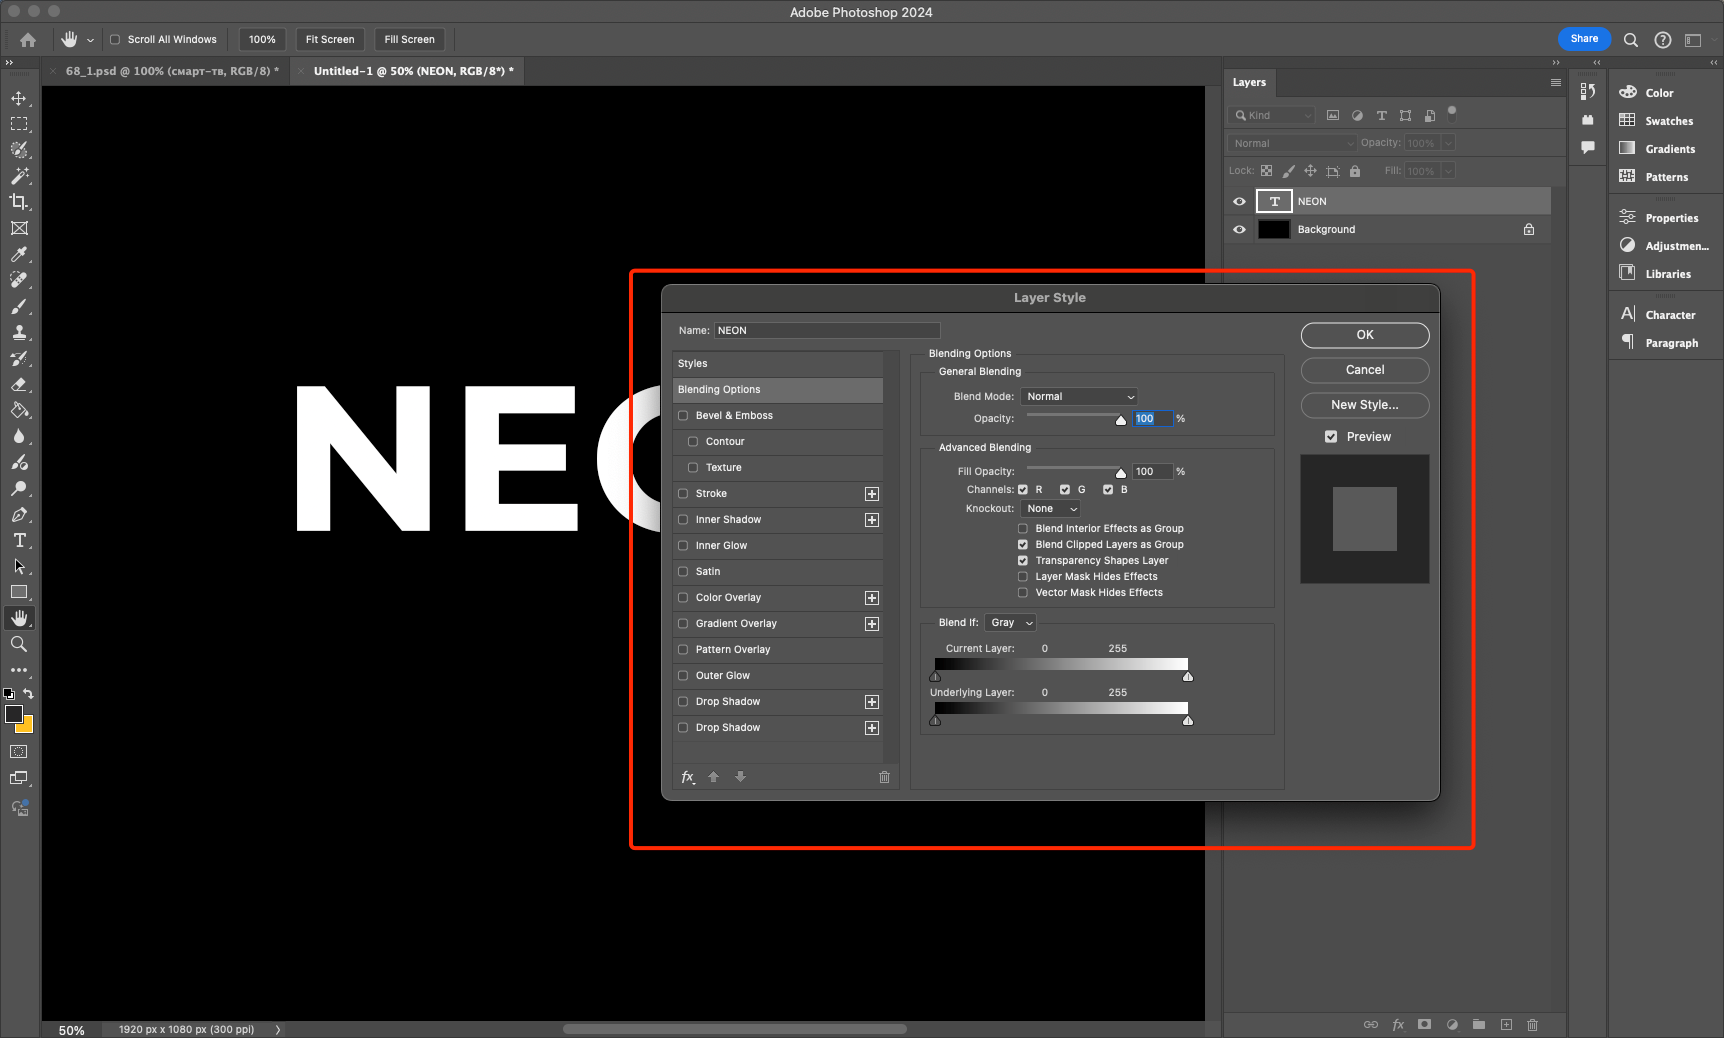
- Go to “External Glow” and set:
- Blending Mode: “Screen”
- Color: Bright Blue (#00FFFFFF) or another color of your choice
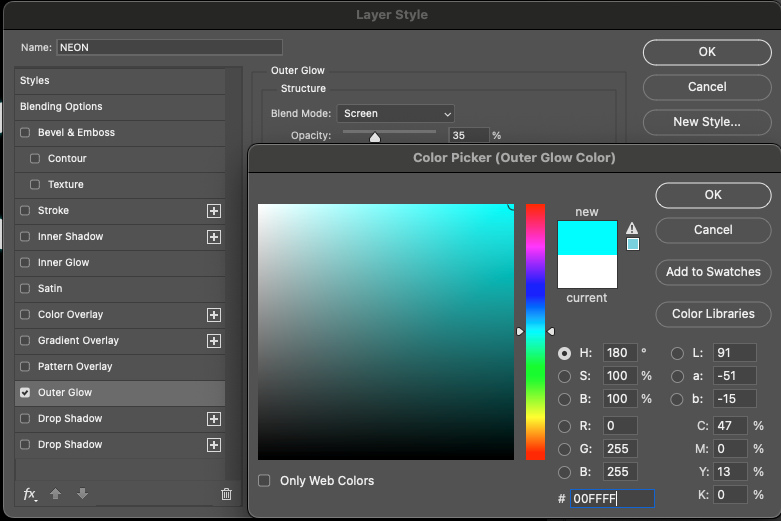
- Opacity: 75%
- Spread: 5%
- Size: 40px
3. Turn on “Inner Glow”, this will give the text extra volume:
- Mode: “Screen”
- Color: Slightly lighter than the main glow
- Opacity: 50%
- Size: 10px

4. Add a “Outline” with a thickness of 5px and a glow color for extra depth.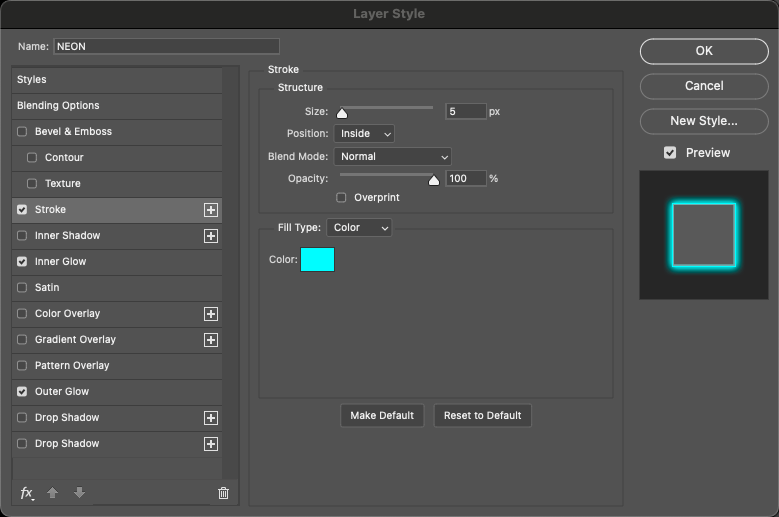
Step 4: Blur for a soft effect
To make the glow look more natural, let’s add an additional smudged layer to create a diffused light effect.
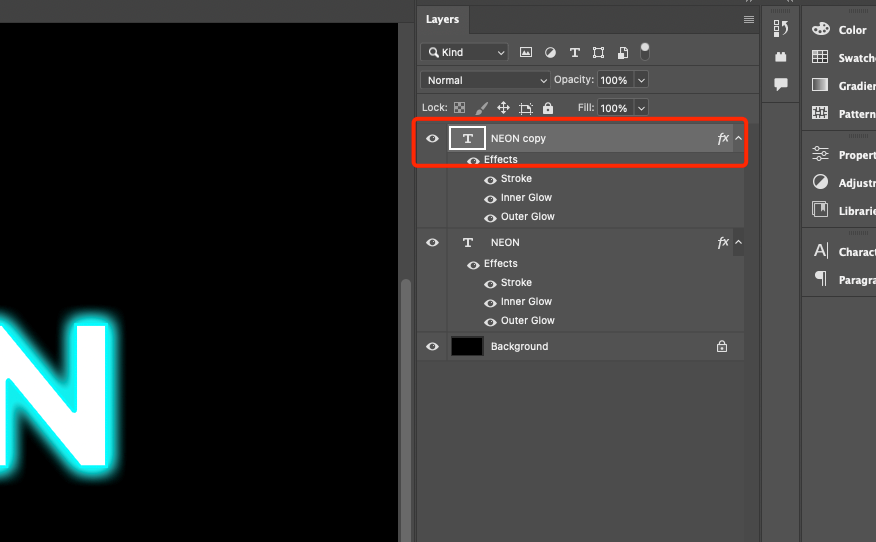
- Duplicate the layer with the text (Ctrl + J).
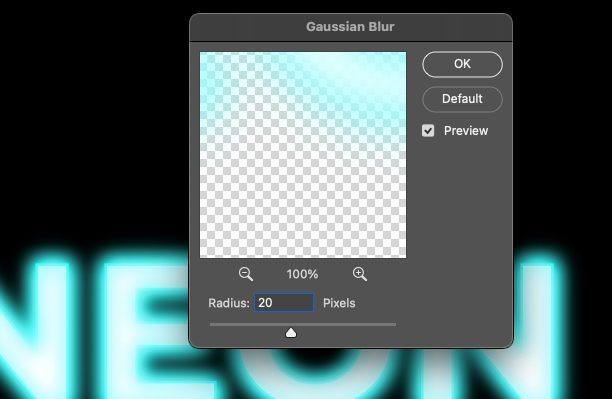
- Go to Filter → Blur → Gaussian Blur.
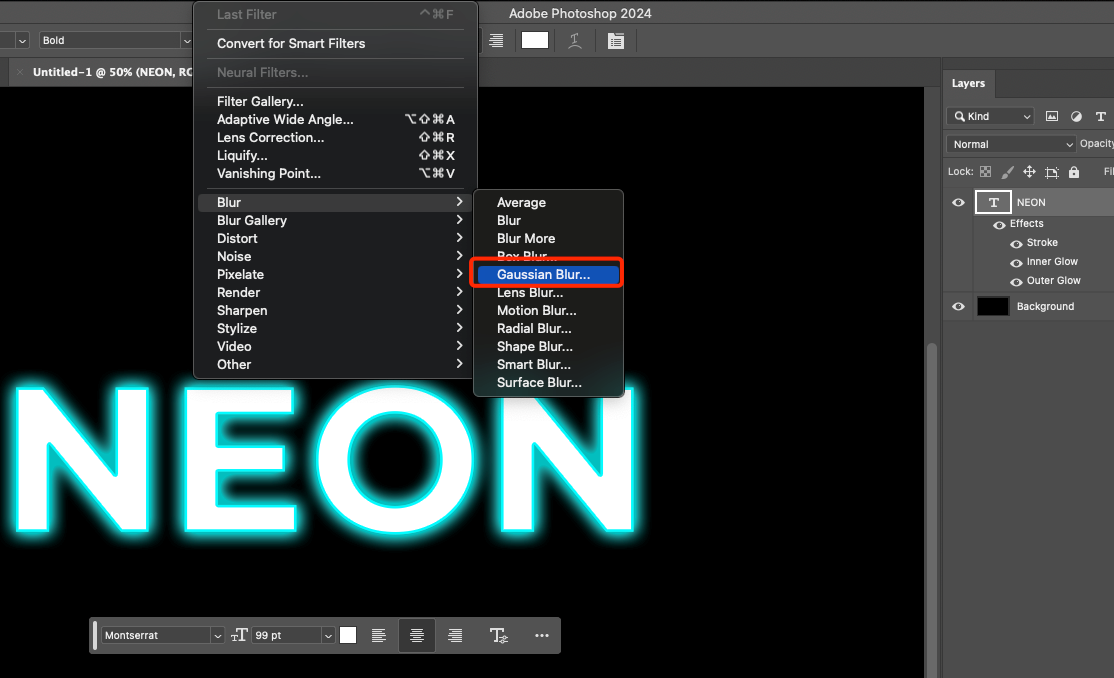
- Set the blur radius to 20-30 pixels. The larger the radius, the more diffuse the glow will be.
- Move the blurred layer under the base layer so that it creates a soft light halo effect.
Step 5: Add Reflection
To make the effect more stylish, let’s add a reflection. It will give the image extra volume and depth.
- Duplicate the layer with the text (Ctrl + J).
- Go to Edit → Transform → Vertical Reflect.
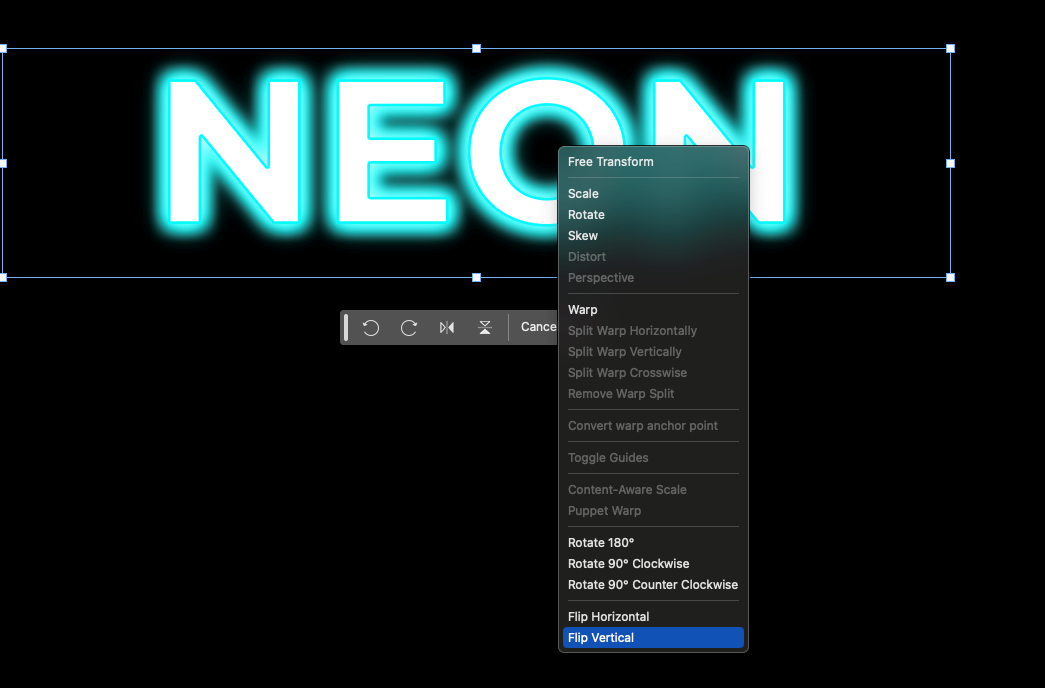
- Move this layer down so that it looks like a reflection of the original text.
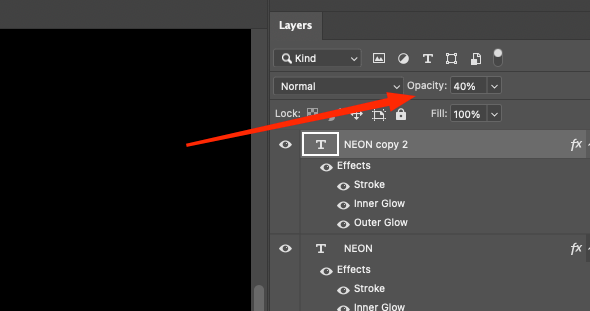
- Reduce the opacity of the reflection to 40% so that it doesn’t look too bright.
- Apply Filter → Blur → Gaussian Blur with a radius of 10px for a realistic effect.
Step 6: Final Adjustment
In the final step, let’s add small adjustments to improve the overall feel of the effect.
1. Create a new layer (Ctrl + Shift + N).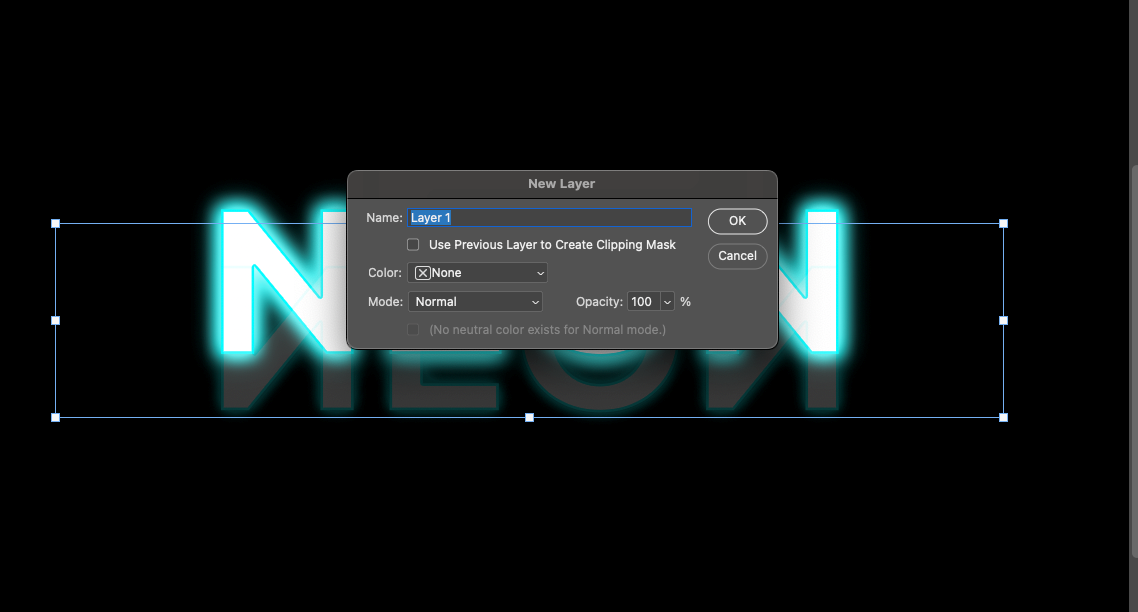 2. Select a soft brush (B), set the glow color and gently brush around the edges of the text.
3. Change the blending mode of this layer to “Screen” to make the glow look natural.
4. If necessary, reduce the opacity of the layer to 50% for a softer effect.
Read also: How to work with adjustment layers in Adobe Photoshop
Conclusion
Congratulations! You now have a full-fledged realistic neon text with soft glow and reflection. This method can be applied to any object, be it text, logo or shapes, making it a versatile tool for designers.
The neon effect is popular in poster design, web design, banner ads, and even social media design. Thanks to Photoshop, you can implement the most creative ideas, experimenting with colors, intensity of glow and different design styles. The more you practice, the better you will get, so feel free to try different variations and create impressive works!


