
Any changes and edits made to a picture will be irreversible if you close the window in the graphic editor. And for designers or photographers, this is a real problem, because in the process of image processing or creating graphics, they can experiment and evaluate different options. To be able to edit the original file in the future, you should add an adjustment layer. For example, if you create such a layer to control exposure and color tone, you will have the opportunity to adjust them as much as you want. If desired, the layer can be deleted. The advantages of this method are obvious. Plus, you can always save the adjustment layer as a service file and add it to the adjustment layer to save time.
What properties have adjustment layers in Adobe Photoshop
An adjustment in Adobe Photoshop is a special layer that contains correction data. By themselves, they are meaningless without the picture. Correction is easy to adjust or delete together with the layer, without affecting the original file. It applies to all layers below it. You can use the clipping tool to limit its effect. And if there is a need to work with only a part of the layer, then here is a layer mask.
In current versions of Adobe Photoshop, the adjustment layer parameters are controlled through the Properties palette.
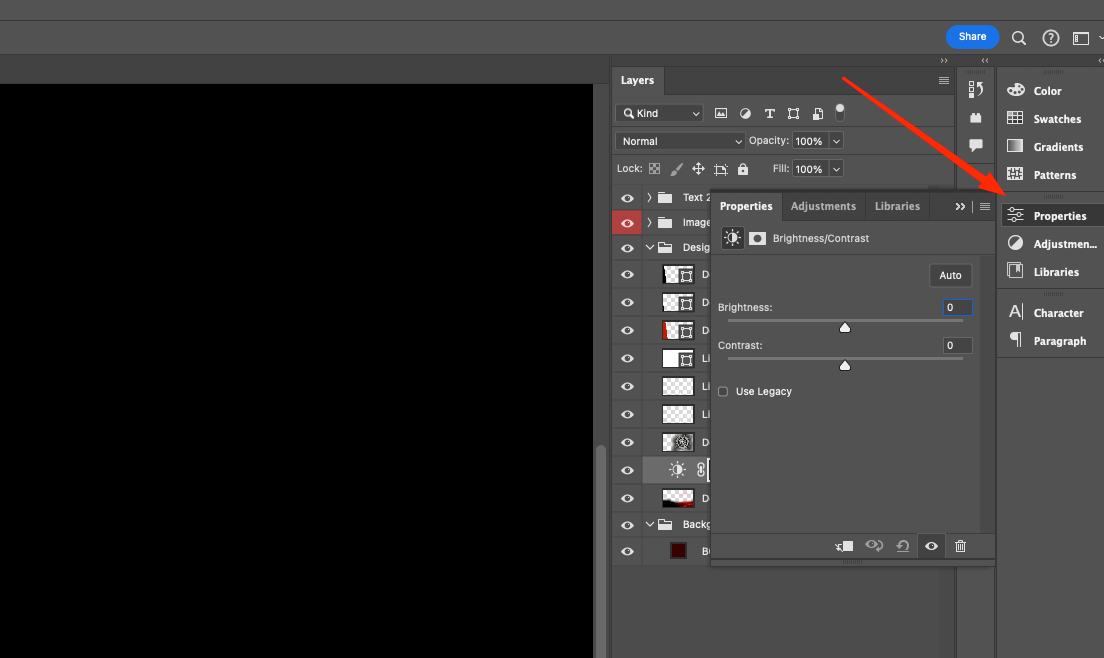
All the necessary tabs and windows are available in the “Photo” workspace. By clicking on the tool icon in the palette, you can select the desired settings and automatically create the layer.
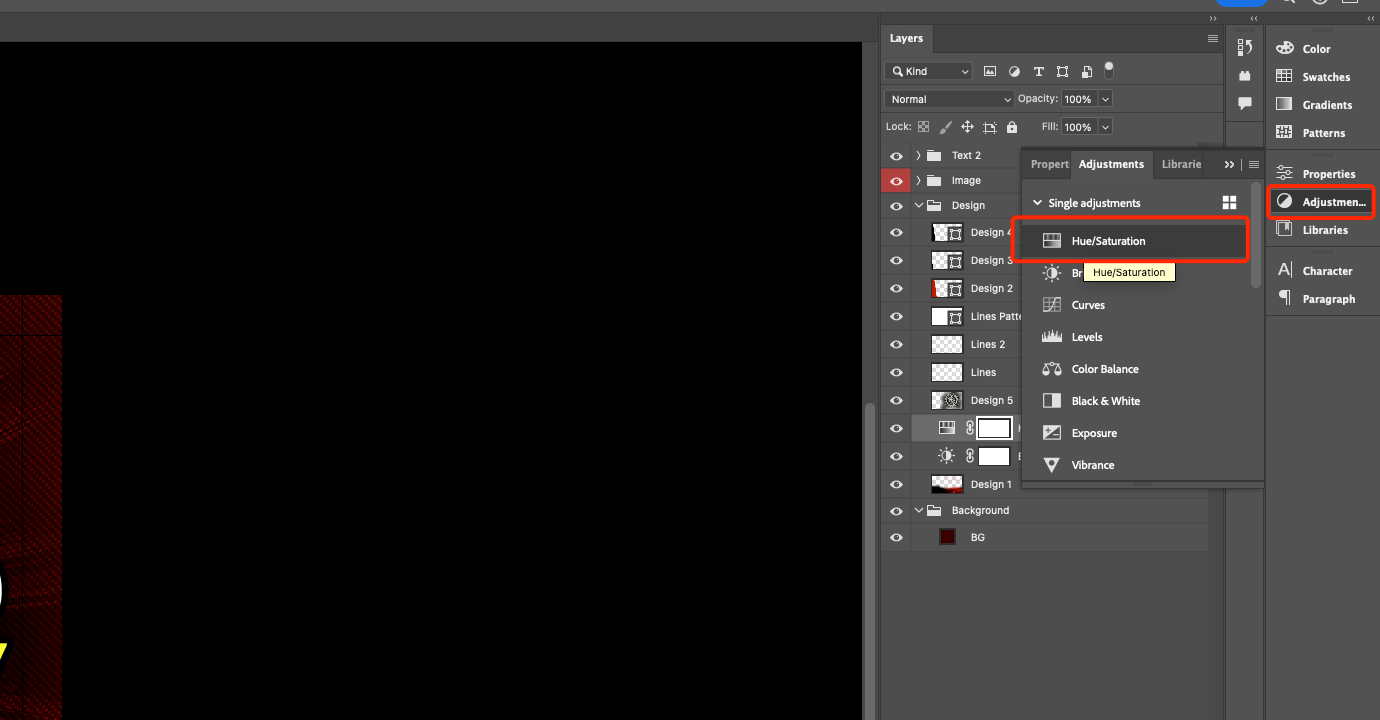
In the Adjusments menu, the corresponding configurations and a list of basic correction sets are available.

The image editor also has a selection of settings for color tone, exposure, curves, white and black balance, channel blending, etc. Your own corrections can be saved as a set to an existing selection of configurations.
Read also: Working with layers and masks in Adobe Photoshop
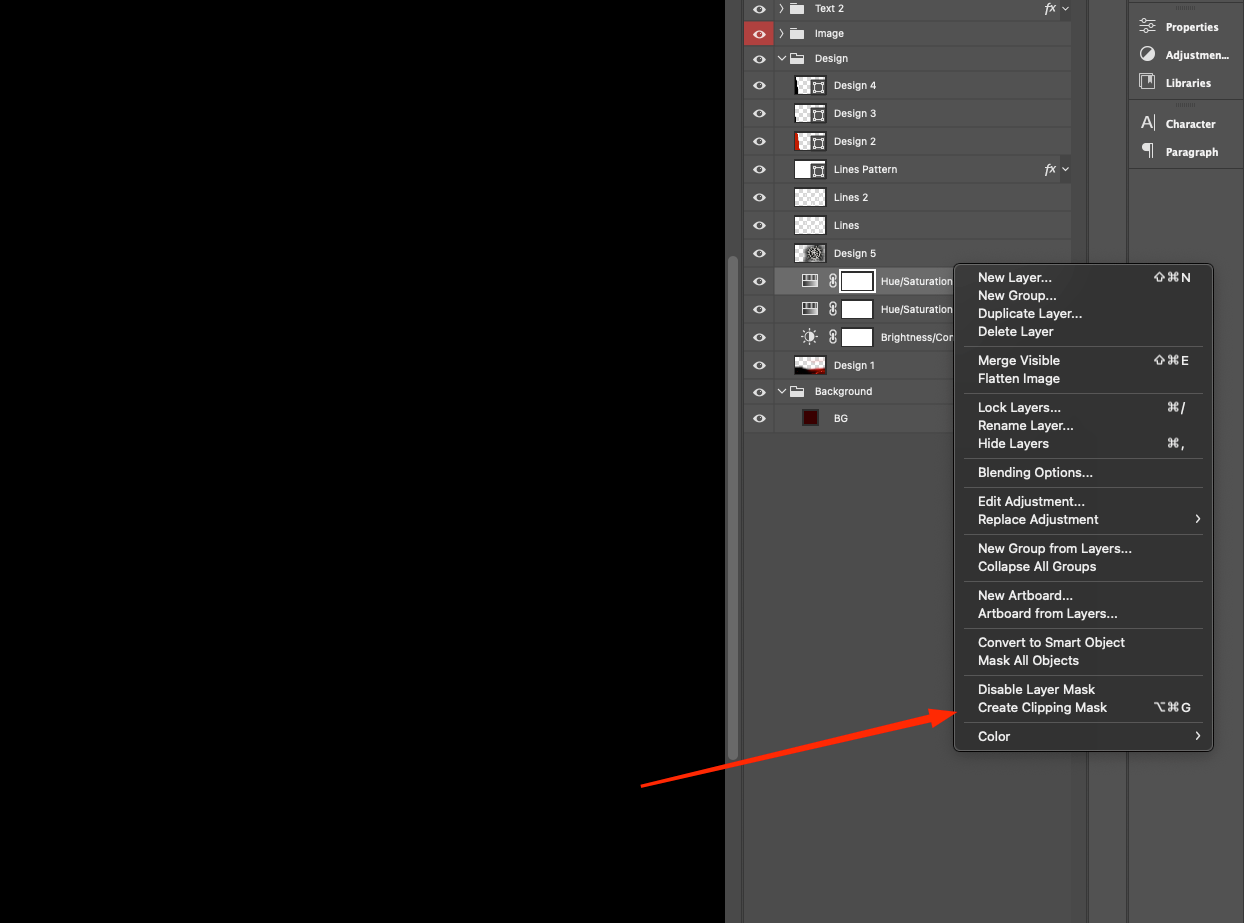
By clicking on the correction icon, you can see the advanced settings:
- In the Adjusments menu, you can find the Hue/Saturation icon, which is responsible for controlling saturation and color tone.
 2. In the window that opens, you can find a selection of default settings, such as Cyanotype. The key feature of this palette is quick and easy control of correction settings without opening auxiliary dialog boxes, as you had to do in previous builds.
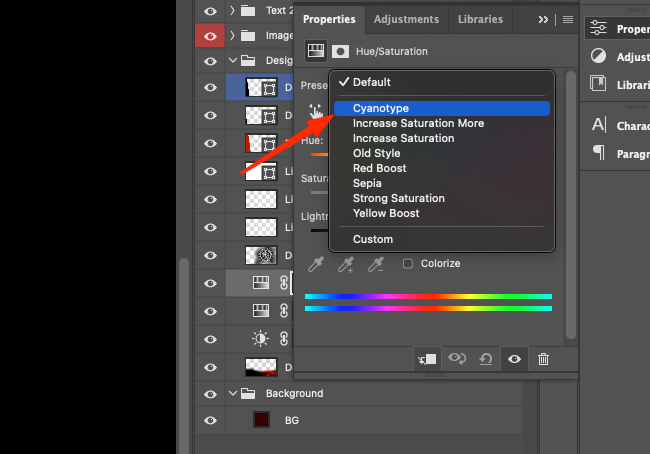 3. An auxiliary adjustment layer will appear in the Layers window, which includes an adjustment icon and a mask layer.
4. Next, you should turn off the visibility of the adjustment layer – the original layer with the image will remain in the same state. You can turn visibility back on from here.
5. To control the configurations, you can change them via the Properties palette. This provides a more flexible and convenient way to manage the correction. However, the advantages of adjustment layers do not end there. 6. If you need to limit the correction to a specific part of the layer, a so-called layer mask can help.
7. You can test it with a simple method. Activate a gradient, e.g. black and white, and apply it to the image. The correction will act only on the selected part.
How to work with an adjustment layer in a layered project
As mentioned above, the adjustment layer affects each of the underlying layers. To limit its effect, you need to apply the clipping mask tool.
The principle of use is as follows:
- Open the source file in PSD format. It contains several layers, and the adjustment layer is responsible for spreading its effect on each layer below it. The clipping mask layer can be deleted as it will no longer be needed.
2. You should then activate the clipping by clicking the key in the palette or in the settings window.
3. By performing a cutoff, you will only be able to adjust the effect of the adjustment on the layer below.
How to create a selection-based adjustment
If selection is activated in the file, the adjustment layer will be created based on the selected area because it contains a mask layer. If you want to select an element from a homogeneous composition, the following instructions will help:
- Activate a selection from the Paths palette on the selected outline.
2. Invert the selection to select everything but the desired element.
3. Prepare a Hue/Saturation adjustment layer. This will eventually be applied to the selection.
A cool variant of applying an adjustment layer is colorization. This technique is often used in advertising because it allows you to highlight an accent element.
Levels adjustment layer
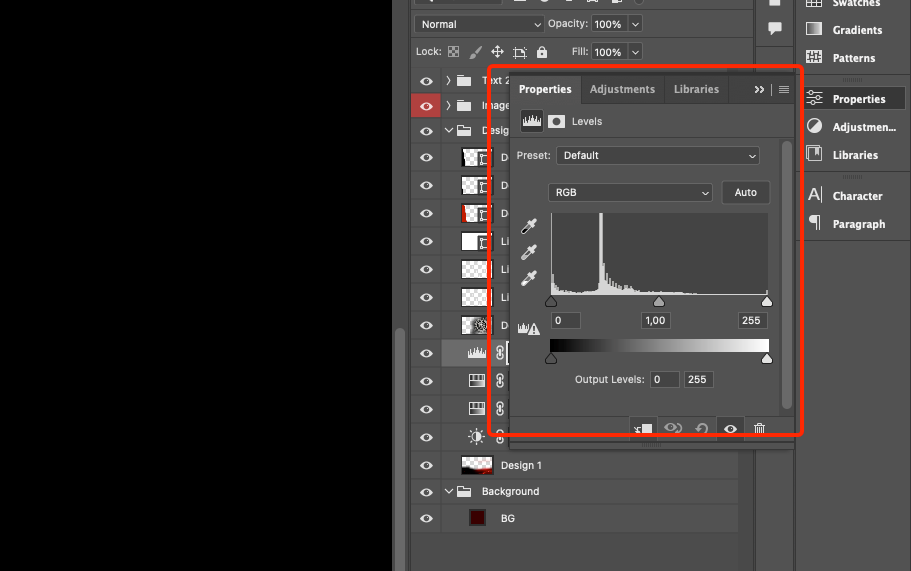
The Levels adjustment layer is used for a variety of purposes. For example, if an image has a blemish, this layer can help you remove it.
In addition, it gives you the opportunity to experiment with ways to darken or lighten. Often in Adobe Photoshop one task is solved in several ways. And each of them has its own features, advantages or disadvantages. It all depends on your level of training and skills.
For example, if the image looks too light, then you can use this option:
- Copy the background layer with appropriate mouse clicks or the combination Ctrl + J (Cmd + J).
2. Activate the Multiply blending mode. Be prepared for the picture to become very dark. To weaken the effect, just reduce the “Transparency”.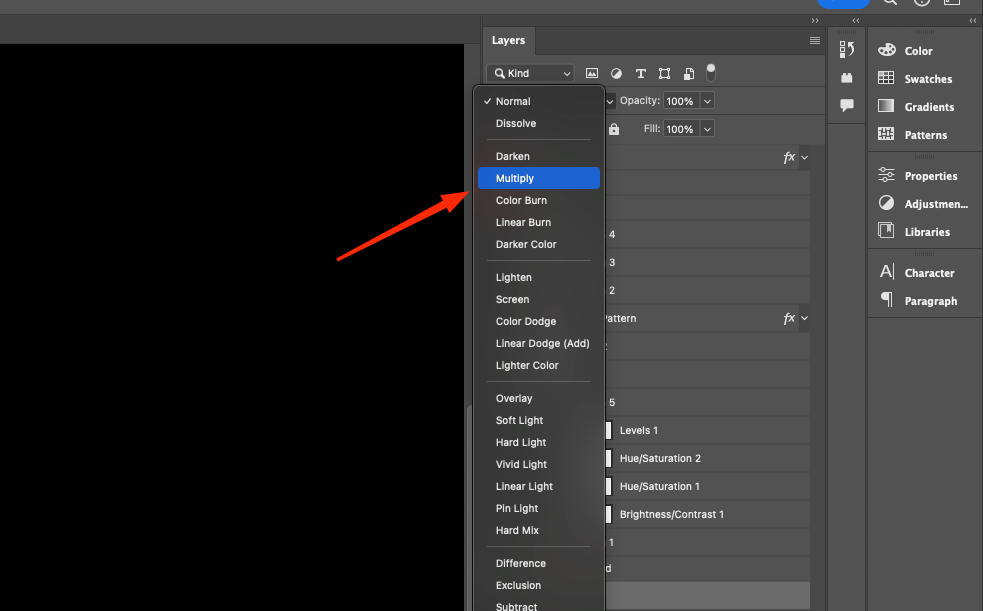
Similar actions can be performed using the Adjustments palette. In this case, you need to click on the Levels icon and add an adjustment layer. The Levels 1 layer should have the Multiply blending mode activated. To weaken the effect, you can also change the opacity. The effect will be similar. What are the advantages? It’s all in the flexibility of control due to the choice of mask layer in the adjustment layer. The Brush tool will allow you to blend the brightness areas of the picture.


