
To many beginners Adobe Photoshop seems like a dense forest, because its interface may seem too complicated: a huge variety of functions and tools, a lot of hotkeys and combinations, various icons, etc. But to feel free in the graphic editor, it is enough to learn the basic aspects and master a few of the main tools. Today we will talk about the most important functions of the program.
# 1 Palette

In most cases, the huge menu of Adobe Photoshop is used 25% by photographers and graphic designers, because the main tools are in quick access. Experienced users occasionally open it, settling for a single palette in the right navigation menu. Various commands from the menu are easily invoked using hotkeys.
In the palette are available main, text and background colors, and there are additional functions to get parameters, commands and advanced tools. For comfortable use of the editor, 5-7 palettes will suffice.
These include:
- Tools – the most important tools for work.
- Option – manual settings for editing.
Having worked with the working environment, you can adapt the placement of palettes to your preferences. The icon is located in the upper corner on the right.
Also, to optimize the interface on the screen, you should learn to work with the hot key “F”, which allows you to open the picture that you are processing. If you click the button again, full screen mode will appear, and menus and palettes will disappear. If you click on F again, you will be in the original system mode.
Read also: How to make a photo brighter in Photoshop
#2 PSD format
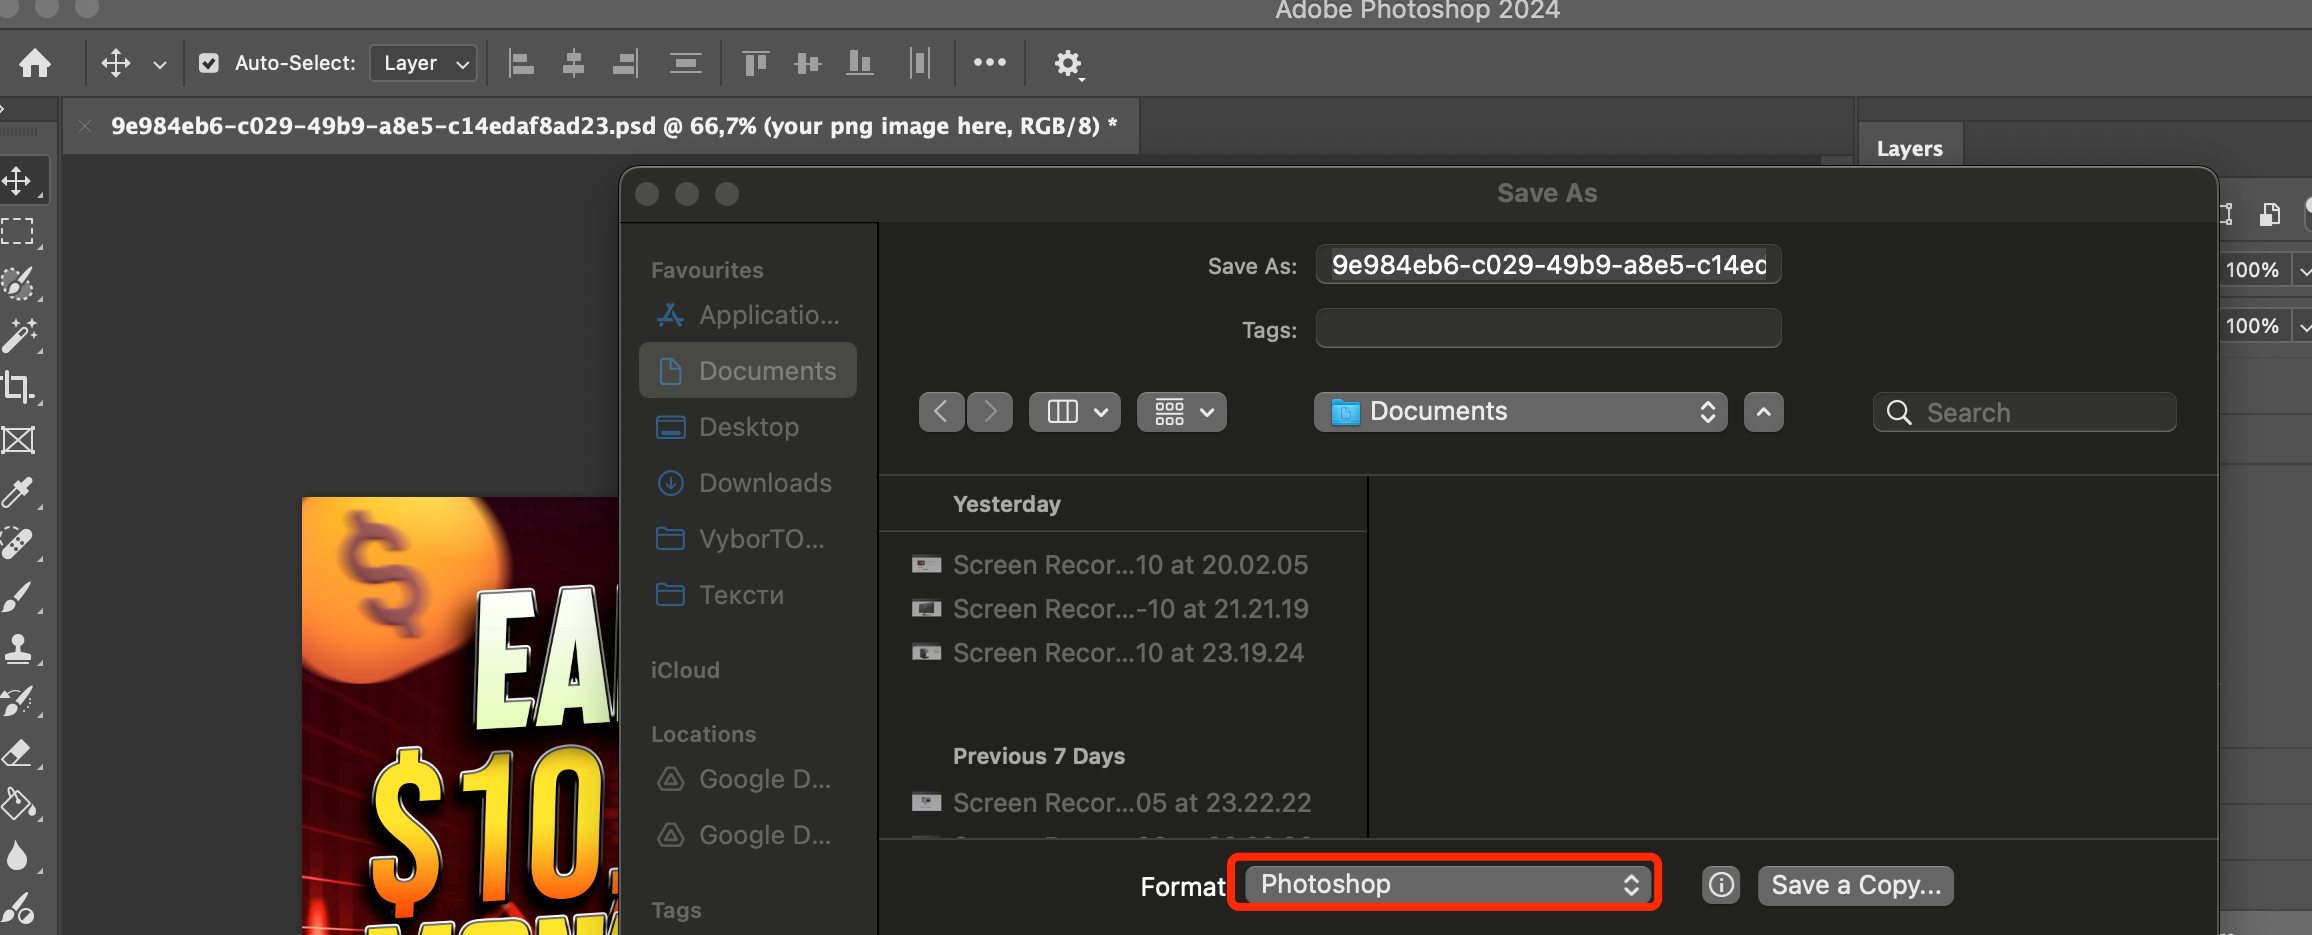
Adobe Photoshop’s standard format is PSD. It can be found in the save window by clicking on “File” and “Save as”. The file will then save all layers and source data for later editing. JPEG or PNG formats do not provide such functionality.
Therefore, experienced users in advance save the picture in PSD, as soon as it is in their hands. In this case, regardless of the source format, it is better to create a copy in PSD.
#3 Crop
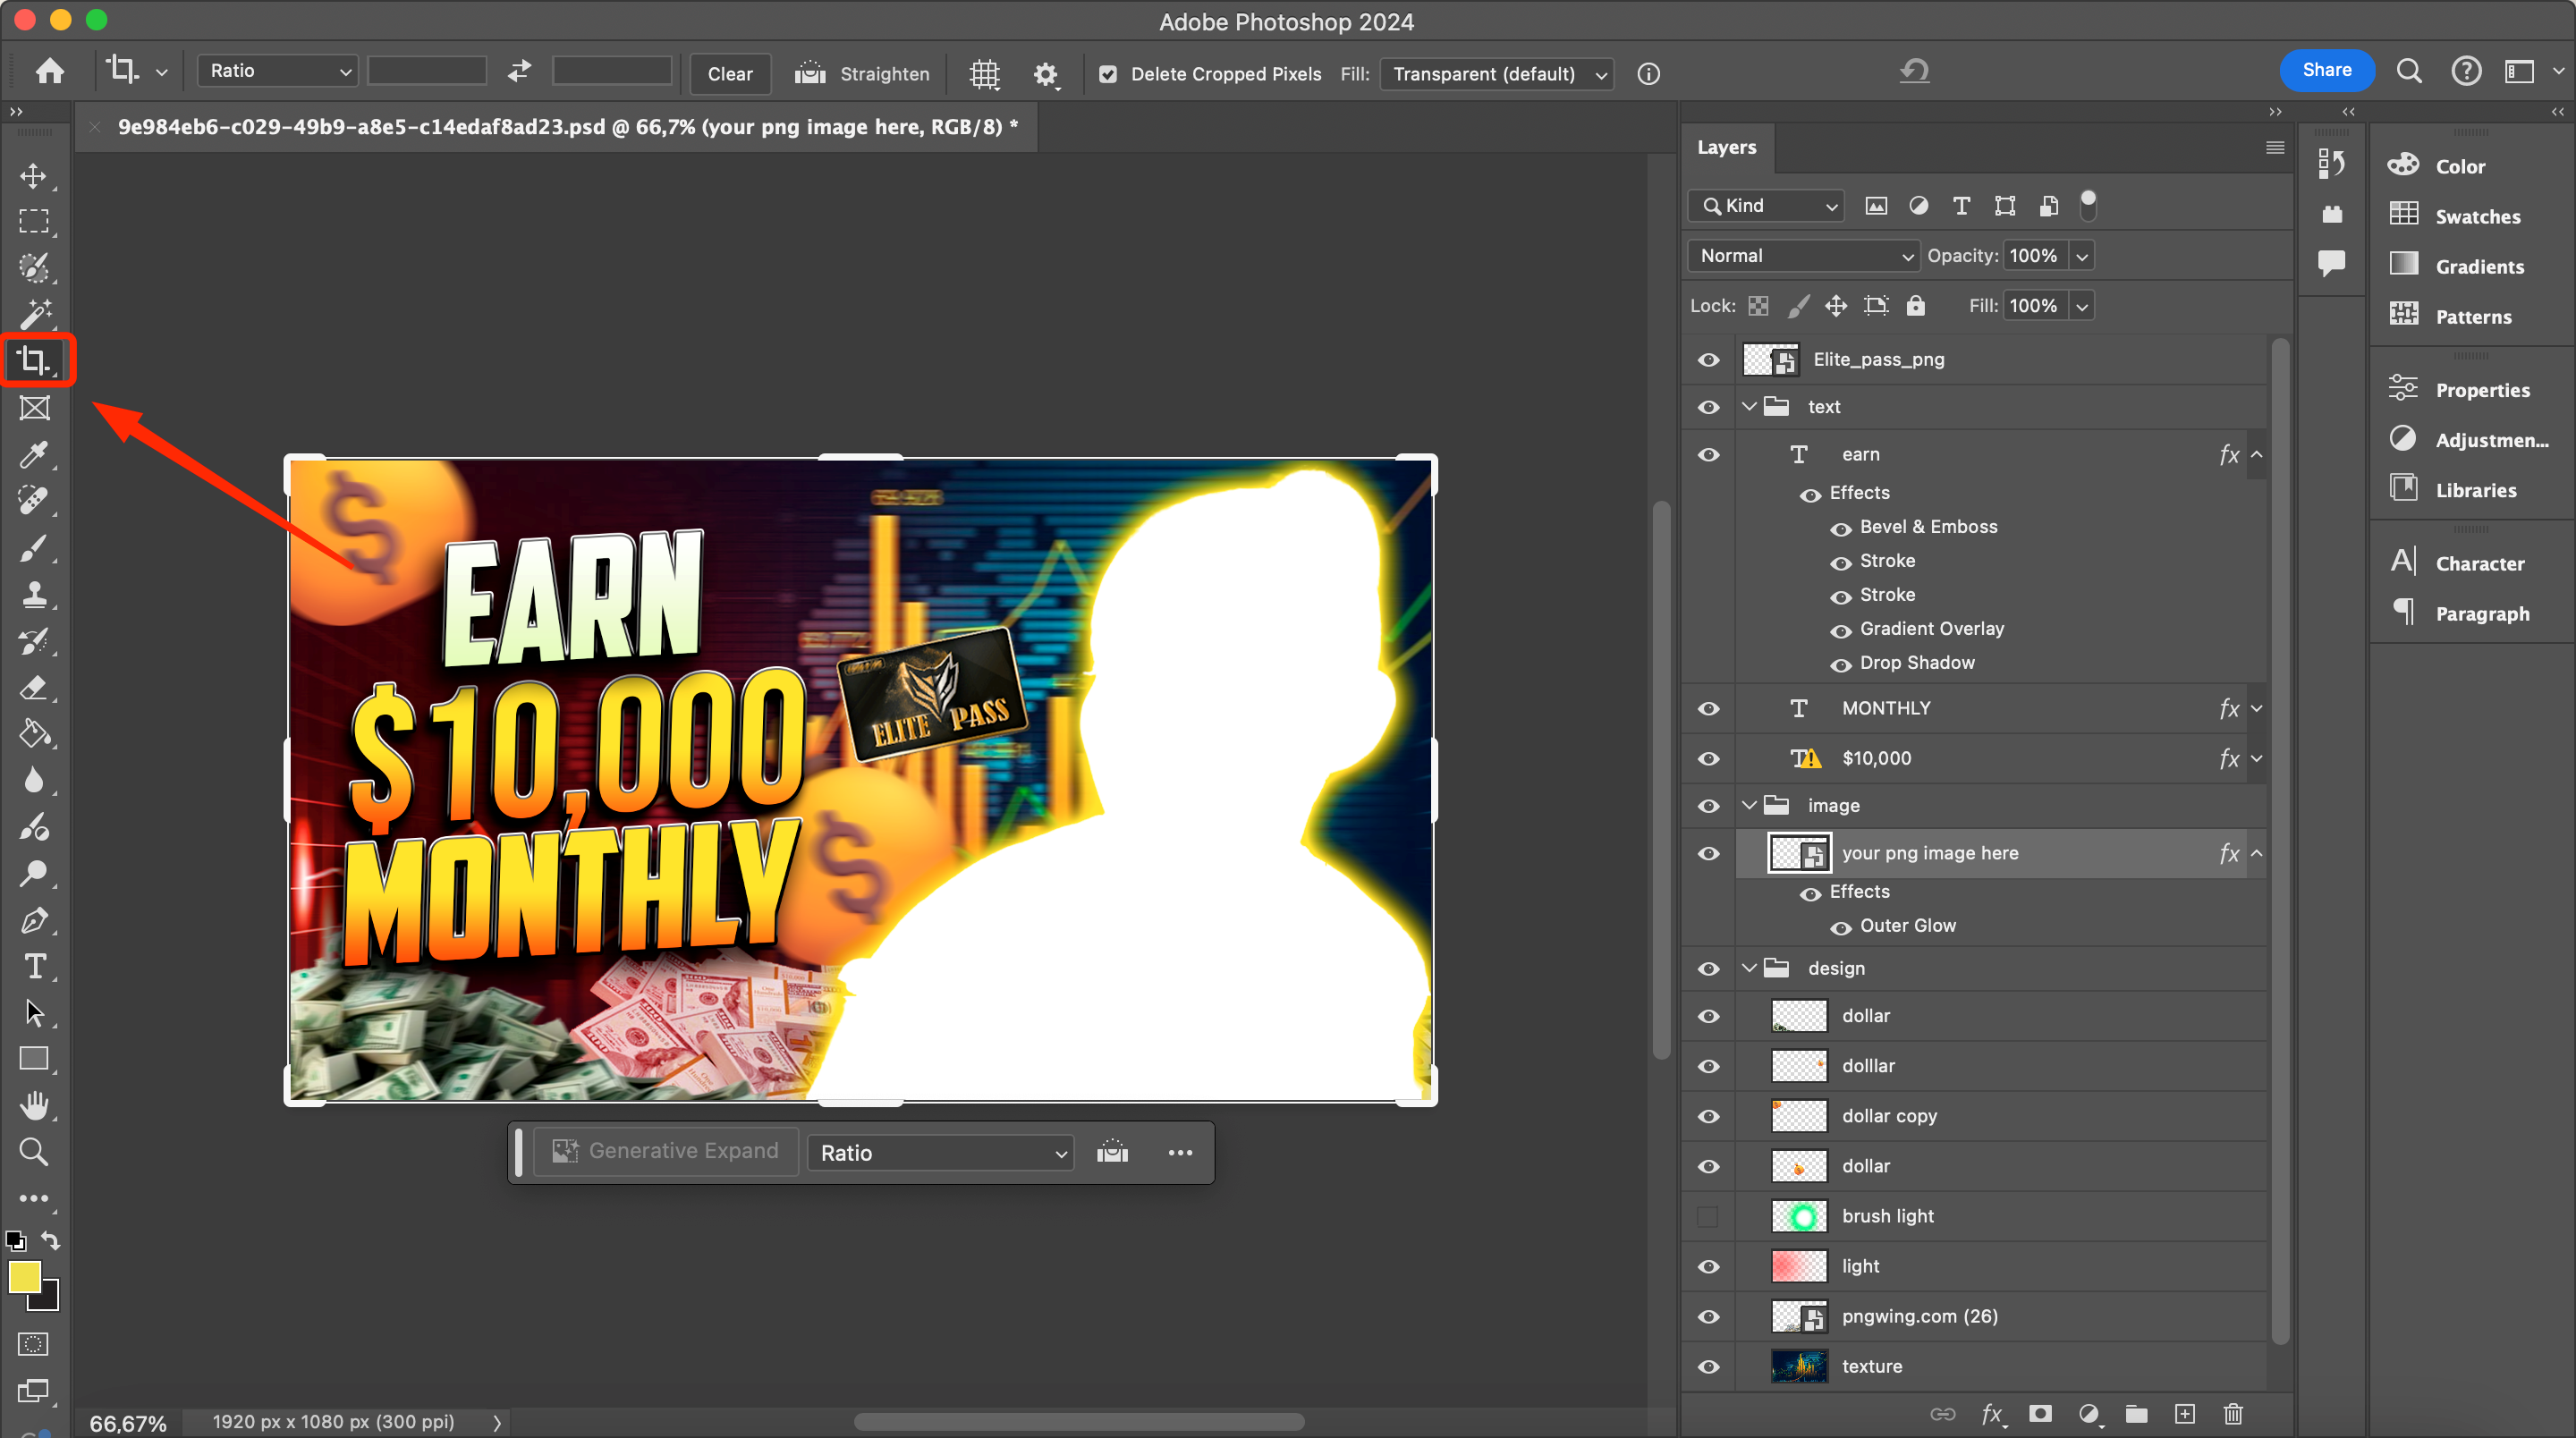
This tool is not only for cropping the picture, but also for rotating it to the desired angle. There’s also a Straighten option. A level is available there, which allows you to level the horizontal and correct the line. This method allows you to level the horizon in landscape shots without much trouble.
Note the position of the Delete cropped pixels checkbox. It is responsible for deleting cropped levels. If the checkbox is activated, everything outside the frame will disappear. In principle, the checkbox can be unchecked so that you have the possibility to repeat the cropping if something is not done as planned.
#4 The History palette
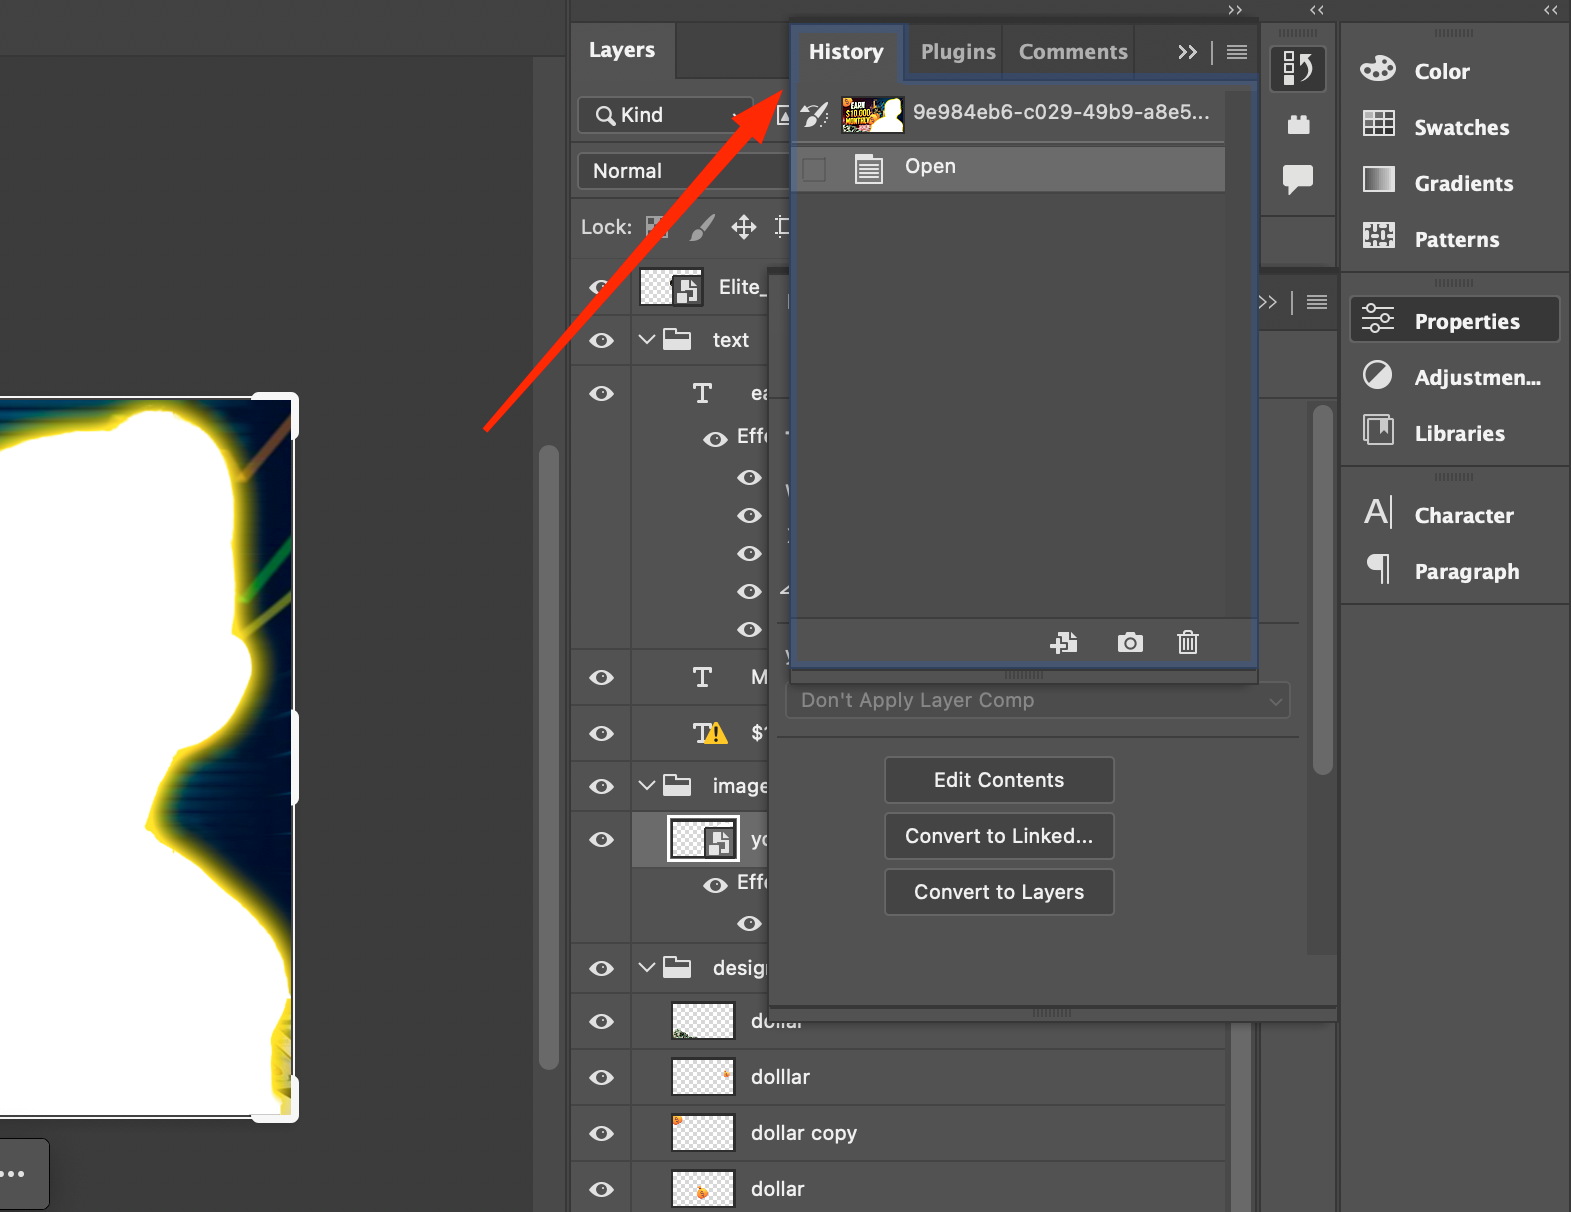
Another useful palette is called History. It is designed to consistently save the state of the picture before strokes, adjustment layer or other operation. With the tool, you can go back to the previous processing step without having to do multiple undo hotkeys.
However, the tool has one disadvantage: you can’t use it to undo operations in a non-linear way. It is a way of elementary undo operations. You can use the palette only until you close the file.
#5 Layers
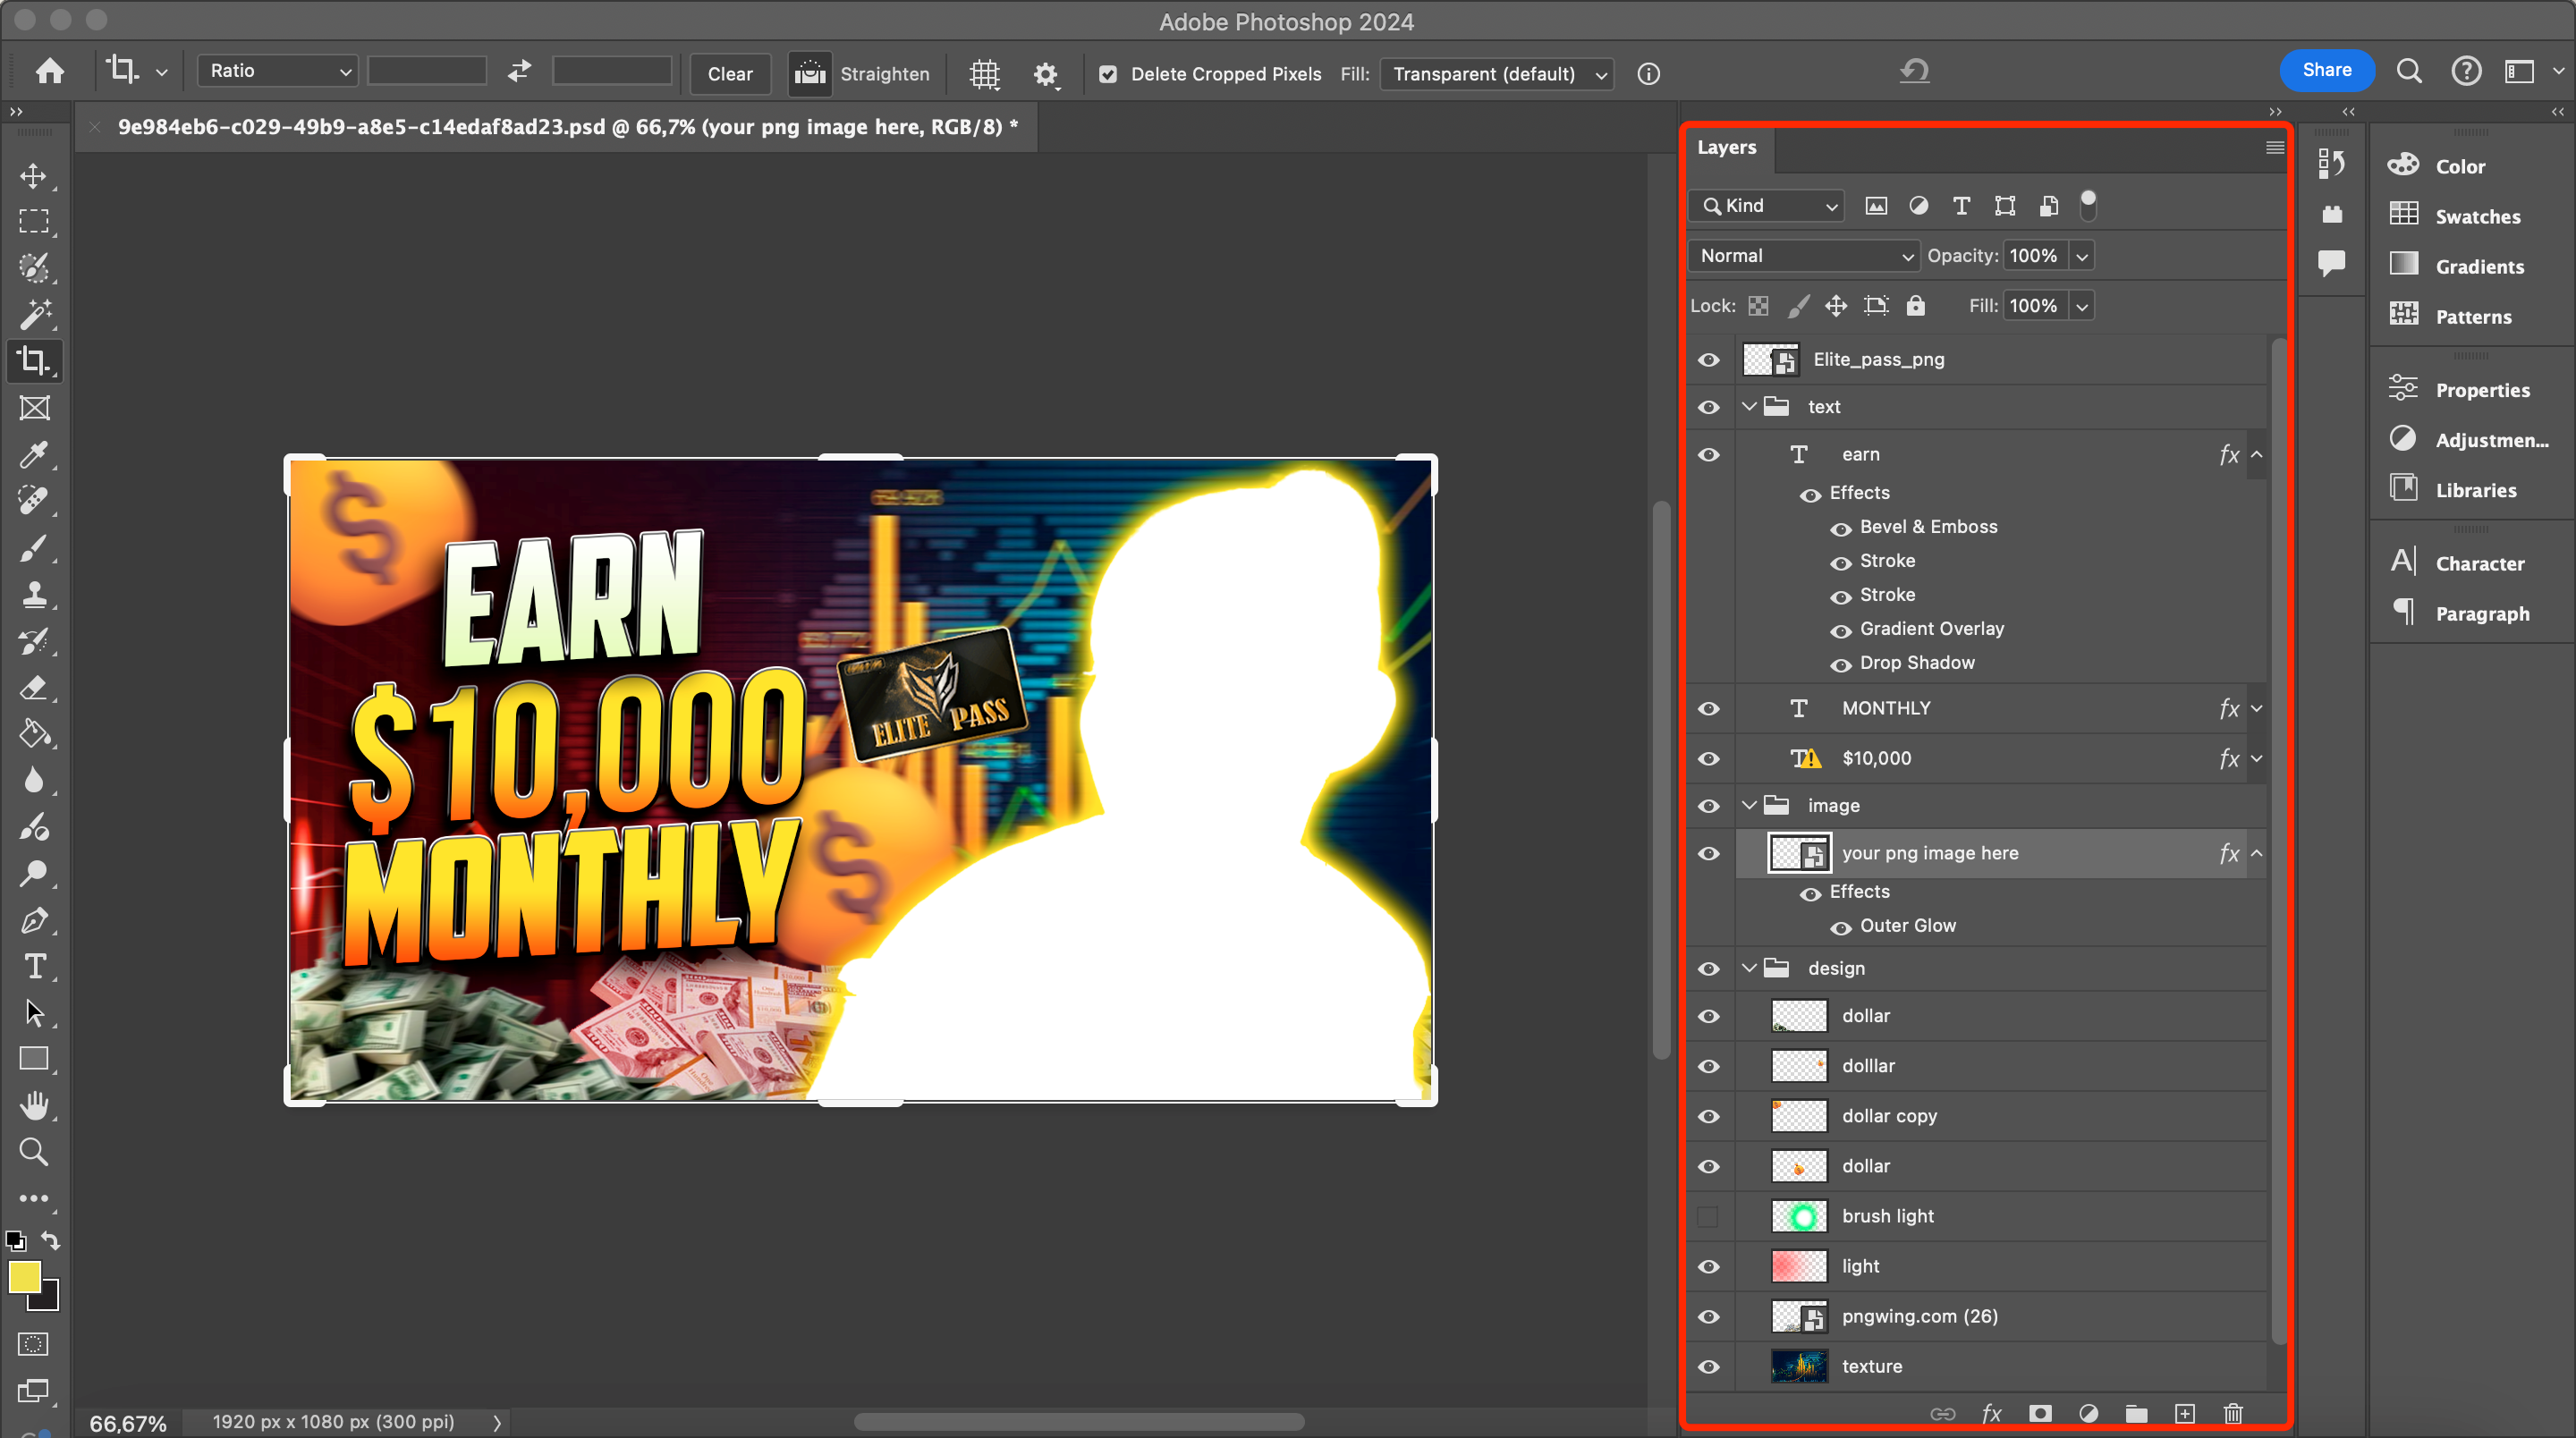
The basis of all actions in Adobe Photoshop are layers. They are needed to combine different pictures, get special effects, add vector shapes, text and perform other operations. They can be compared to a stack of transparent sheets of paper on the table. Layers can be easily moved to change the picture and opacity parameter.
Two categories of layers are known: adjustment layers and raster layers.
- Adjustment layers are a prototypical “light filter” that sits on top of an image. This tool gives you the ability to customize lighting effects, glow, shadow, stroke, and more.
2. Raster layers include pixels in a grid format.
You can activate the Layers window through the Windows menu if it is not present in the Adobe Photoshop workspace by default.
#6 Selection
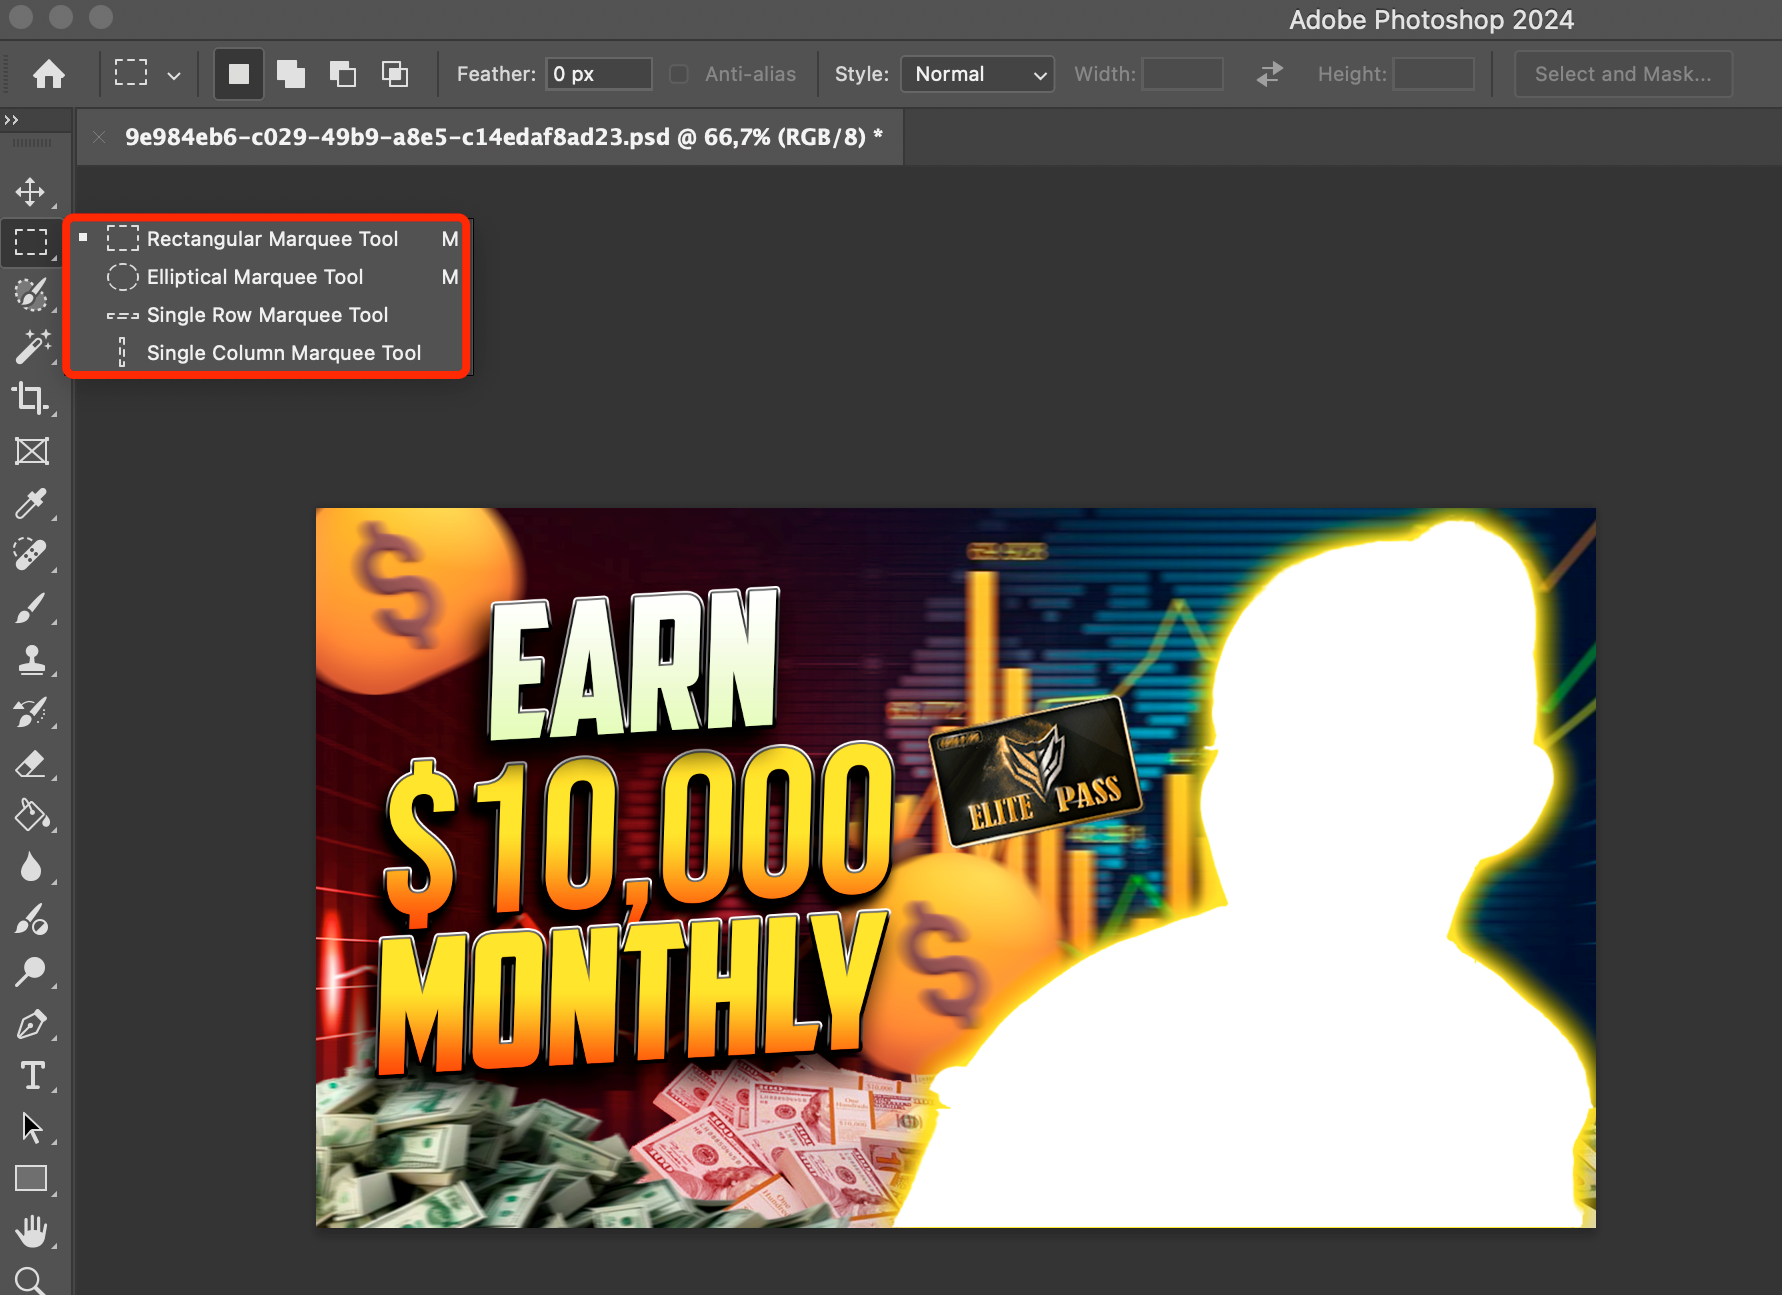
To master the “Selection” function, you need to perform test operations with the original layer. Often the tool is used to enlarge or reduce a part of the picture. With its help it is easy to remove, add or move the object. Also “Selection” is used in retouching, if it is necessary to roughly limit the area of the corrective tool.
Objects are isolated using different tools. The most basic are “ellipse” and “rectangle”. If you need to select a complex shape, it is better to use “lasso”. If you use the Object selection tool command, the program will define the object by itself. This option is necessary for beginners: if they have no experience in self-selection.
You can also copy an isolated element and transfer it to a new layer. The Cmd + J command will simplify the task.
#7 Layer Masks
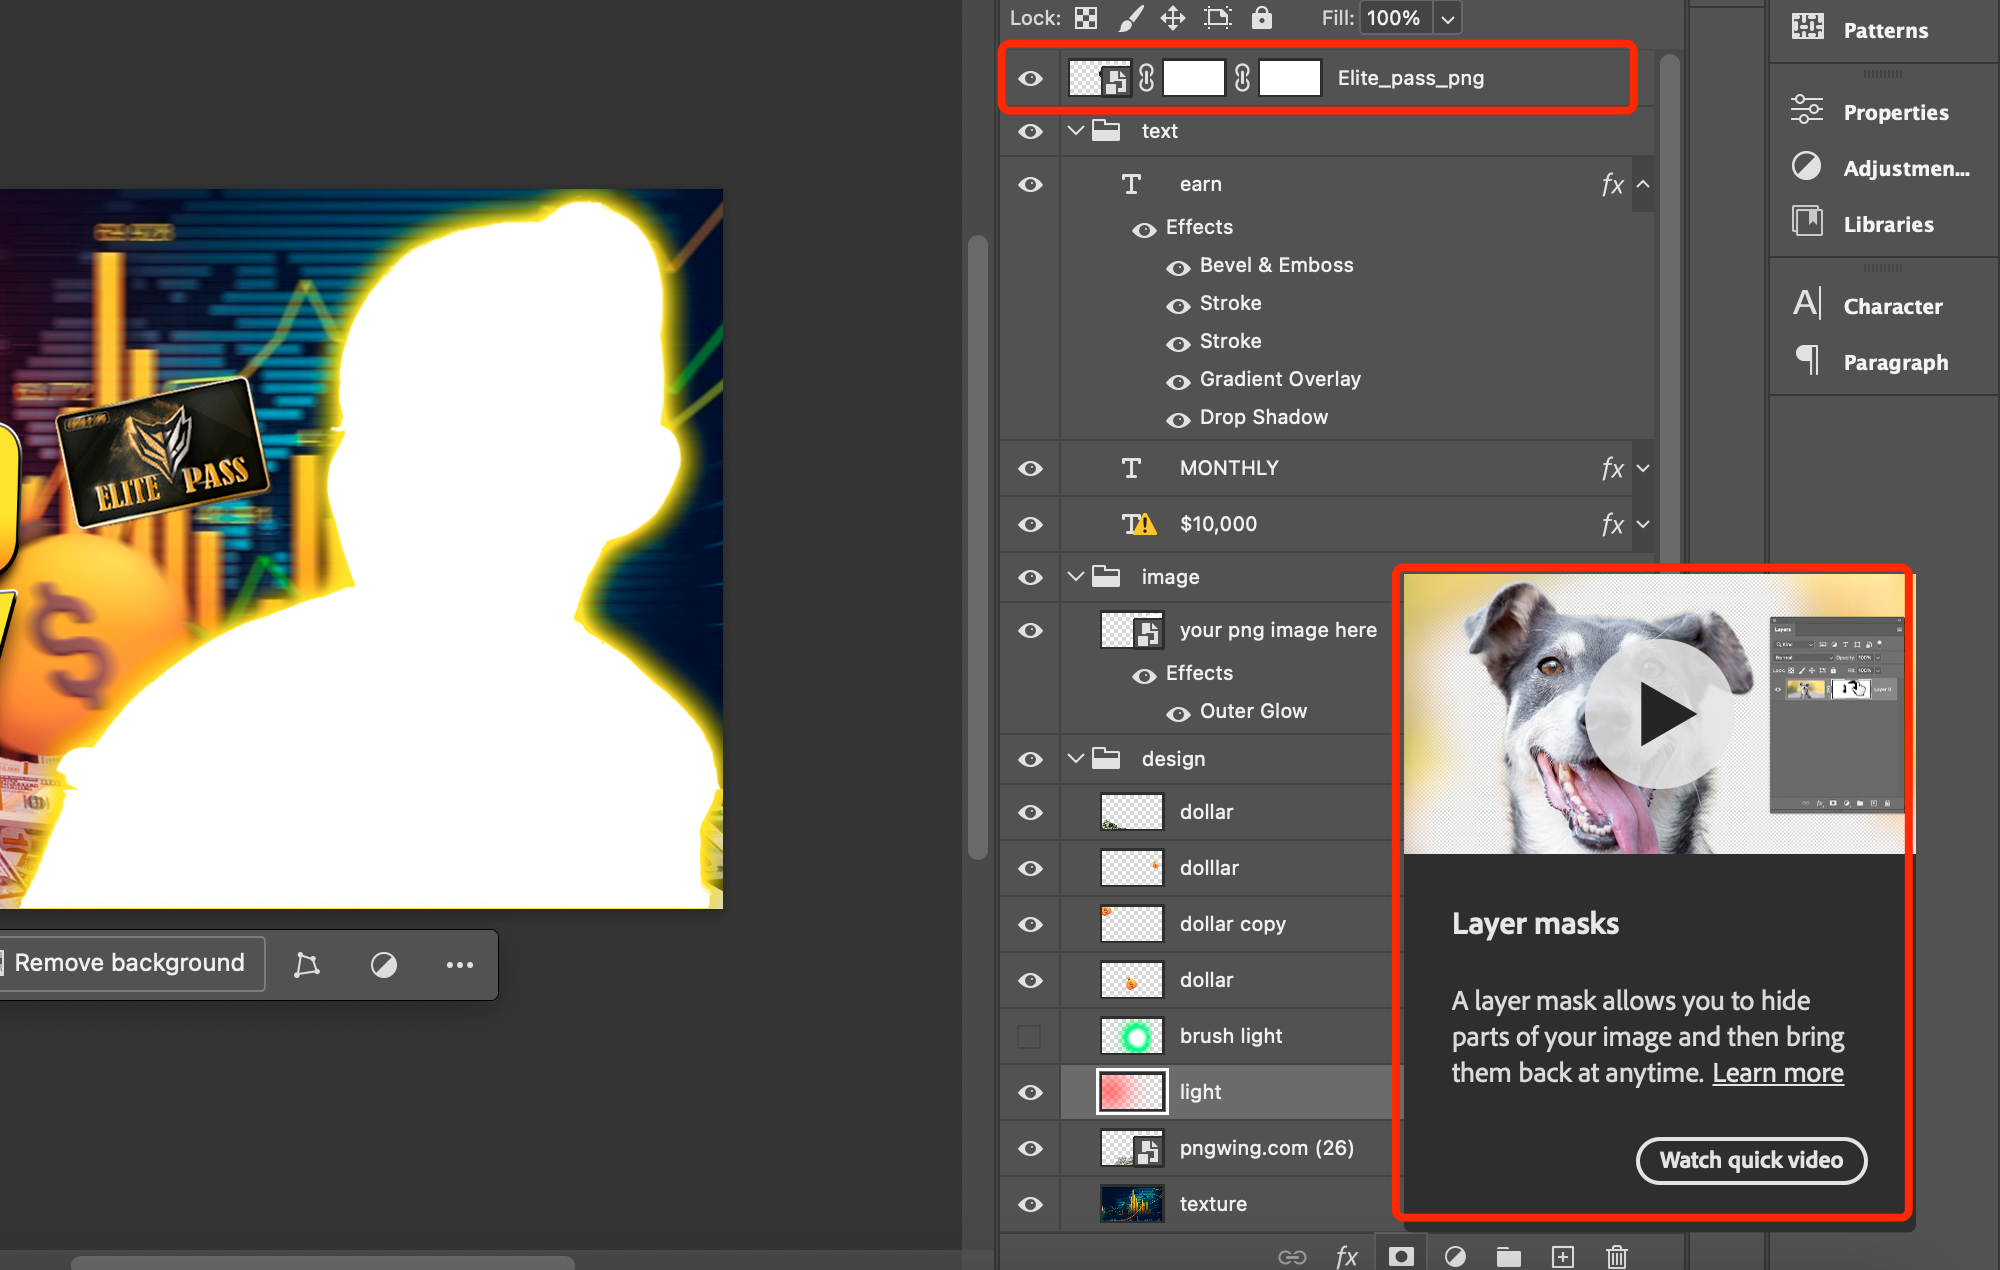
The layer and selection form a layer mask, or “final shape” to be more precise. This is a kind of stencil applied to a specific part of the picture.
For example, you’ve zoomed in on the model’s eyes. And to match them to the skin tone, it is unlikely to be convenient to do it with an eraser or brush. Just one wrong move and an empty area will appear. A layer mask was created for such tasks. It interacts with the bitmap layer, turning it into a miracle mask. This makes it possible to correctly delete the necessary fragments without harming the picture. Together with the adjustment layer, the mask weakens its effect.
The key advantage of the mask before the selection – you can always redraw it and make improvements. The mask does not eliminate pixels, but only “hides” them. It also allows you to change the correction area when processing an adjustment layer.
As you can see, the above tools allow you to perform most common operations in Adobe Photoshop without any difficulties.


