
Today we’ll look at step-by-step instructions for creating a primitive game in Microsoft PowerPoint. We will understand how to integrate animation and triggers into a slide show, customize navigation via hyperlinks and create a mini-game from scratch using the standard editor tools. The rules of the game will be as easy and clear as possible. You play as an amateur chef who has to prepare kitchen utensils and ingredients to cook an omelet. You need to click on the items for the upcoming process to move on to the next task.
How to create a game in Microsoft PowerPoint
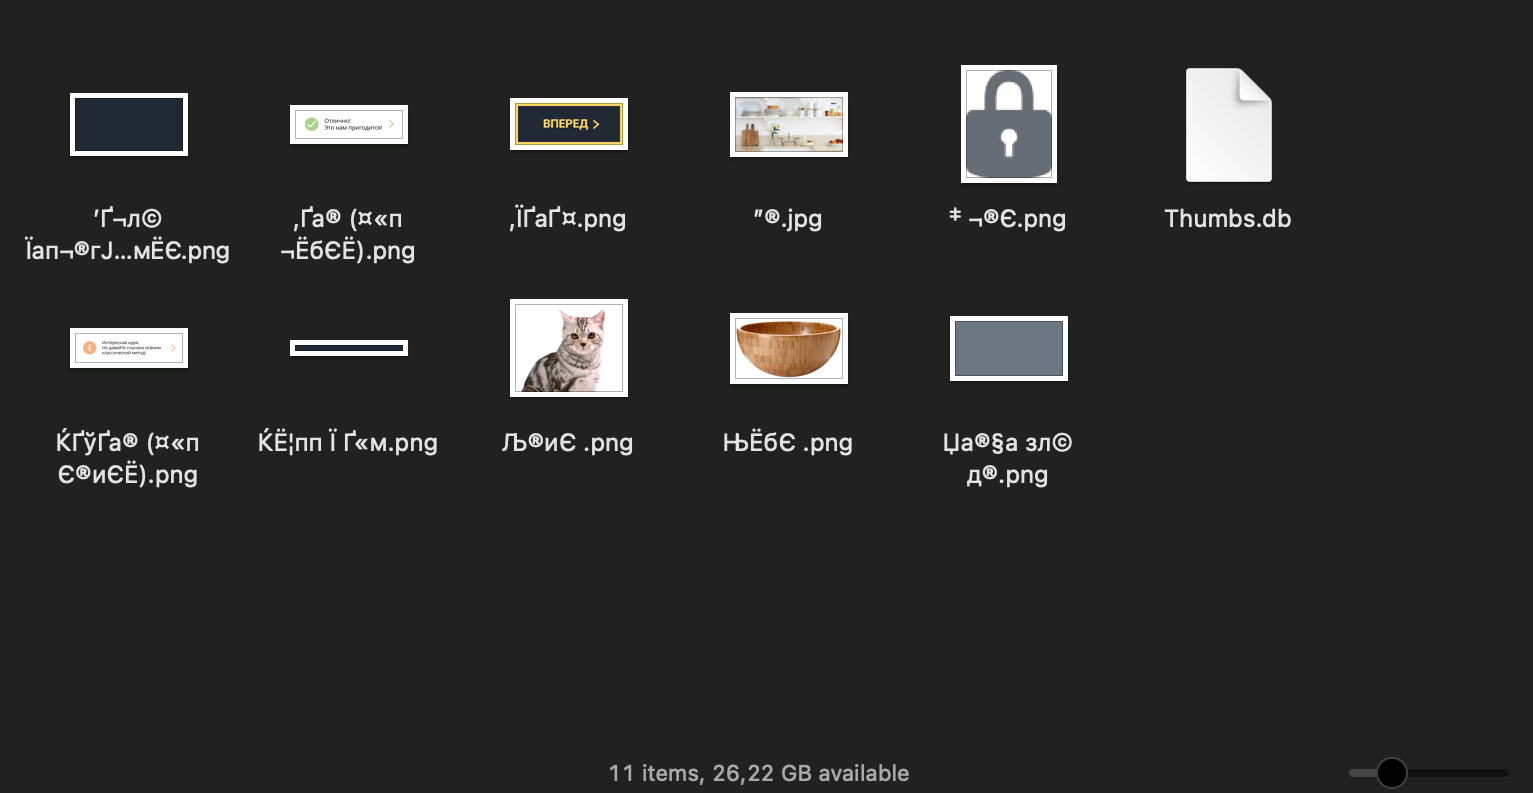
We will use the following materials as sources for the future game. You can add your vector elements or photos based on the specifics of the project.
First step: adding pictures to the slide
So, after downloading the sources, you need to follow these instructions:
- Launch Microsoft Office PowerPoint and create a new slide (let it be blank).
 2. Insert a photo of the interior of the kitchen as a background. Here you need to follow these instructions: go to the menu “Insert” – “Picture” and add a picture of the kitchen interior. Put it on the slide, leaving a part for the information board.
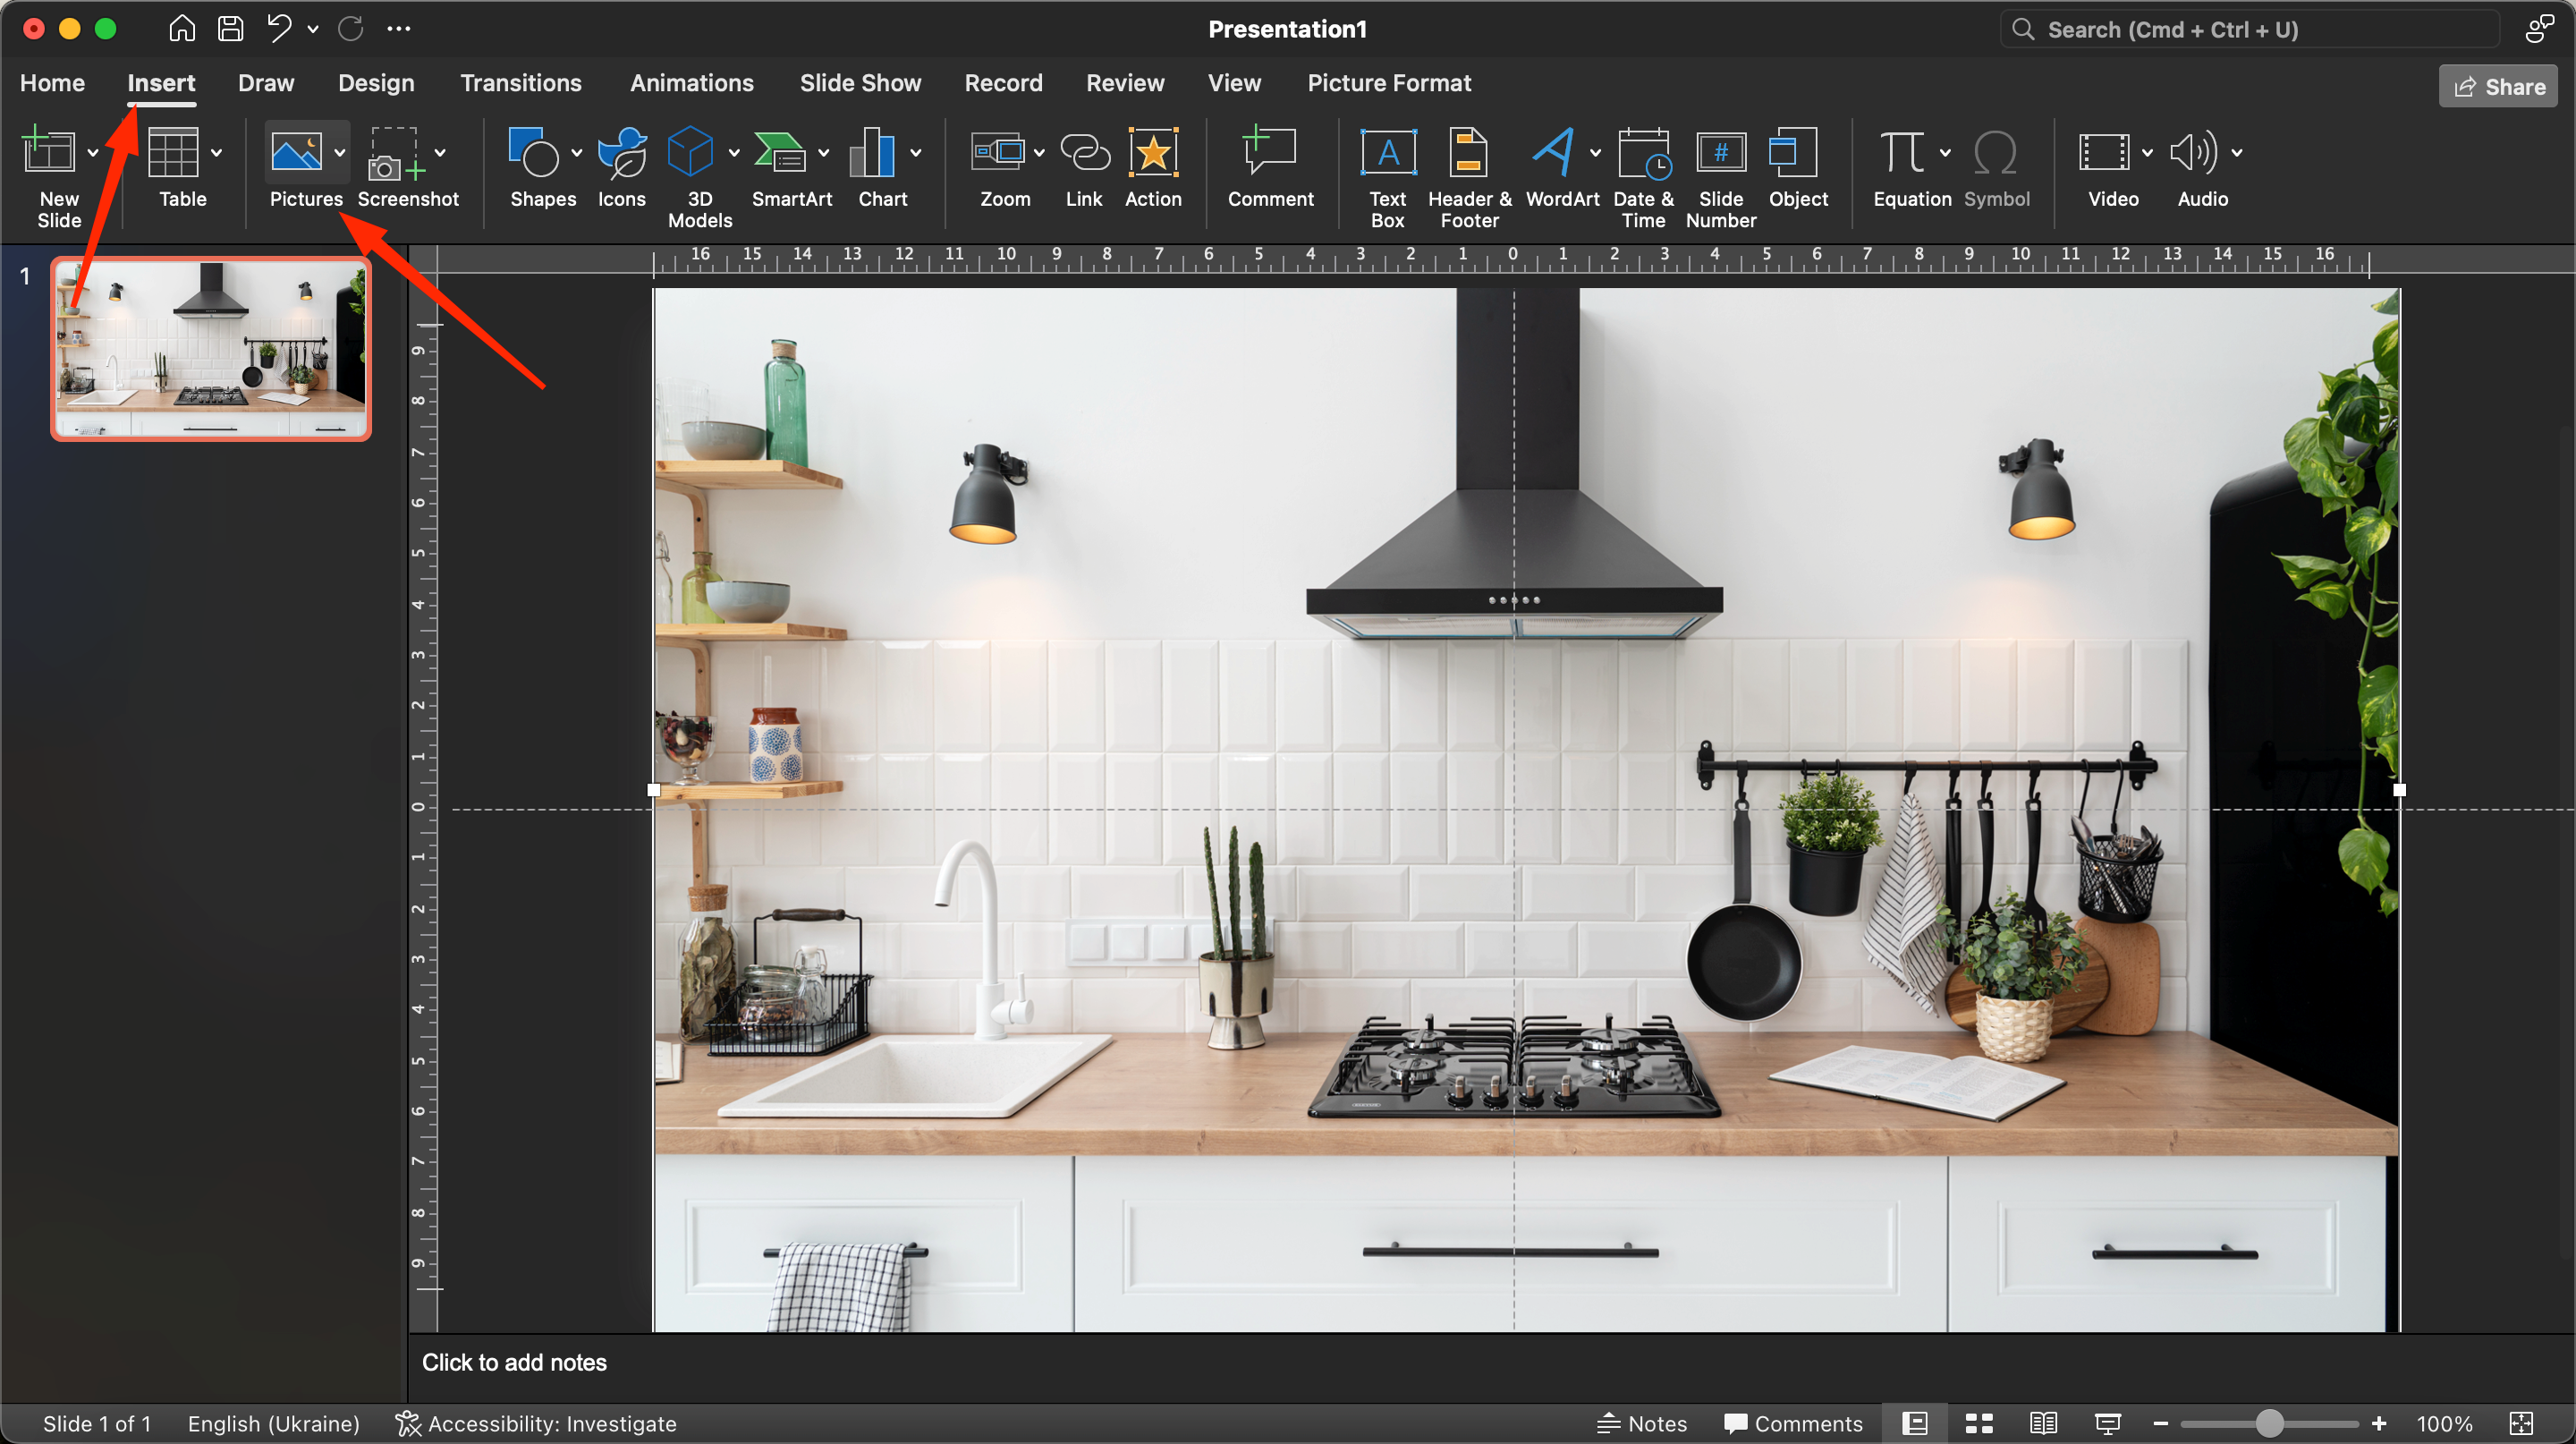 3. Next, you should add a navigation bar. This is done using the same Insert – Picture button. We will use a pre-made panel design. Press “Insert” and confirm with the Enter button.
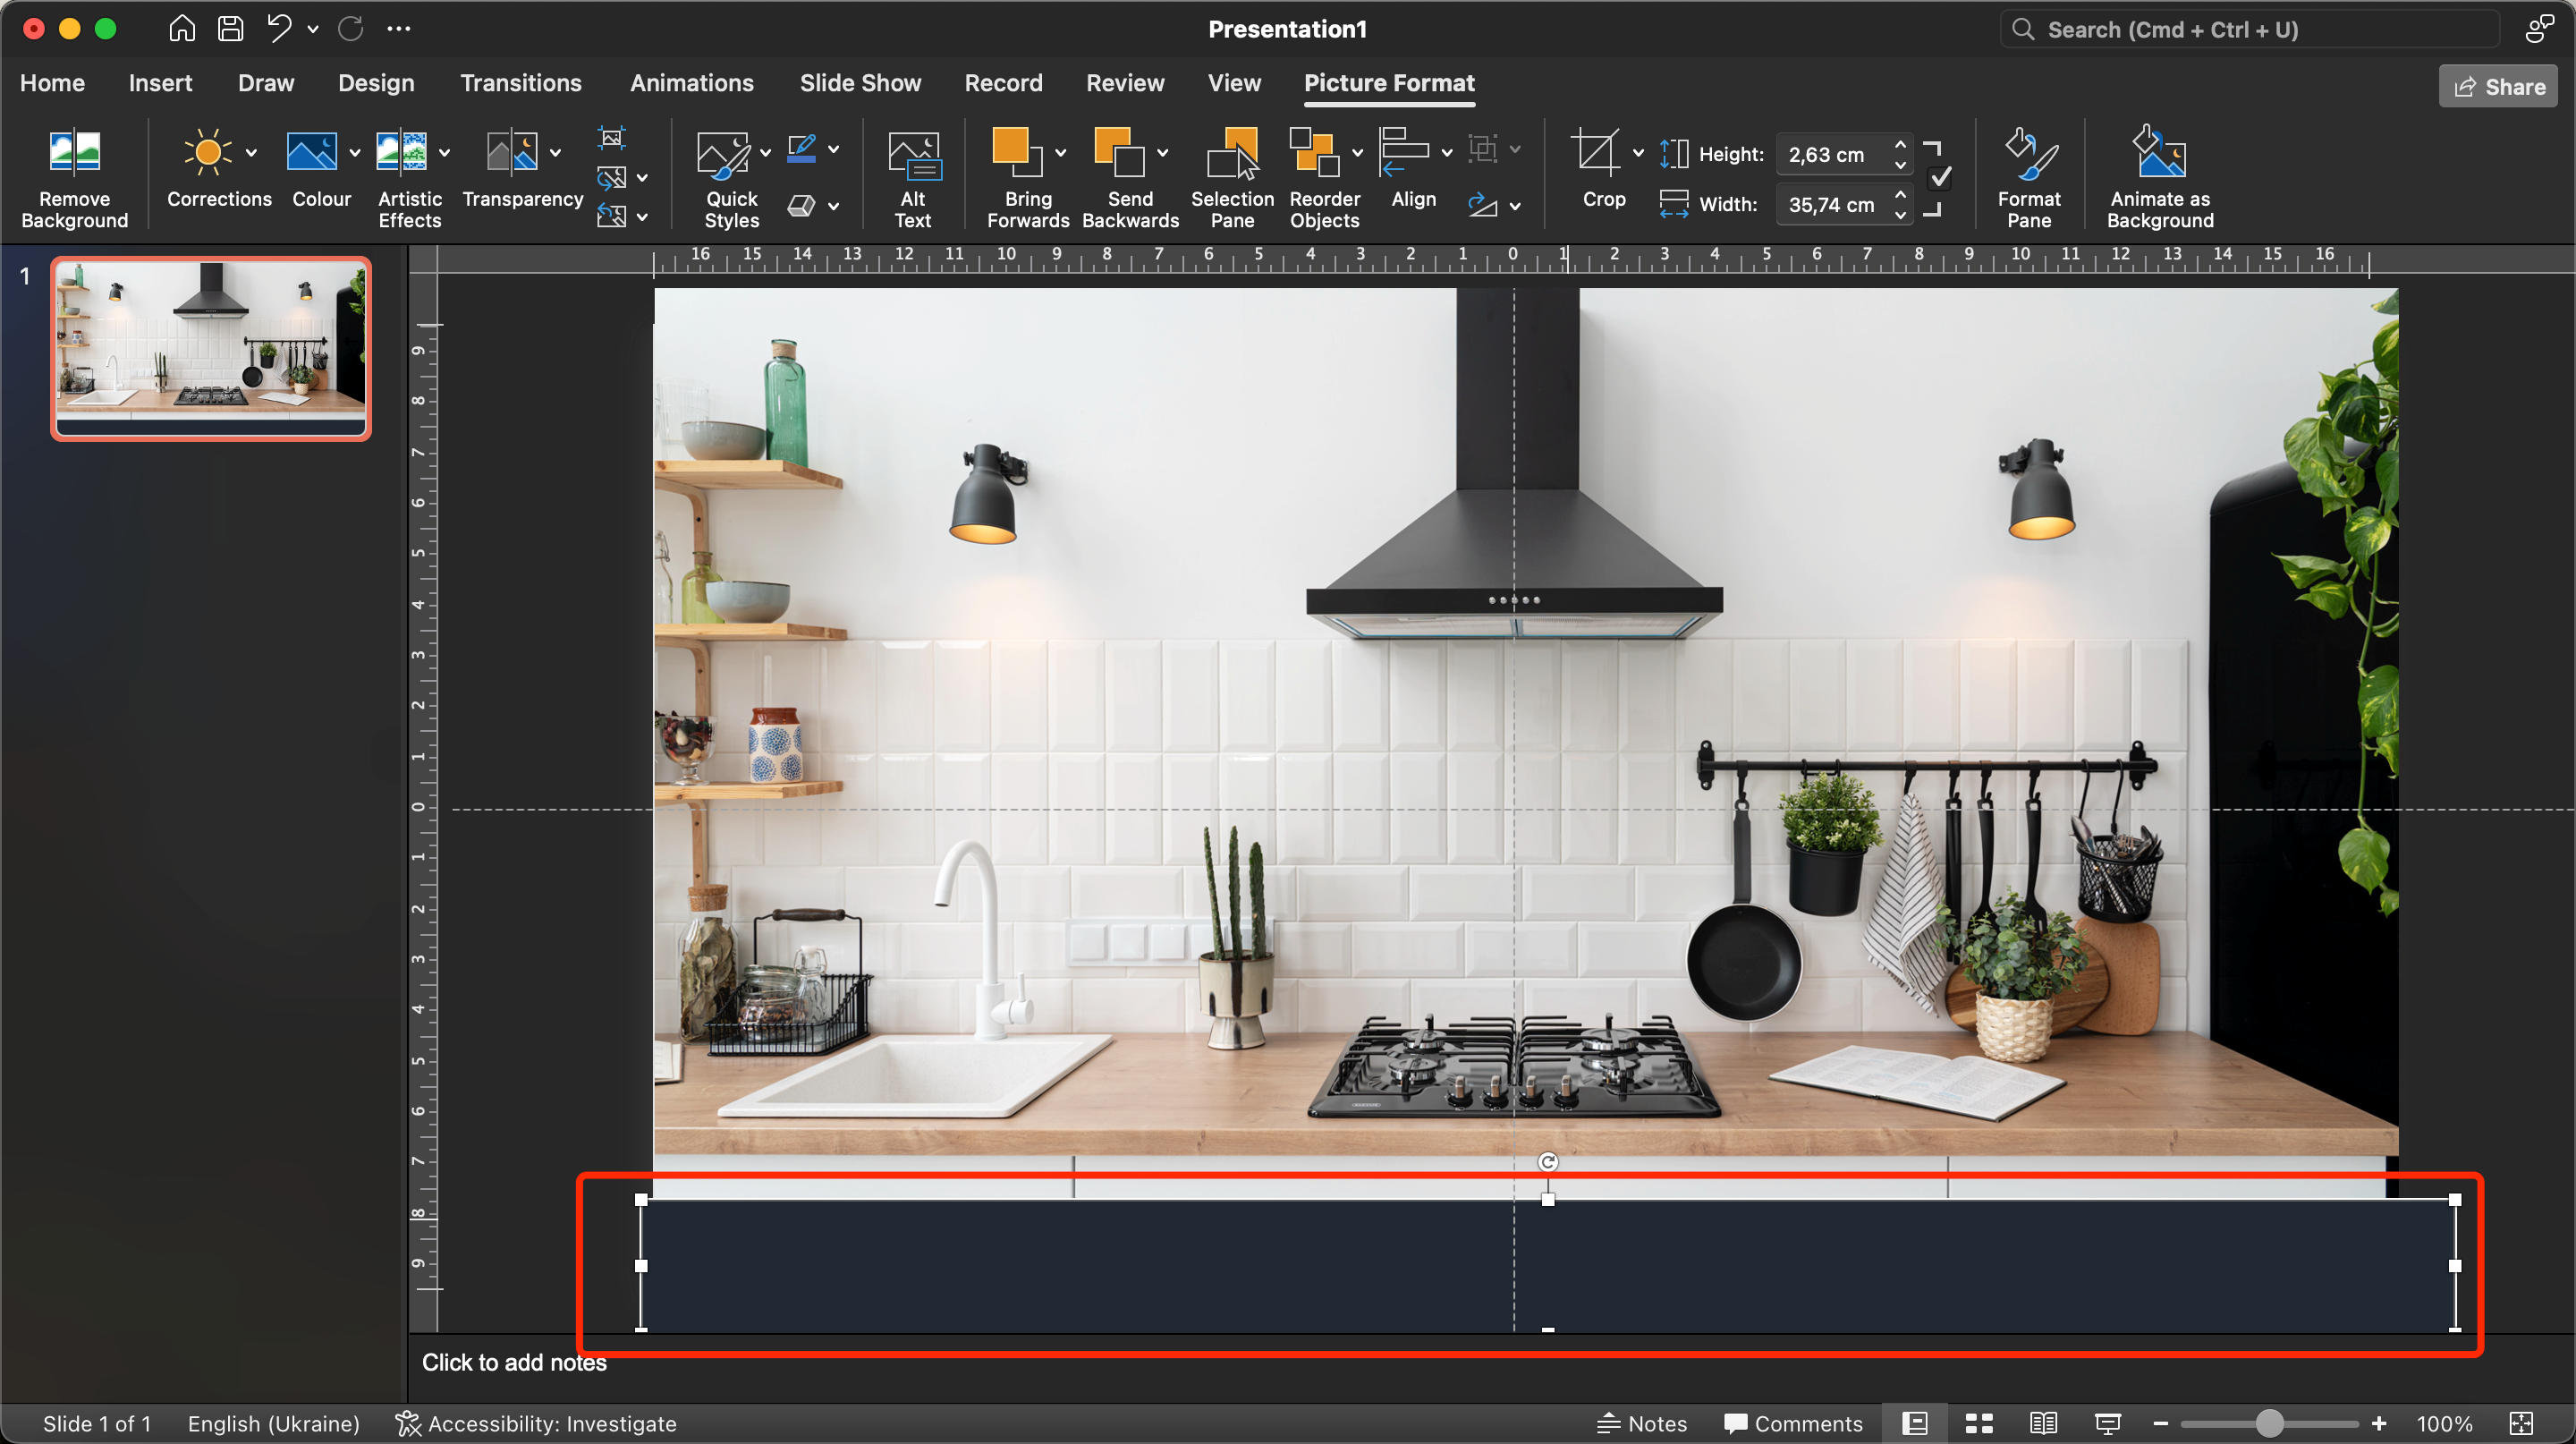 4. Next we should add the “Next” button to freely move to the next slide. The principle is similar: “Insert” – “Picture” – the prepared picture “Next”.
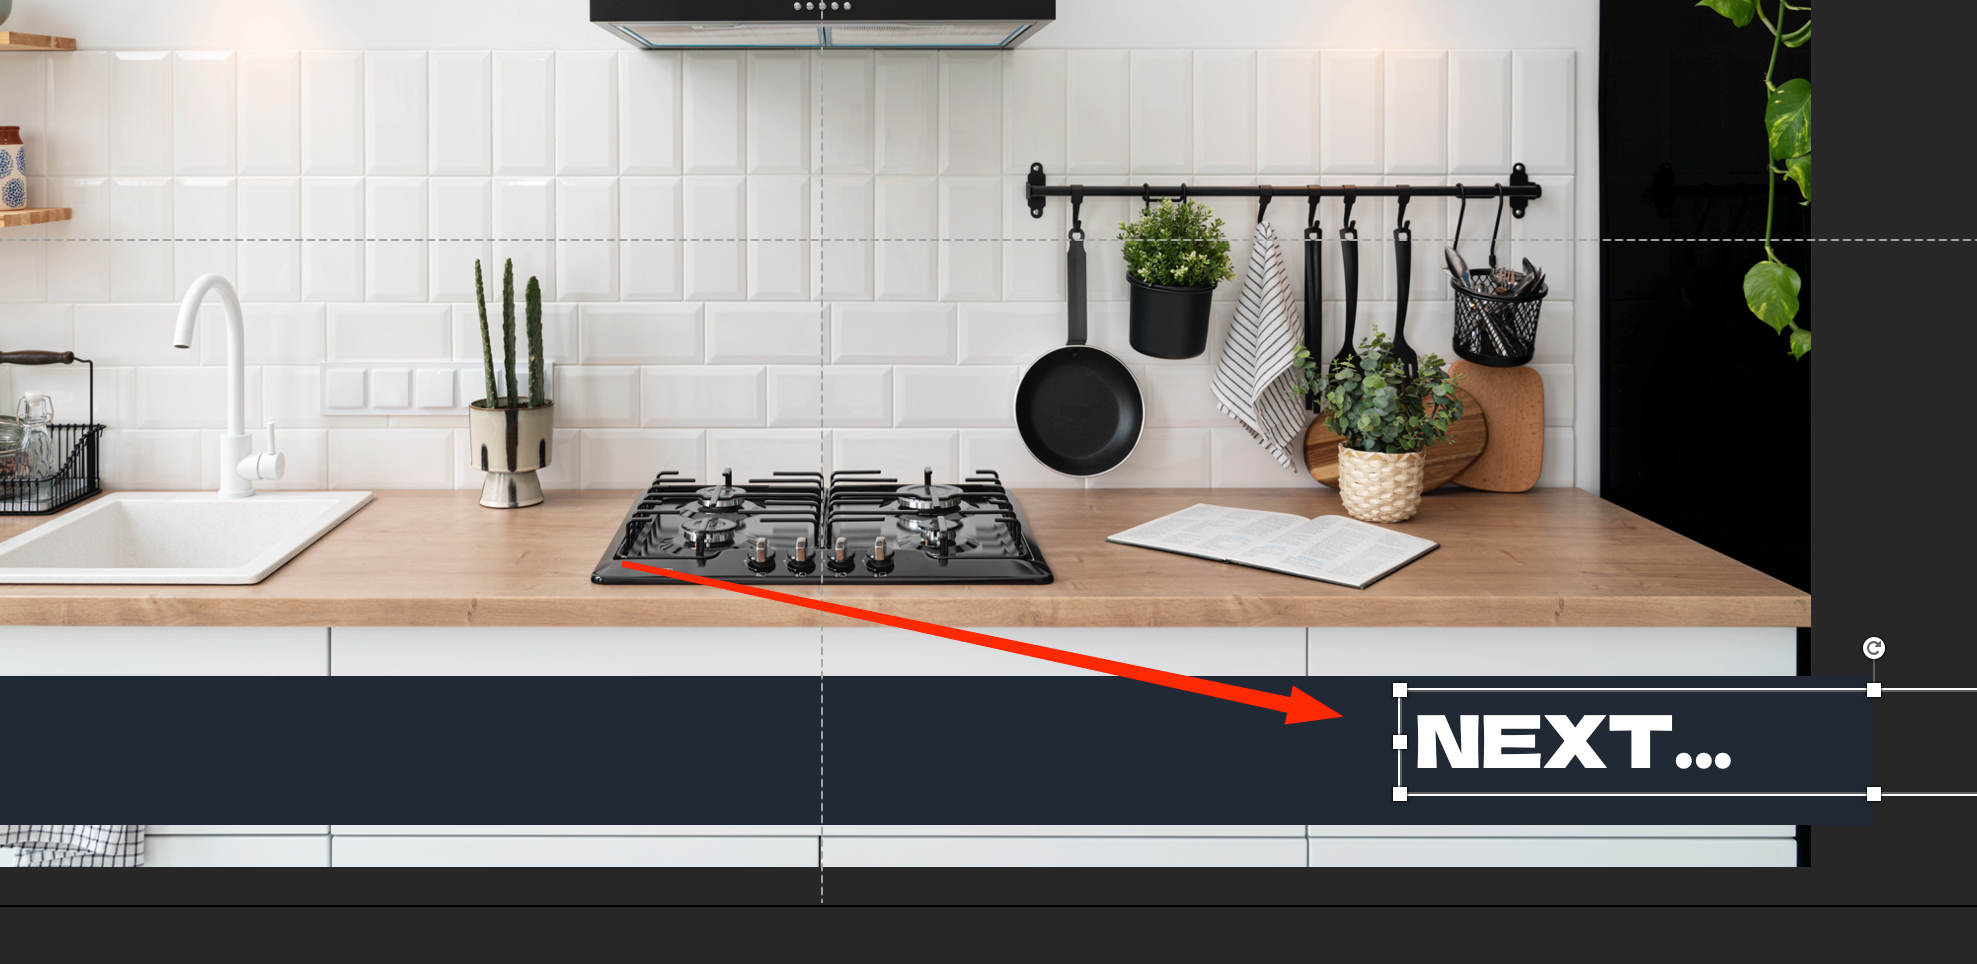 5. After that you should block navigation, insert a dark rectangle above our button and cover it with it.
6. To increase the interactivity of the game, it is worth turning on the lock for the bottom panel. It will disappear when the correct elements are selected. Click on Insert – Picture – Lock. 7. For the next elements (bowl and cat) we need to activate animation and triggers. Let’s try to arrange them in our project.
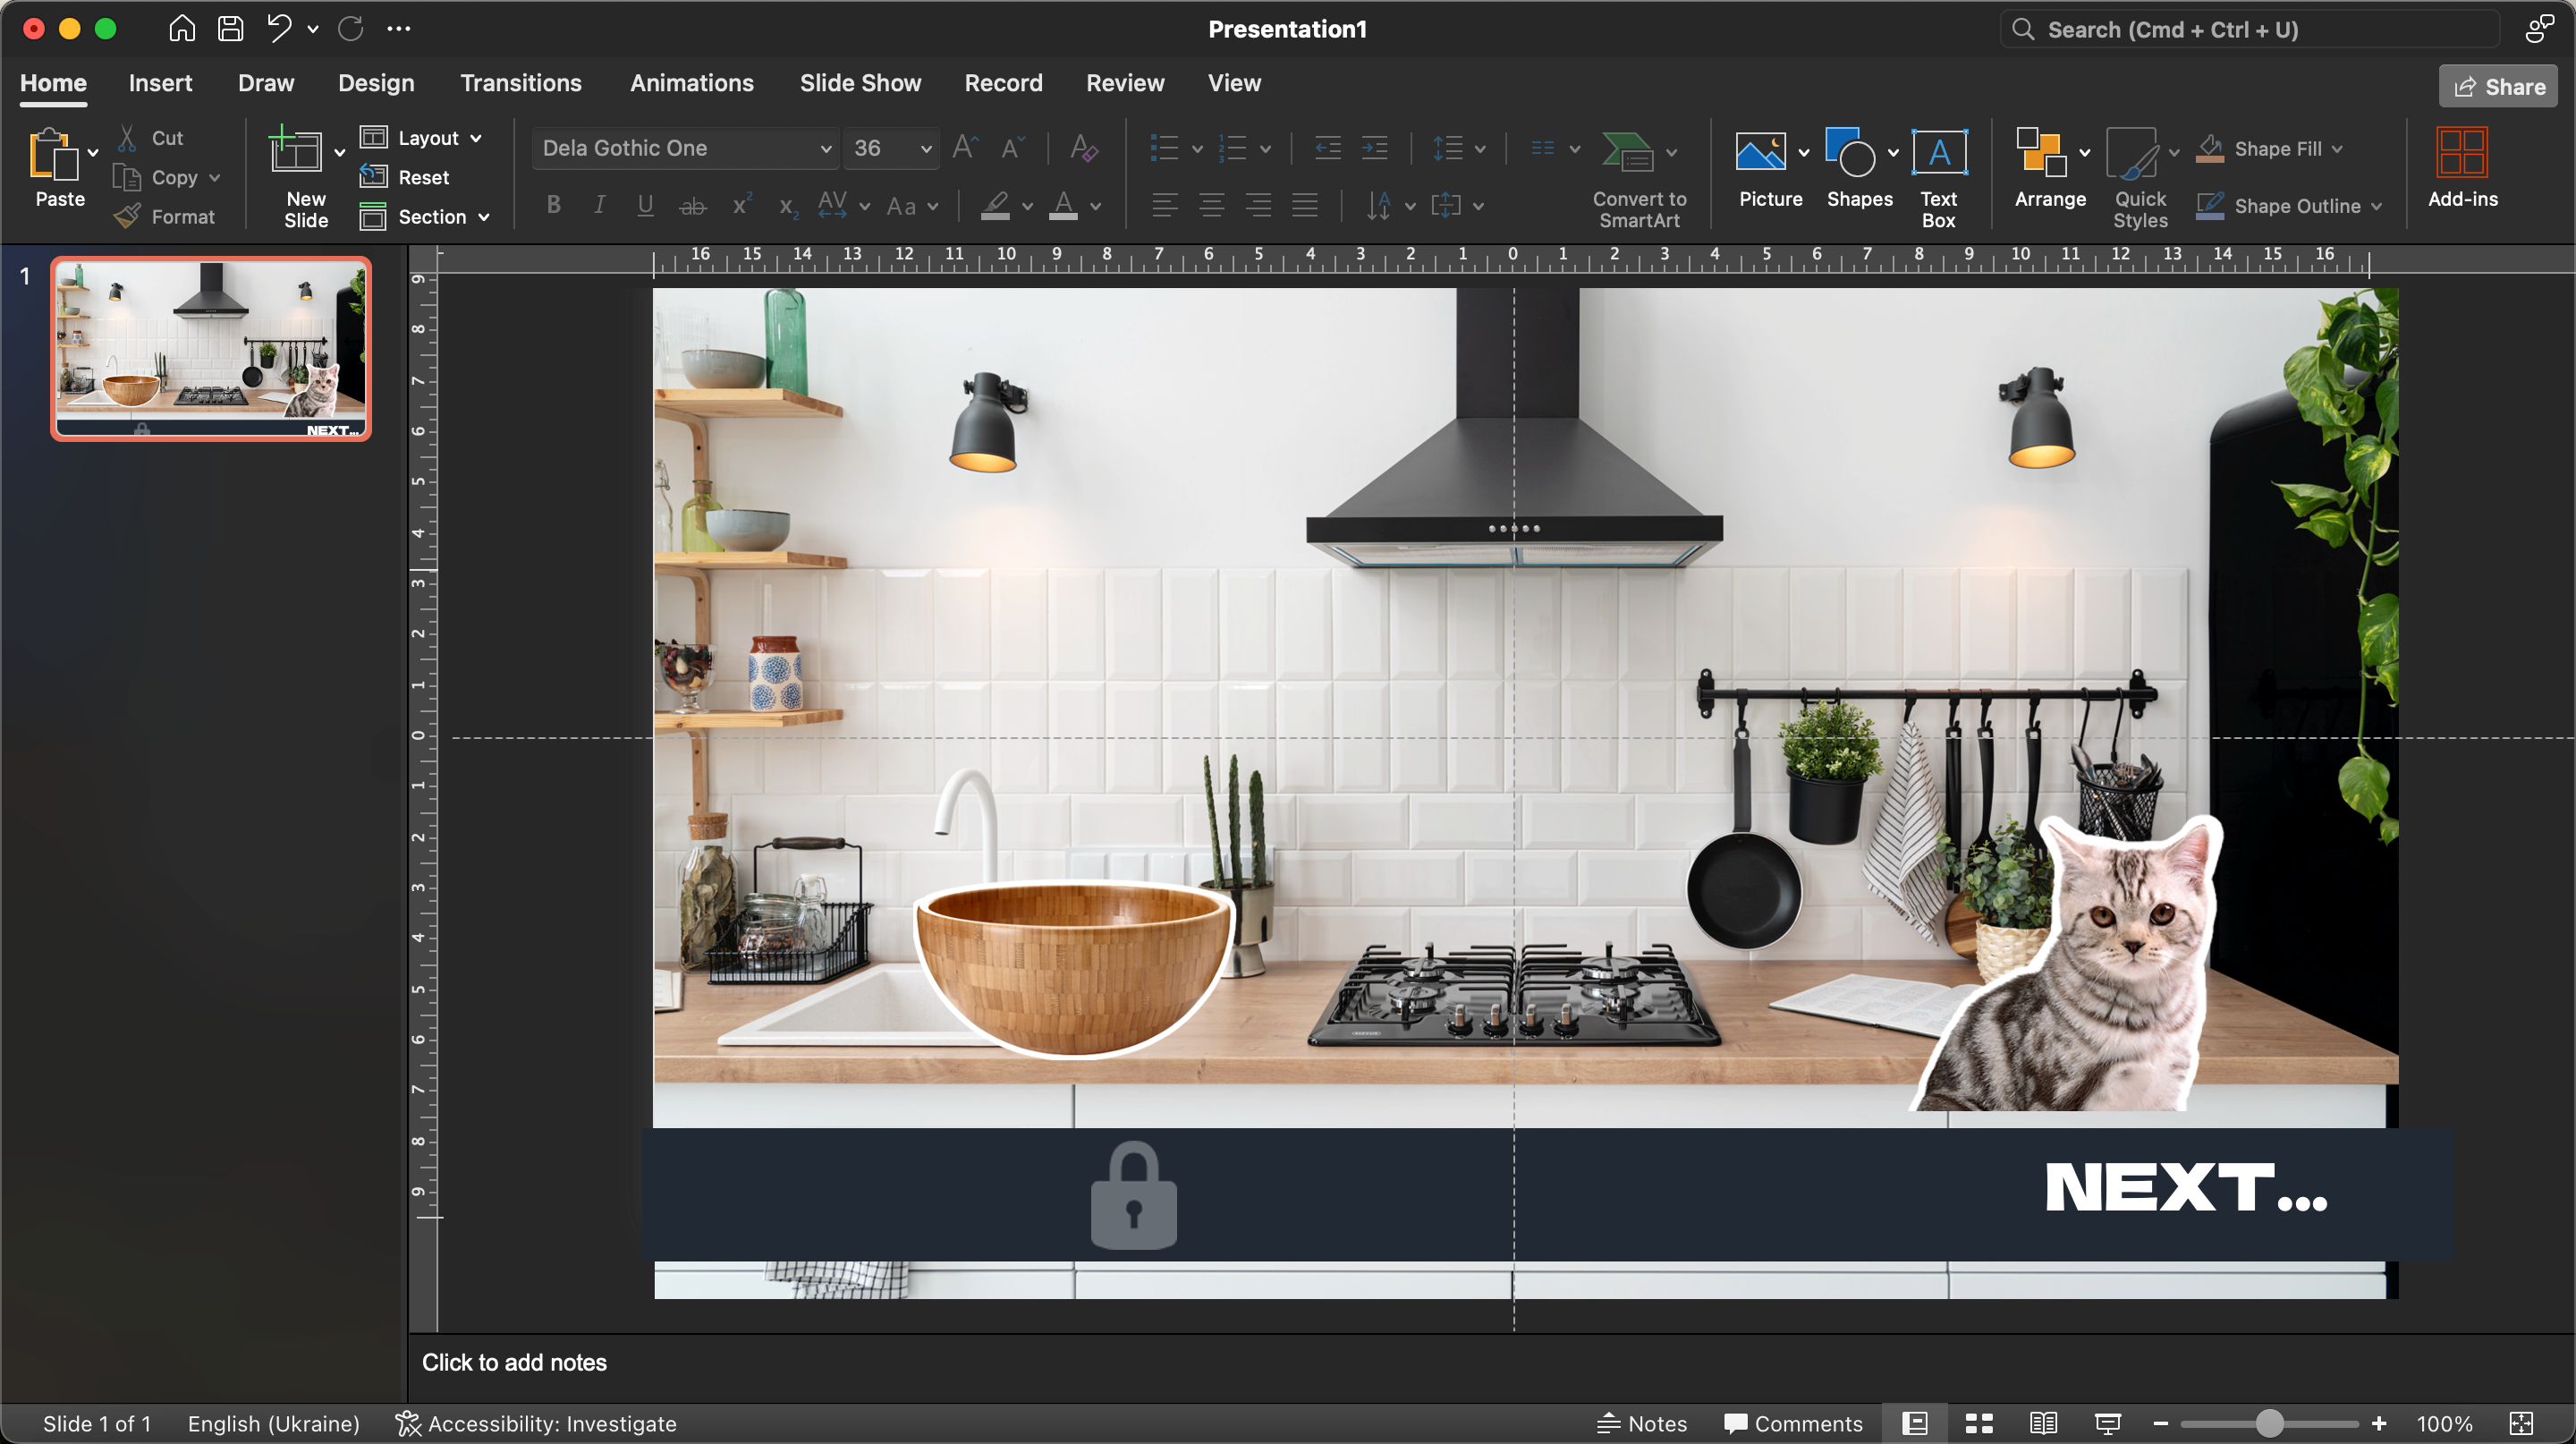 8. In order for the user to see the feedback and not make a wrong click, it is worth adding a transparent background on top of the slide. We execute this command Insert – Image – Transparent Background.
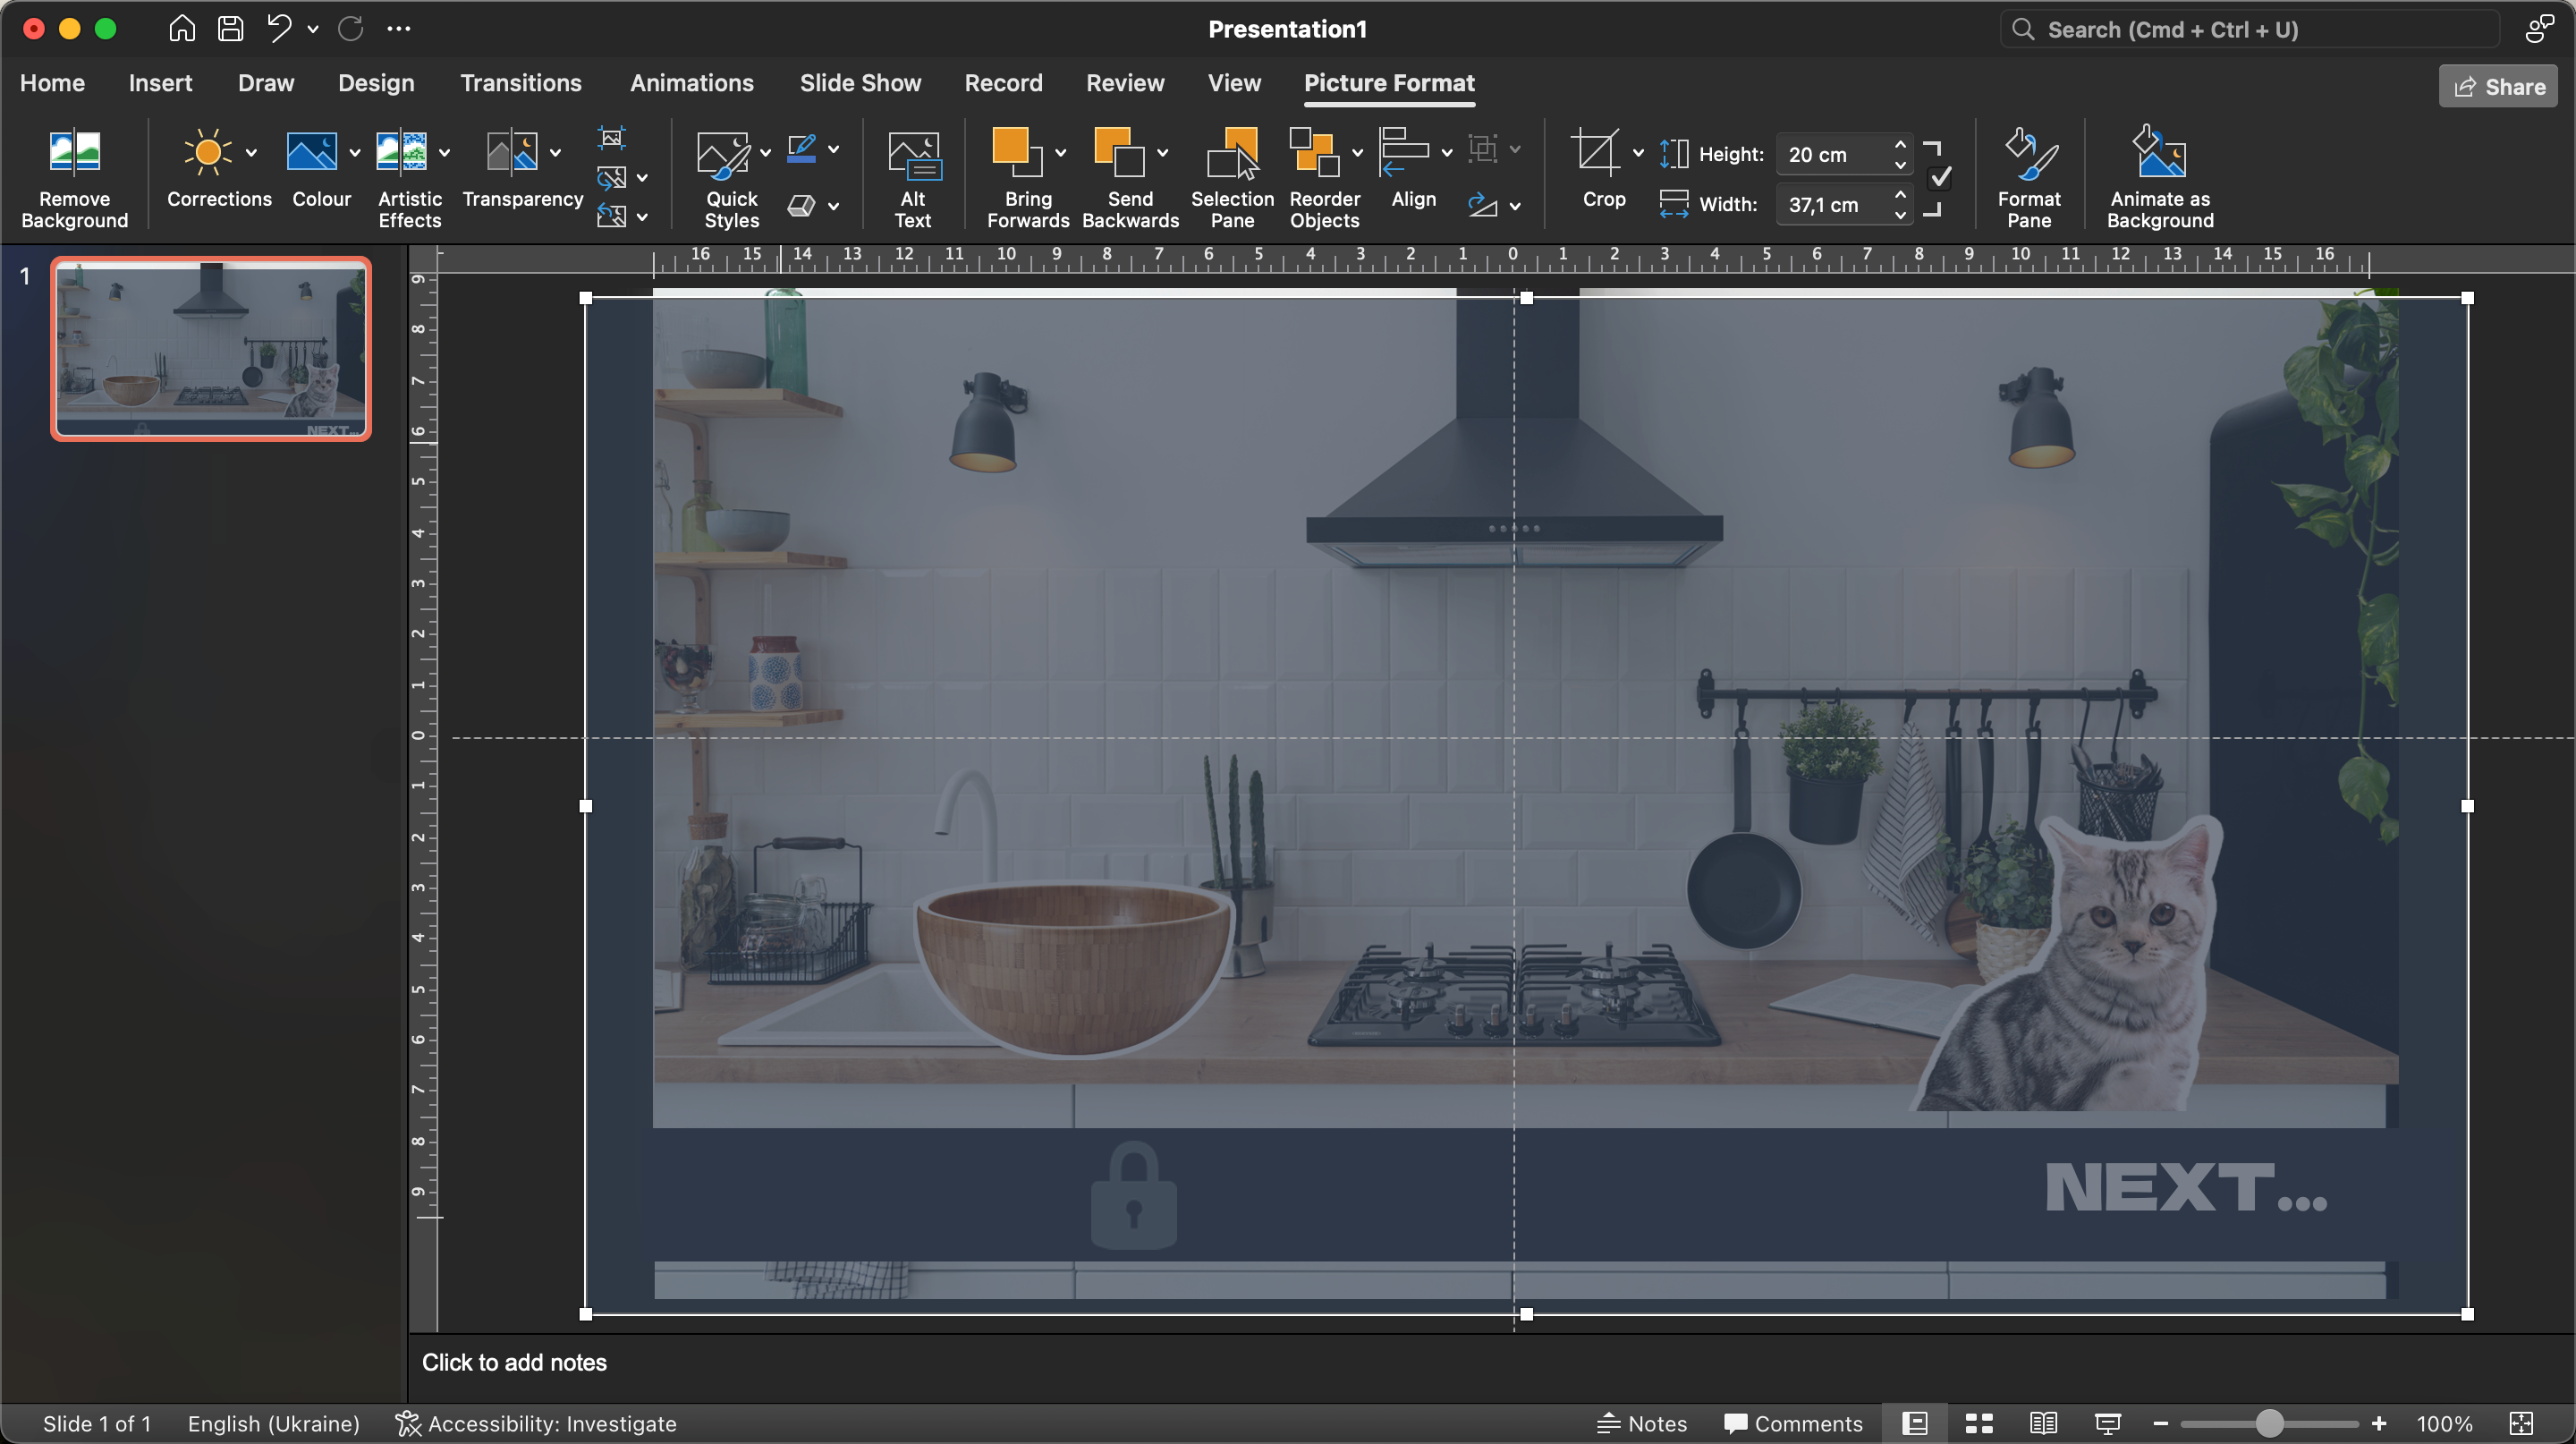 9. After pressing the key, the user will see a notification: Interesting idea. But let’s try it with classic technology.” And when he clicks on the bowl he will see the text “Right choice! Great.” Messages can be added using the text button or created as pictures in another graphic editor and uploaded to the project.
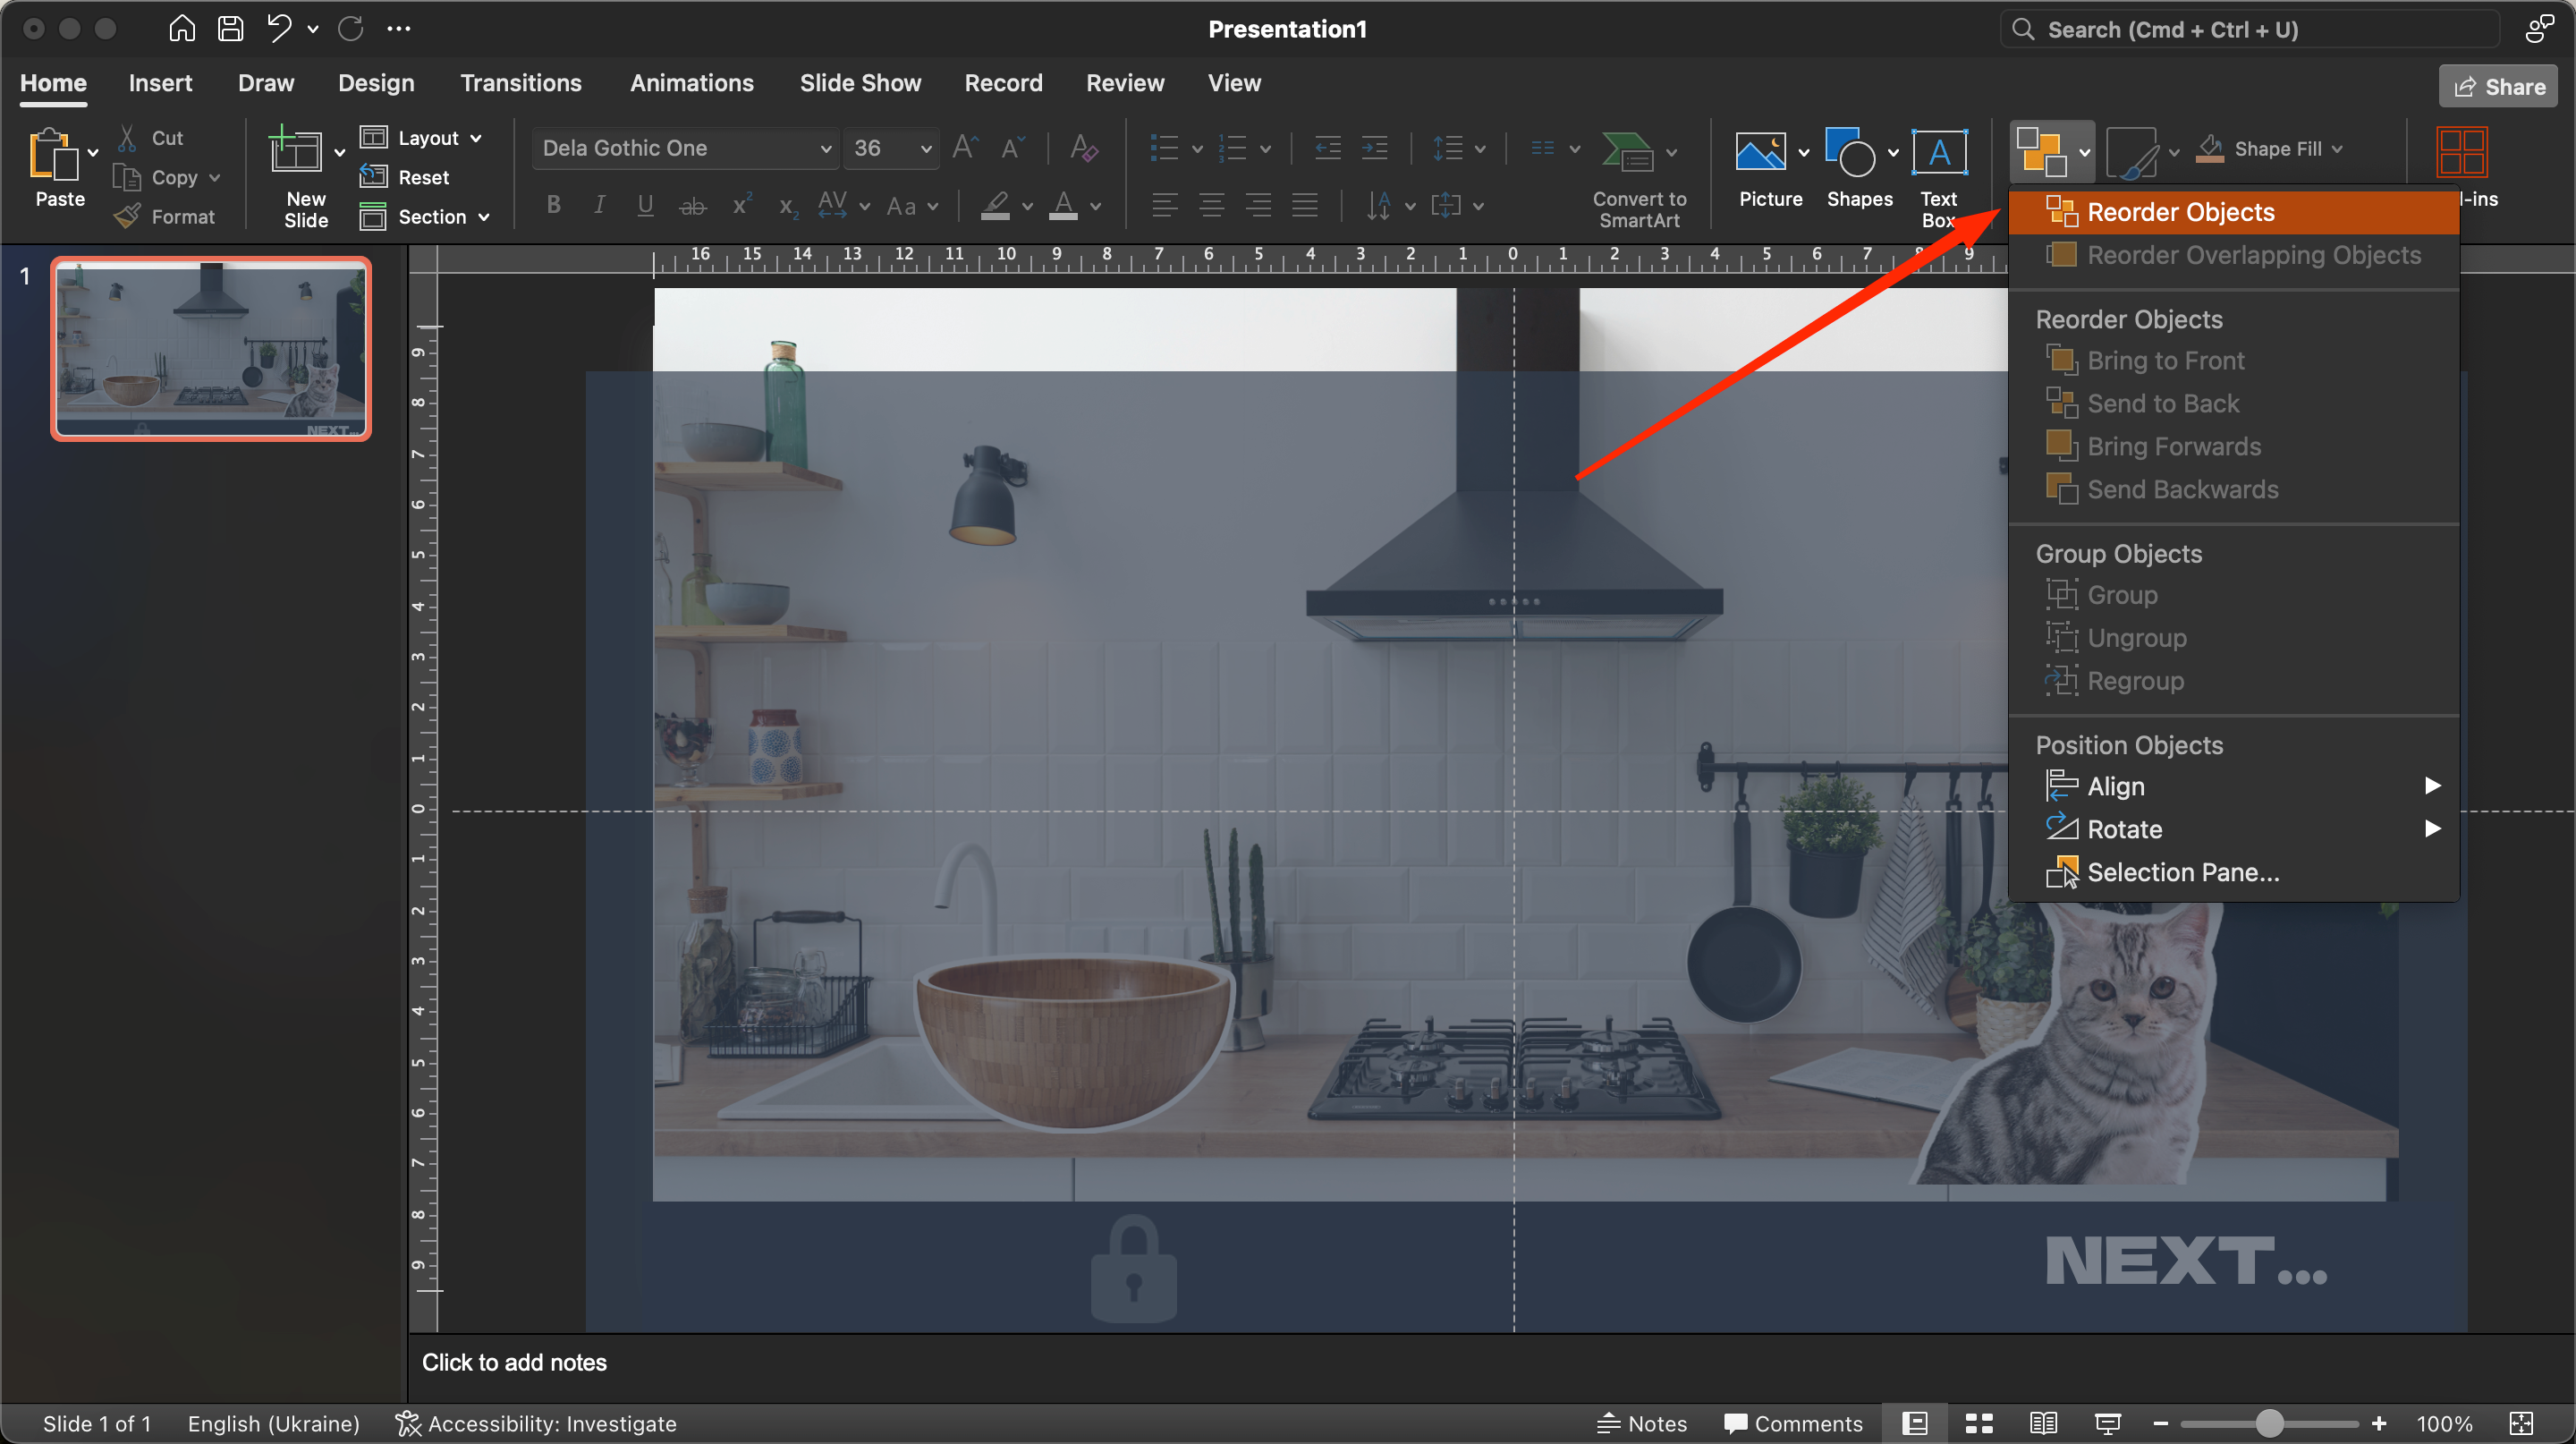
In order not to mix up the elements when preparing the slideshow, it is better to give them appropriate names and organize them through the “Selection area”.
Read also: Cool PowerPoint tricks
Customizing animations
After that, we will proceed to the sequential customization of animations for each picture and button. To keep the pictures from interfering with the subsequent operations, you can hide them by clicking on the icon in the form of an eye.
At this stage, you can hide all other elements except for the phrase “Good choice! Excellent.”
The second step: setting up triggers
Trigger in PowerPoint means a means to create “hotkeys” that will trigger animations, visual and sound effects. After a single mouse click, the selected element will start to move, disappear, change color, etc. For our interactive game, this is a very useful feature.
Customizing triggers and animations for the bowl
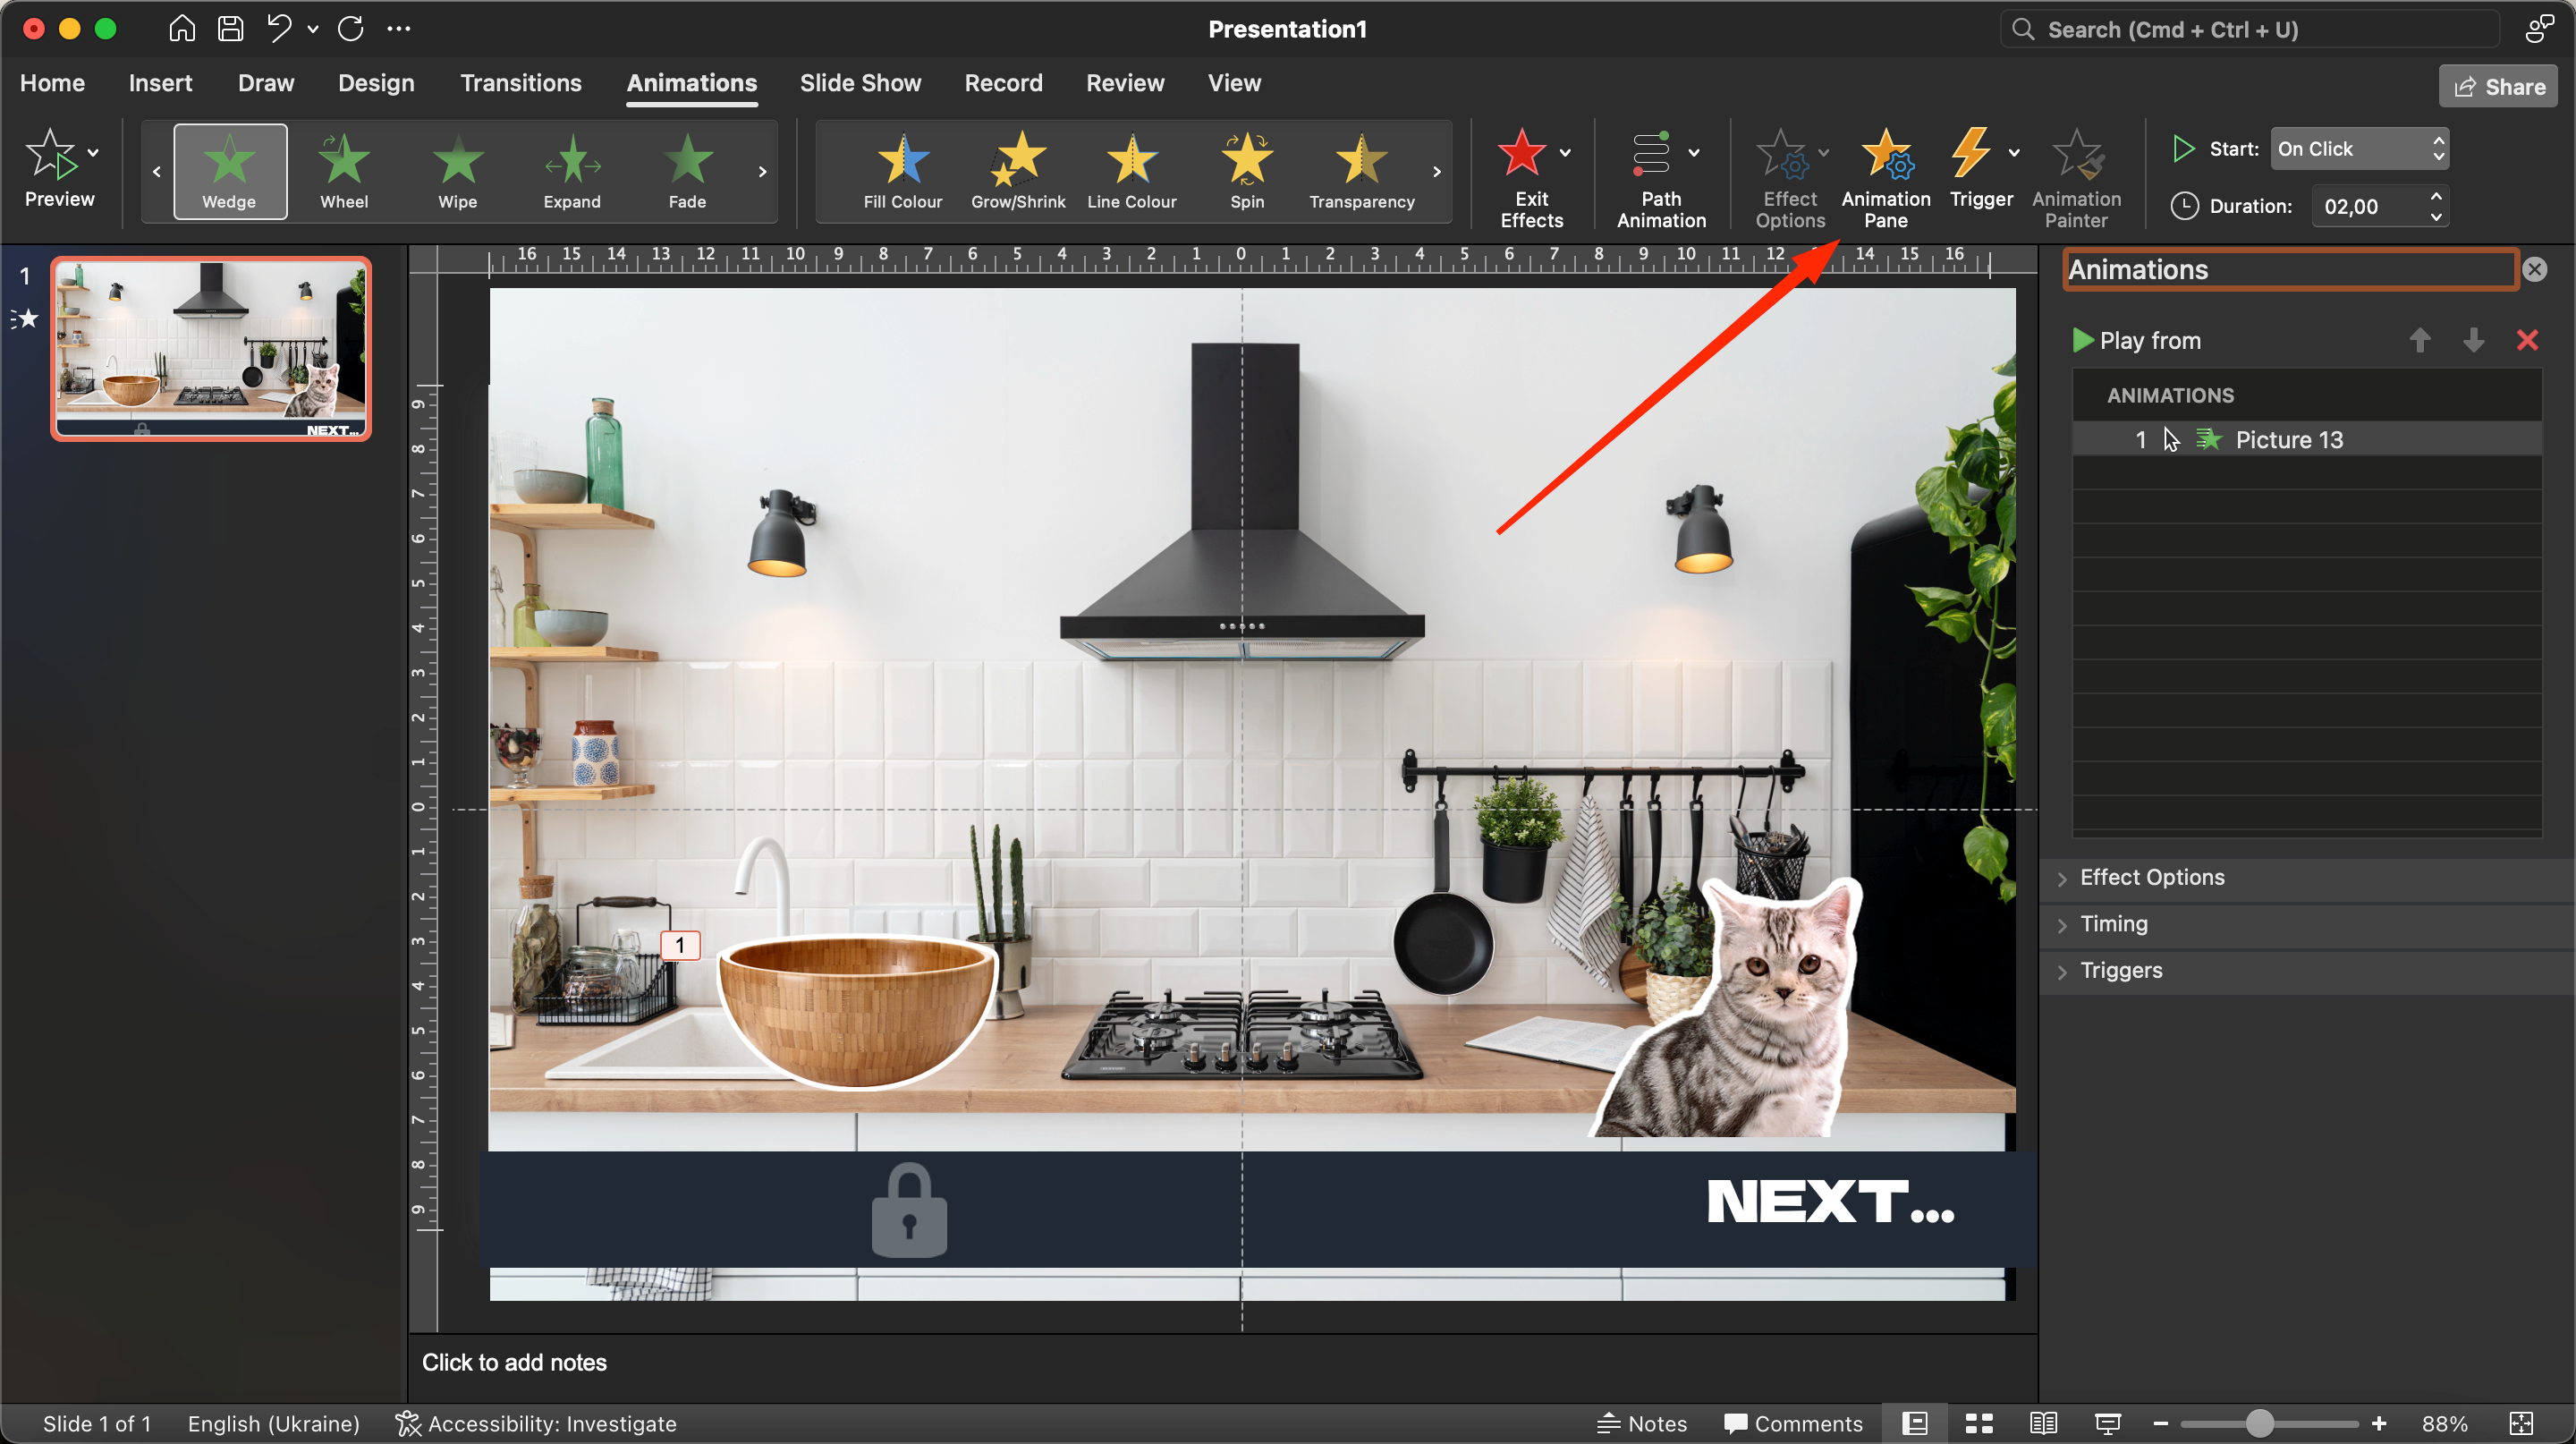
- First of all we need to prepare the animation for the button “Right choice! Great.” Click on this notification, open the Animation menu and select the appropriate appearance effect.
2. Next, you need to make the text appear after clicking on the bowl. This is done through the trigger settings. Select the message, go to the menu “Animation” – “Trigger” and add the item “On click”. Specify a bowl.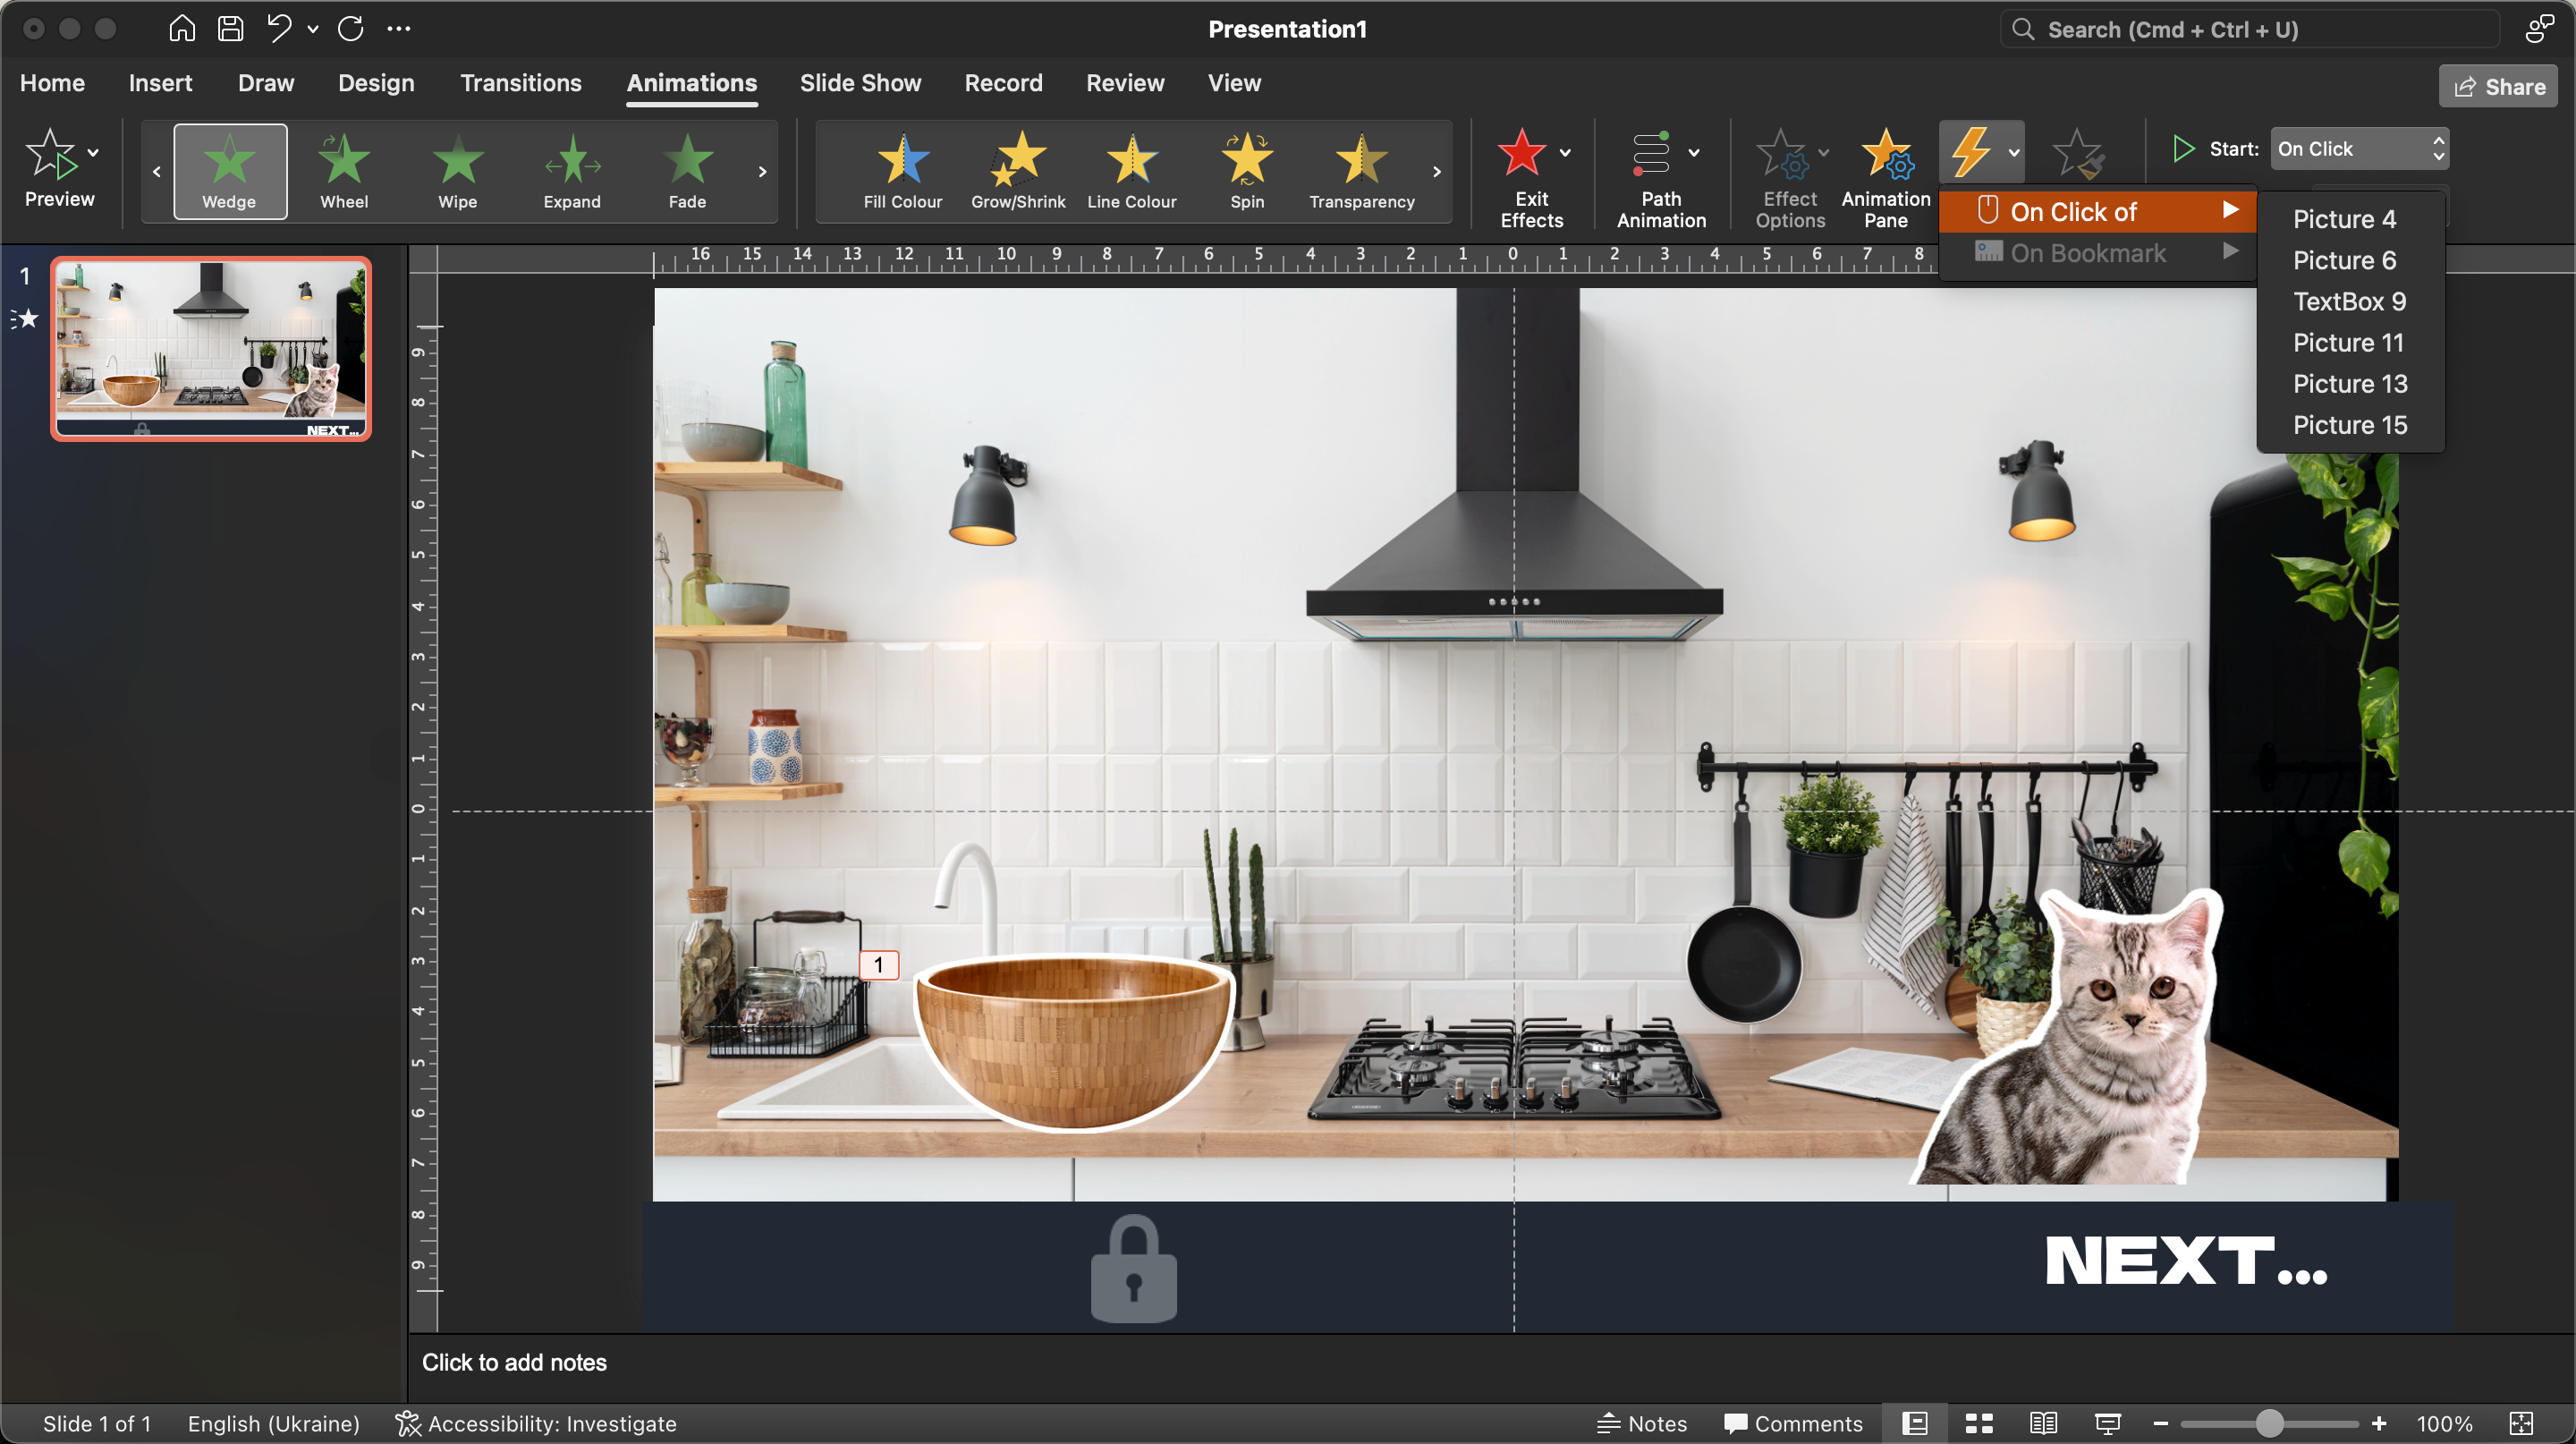
By making this setting, after clicking on the bowl, the user will see the text “Right choice! Great.” You can test the functionality of the item by clicking on F5, having previously pushed the transparent background to the right side.
Important point! After clicking on the bowl, the message is displayed on the screen, but the background does not turn dark. Therefore, you can continue to click on other items. To fix this, you should add a transparent background to your slideshow. In this case, you will be able to see the background with the kitchen interior.
- Drag and drop the “Transparent Background” onto our project, select it and add an animation effect called “Fade”. Now the layer will get its visual effect.
- Next, it is worth customizing the display so that when you click on the bowl, a notification appears, and after the background becomes dark. Here you need to change the order of the animation.
- Click on “Animation Area” and in the form that opens, select the transparent background animation.
- To make the effect work in a consistent way, we need to select our materials in the “Animation area” tab, and then in the start section find the “With previous” option.
In this case, after clicking on the bowl, we will be able to see the notification, and the background will become dark, overlapping the other elements. Voila, everything has worked! However, you won’t be able to start the game again.
To remove this error, you should select our text with the correct answer and the transparent file, and then turn on the exit animation. Highlight the new animations, select the “On Click” trigger. You can name it as “Correct Answer”.
To make the bowl disappear, you will also need to set the corresponding animation effect. It can be found in the “Animation” – “Output” menu. Using standard PowerPoint functions and tools, you can easily create a simple and fun game to make your slideshow more interactive and interesting for the audience. You can design the storyline yourself. Such a rudimentary game will allow your colleagues to relax before moving on to the next theoretical block.


