
The double exposure effect predates the digital age. In analog photography, it appeared as an accidental or intentional result of superimposing two frames at the same exposure. But today, with the help of Photoshop, we can not just repeat this technique, but improve it significantly: control transparency, shape, light, color, saturation and create compositions that are impossible in conventional photography.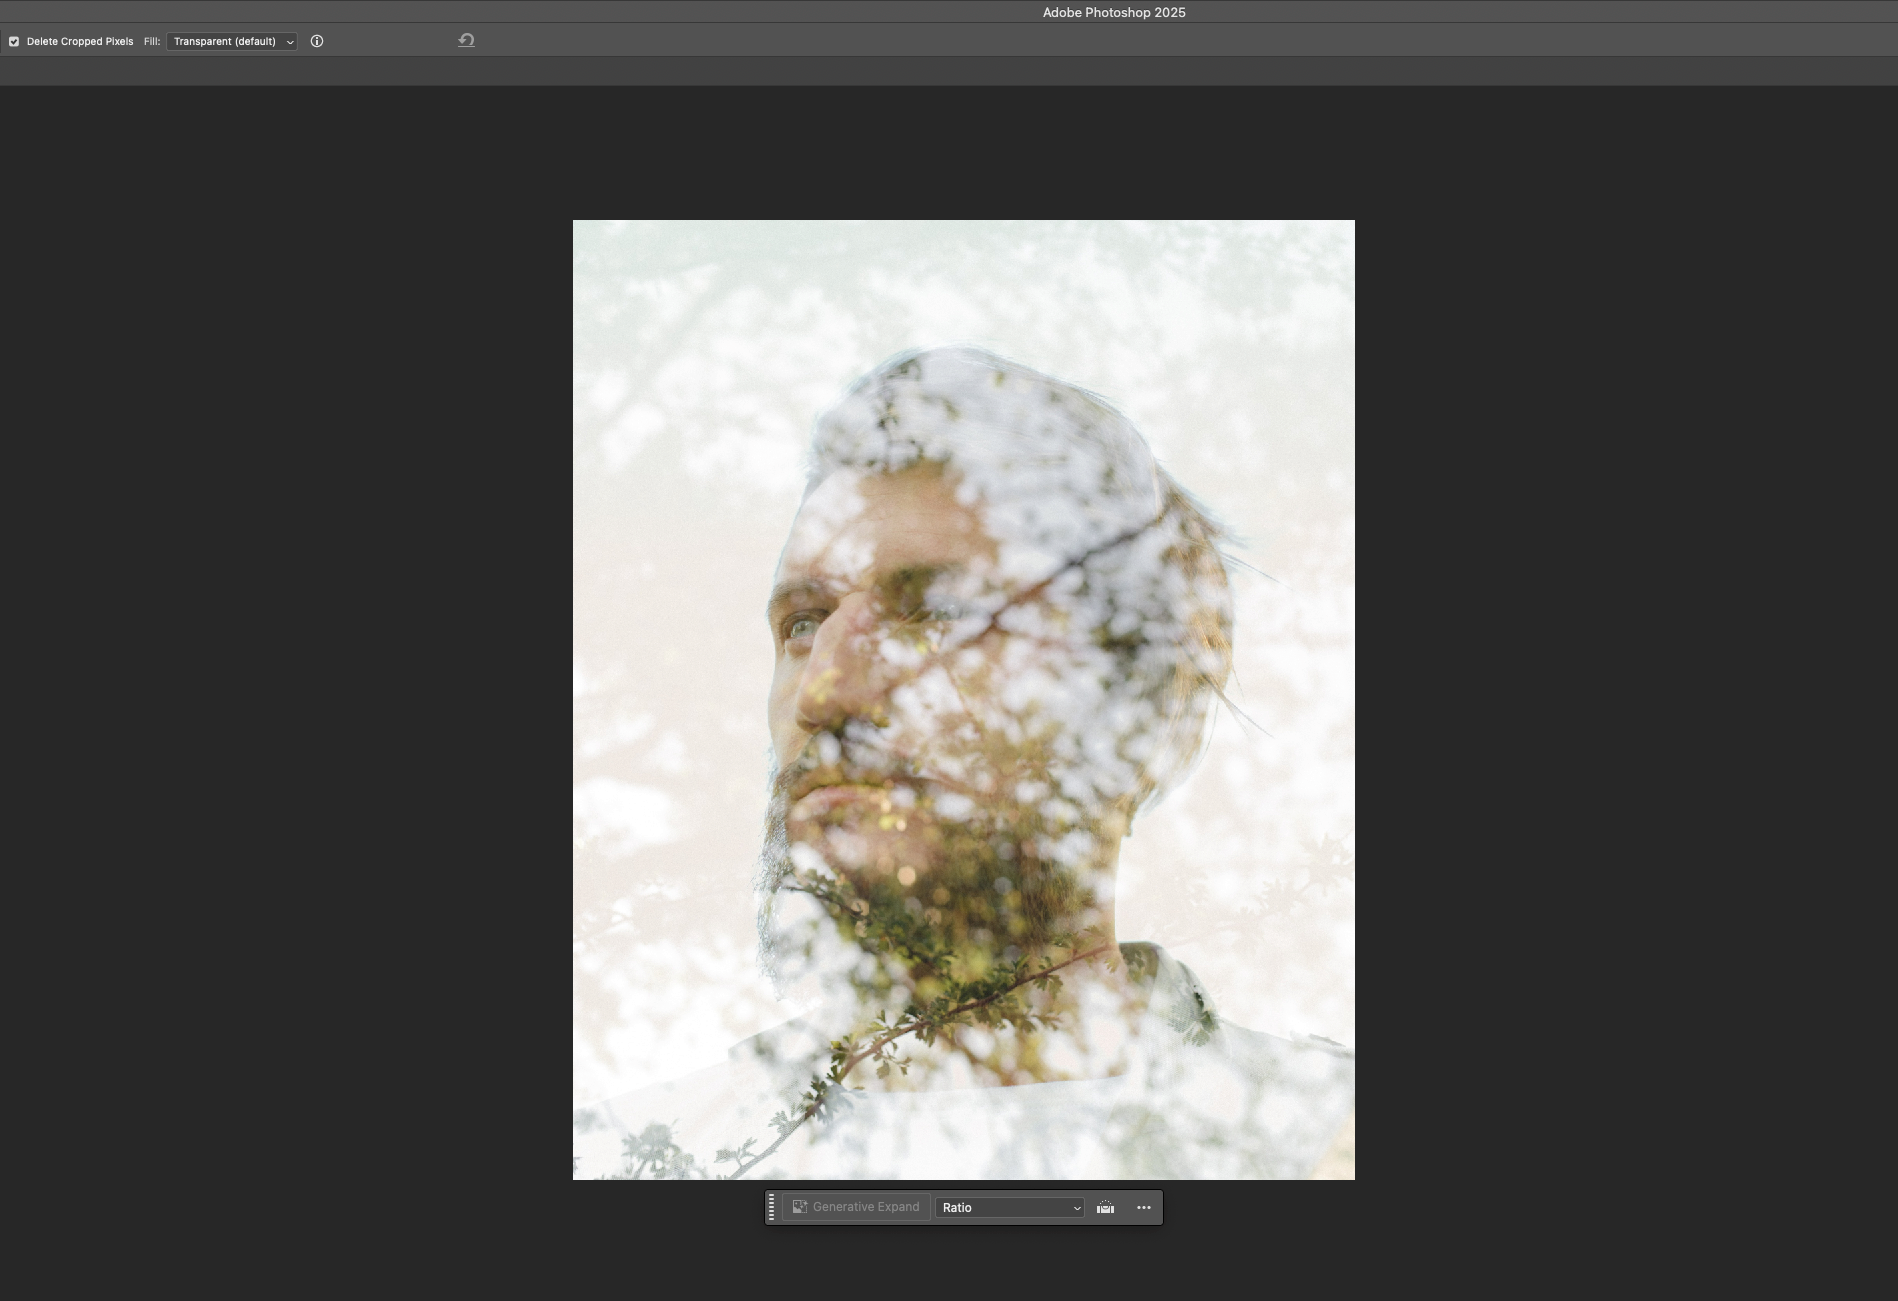
In practice, the double exposure effect is a combination of a portrait with another image (most often natural, architectural or abstract), where the latter “shines” through the former, emphasizing its shape and giving depth to the work. It is actively used in posters, music covers, fashion graphics, social media and personal portfolios.
The best part is that this effect is accessible even to beginners. If you have a couple of high-quality images and the desire to experiment, you can get an incredible result in 15-20 minutes. And that’s exactly what our detailed but not overloaded with technical terms guide is all about.
Read also: How to work with adjustment layers in Adobe Photoshop
Step 1: Selecting and preparing images
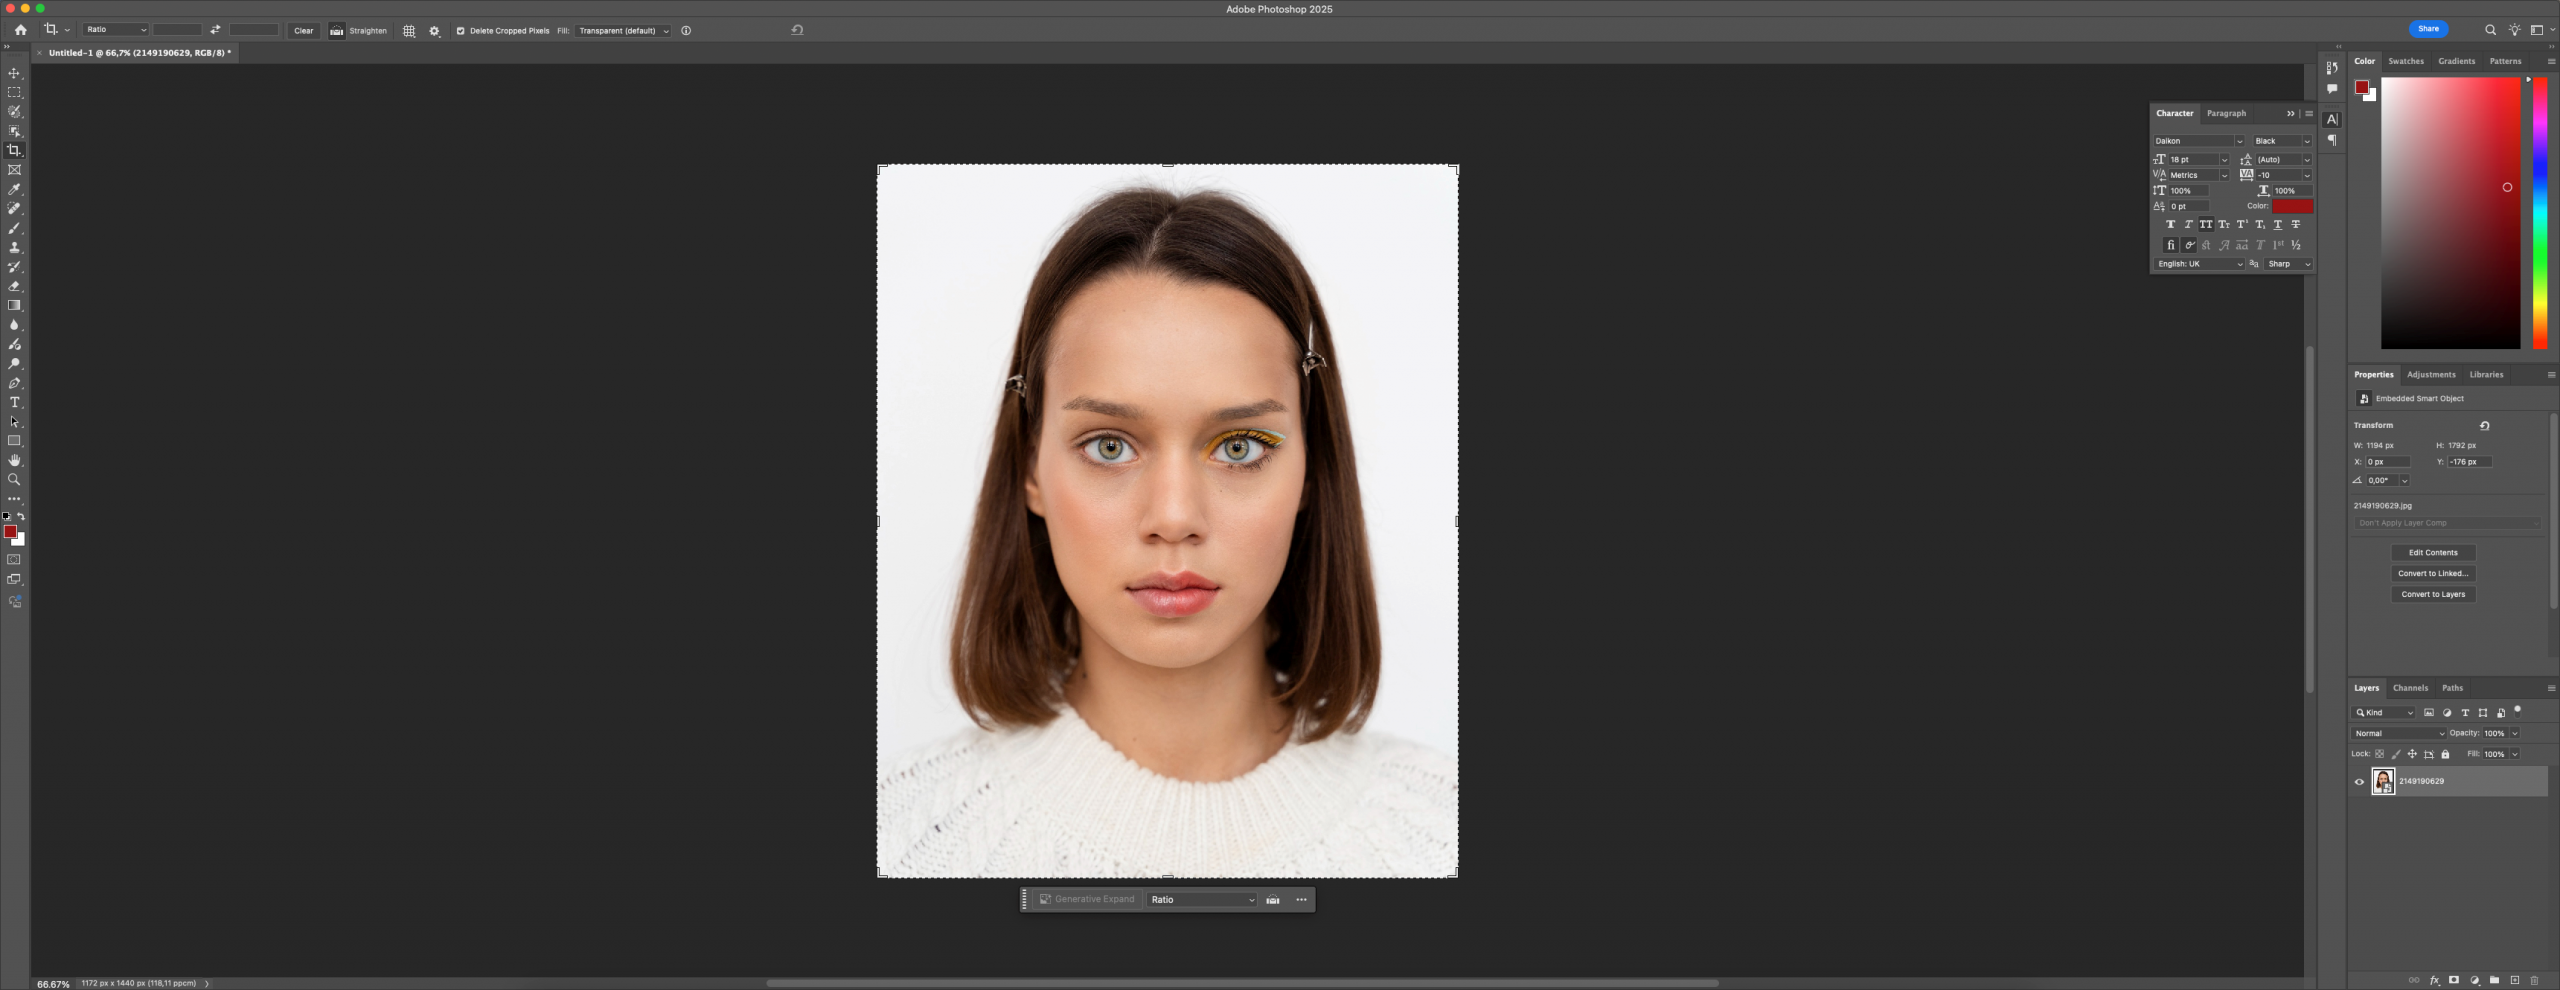
To get started, we will need two images:
- The main subject – usually a portrait (preferably in profile or full-face), preferably on a monochromatic light-colored background.
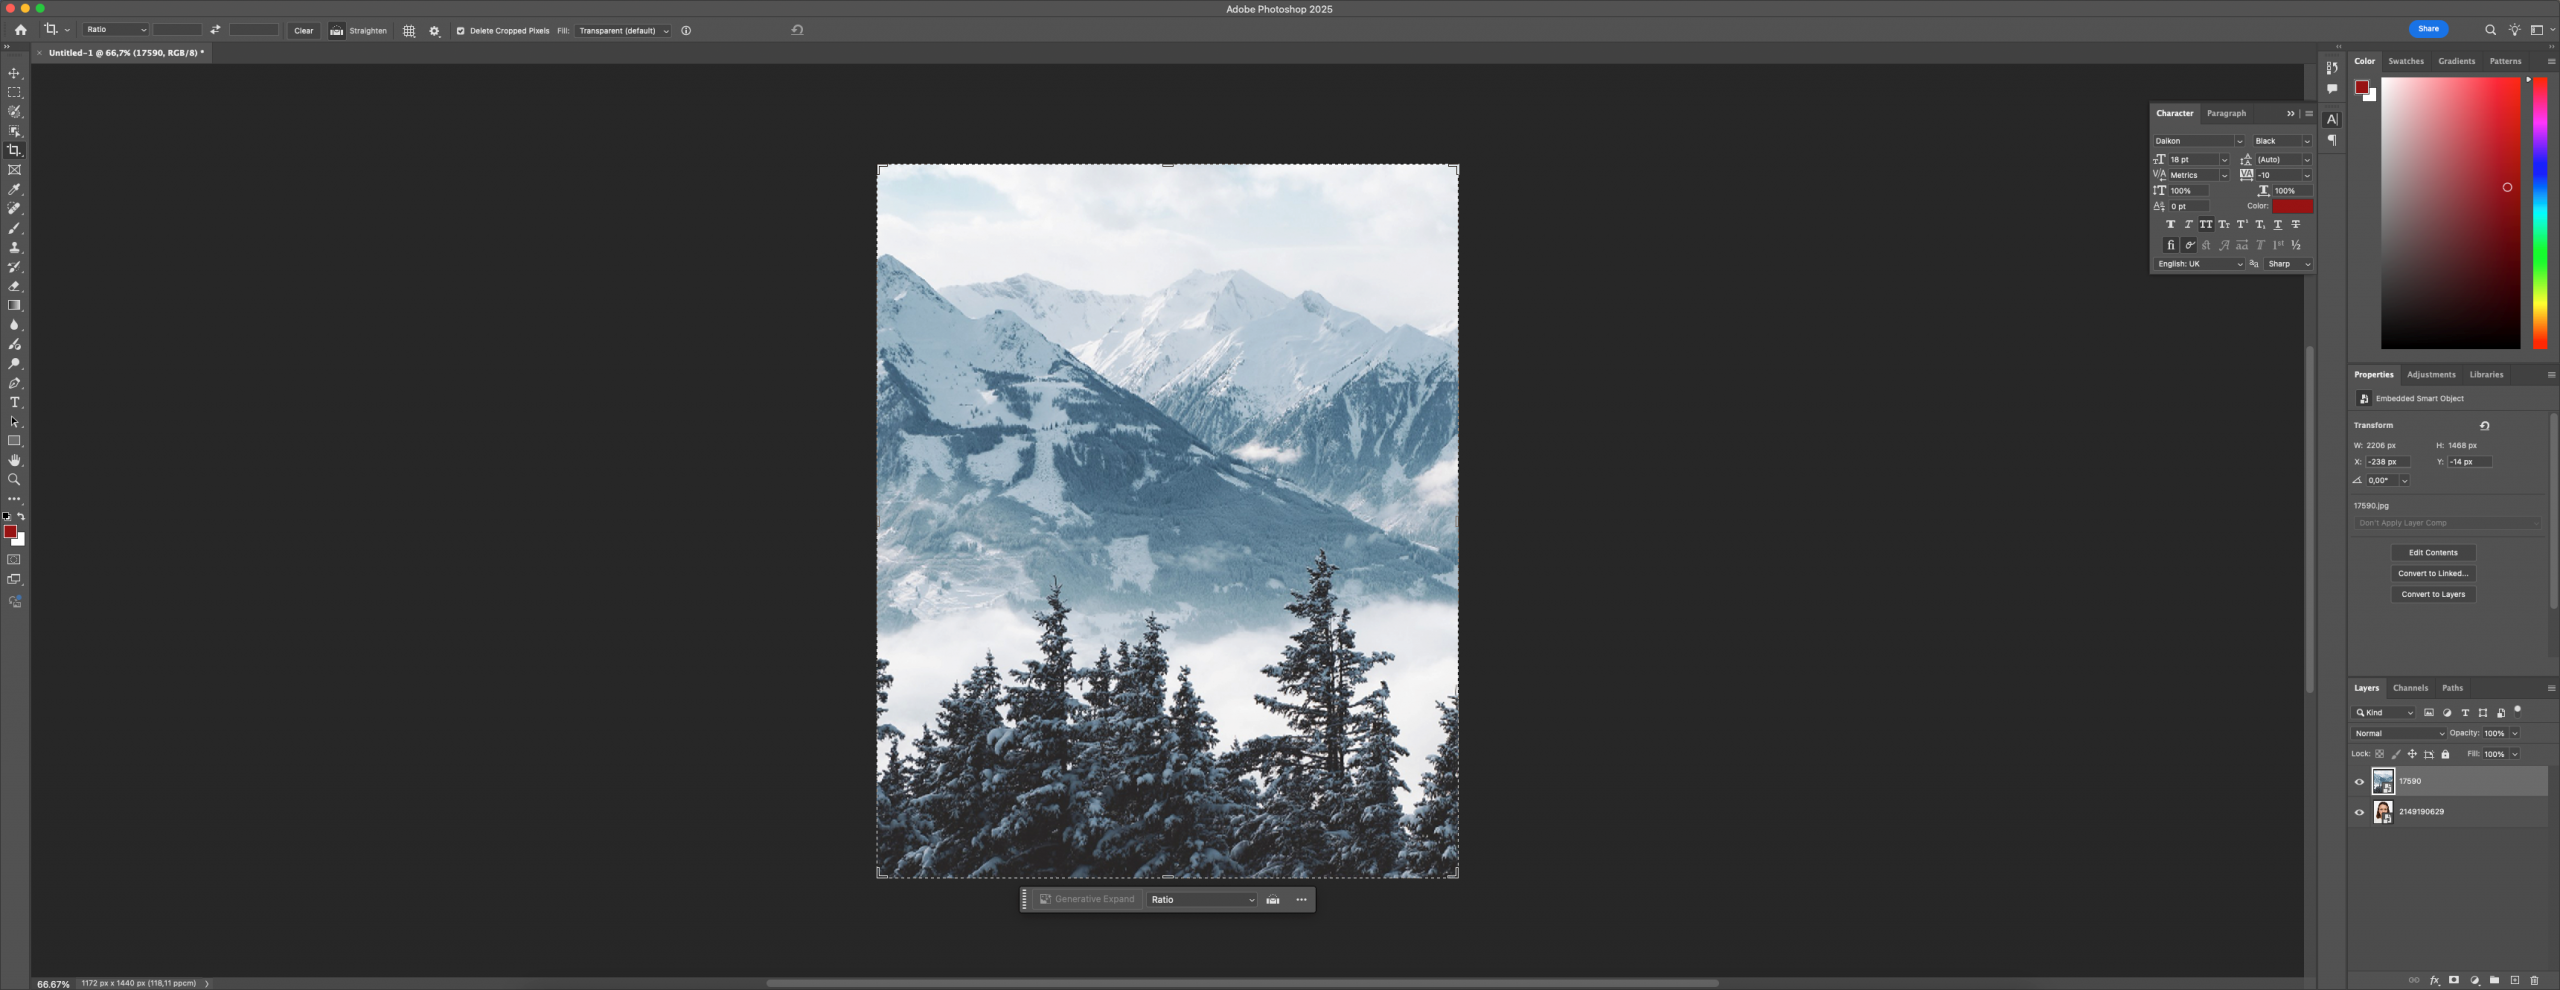
- Background image – a natural or architectural subject: trees, mountains, clouds, water, city silhouettes.
It is important that the background of the portrait did not contain unnecessary details, otherwise it will be difficult to highlight the object. And the second photo should be contrasting and saturated – this will facilitate visual perception and enhance the effect of superimposition.
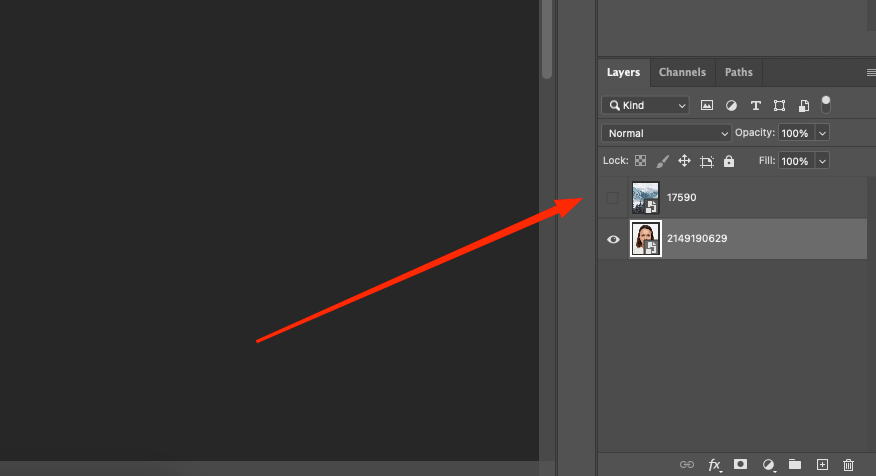
Open both files in Photoshop:
- The portrait is the base.
- The second image – will be used as a filler image.
Drag and drop both images into the same document. Place the portrait below, the landscape above.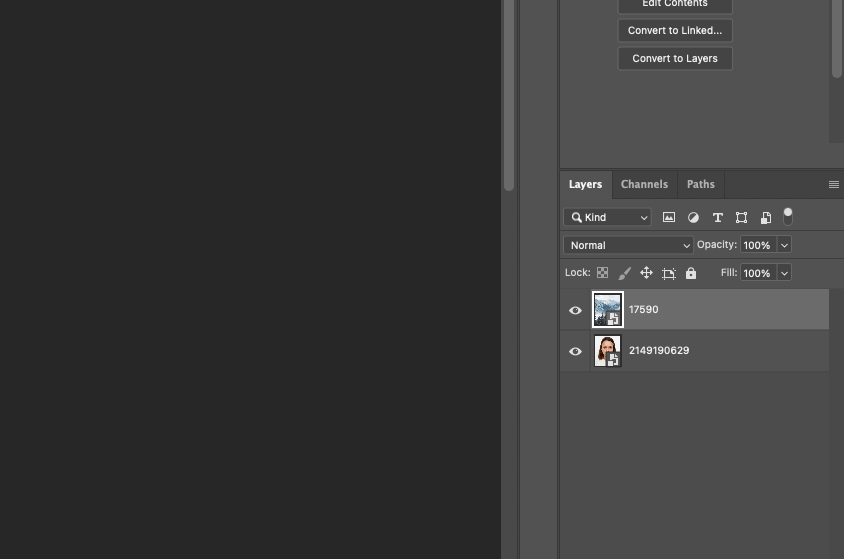
Step 2: Select the object and cut off the background
In this step, we’ll “cut” the portrait from the background to use it as a mask shape.
Step by step:
- Activate the Quick Selection Tool (W).
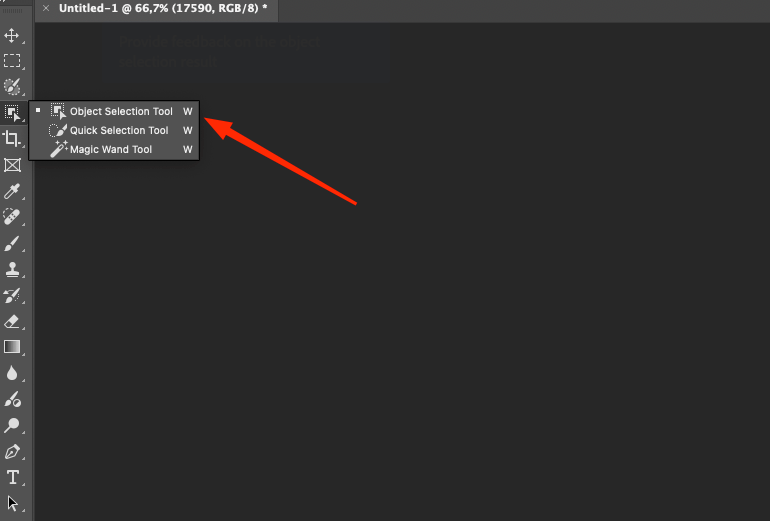 2. Click Select Subject – Photoshop will automatically select the subject.
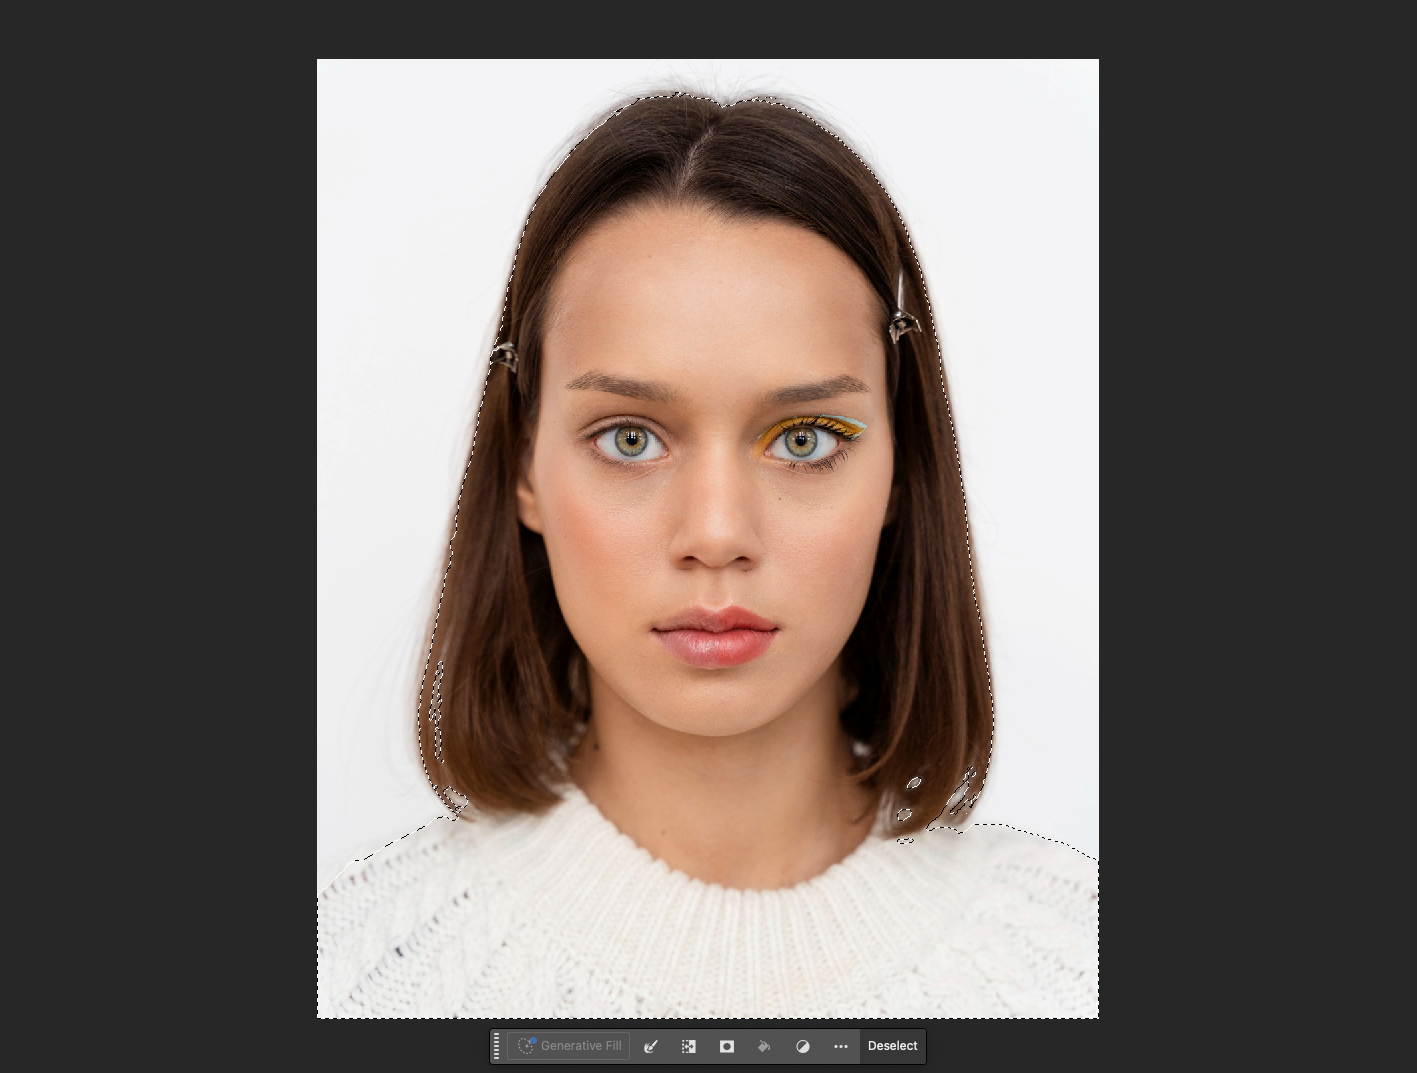 3. Go to Select and Mask, adjust the edges:
 o Smooth: 5-10
o Feather: 1-2 px
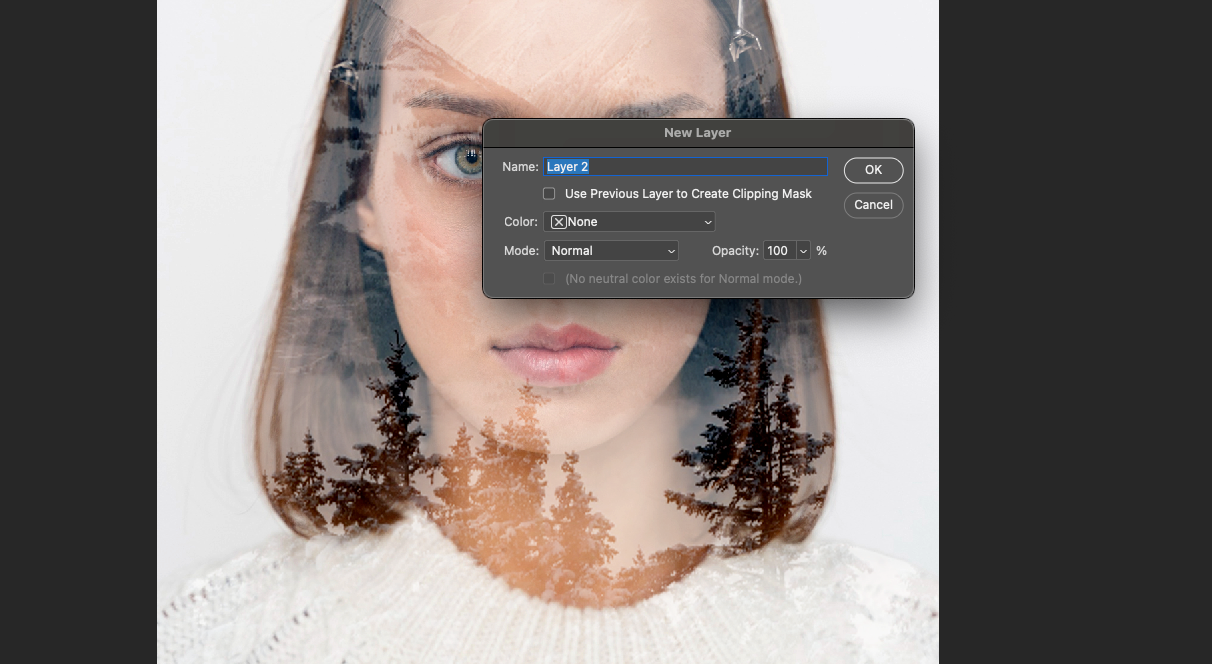
o Contrast: 10-20%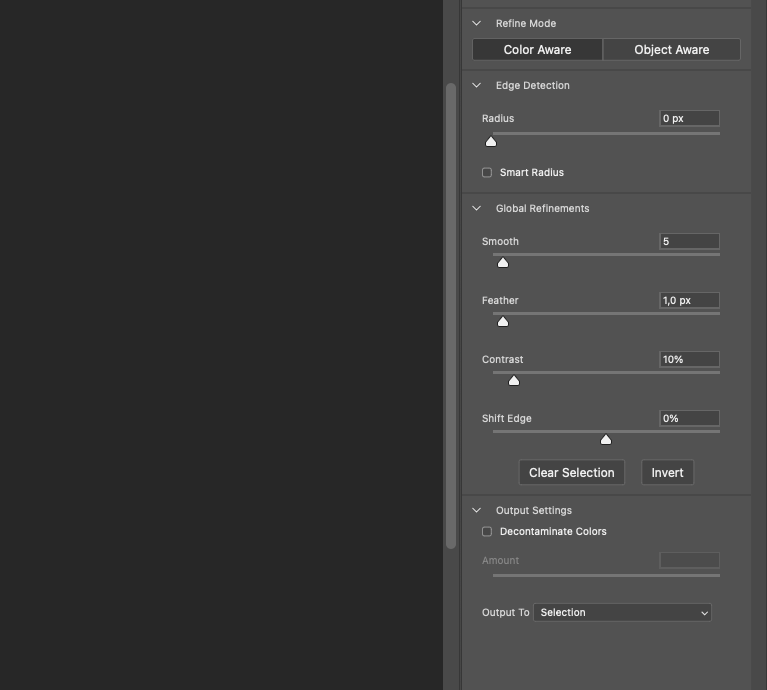 4. Under Output to, select New Layer with Layer Mask.
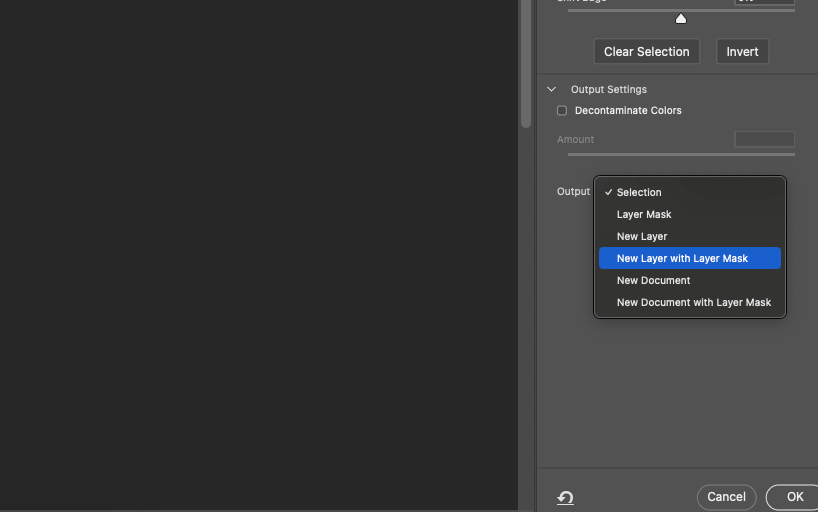
You now have a separate silhouette ready to go. This element will become the frame through which the second image will shine through.
Step 3: Adjust the blending and composition
The next step is to combine the two images.
How to do it:
- Place the landscape/city layer on top of the portrait layer.
- Right-click on the background image and select Create Clipping Mask.
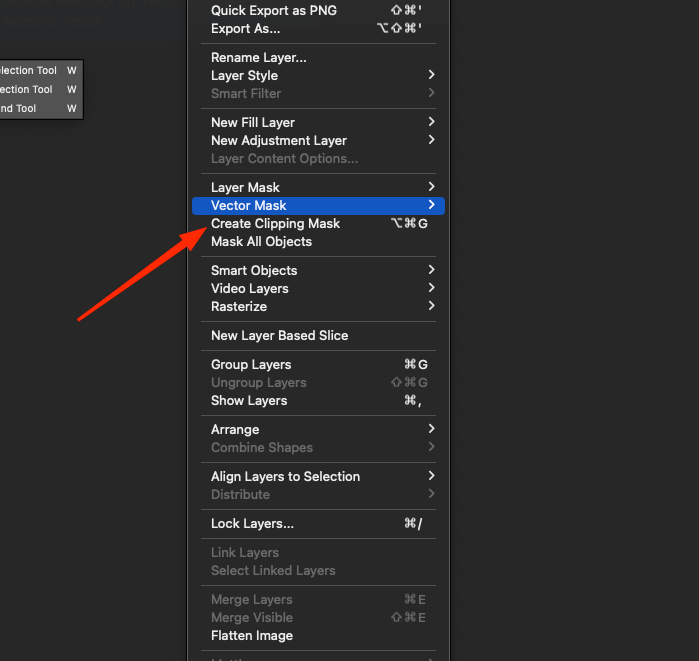
- Now the second image is only visible inside the borders of the portrait.
This is the foundation of the entire composition. The next step is to make it look artistic, soft and professional.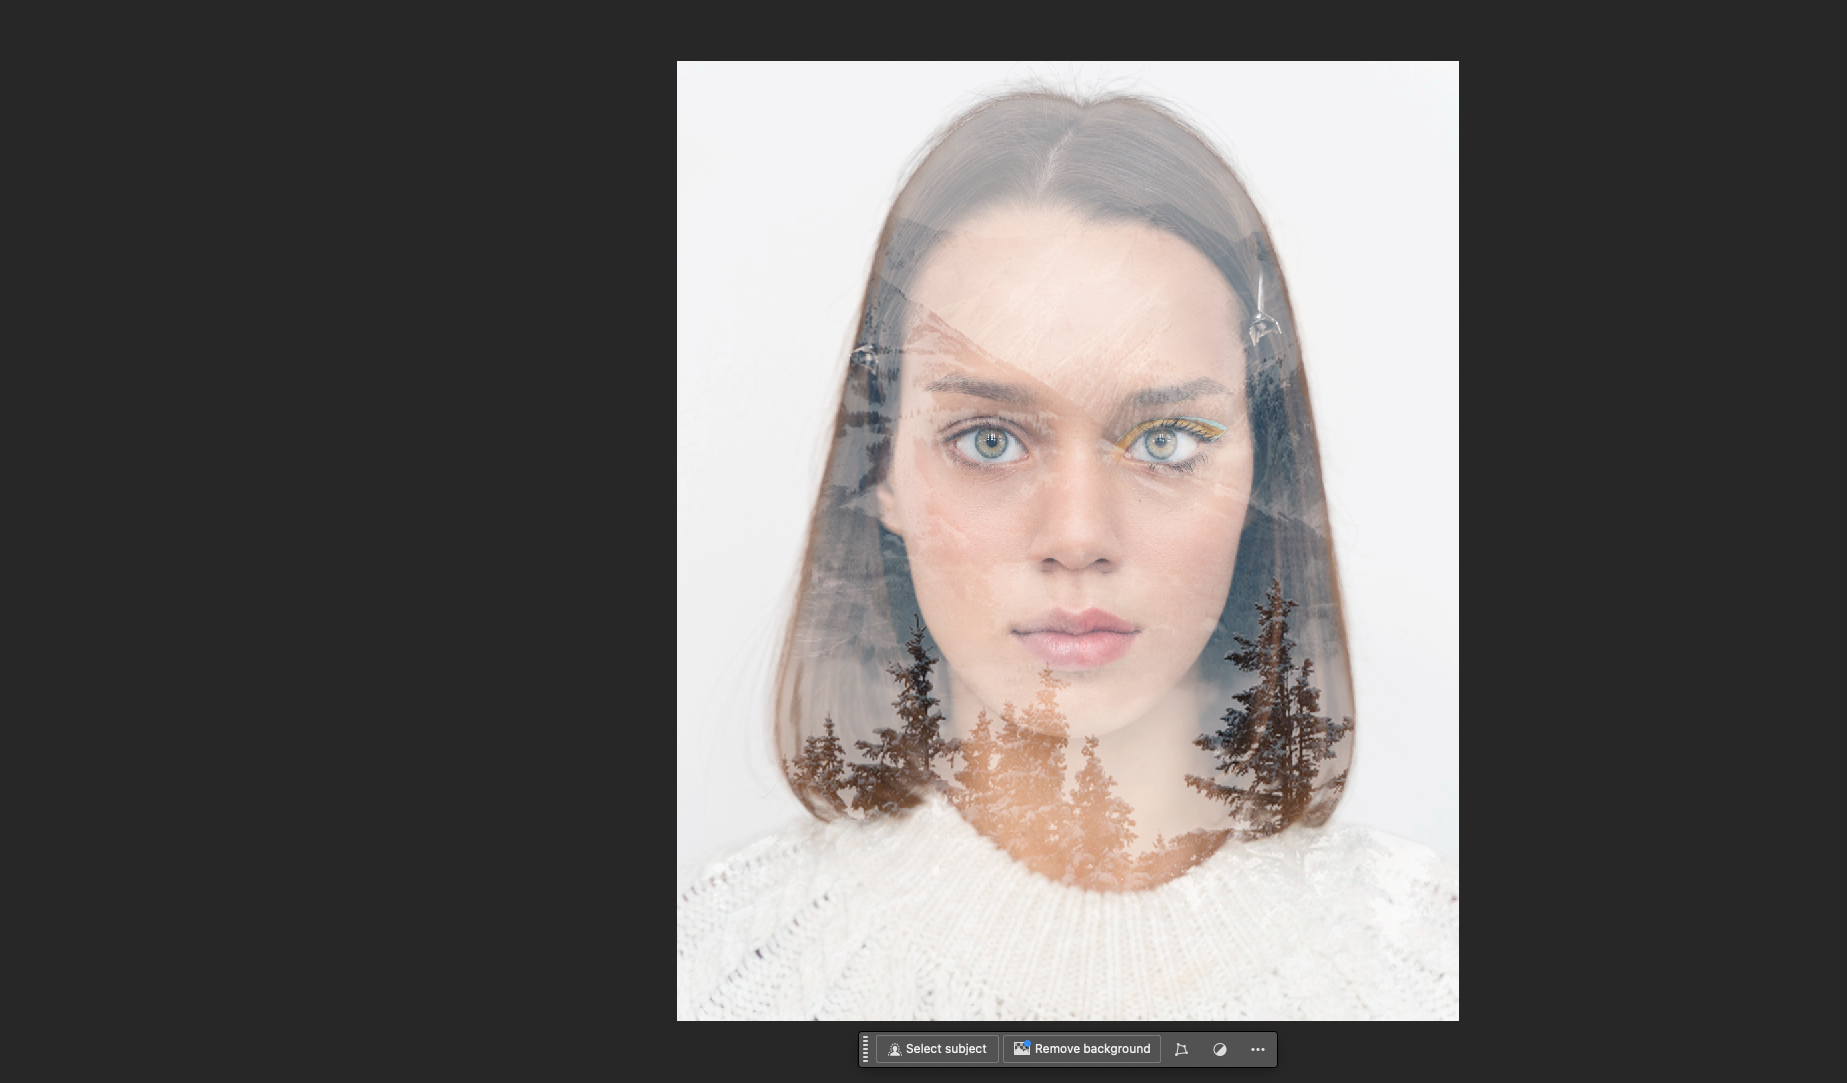
Step 4: Tone correction and light balance
To make the two images merge seamlessly, you need to adjust the contrast, brightness, and color temperature.
Recommendations:
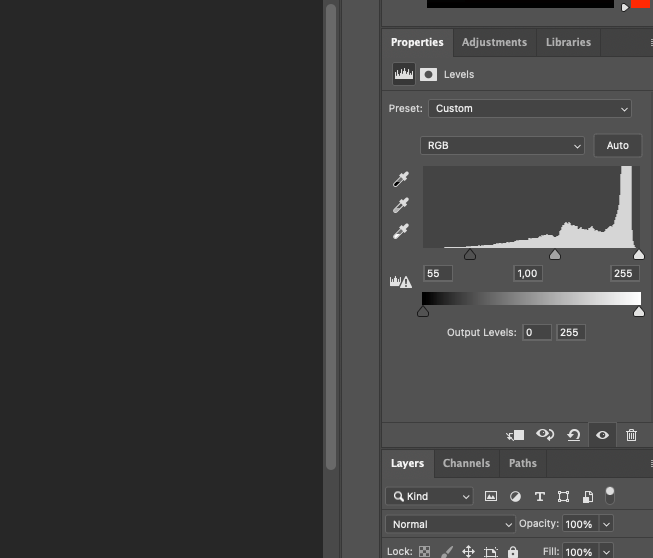
- Apply Adjustment Layer → Levels to the background image.
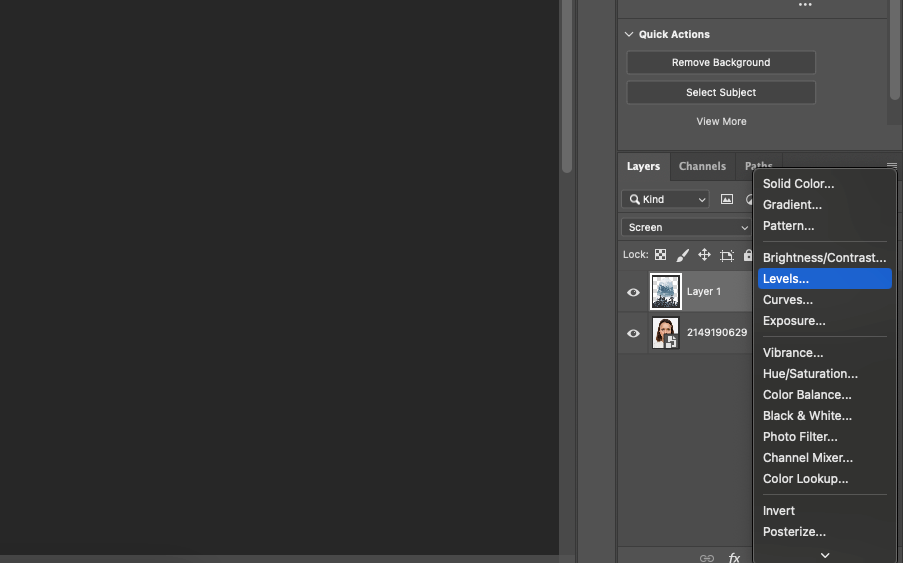
- Dark areas will enhance depth, while light areas will preserve facial detail.
- Use Brightness/Contrast to make the second layer more muted.
- Add Hue/Saturation to bring both images to a common color.
If necessary, apply Black & White conversion if you want to create a strict monochrome work.
Step 5: Masking edges, working with brushes
To make the transitions look soft and the edges not “hard”, use a layer mask and a soft brush.
Step by step:
- Select the portrait layer mask.
- Activate Brush Tool (B), set:
o Color: black
o Hardness: 0%
o Size: 200-400 px
o Opacity: 20-30% - Go over the edges of the image, especially in the hair, shoulder and background areas.
- This creates a “smooth dissolve” effect and makes the composition look more airy.
Step 6: Adding background and effects
Now let’s add a light background that emphasizes the contours and gets rid of the emptiness.
Actions:
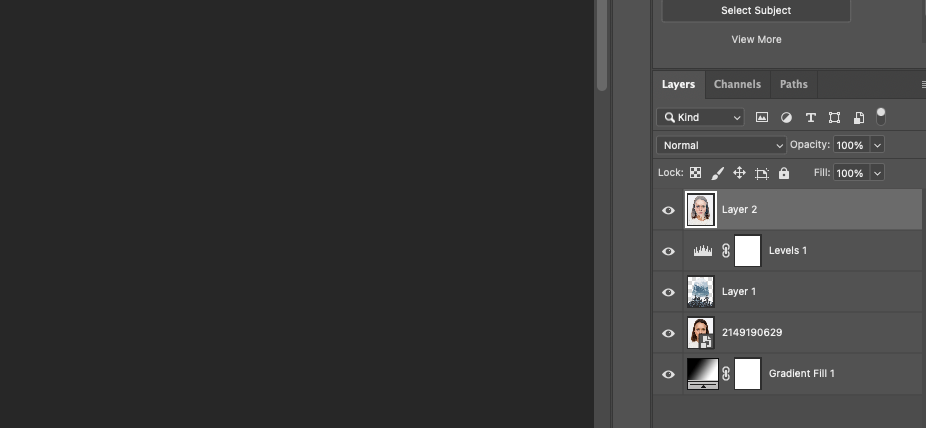
- Create a new layer below all of them.
- Fill it with a gradient from white to light gray or pastel color.

- If desired, add a paper texture (File → Place Embedded) and apply it in Overlay or Multiply mode.
You can also add a Gradient Map or Photo Filter to create stylistic wholeness and “warmth” to the image.
Step 7: Final Polishing
Checking and finalizing is the key to professionalism.
Check:
- Is the main subject being lost?
- Does the face read well if it’s a portrait?
- Are there no unnecessary abrupt transitions?
- Is the color temperature the same in both images?
Create a merged copy (Ctrl+Alt+Shift+E), apply Camera Raw Filter and add light contrast, reduce noise, equalize exposure.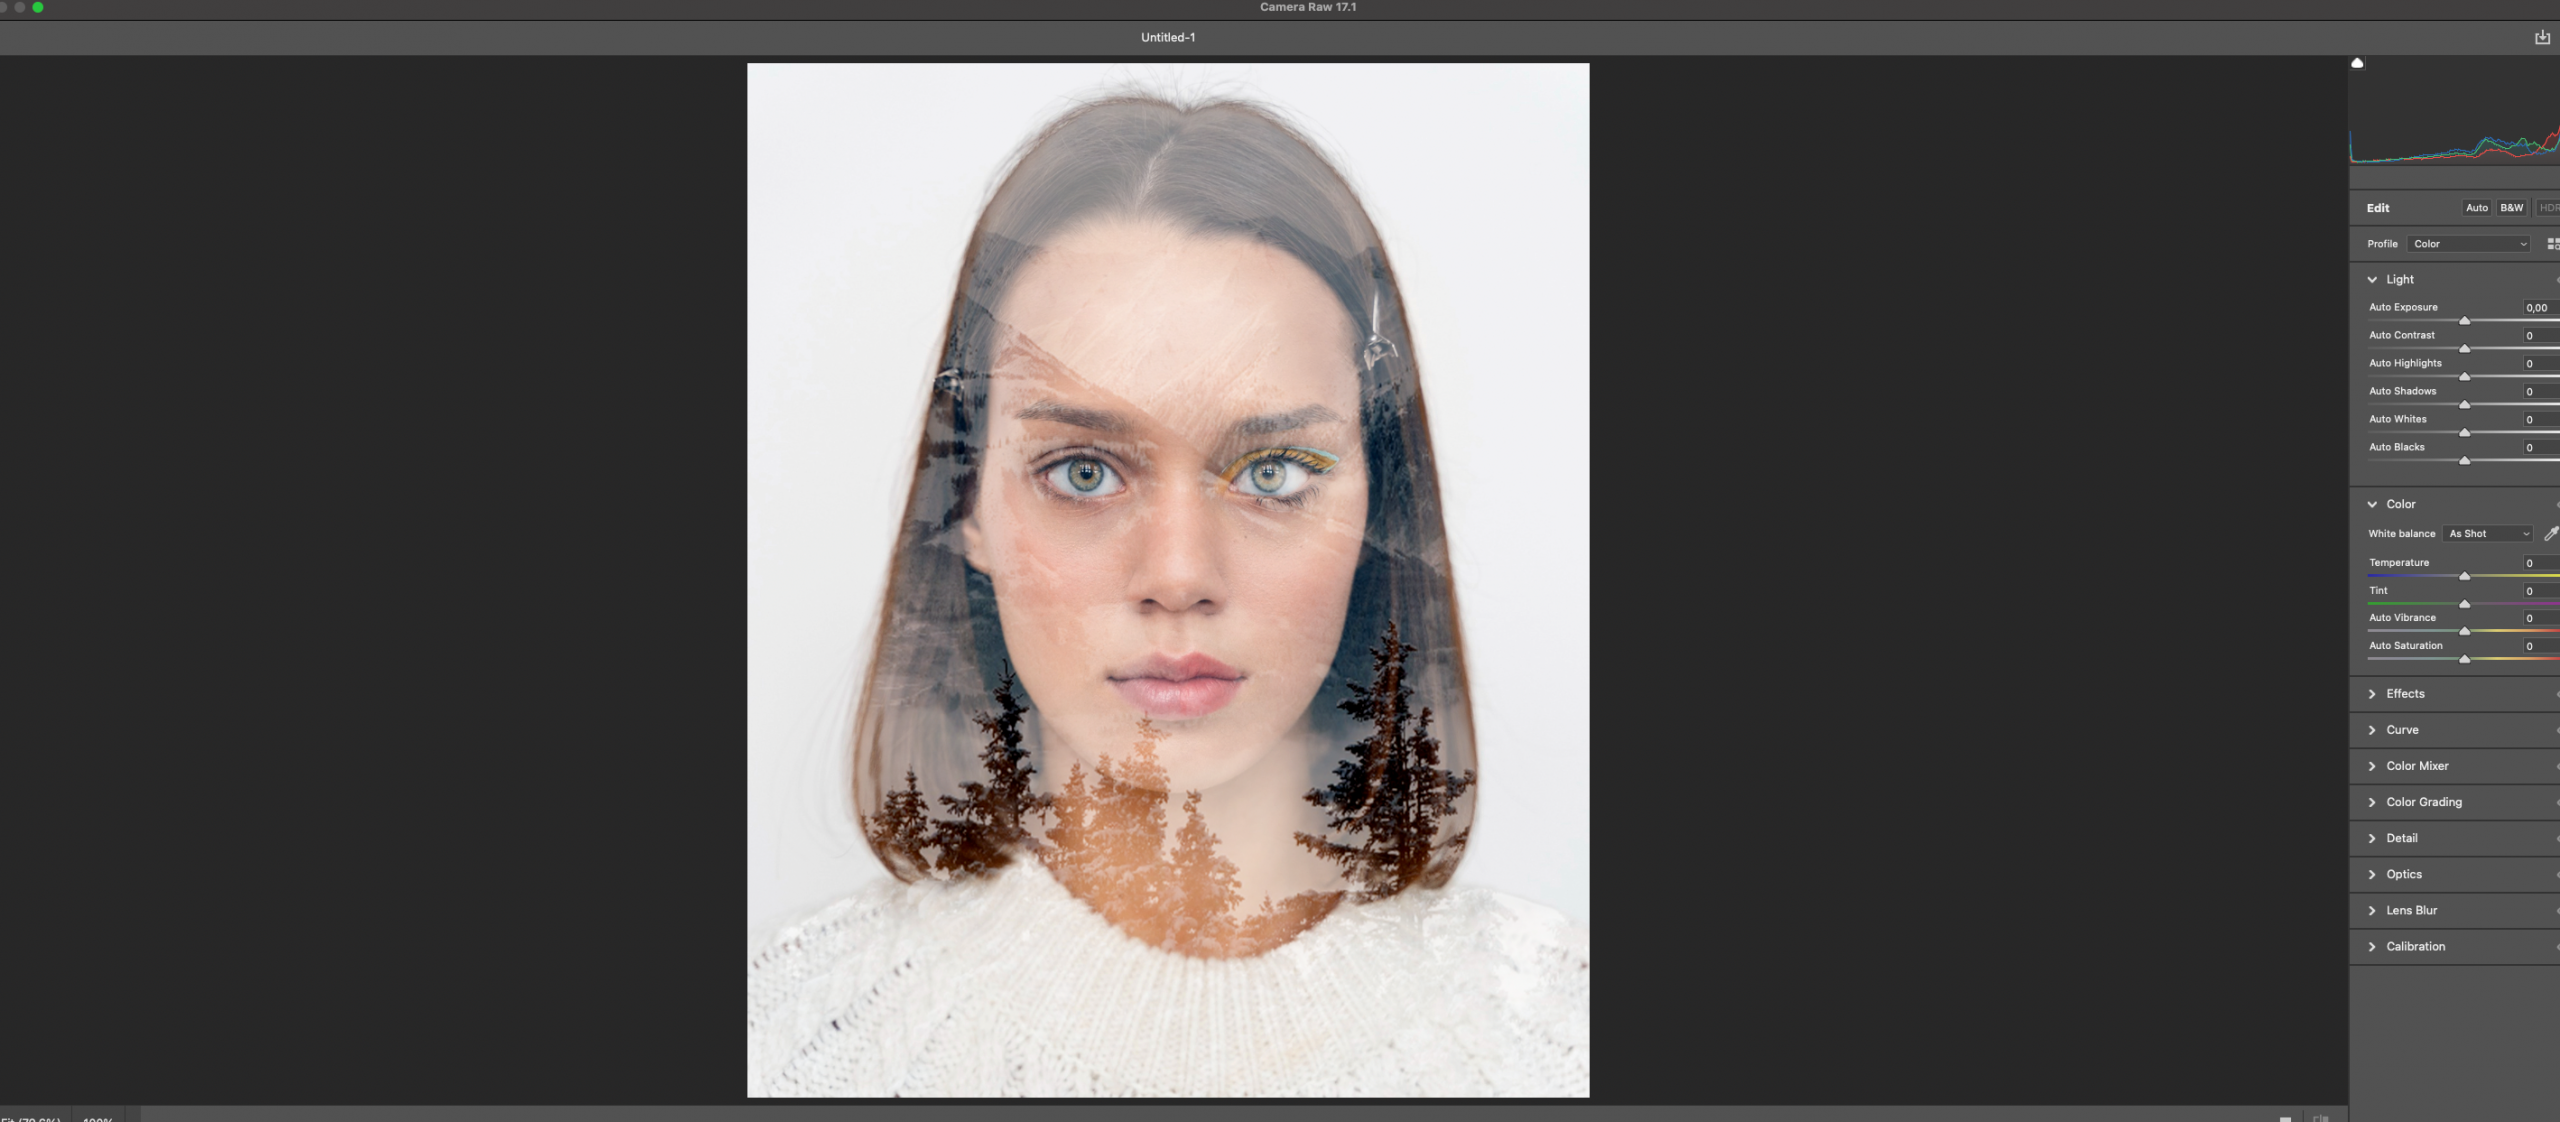
Conclusion: from imitation to style
The double exposure effect is not just a game of overlay. It is a way of visual thinking that allows you to express feelings, thoughts, concepts through an image. It gives you the freedom to experiment, to combine, to stylize.
With just one method you can create dozens of different works: romantic, gloomy, philosophical, urban. The main thing is to understand the essence of the composition and choose harmonious images. The more you try, the finer your taste becomes.


