
The glossy glass effect gives images elegance and style. It is often used in web design, application interfaces and advertising banners. Translucent elements create a sense of depth, adding lightness to the composition. In this tutorial, we’ll walk through how to create a transparent glass panel with highlights and blurs in Photoshop using layers, masks, and filters.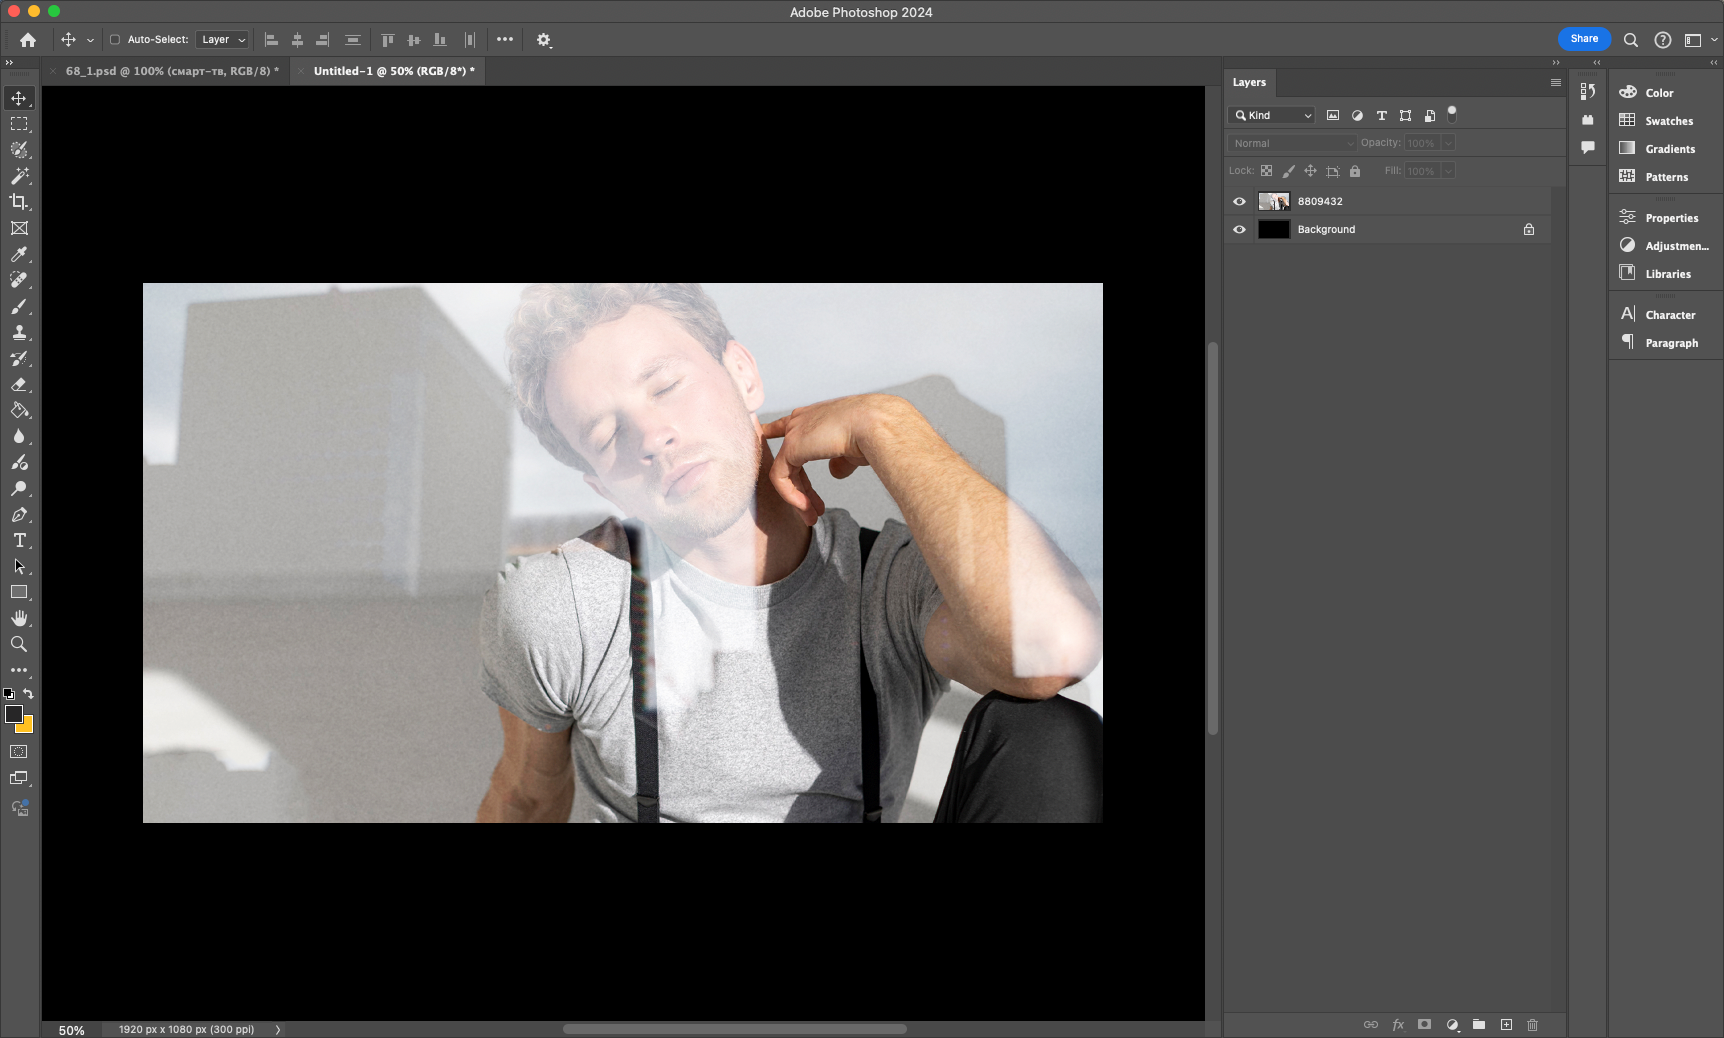
Step 1: Preparing the canvas
Before you start creating the glass effect, it’s important to choose a suitable background. A smooth gradient or blurred texture will help to better emphasize the transparency of the glass.
- Open Photoshop and create a new document (Ctrl + N).
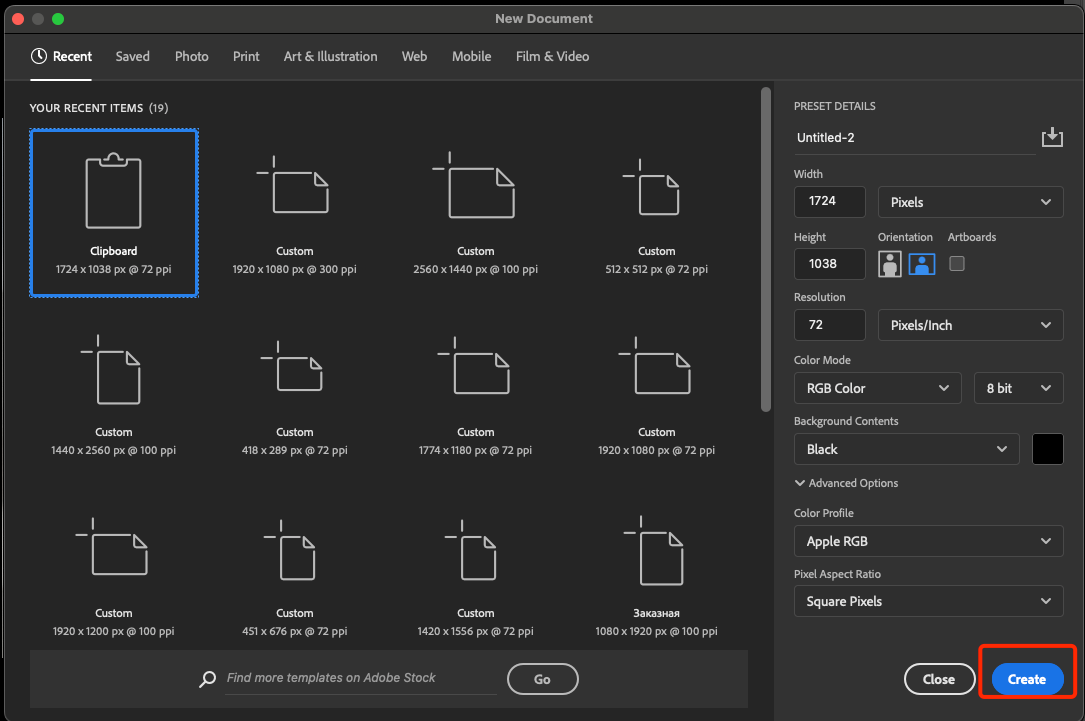 2. Choose a size of 1920×1080 pixels to get a clear image.
3. Set the background with a gradient (e.g. dark blue to purple) or use a blurred photo for more realism.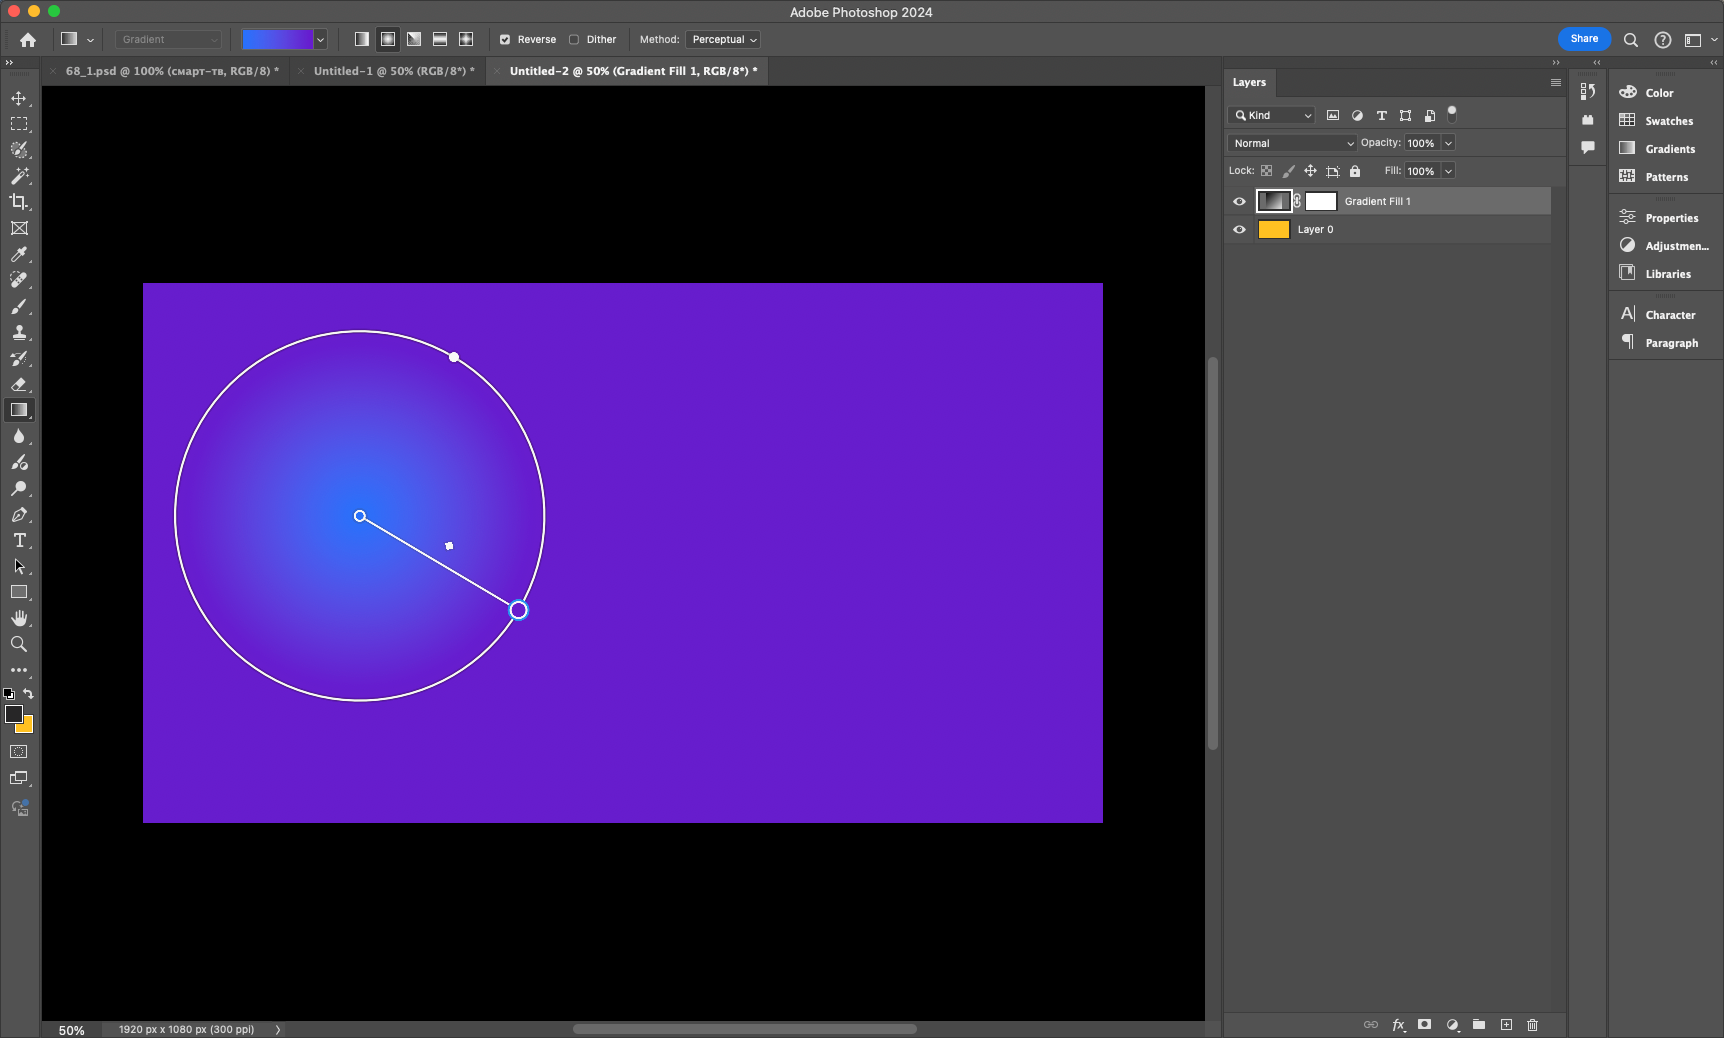
Step 2: Create the glass panel
Now let’s create a base for the glass. A white semi-transparent rectangle with soft borders will help to achieve the desired effect.
- Select the Rectangle tool (U) and draw the panel.
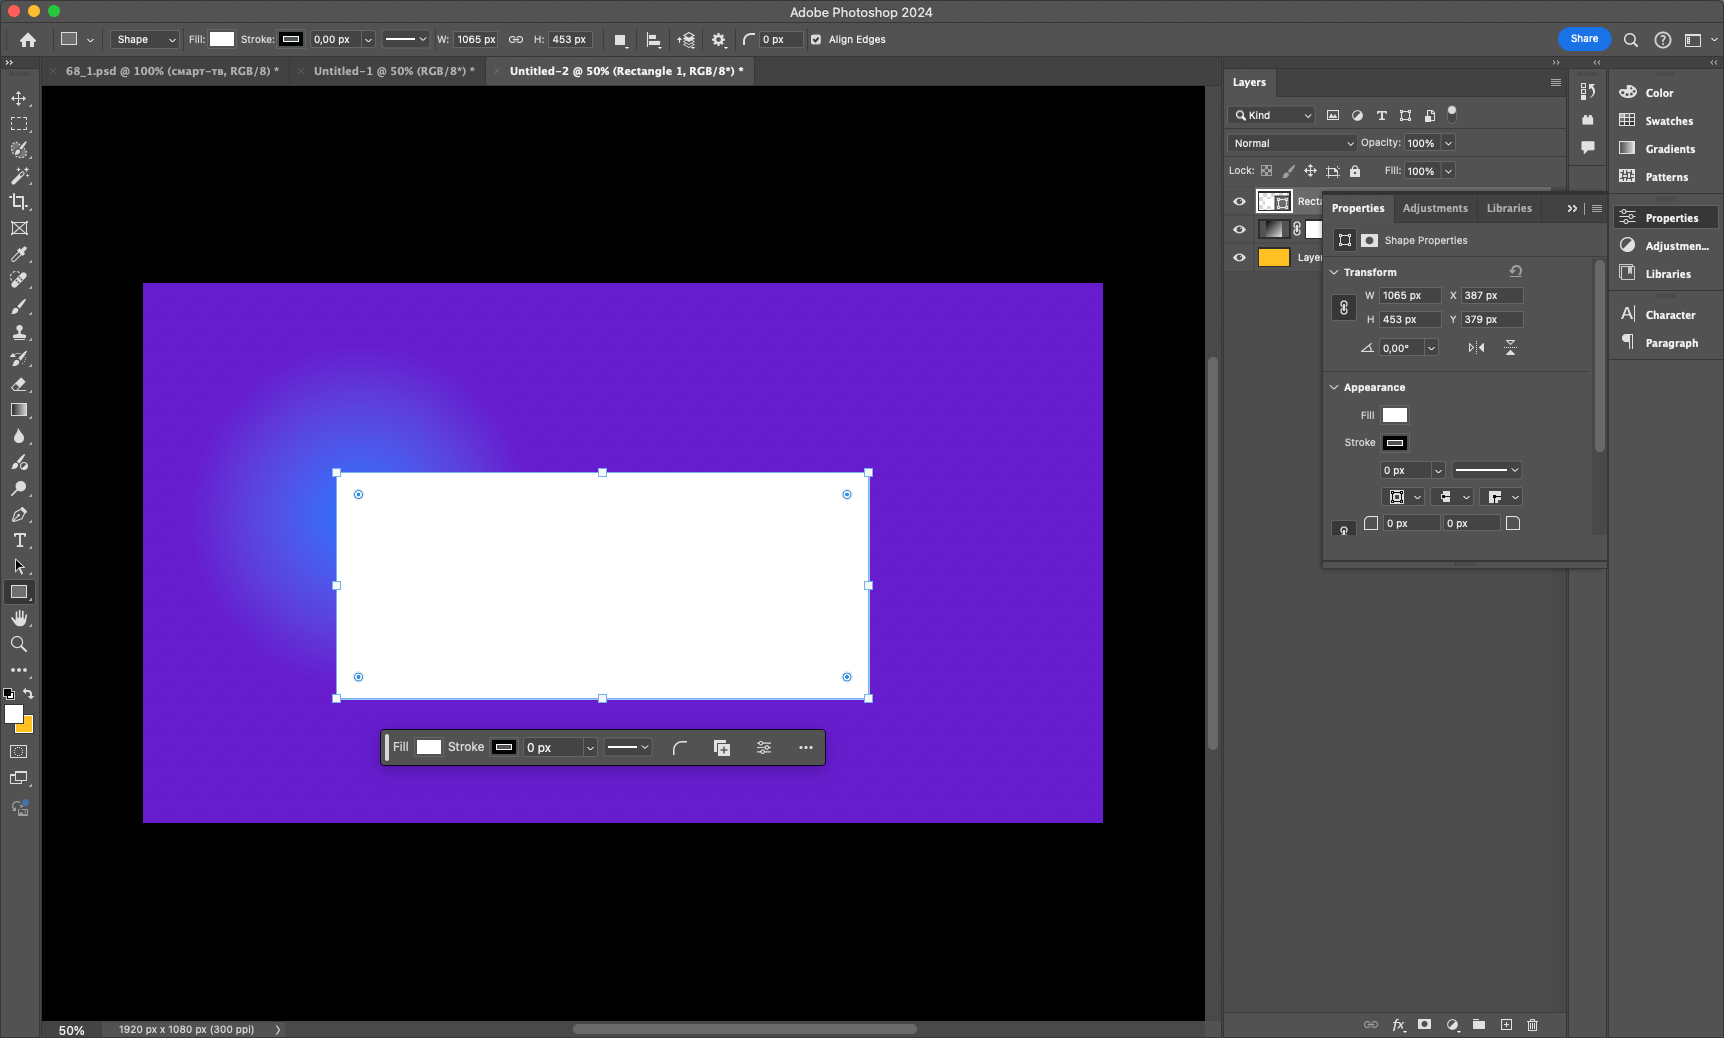
- Set the fill to white and reduce the layer opacity to 30-40%.
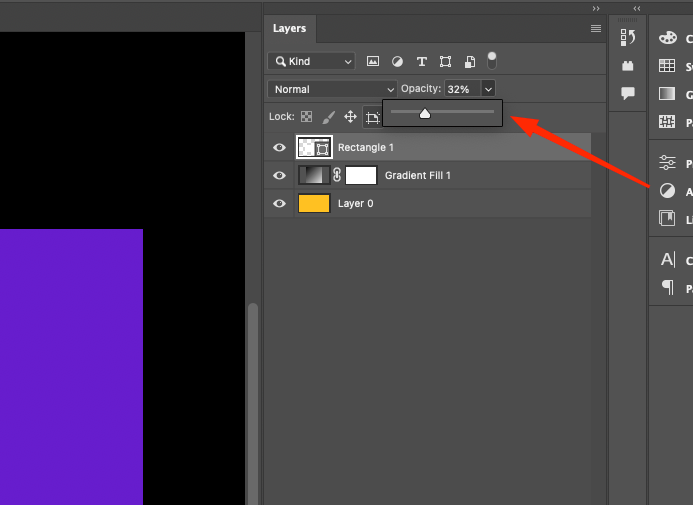
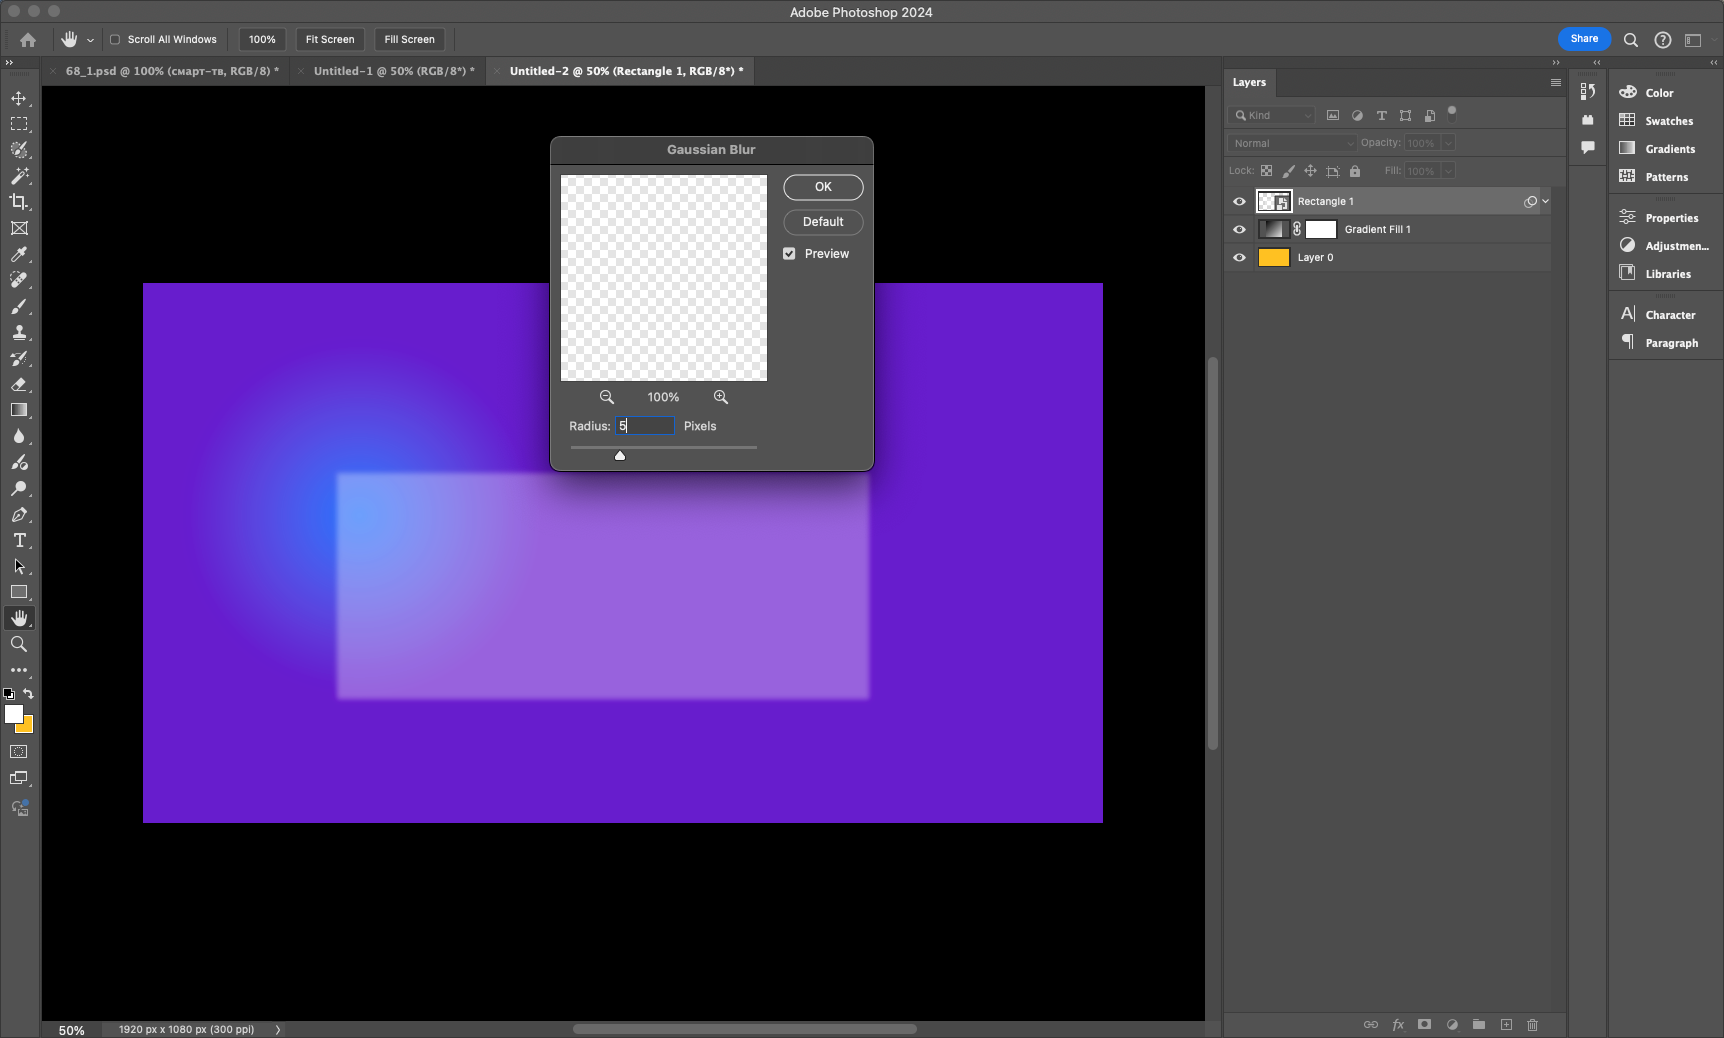
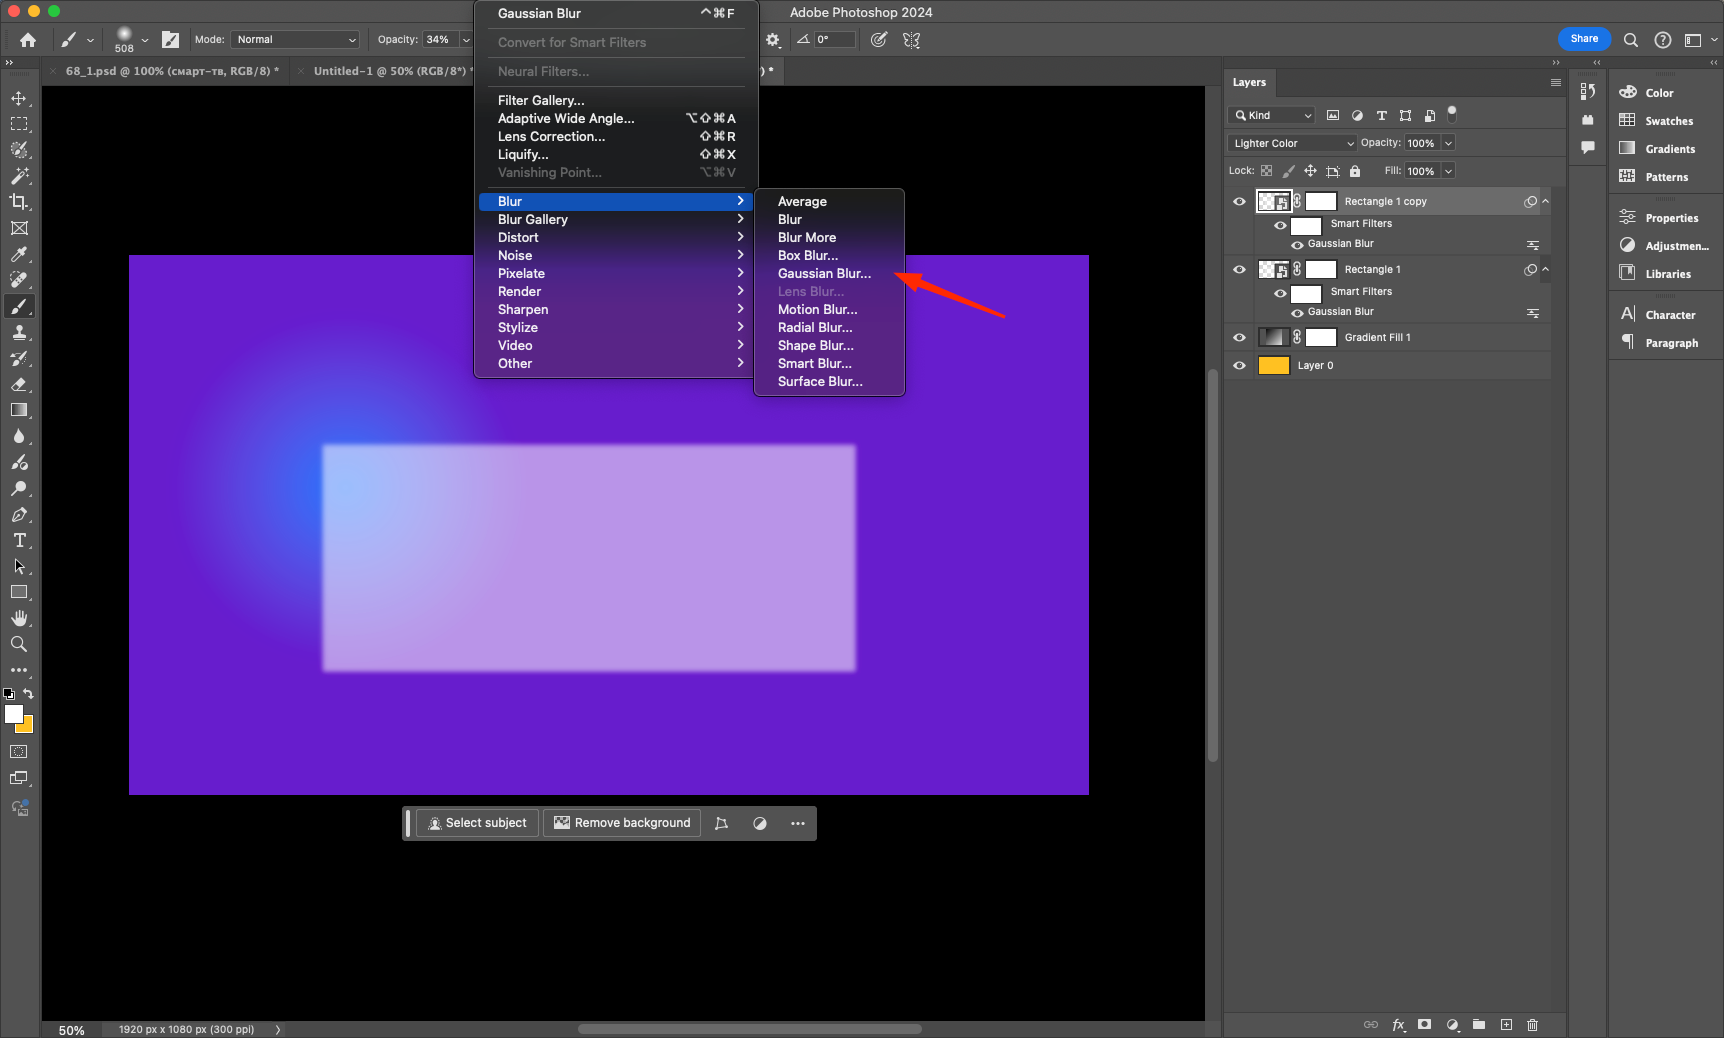
- Go to Filter → Blur → Gaussian Blur and set a radius of 5 pixels to soften the edges.
Step 3: Adding highlights and shadows
To make the glass look more three-dimensional, let’s add highlights and shadows to create a refracted effect.
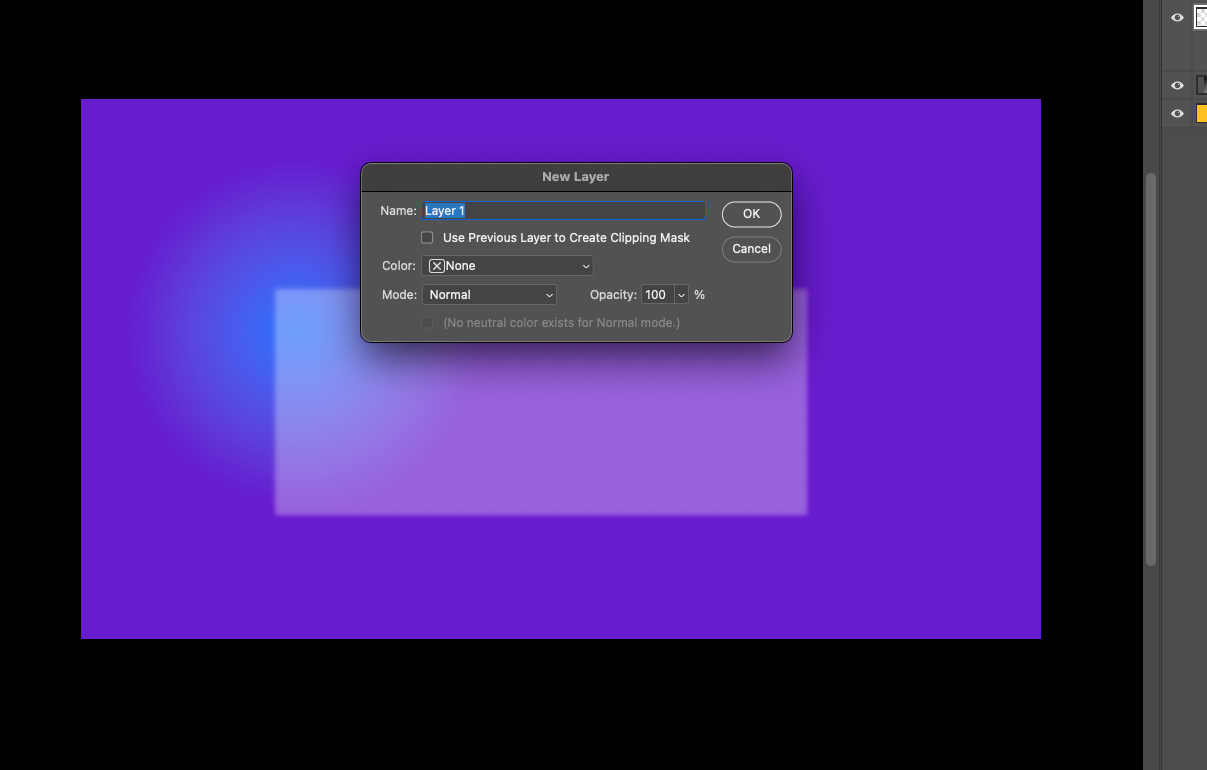
- Create a new layer, select a soft brush (B) and a white color.
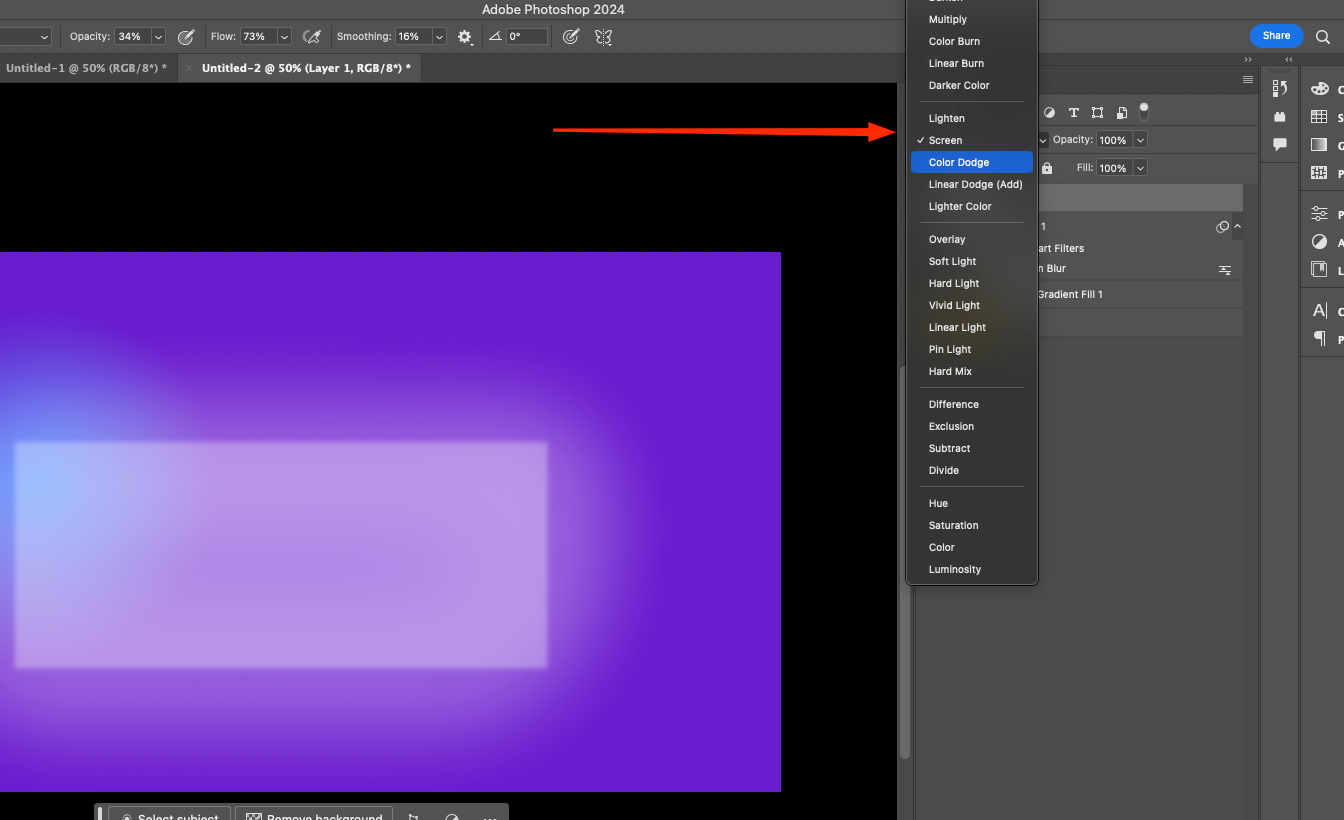
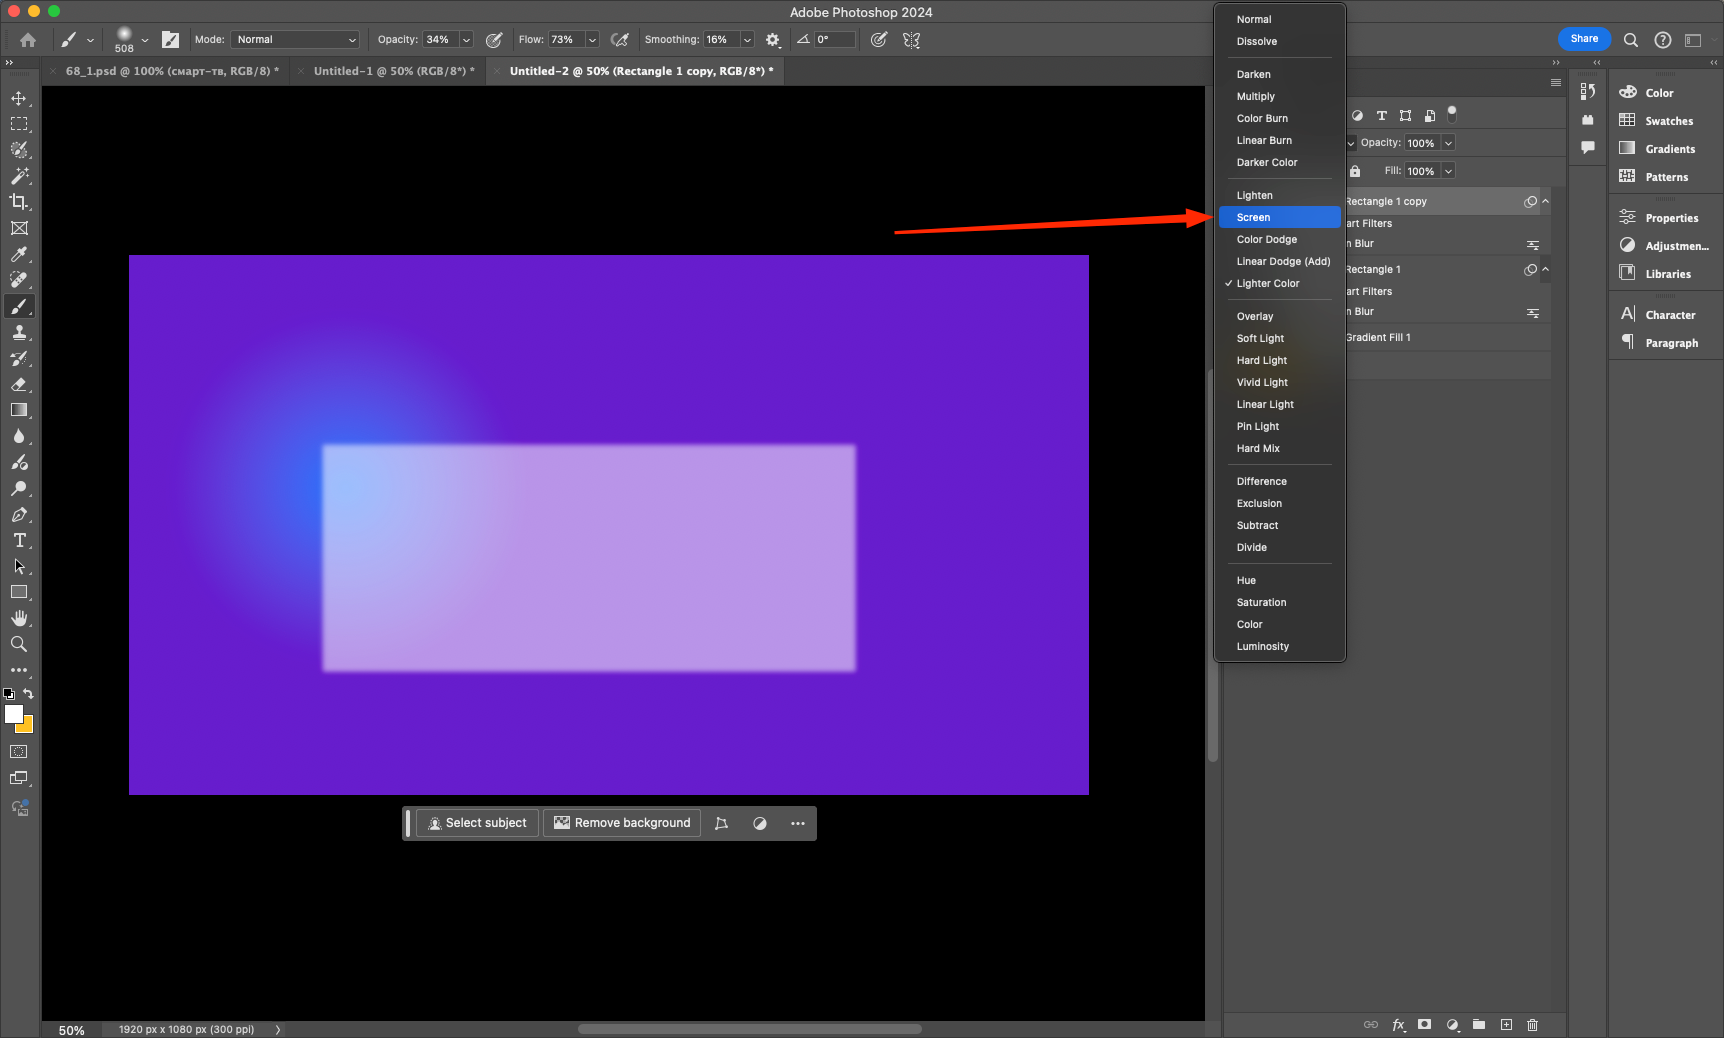
- Swipe the brush across the top and side edges of the panel, then set the blending mode to Screen for a light glow.
- Add a light shadow by creating a new layer, and use the Gradient tool (G) to darken the bottom of the glass.
Read also: How to speed up work in Adobe Photoshop
Step 4: Finalize the details
In the final step, let’s add colored highlights and small additional effects that will make the glass look more realistic.
- Apply a layer mask and use a soft brush to remove unwanted areas of the highlights.
2. Add light colored reflections by drawing them with a brush and set the blending mode to Soft Light.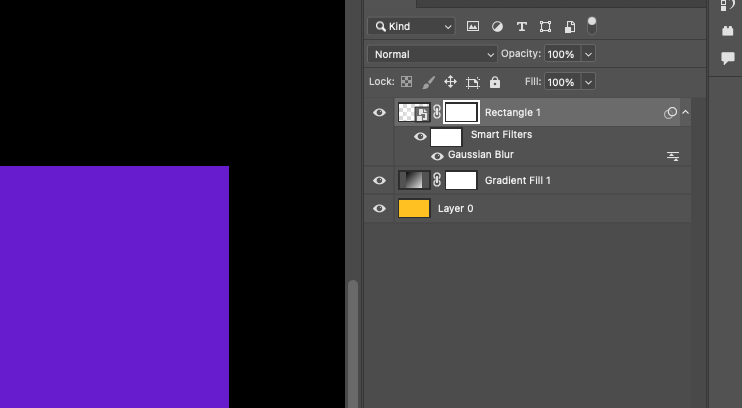 3. If necessary, adjust the transparency of the panel by experimenting with different opacity levels.
Step 5: Final touches
Now let’s improve the detail and add a diffused light effect that will enhance the realism of the image.
- Duplicate the glass layer (Ctrl + J) and blur the copy (Filter → Gaussian Blur, radius 10 pixels).
- Create a new layer and with a soft brush apply a faint white highlights to enhance the reflection.
- Change the blend mode of the new layer to Overlay or Screen to give the glass depth.
Conclusion
You now have a realistic glass panel that you can use in interfaces, web design, and graphics. Experiment with hues, transparency, and blurs to get the effect you want! Knowing how to create such elements will help you give your designs a modern and stylish look.


