
PowerPoint isn’t just for slideshows. Used creatively, it can become an interactive platform — perfect for quizzes, training modules, classroom games, or even decision trees. In this guide, you’ll learn how to create an interactive, clickable quiz that responds to user input. You don’t need coding, macros, or add-ins — just native PowerPoint tools and smart thinking. 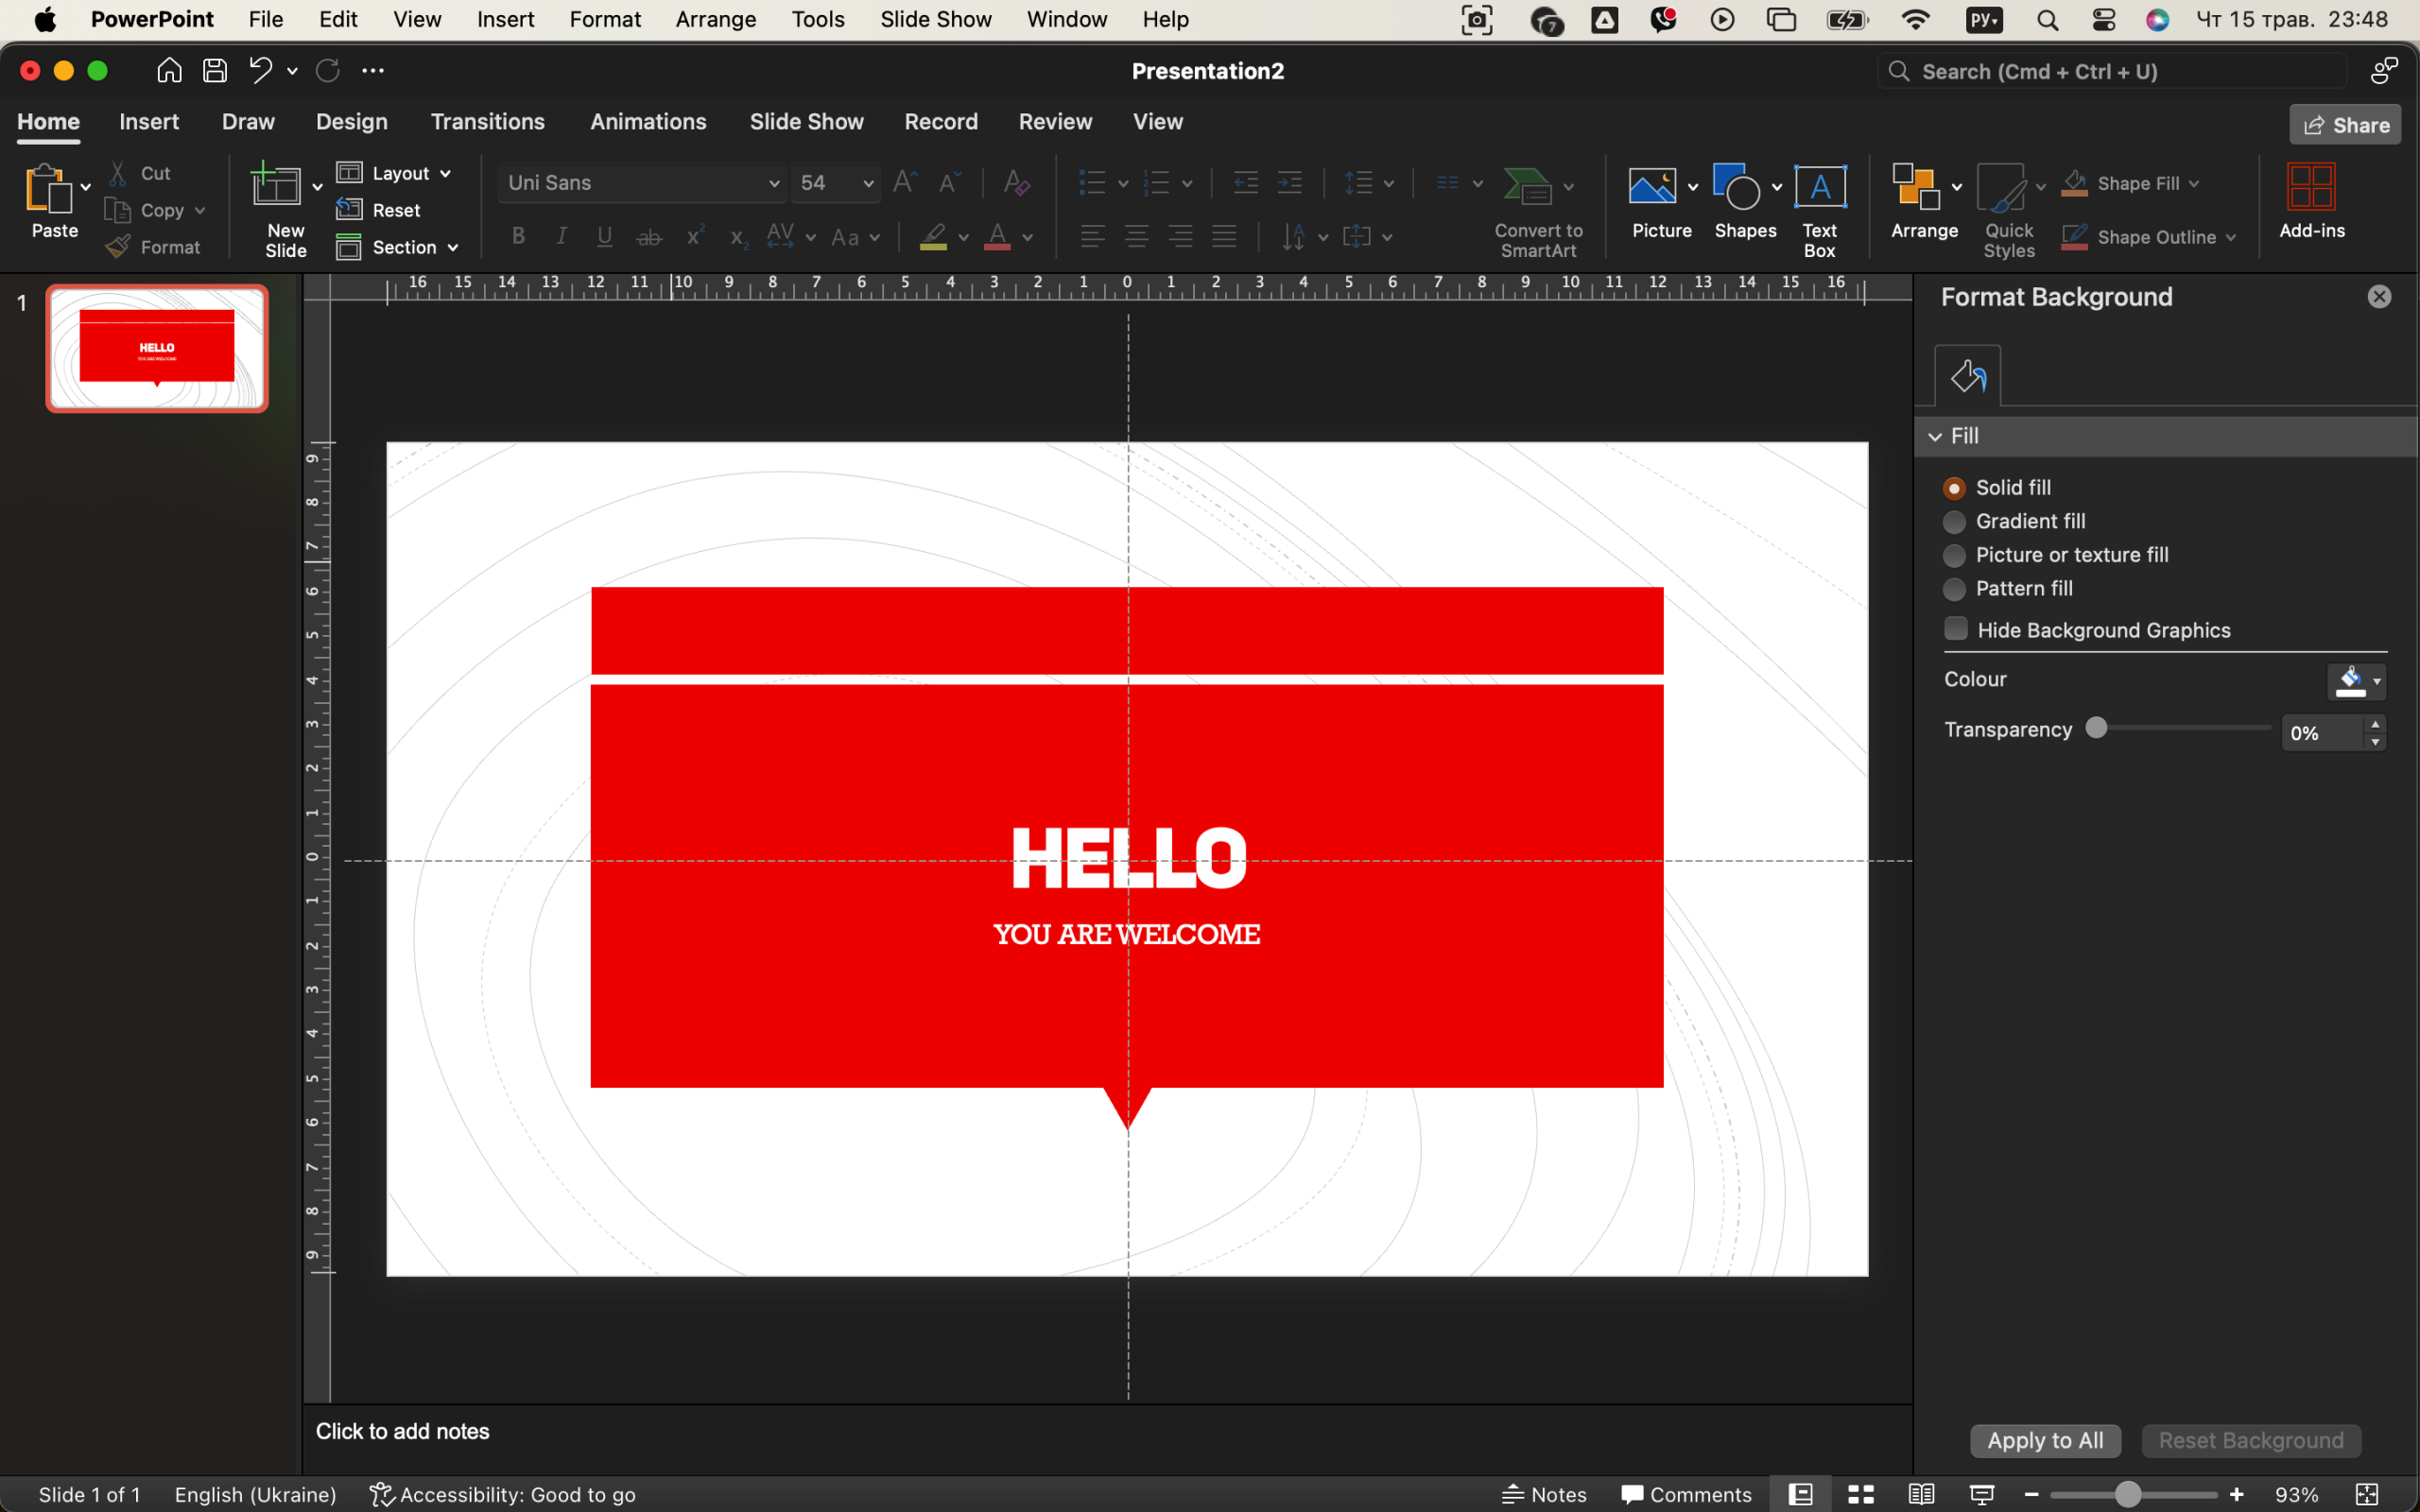
We’ll walk through building a multiple-choice quiz where users can click on answers, get instant feedback, and jump between slides based on their selections. Sounds cool? Let’s begin.
Read also: How to Conduct Interactive Polls and Quizzes in Zoom
1. Start With a Plan (Yes, Before Opening PowerPoint)
Before jumping into design, grab a pen or open Notepad and sketch the flow of your quiz. Ask yourself:
- How many questions will it include?
- Will it have right/wrong feedback?
- Will users get a score or just move forward?
Let’s say you’re building a 3-question quiz. Each question has 4 options, with feedback screens for right or wrong answers. That’s already:
- 3 question slides
- 3 correct answer slides
- 3 incorrect answer slides
- 1 title screen
- 1 final screen
That’s 10 slides minimum. Planning early saves time later.
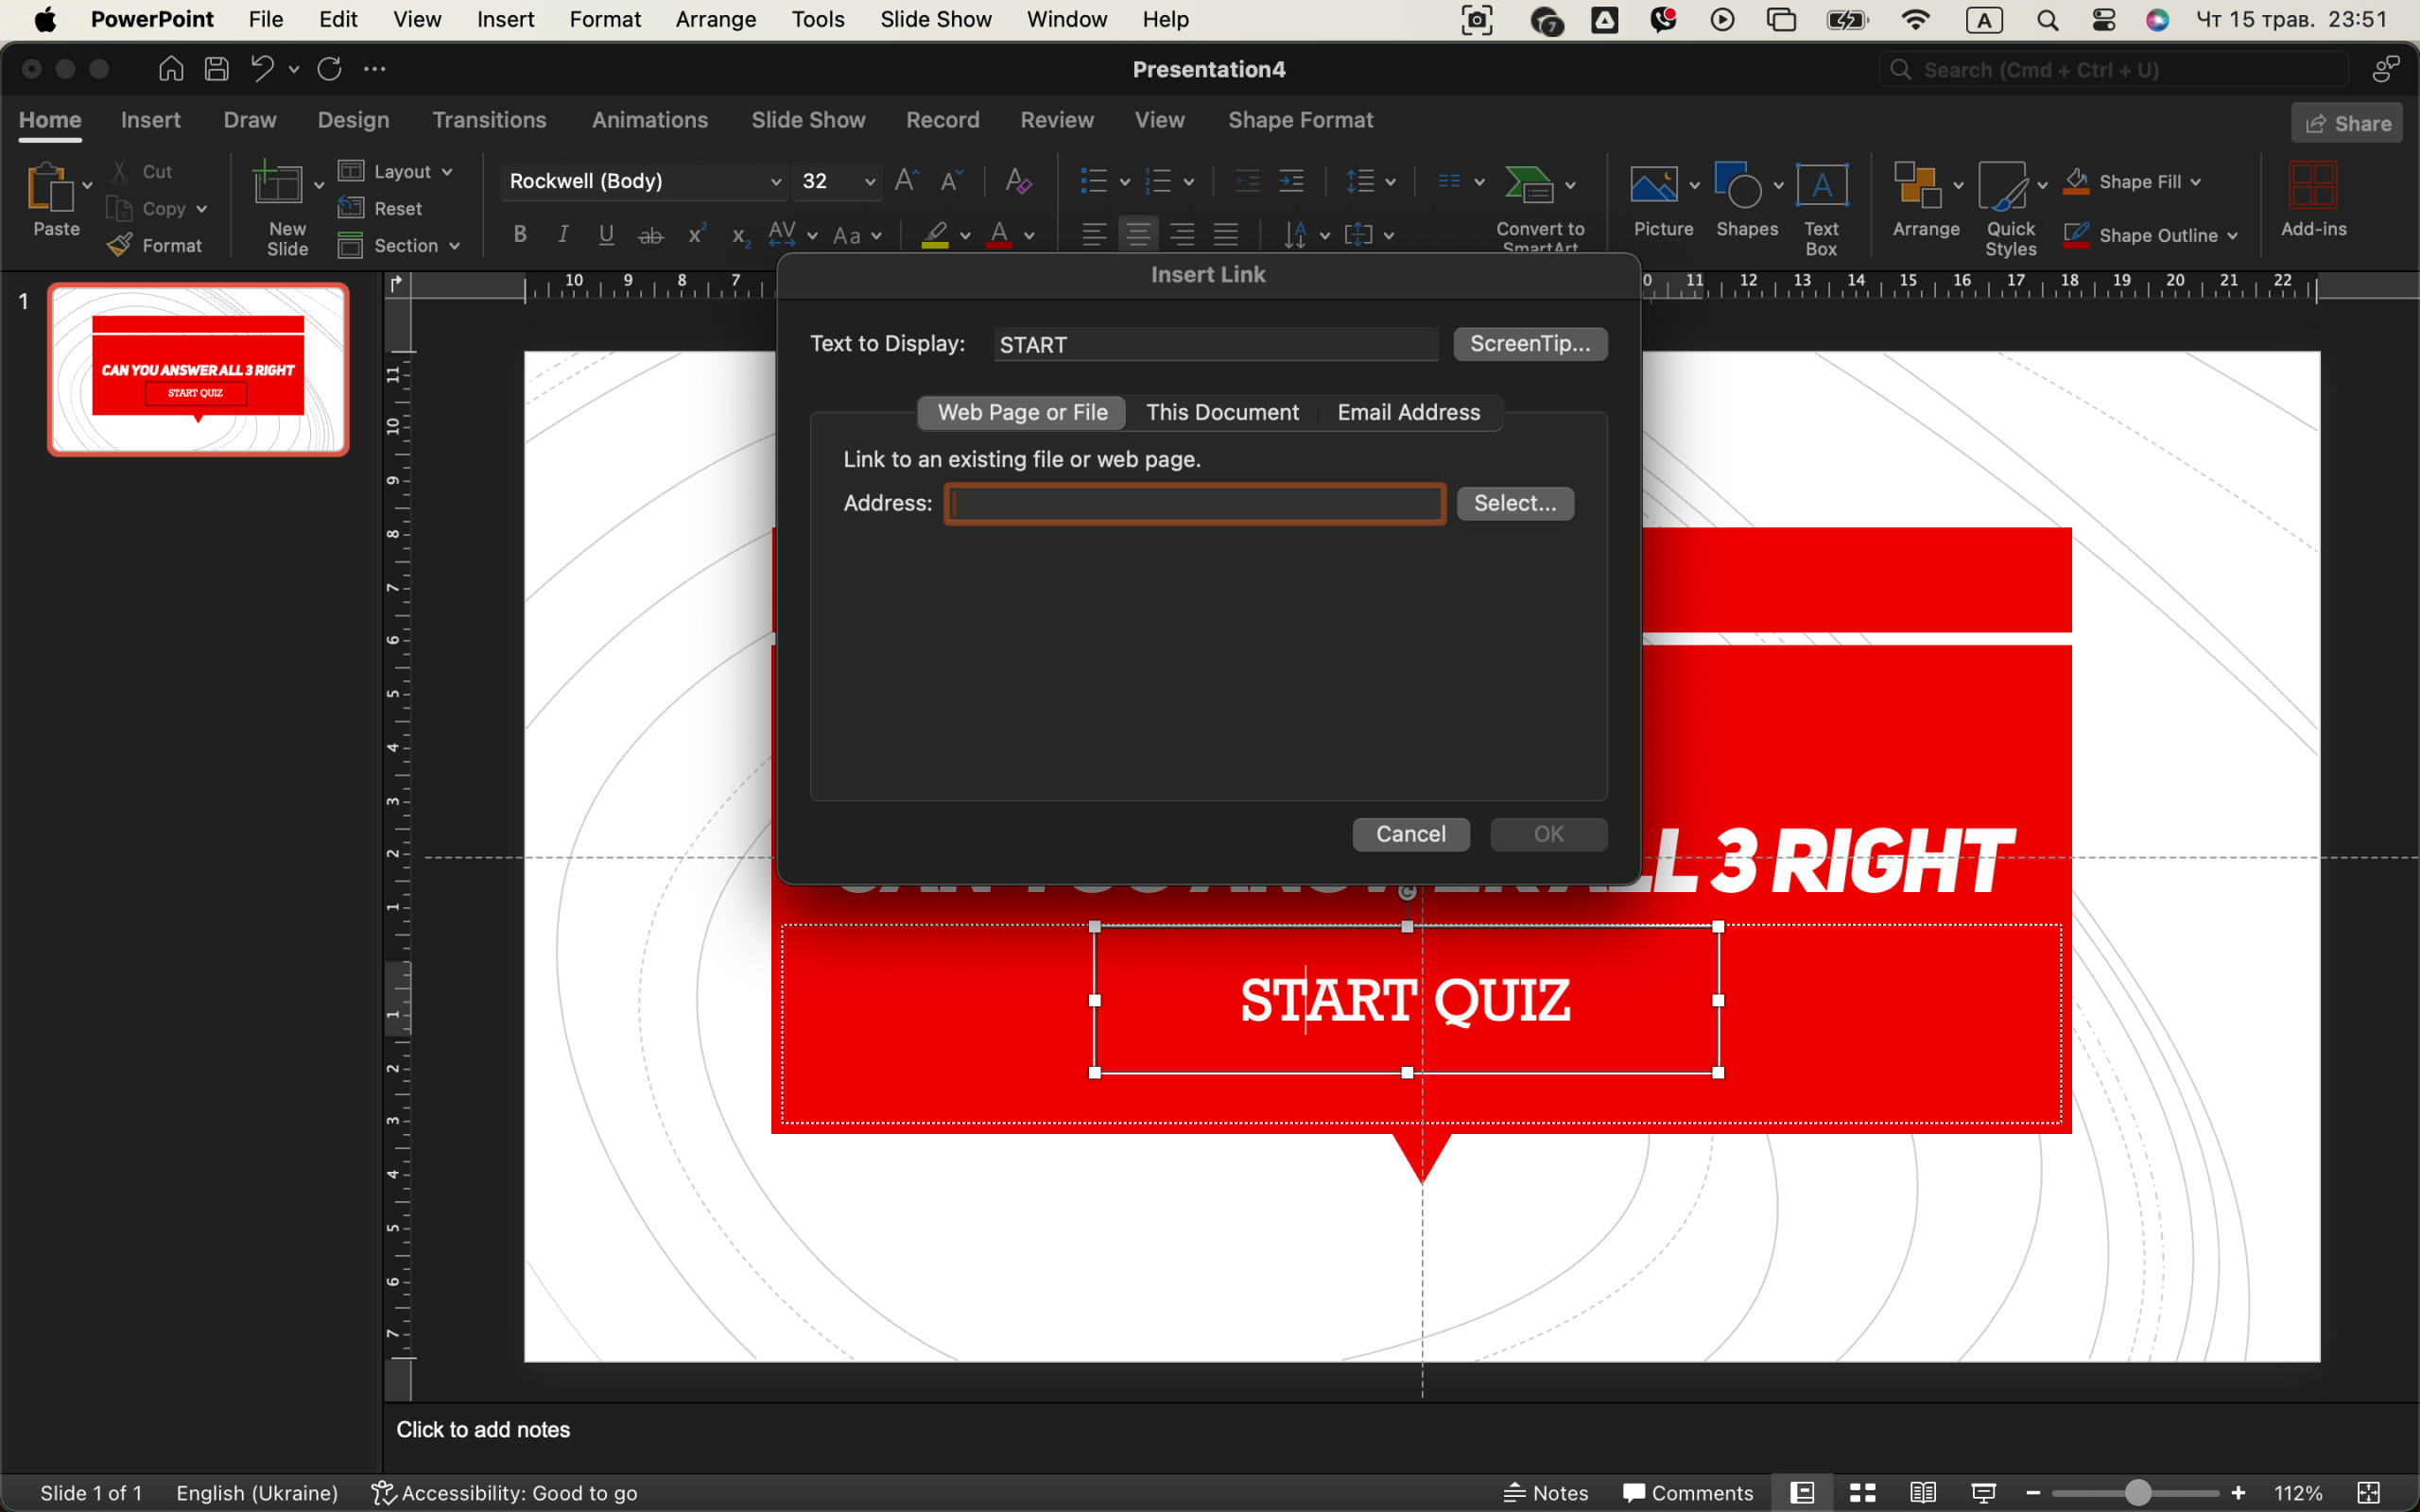
2. Create a Title Screen With a Start Button
Open PowerPoint and delete all placeholders. Set a blank background or insert a relevant image — something fun, not too busy. Add your quiz title in a bold font like “Let’s Test Your Knowledge!” or “Can You Answer All 3 Right?” 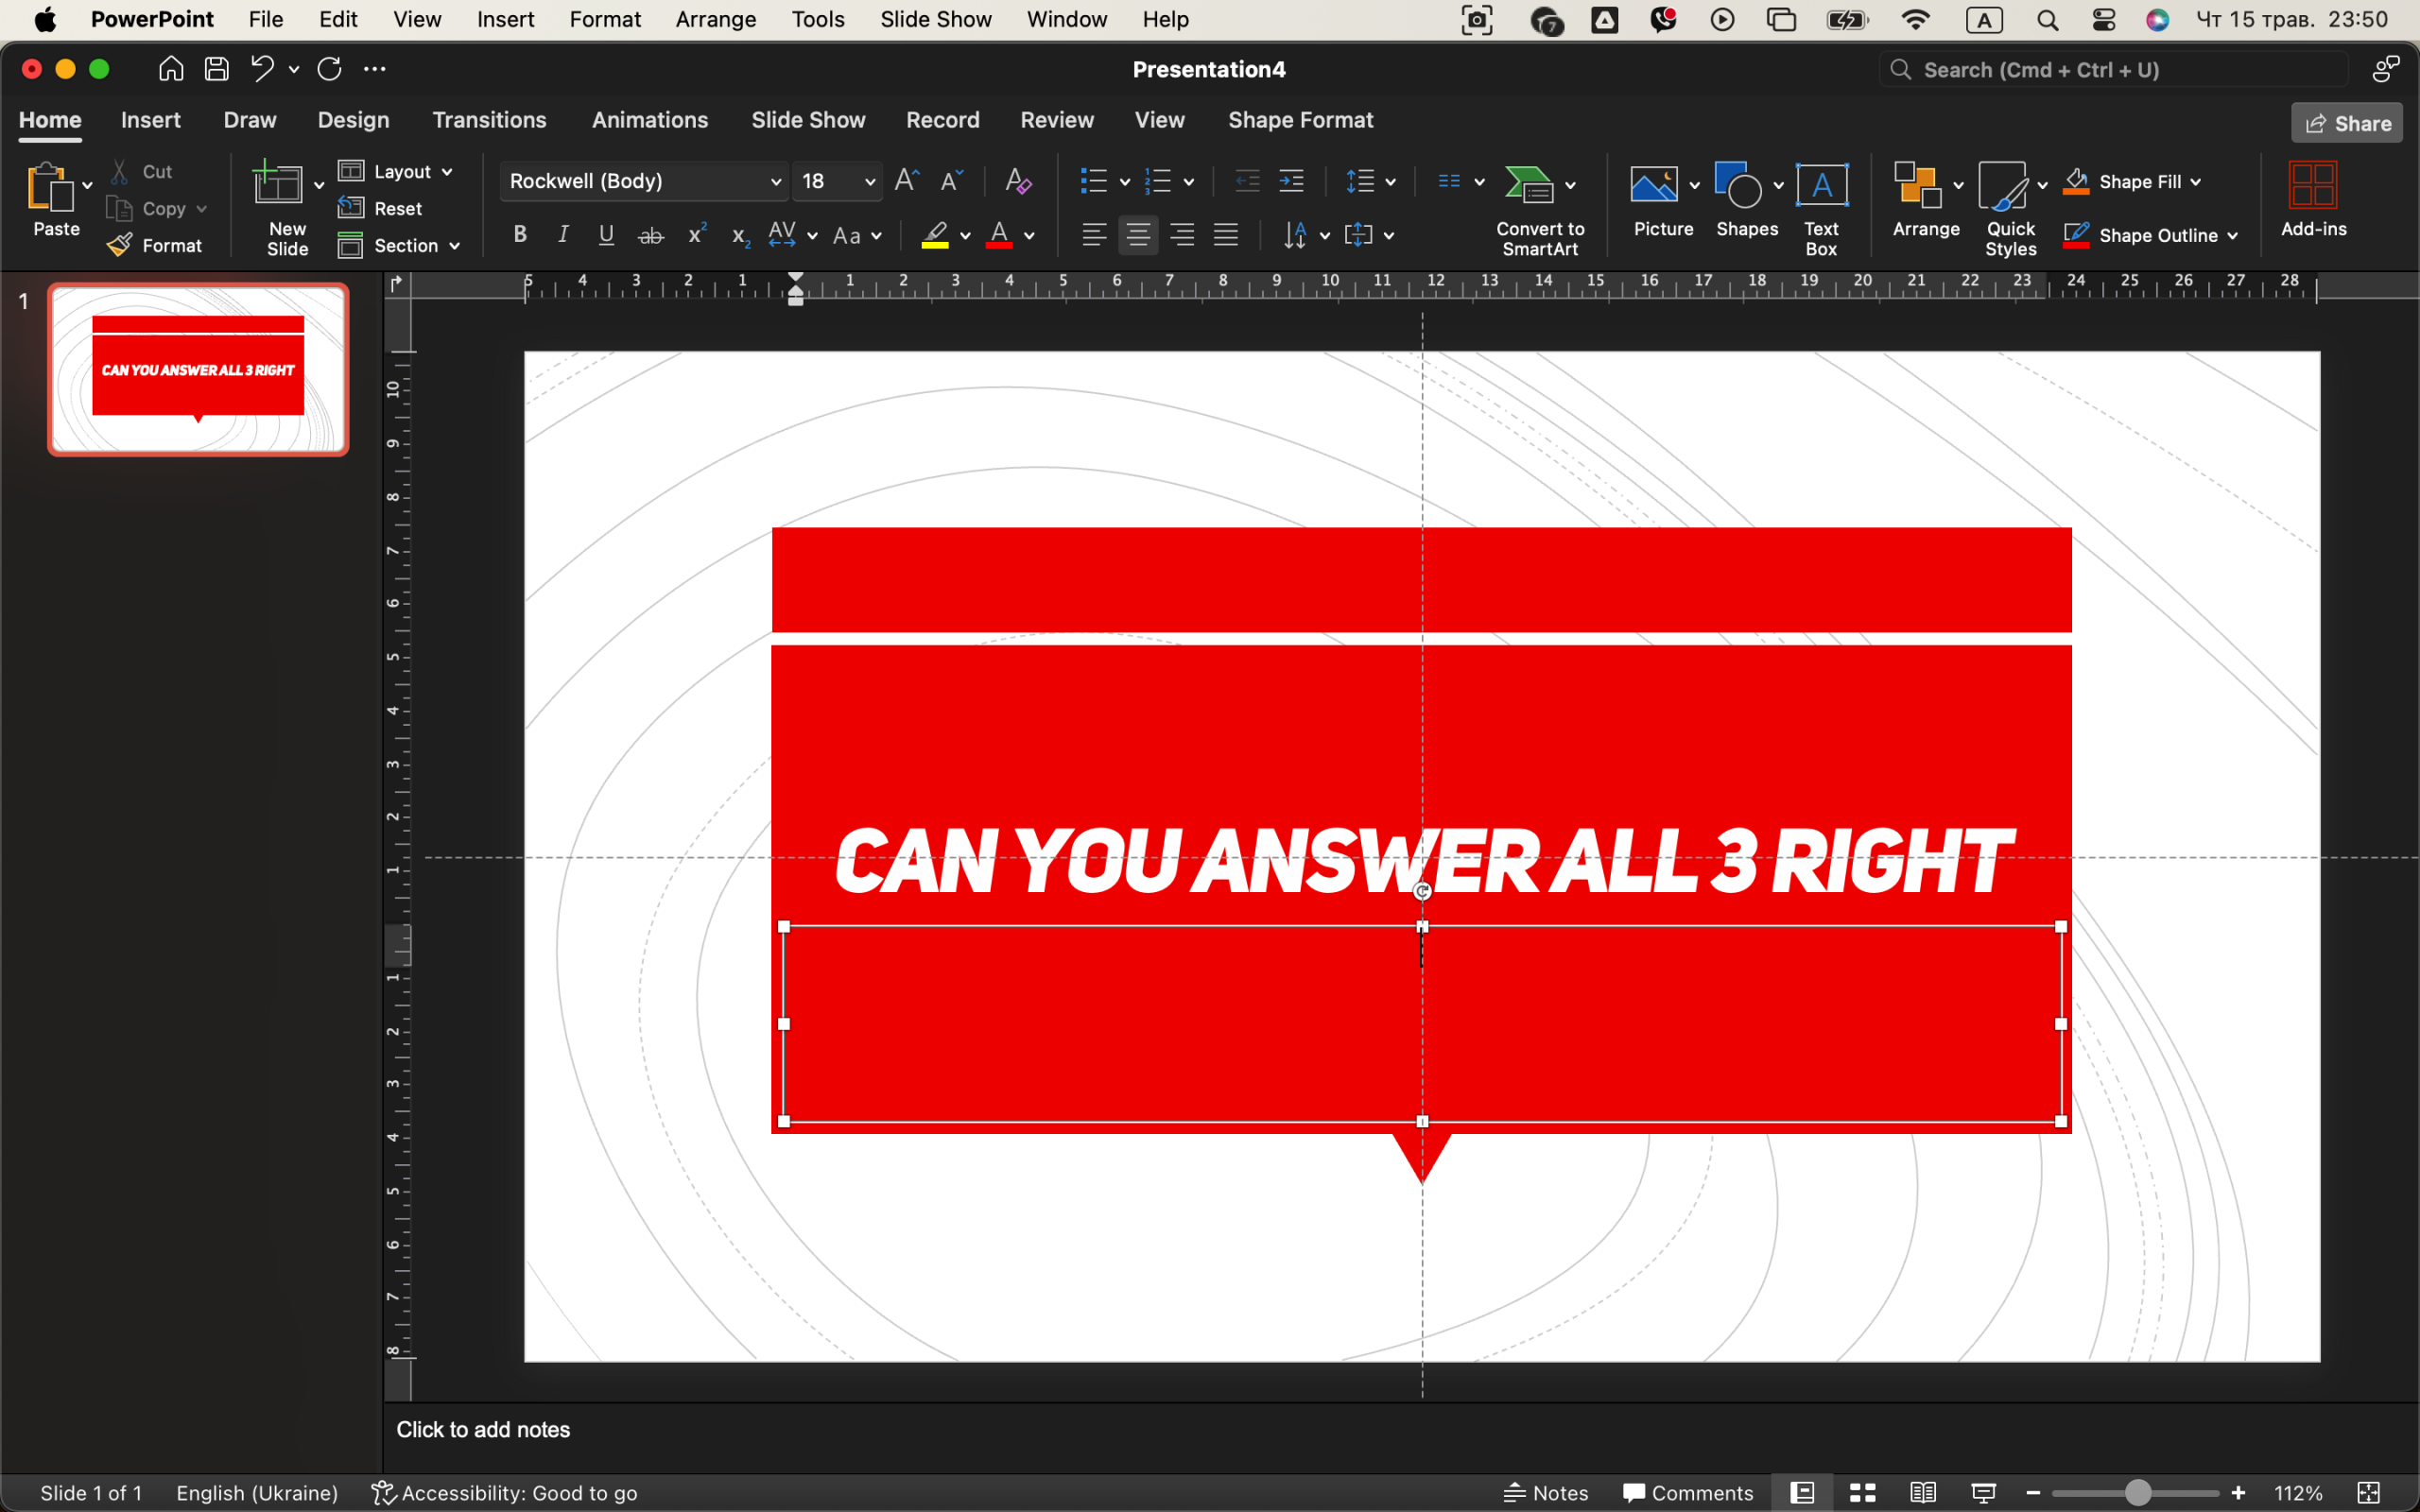
Now add a Start button. This is just a rectangle with text like “Start Quiz.” Go to Insert → Shapes, draw the rectangle, and write inside it. Then right-click → Link → Place in This Document → Slide 2 (Question 1).
Now when someone clicks that button, they’ll jump right into the first question.
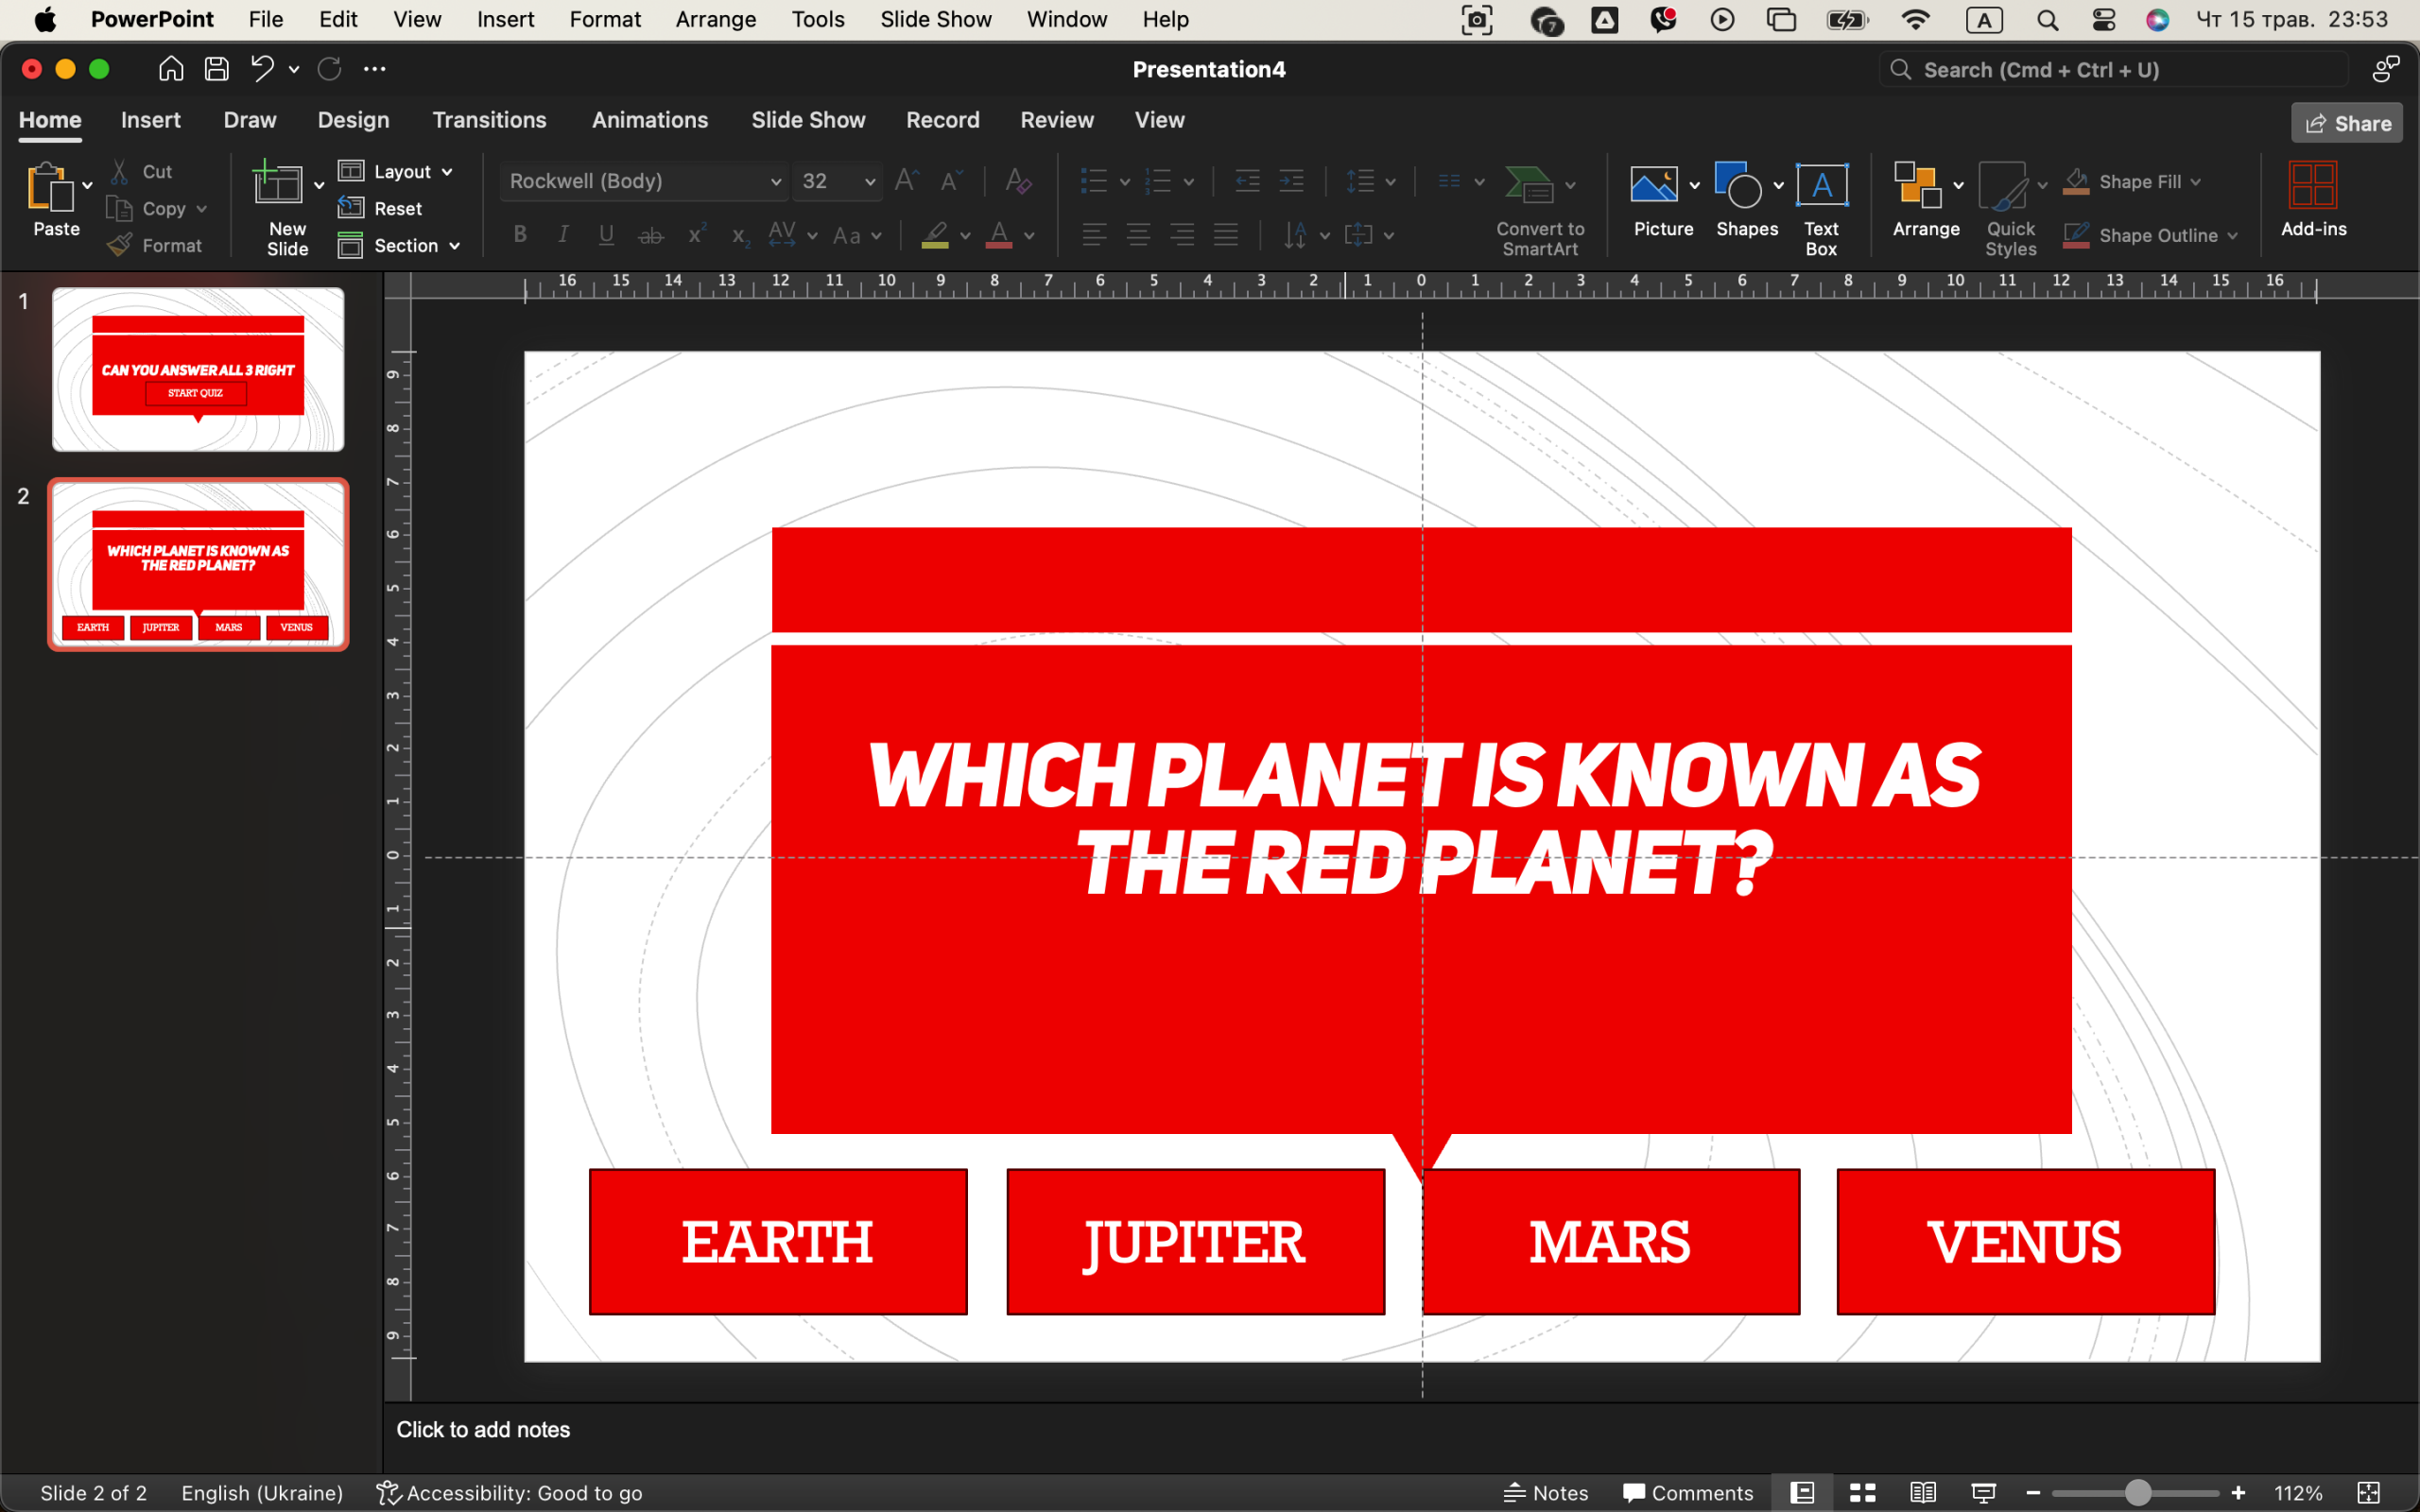
3. Designing the First Quiz Slide with Multiple Choices
Start by creating a new blank slide that will serve as your first question. At the top of the slide, type your quiz question — for example: “Which planet is famous for its reddish appearance?”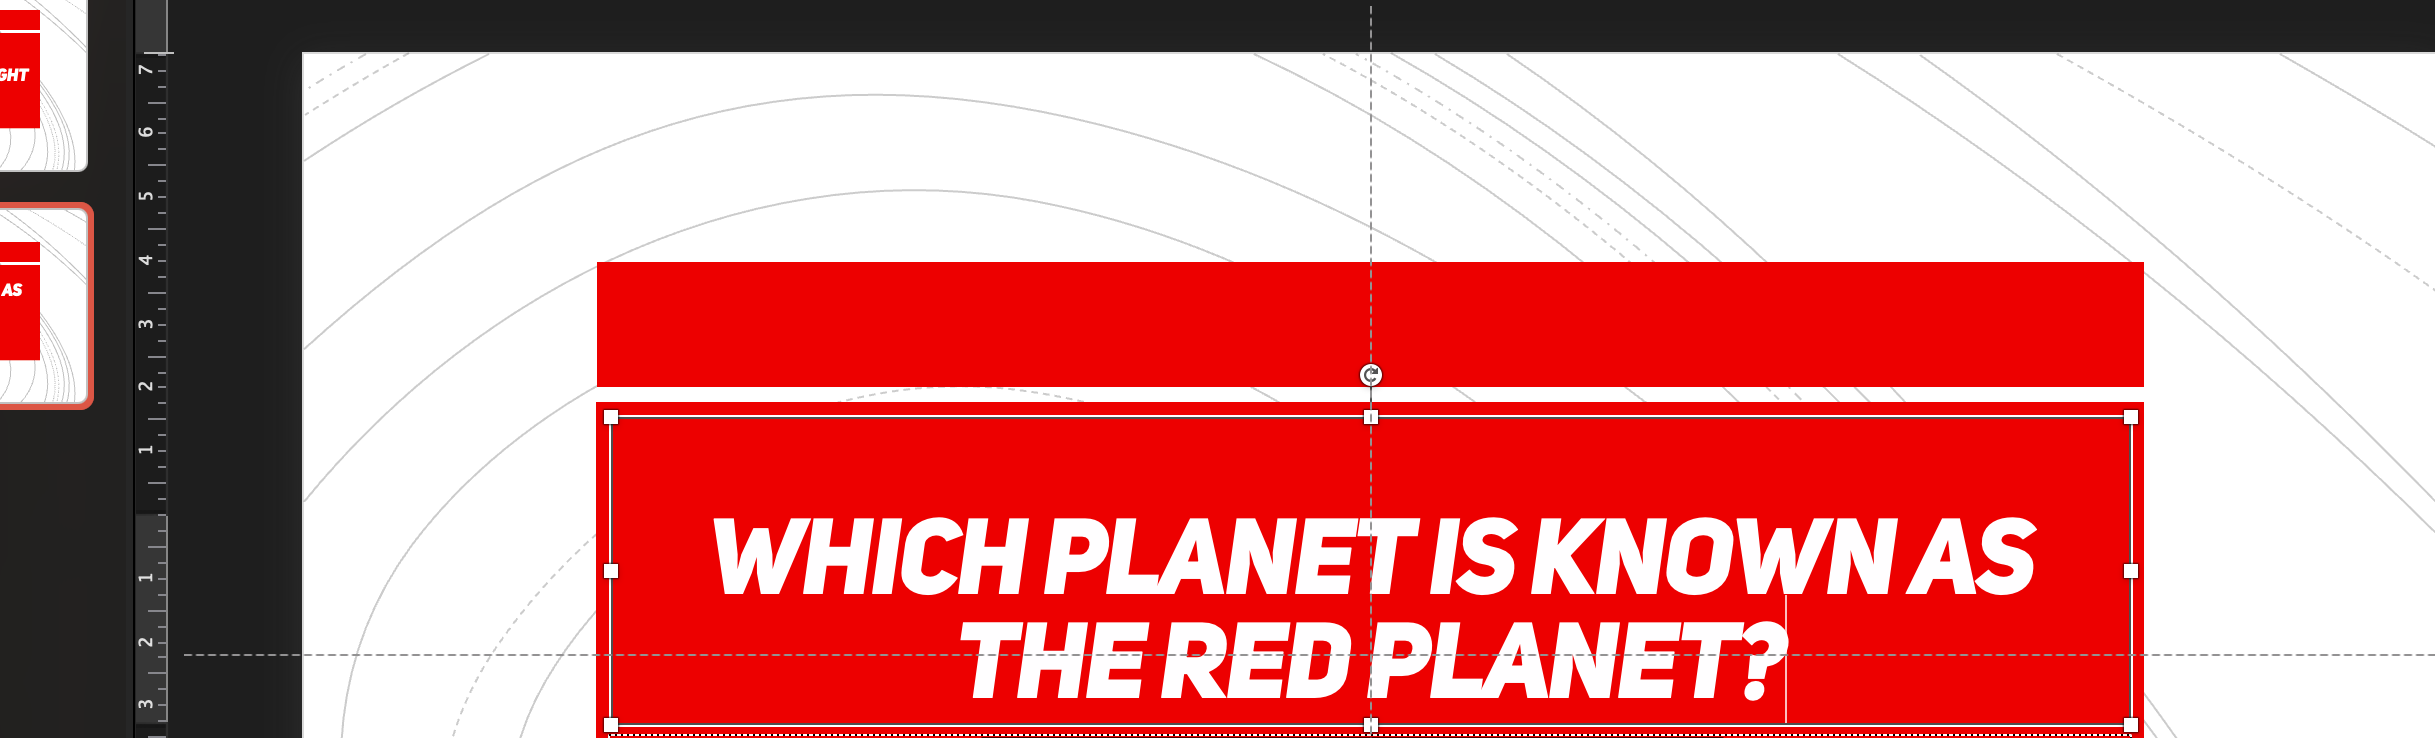
Now below that, lay out four clickable options using rectangles. The possible answers might be:
- Earth
- Jupiter
- Mars
- Venus
To add these buttons, go to Insert → Shapes → Rectangle, and place them beneath the question. Feel free to style the rectangles — play with outlines, colors, or rounded edges depending on the feel you want.
Once the buttons are in place, assign navigation links to each. Right-click a rectangle, choose Link → Place in This Document, and select the destination slide. For the correct option (Mars), send it to a slide with a positive response. For the incorrect ones, direct them to an error slide.
Congratulations — you’ve just set up the foundation for interactive navigation in your quiz.
4. Crafting Feedback Screens for Right and Wrong Answers
Now it’s time to give the user feedback based on what they selected. Create two separate slides: one for a correct answer, and one for when a mistake is made. 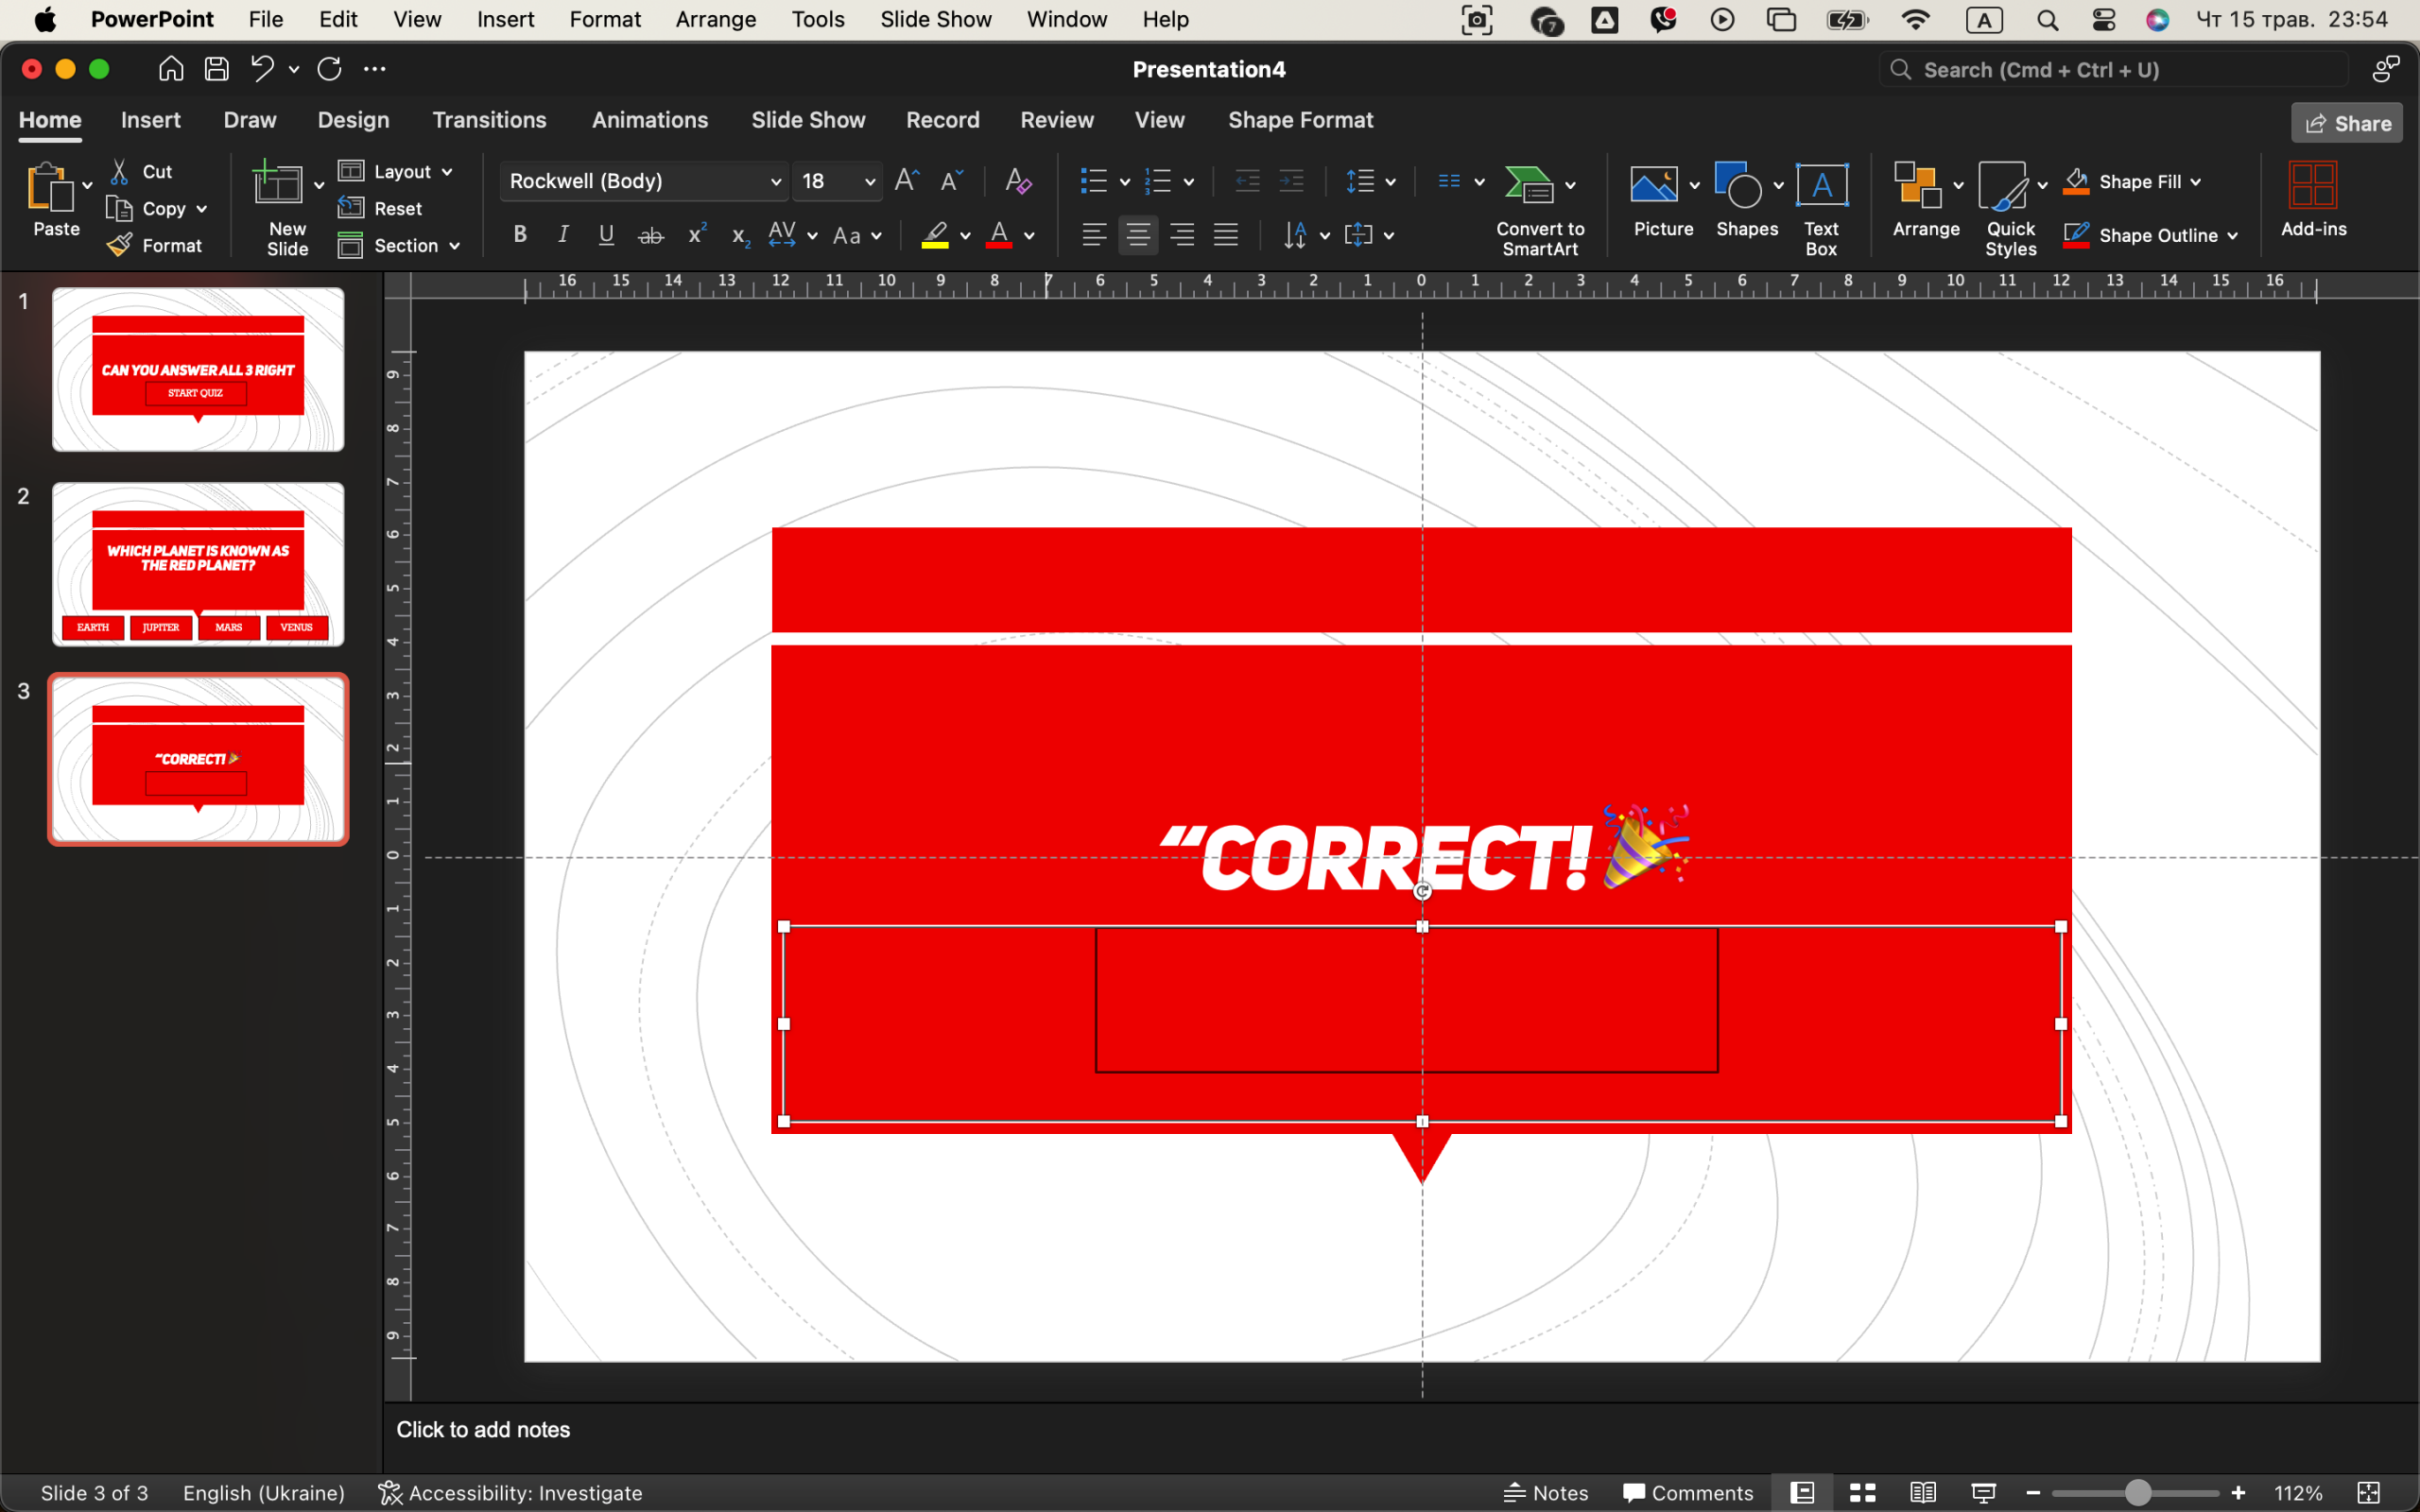
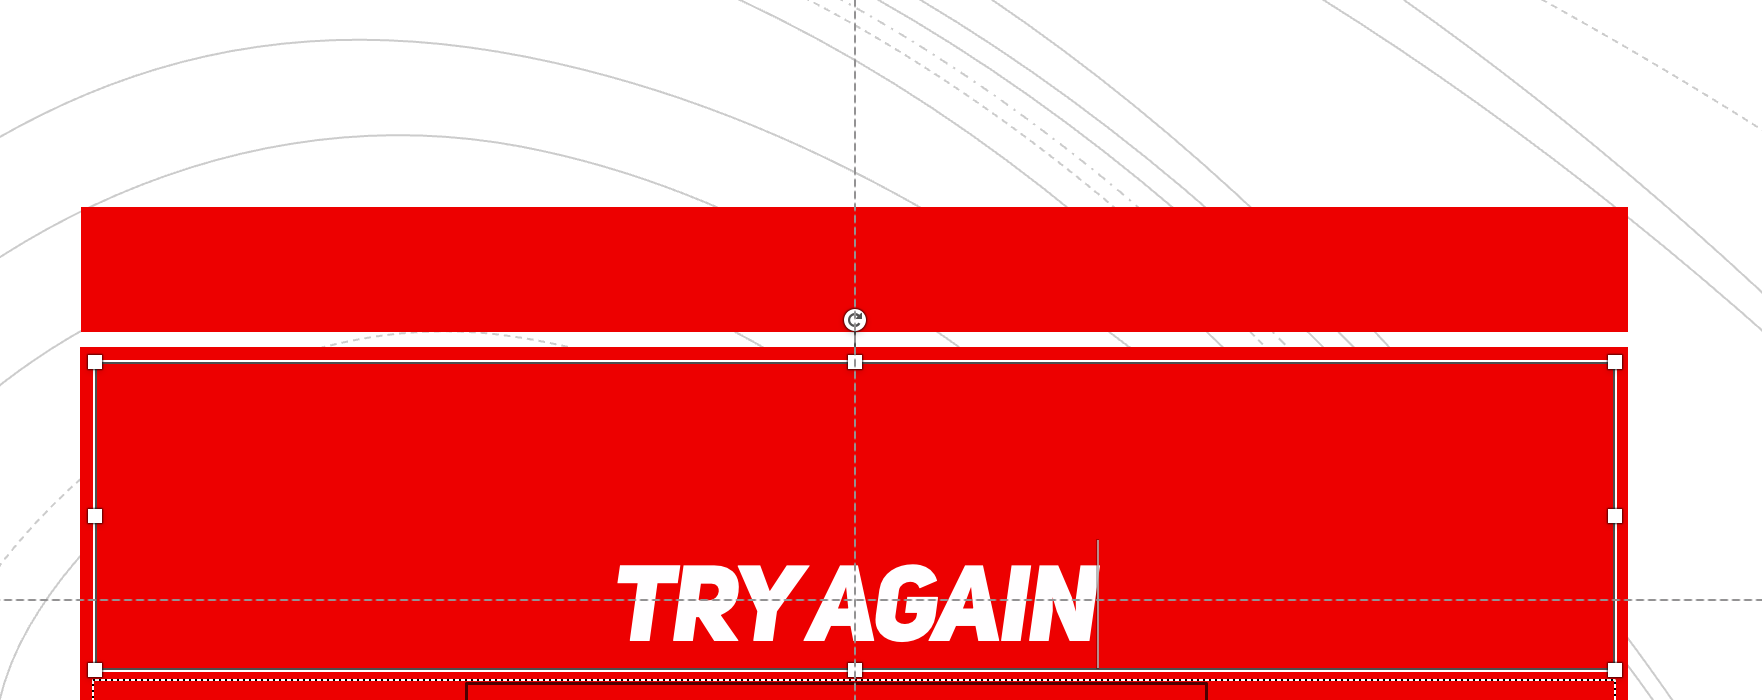
For the correct response, design a slide that simply displays a celebratory message like “That’s right!” or “Correct! 🎉”. Add a clearly labeled button such as “Next Question” that routes the user to the following quiz item. Next, make a slide for incorrect attempts. This might say something like “Oops! Try again.”, maybe with a red icon or a humorous image if your tone allows it. Add a button titled “Retry” or “Back to Question” that sends users back to the slide they came from, giving them a second chance. To make things visually intuitive, use color to communicate: green backgrounds or elements for success, red for mistakes. This subtle cue reinforces understanding before a single word is read. 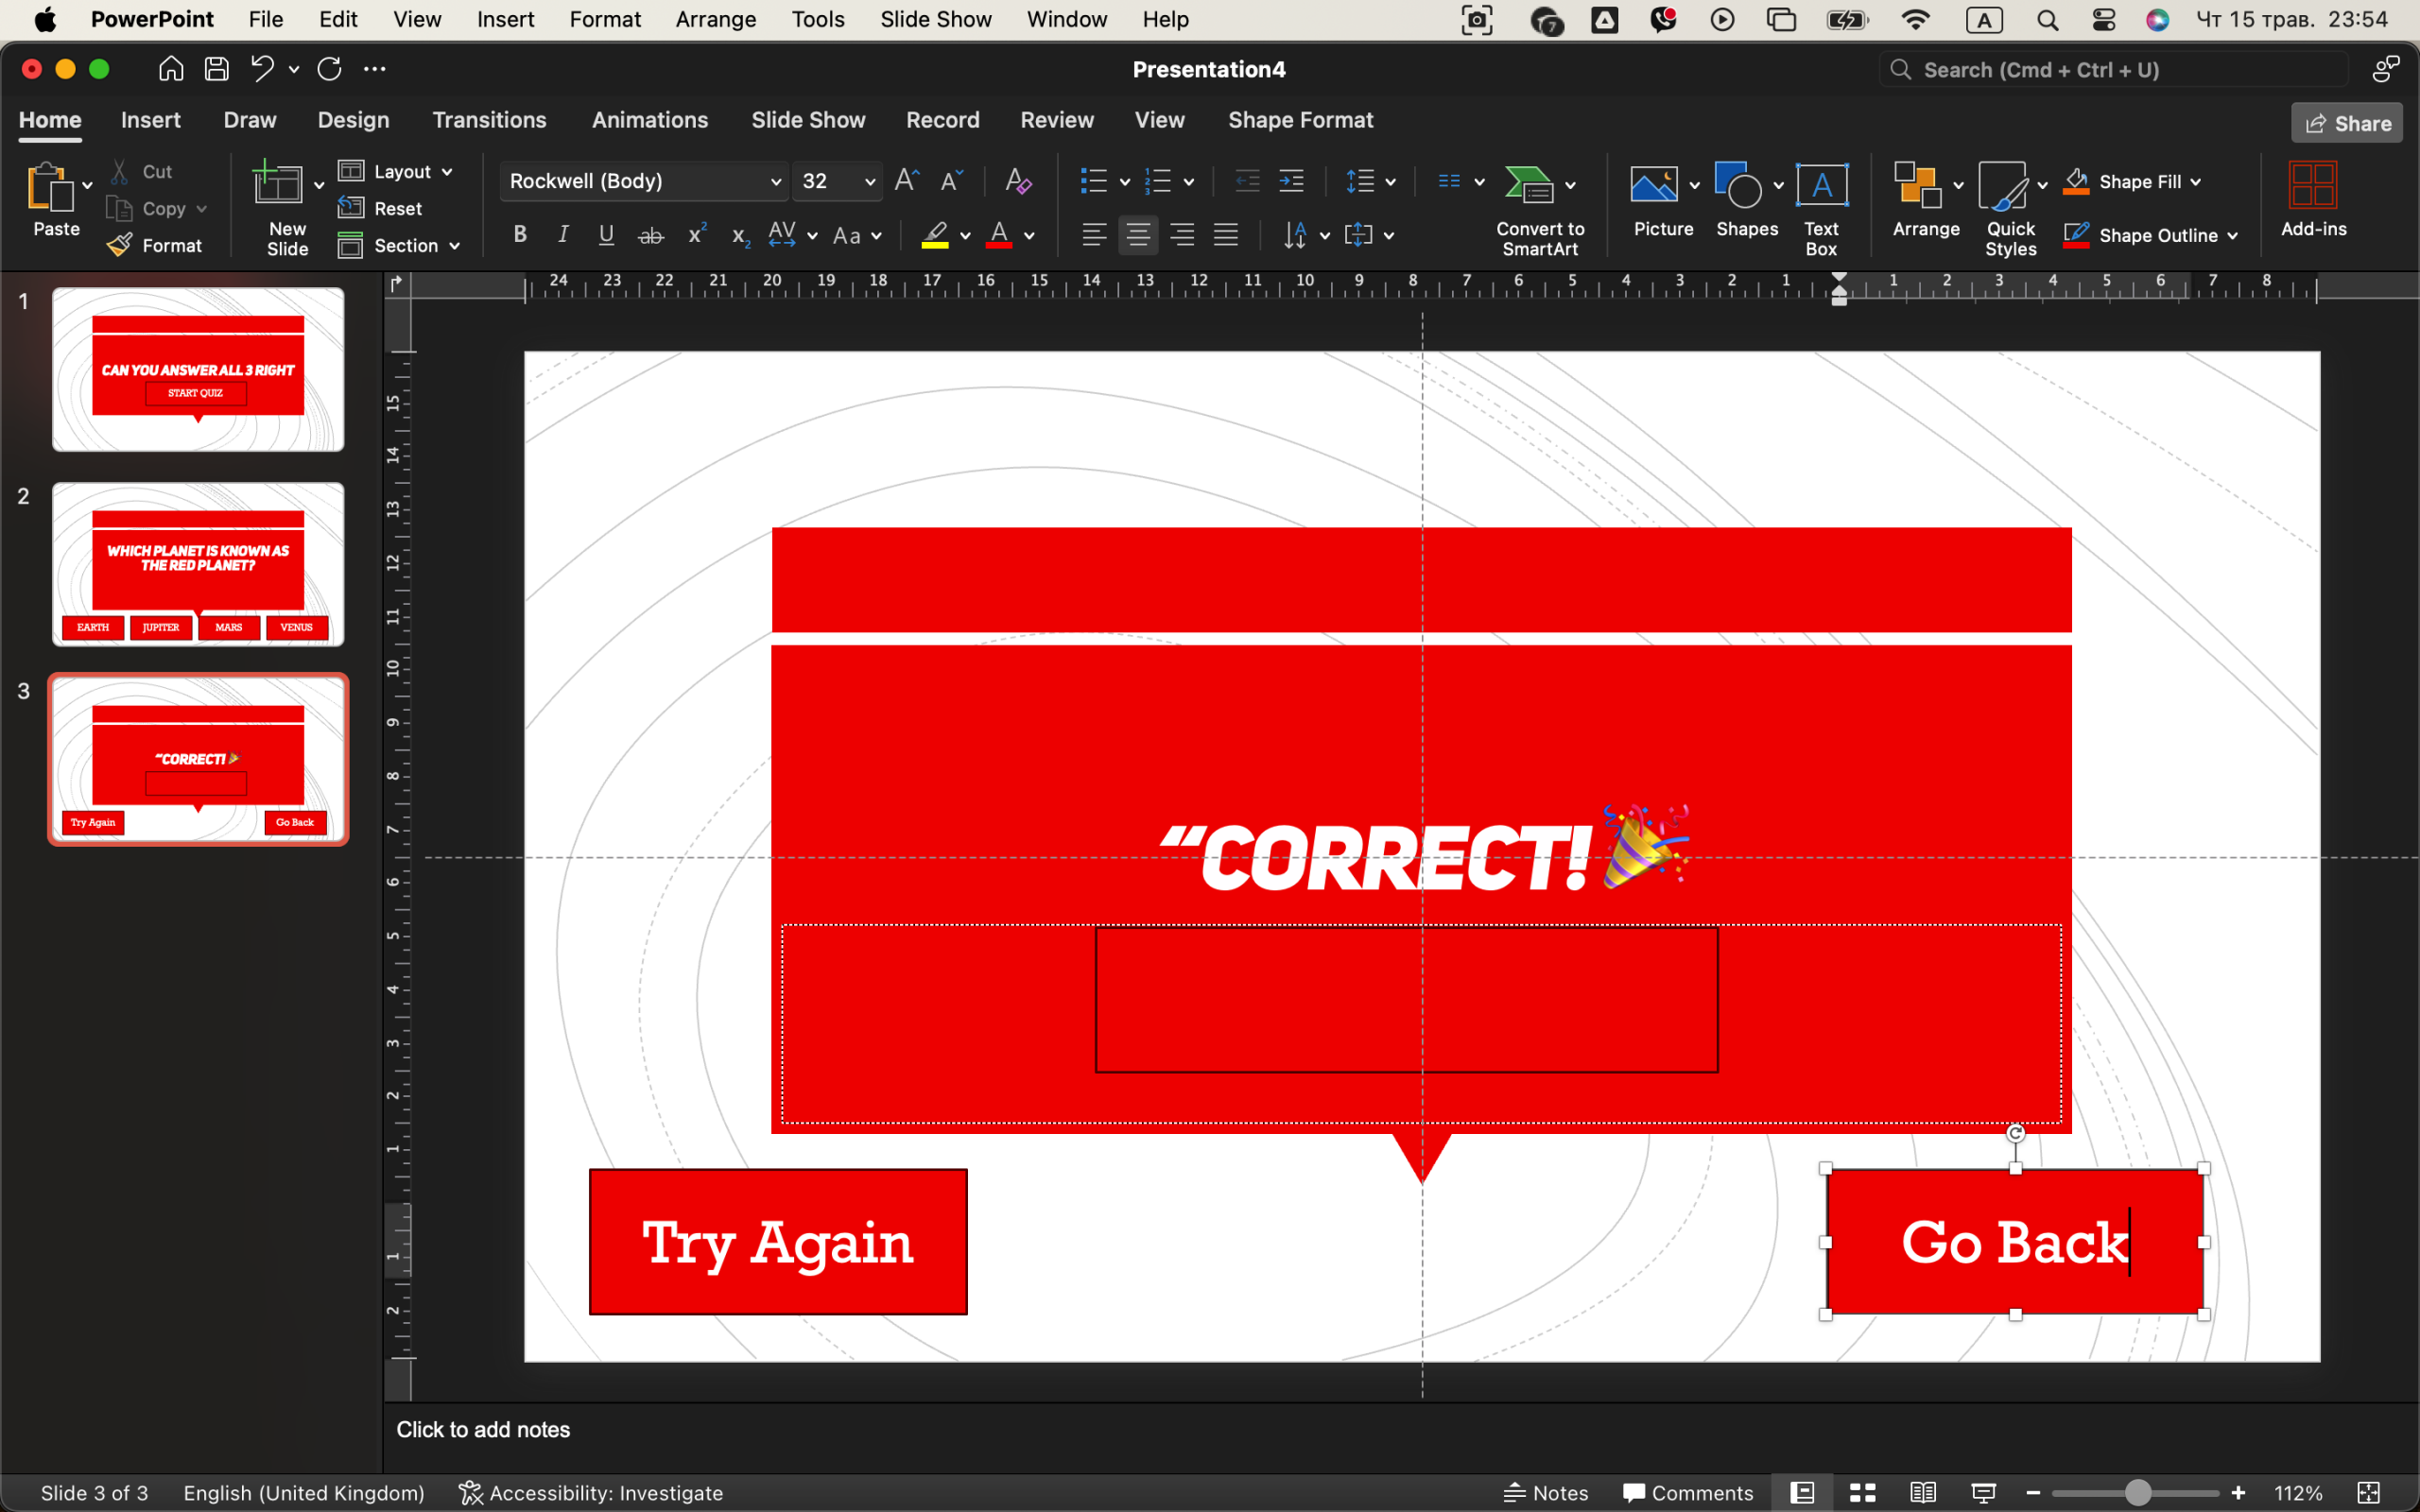
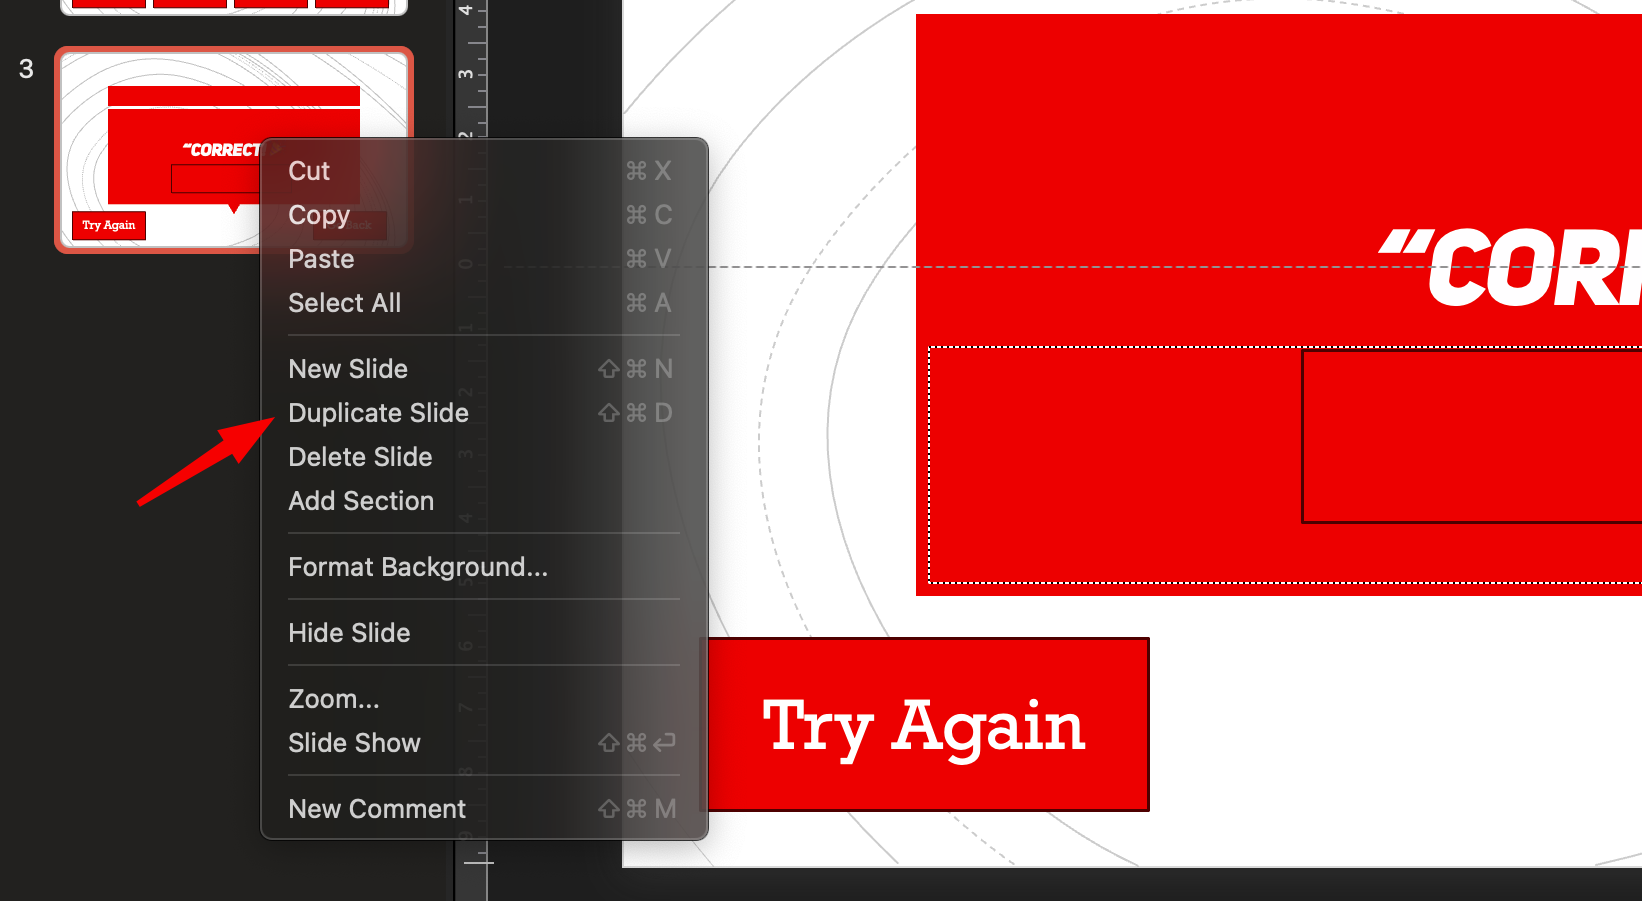
5. Duplicating and Expanding for Additional Questions
With the first question fully functional, it’s time to scale the structure. Duplicate your original question slide and edit the content to create a new one — simply swap the question text and modify the answers accordingly.
Each new question should follow the same logic:
- Update the destination of each clickable answer
- Create new, matching “Correct” and “Incorrect” feedback slides
- Verify all buttons are correctly linked
To keep things organized, it’s a good idea to label slides clearly using Slide Sorter view (accessible via View → Slide Sorter). Give slides names like “Q2,” “Q2-Right,” or “Q2-Wrong” so you can quickly spot and edit them if needed.
Visualizing the flow of your quiz as a branching tree will help you navigate and build more confidently — especially if your quiz has more than just a couple of questions.
6. Add a Final Score Slide (Optional)
While PowerPoint can’t track scoring like a web quiz, you can simulate it. On the last screen, add multiple buttons:
- “You got 3 out of 3!”
- “You got 2 correct”
- “Try again”
Link each to different slides depending on where the user lands based on your quiz structure. If you want to go deeper, you can learn how to use VBA (Visual Basic for Applications) to track score, but for now we’ll keep it button-based.
7. Make It Look Polished
Consistency matters. Use the same background, font, and button style across all slides. If you’re using icons, make sure they’re flat-style or outlined — don’t mix both. Add transitions between slides using Fade or None to keep it clean.
Add a little sound? Sure — go to Insert → Audio → From File and add a fun correct/wrong chime. Just make sure it’s short and non-intrusive. 
You can also animate answer buttons to “glow” or slightly enlarge when hovered, but don’t overdo it.
8. Test Every Button (Yes, Every One) 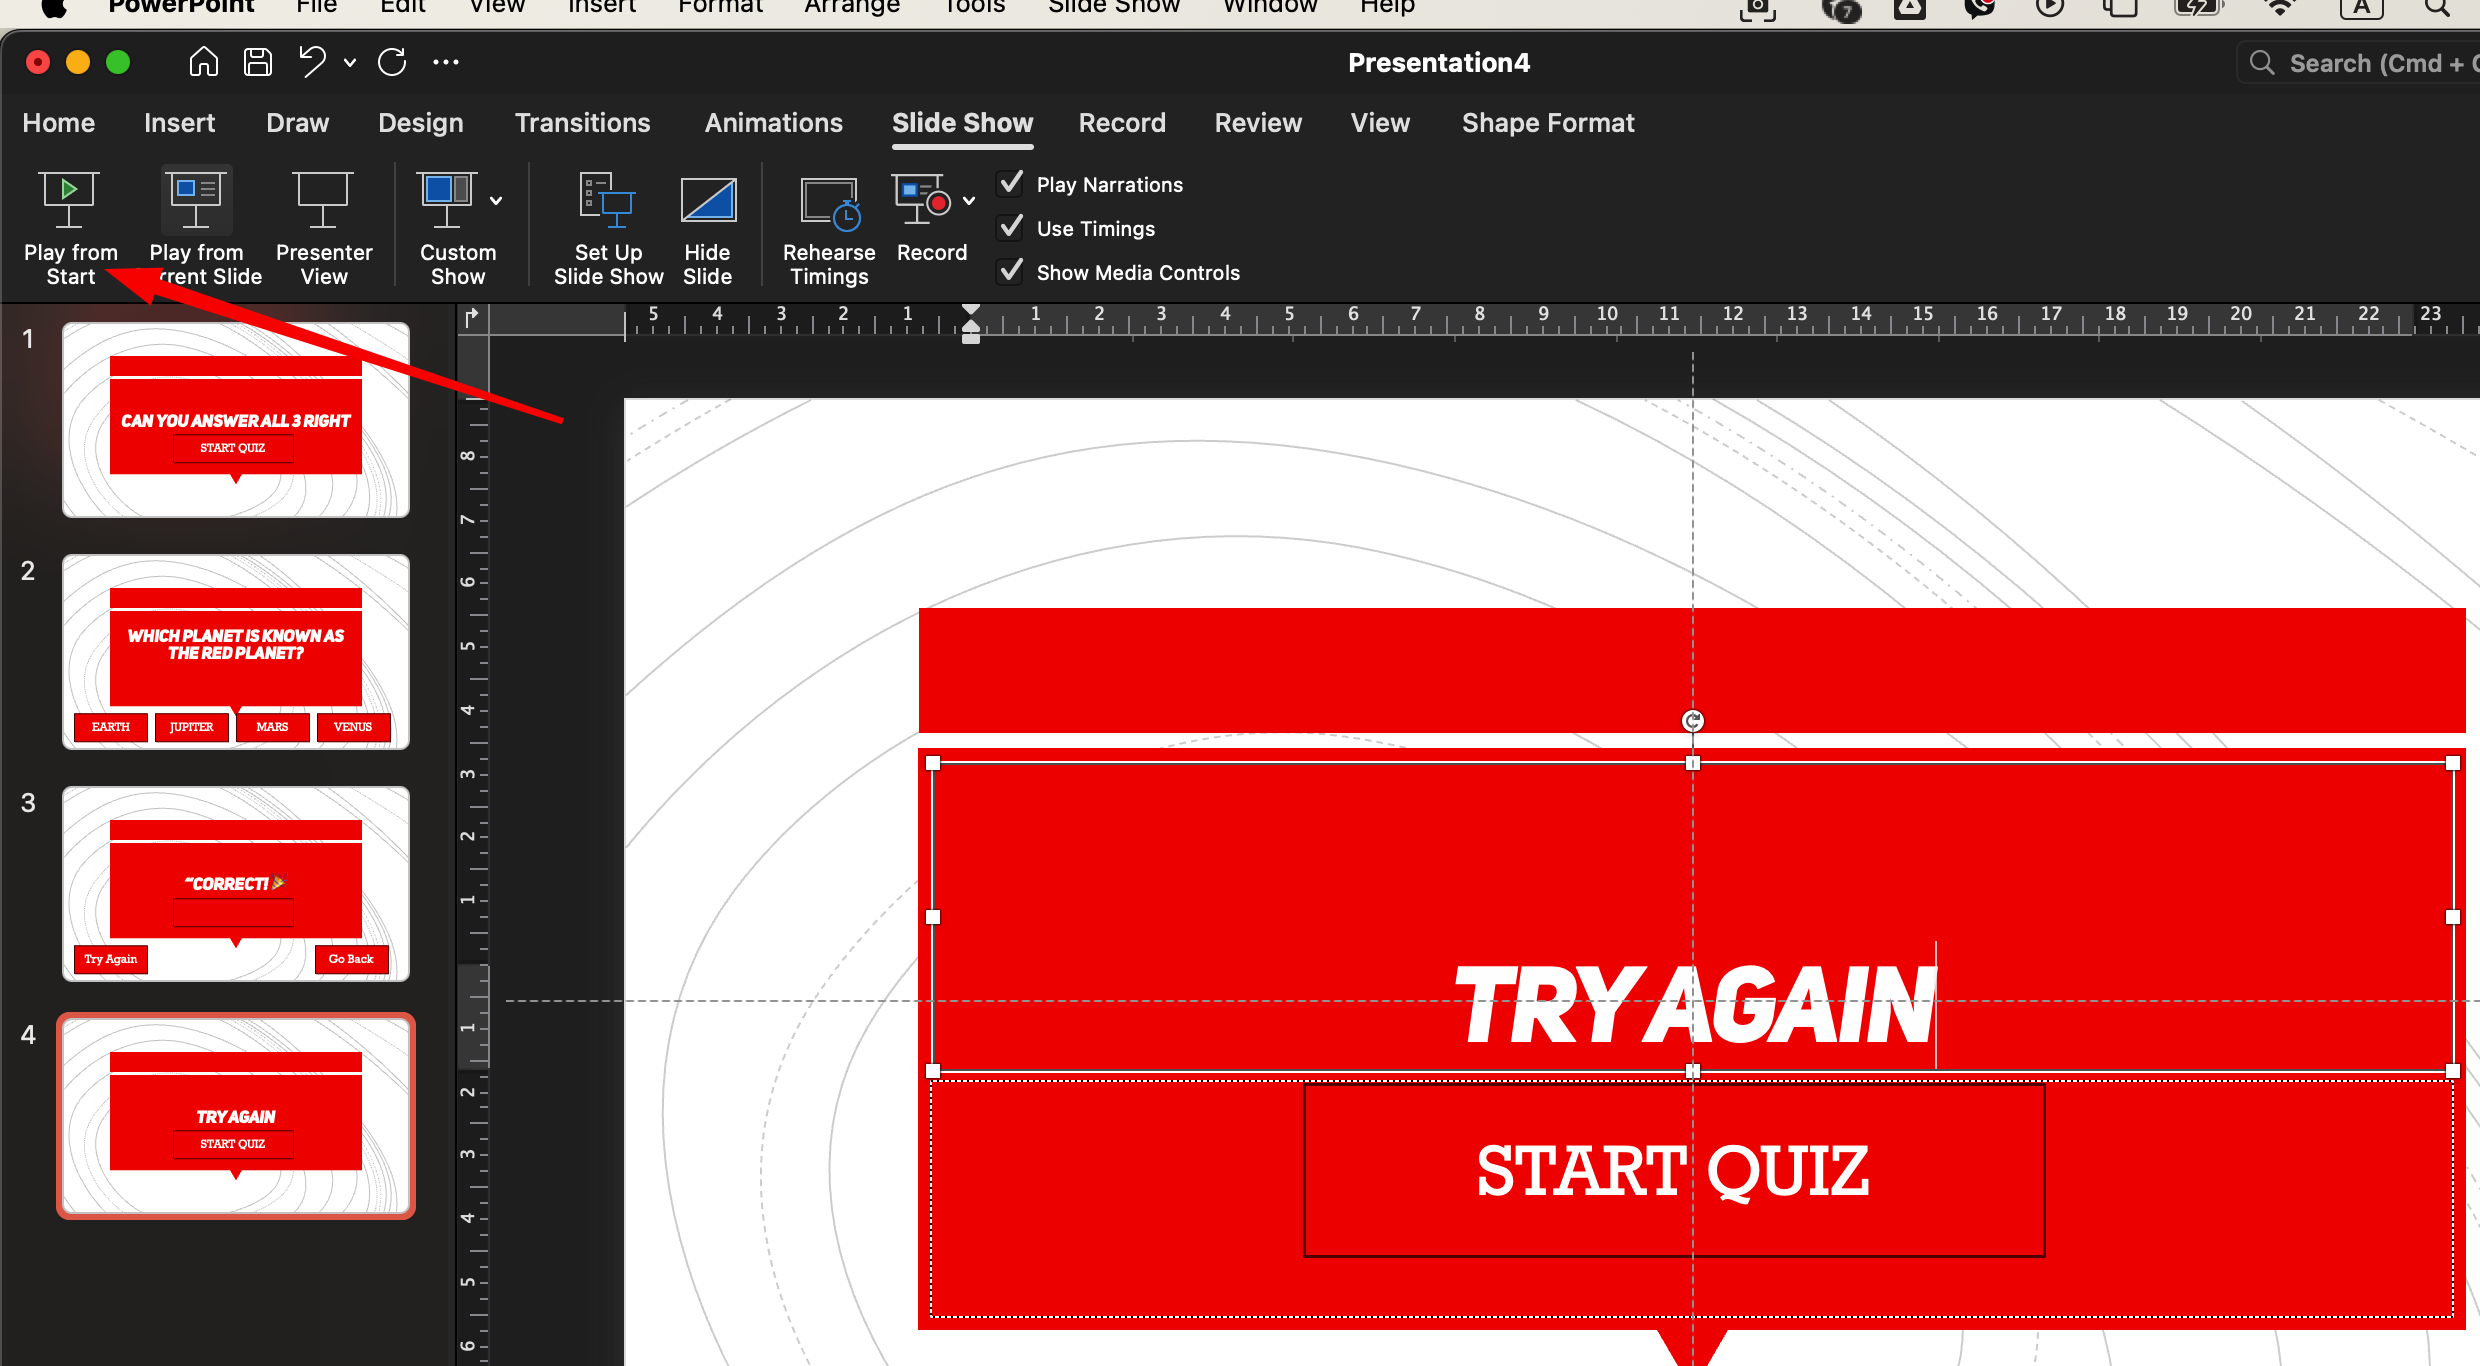
This is the most important part. Go into Slide Show mode, and try your quiz from start to finish. Test every link:
- Does the Start button work?
- Do right answers go to the right slide?
- Do incorrect answers loop back properly?
Use Slide Sorter view to double-check that your structure flows logically. Rename slides for clarity: Q1, A1-Right, A1-Wrong, etc.
9. Export as a Clickable File
Once everything works, save your file normally. To keep the buttons functional, you must send the file as a .PPTX — not PDF.
To avoid users accidentally moving elements, you can export it as a PowerPoint Show:
- File → Save As → Select .PPSX
Now when someone opens the file, it launches straight into full-screen mode — perfect for sharing with others.
Final Thoughts
PowerPoint is more powerful than most people realize. With just shapes, links, and a little creativity, you can build interactive tools that feel more like apps than slides. Quizzes like these are perfect for classrooms, training sessions, events, or just fun with friends.
And best of all? You didn’t need a single line of code. Just PowerPoint — and your brain.
Now go ahead: open PowerPoint, and start building your first interactive quiz. It’s easier (and more fun) than you think.


