
Photoshop is well known for its ability to manipulate text beyond the ordinary. Among the many creative options, warping text into dynamic, fluid shapes opens the door to modern poster designs, website headers, product packaging, and even logos. This tutorial will show you how to create a clean, professional text warp effect from scratch — with precision, control, and visual appeal. 
Unlike basic distortion, this method focuses on structure and subtle flow, making your text feel more alive without compromising legibility. You’ll learn how to use the Warp tool, smart objects, and blend modes in a strategic way that keeps the design editable and polished.
Step 1: Create a New Document and Set Up the Background
Open Photoshop and start a new project:
- Go to File > New. Choose a size such as 1920×1080 px, 300 dpi.
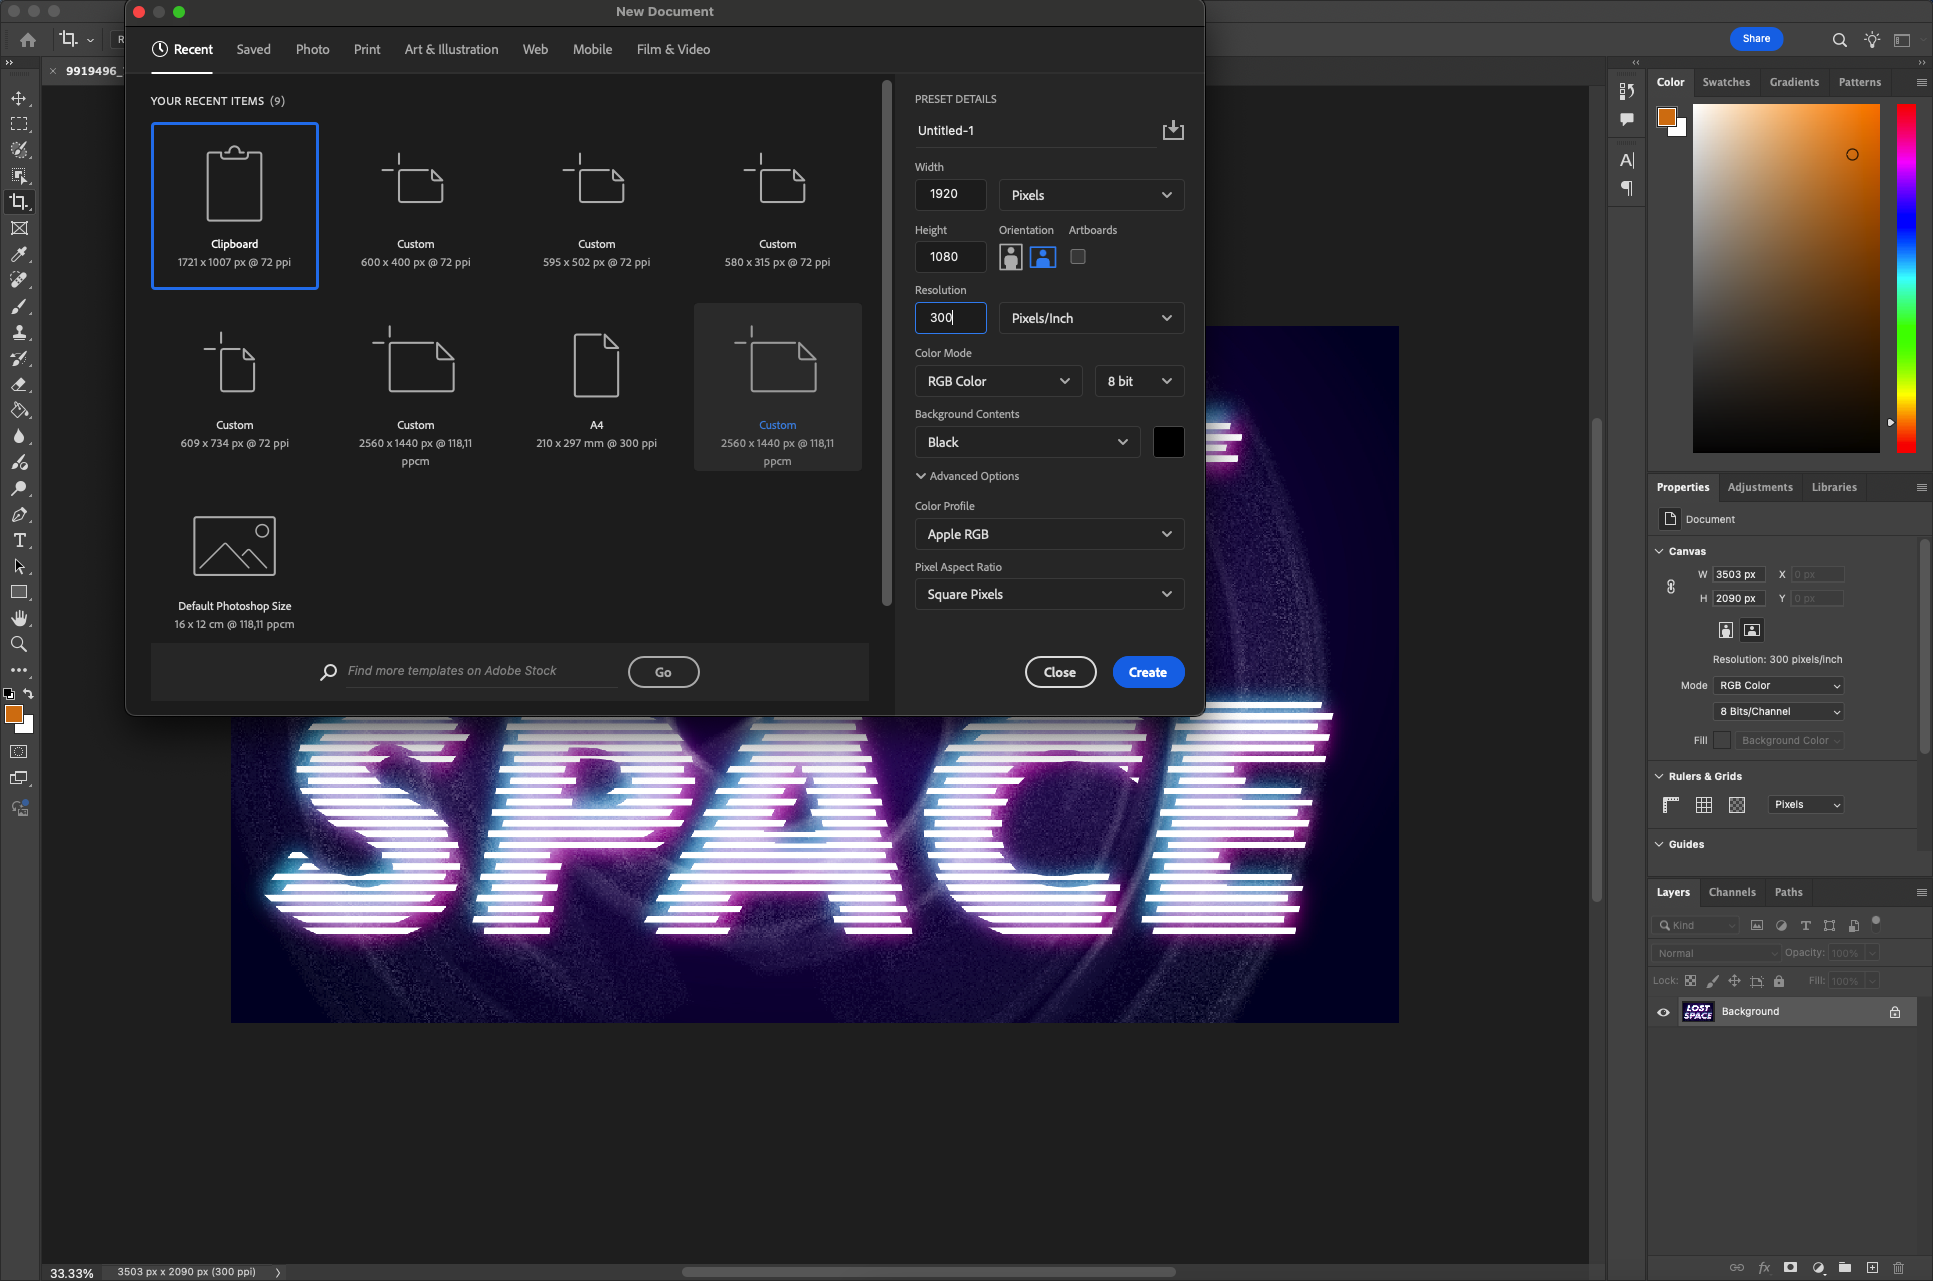
- Set the background color to a neutral shade — either light gray or off-white — to keep your focus on the text.
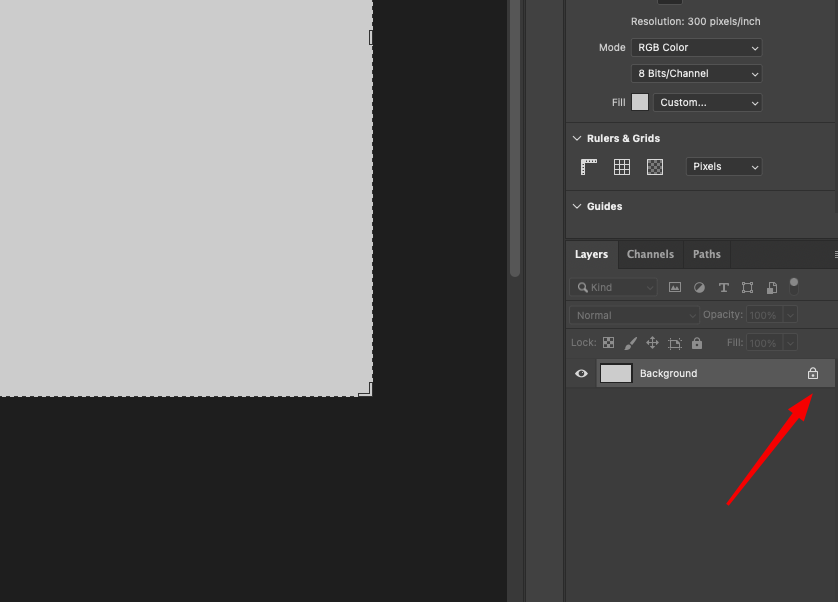
- Unlock the Background layer (double-click and rename if needed).
You can also apply a subtle gradient (Layer Style > Gradient Overlay) for a more dimensional backdrop. 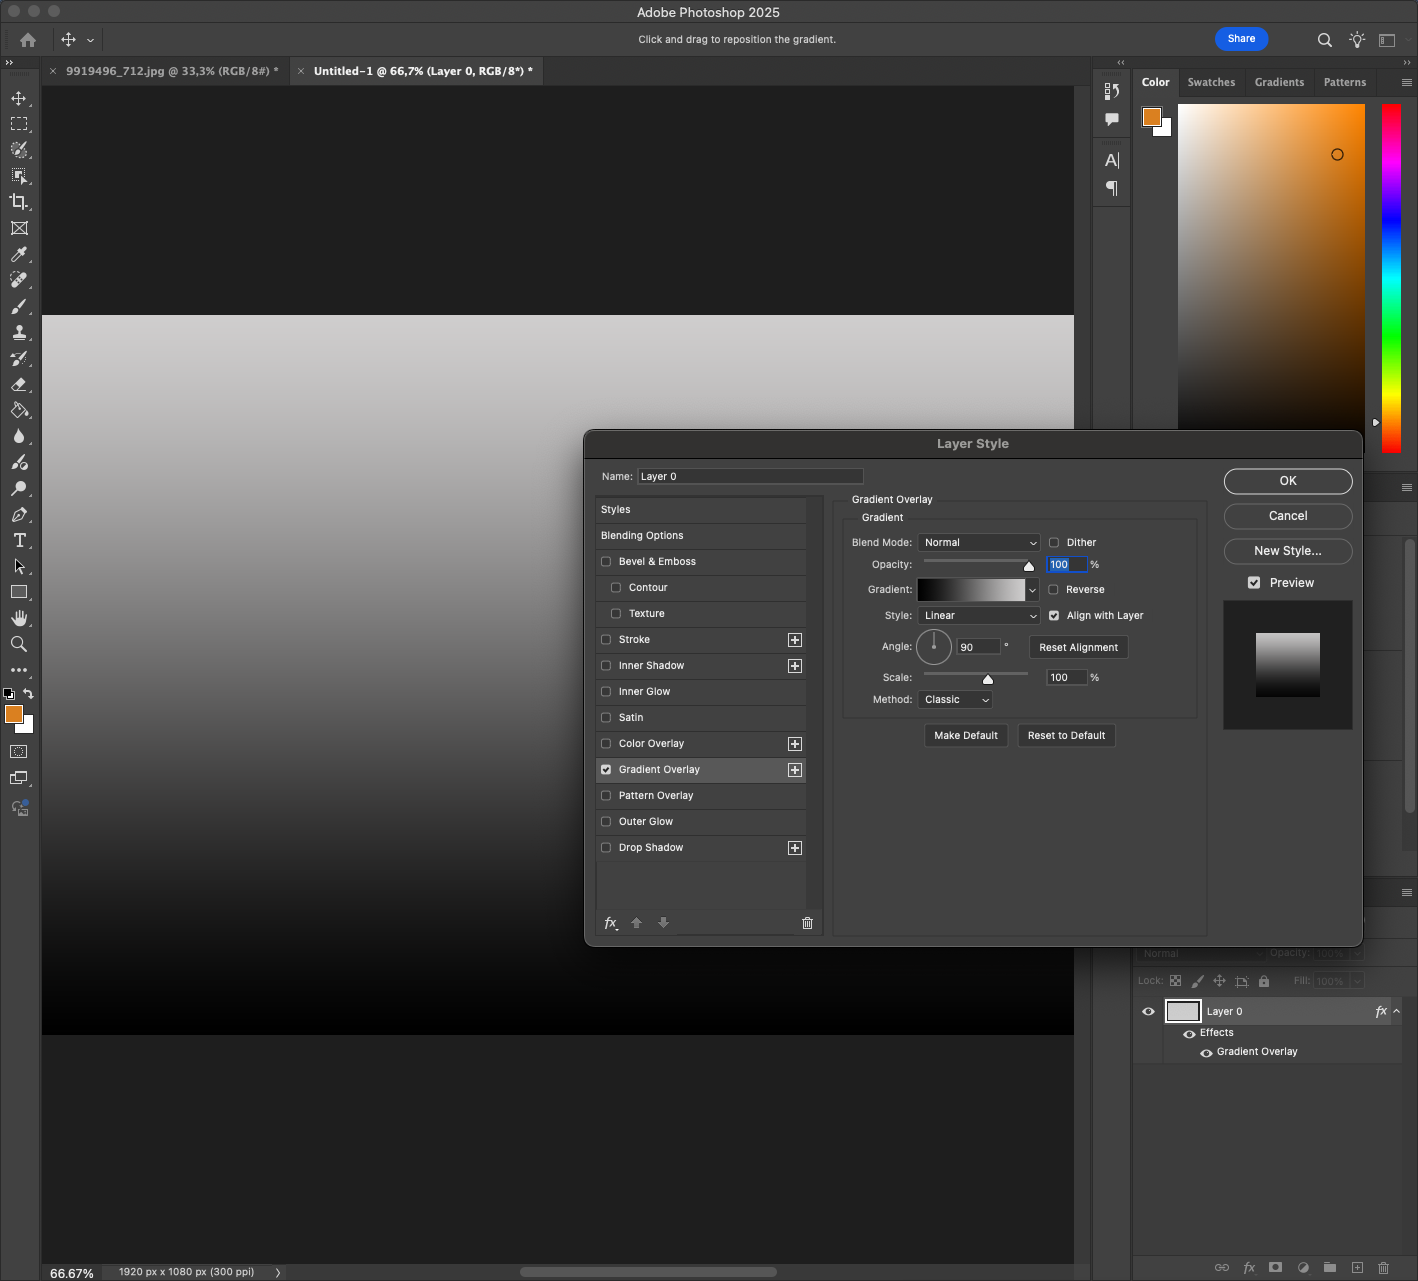
To make your project more scalable, you might consider enabling rulers (Ctrl+R) and dragging out guides to align your text perfectly within the frame. Precision helps when you start adding complex elements later.
Step 2: Type Your Text
- Select the Type Tool (T) and click on the canvas.
- Type a short phrase or word (e.g., “VIBRANT”).
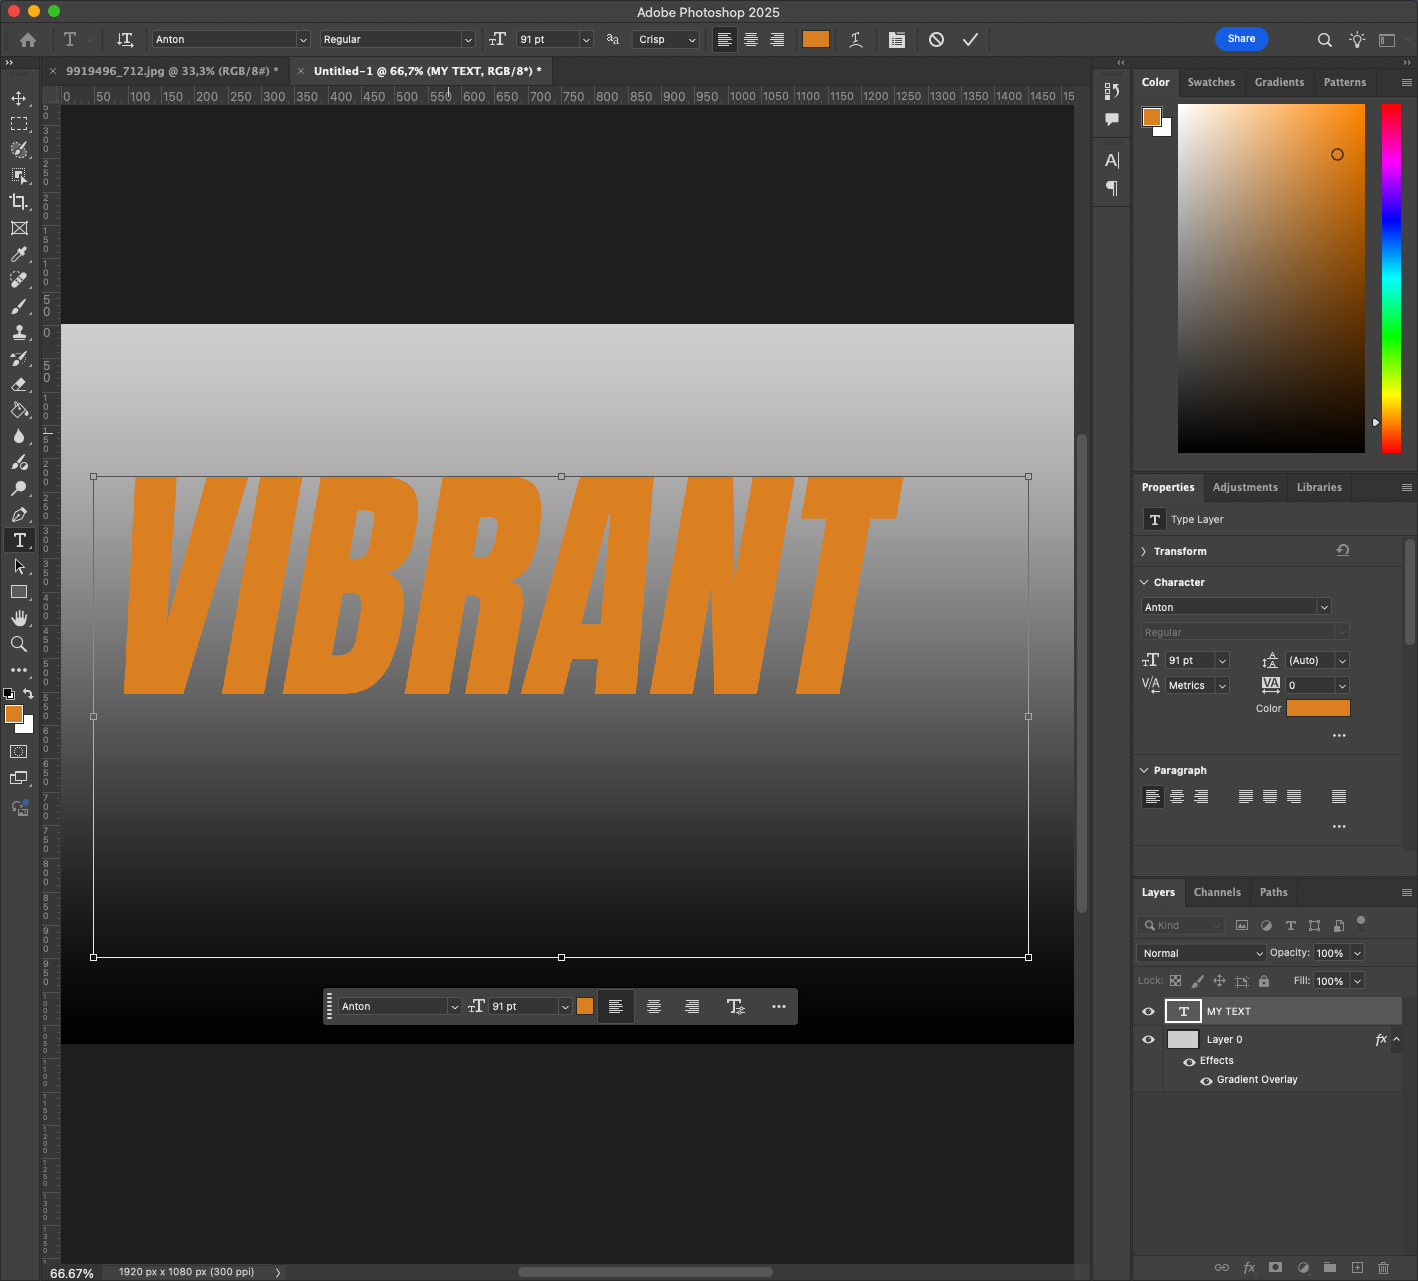
- Choose a bold sans-serif font — something clean and modern like Montserrat, Bebas Neue, or Gotham Bold.

- Increase the font size until the word dominates the center of the canvas.
- Set the text color to black or dark gray for now.
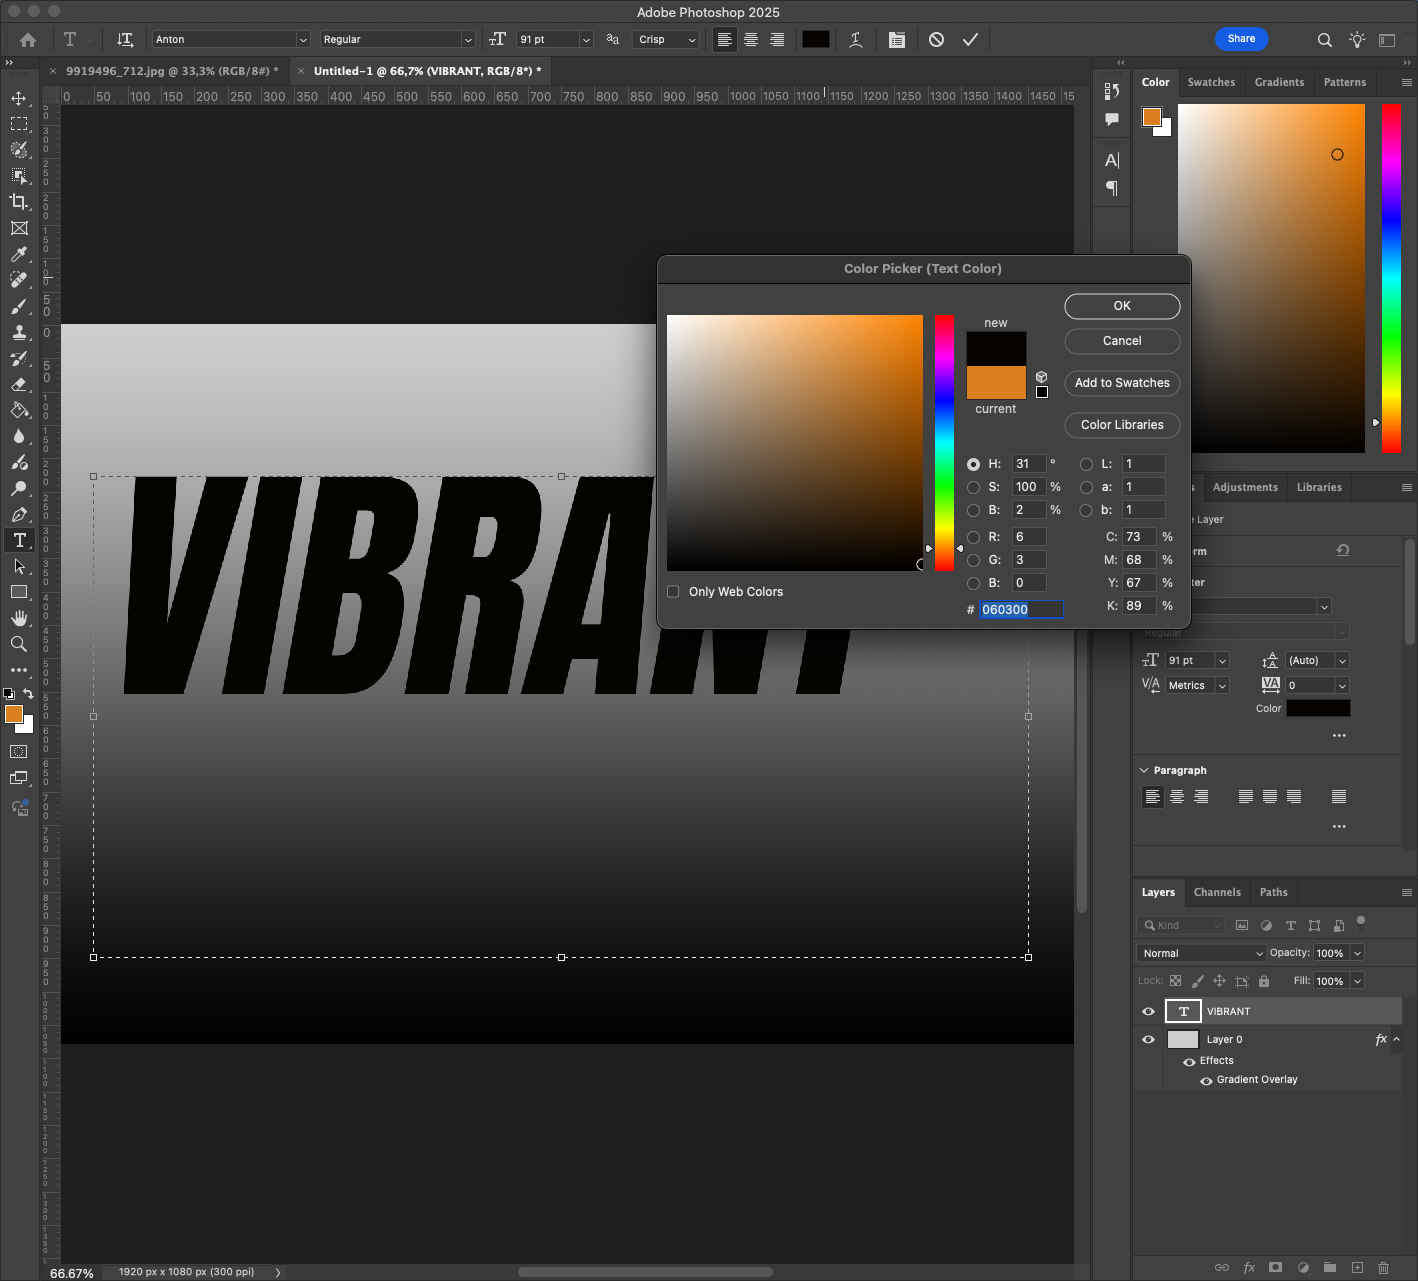
Right-click the text layer and choose Convert to Smart Object. This allows us to warp it while keeping it editable later. 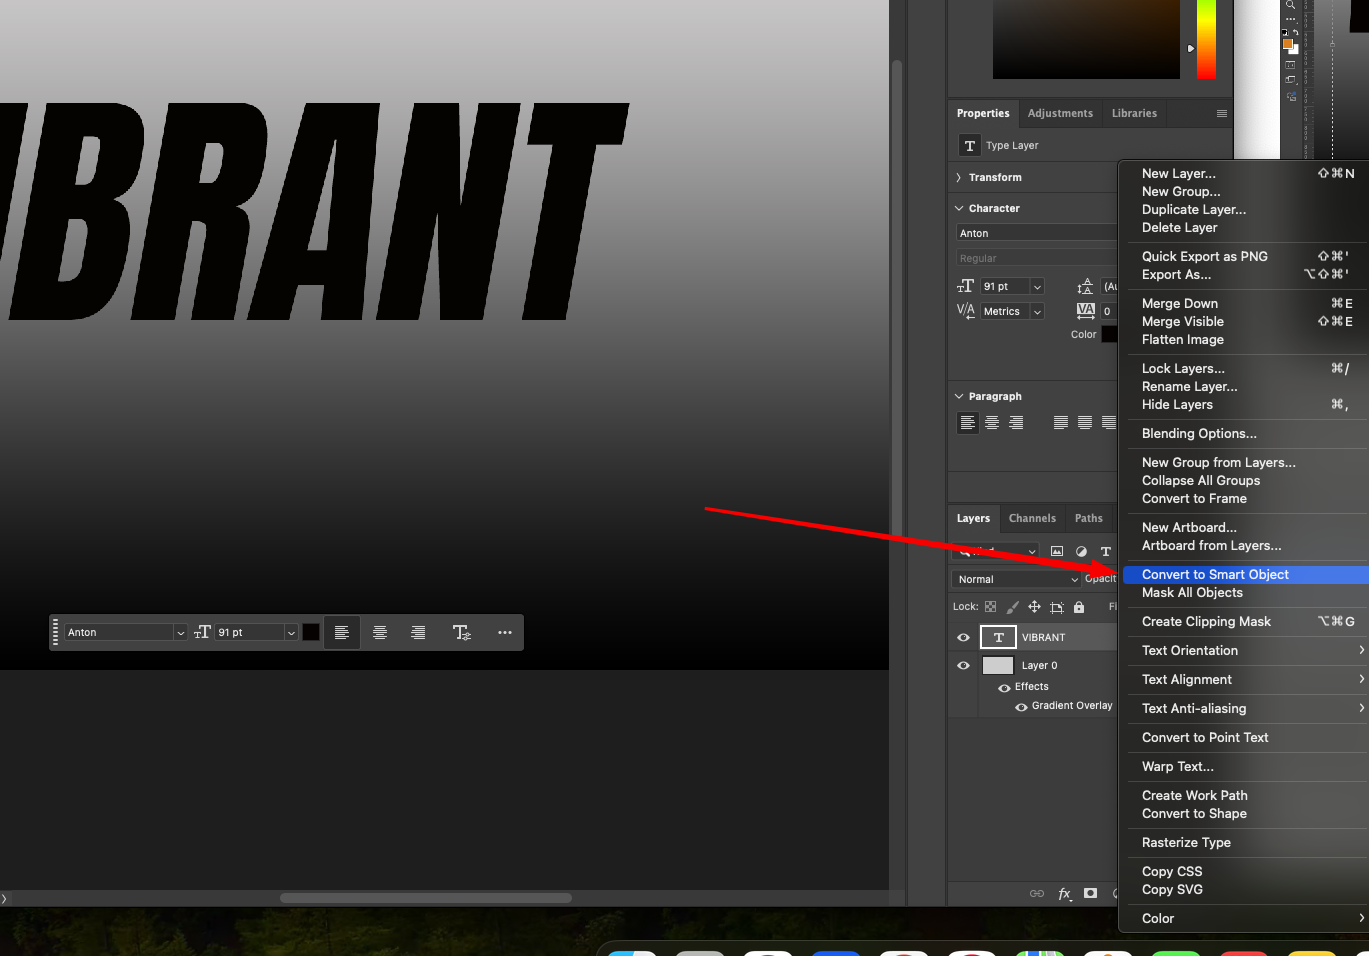
Additionally, consider experimenting with character spacing (tracking) to balance the composition. Use the Character panel (Window > Character) and try adjusting the tracking to anywhere between +10 to +75.
Read also: How to Recreate a Classic Vintage Effect in Photoshop
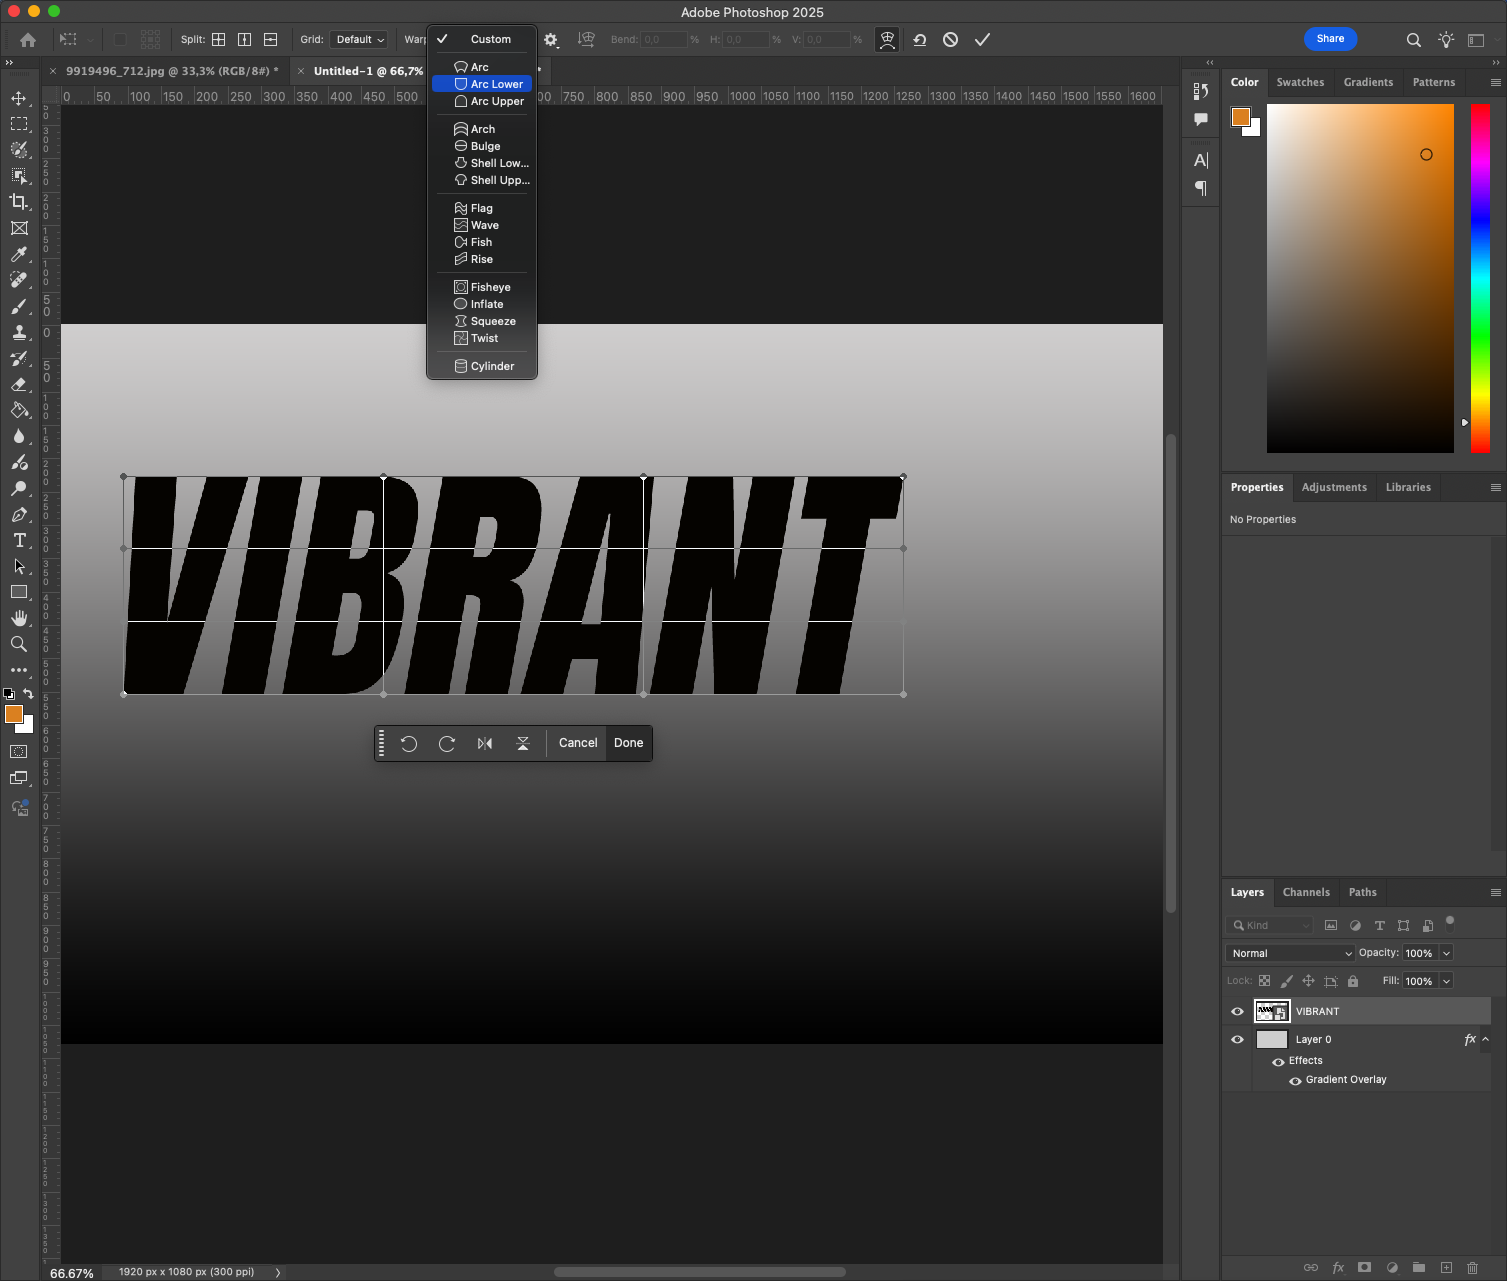
Step 3: Apply Warp Transformation
Now we’ll reshape the text with subtle bends:
- With the smart object selected, go to Edit > Transform > Warp.
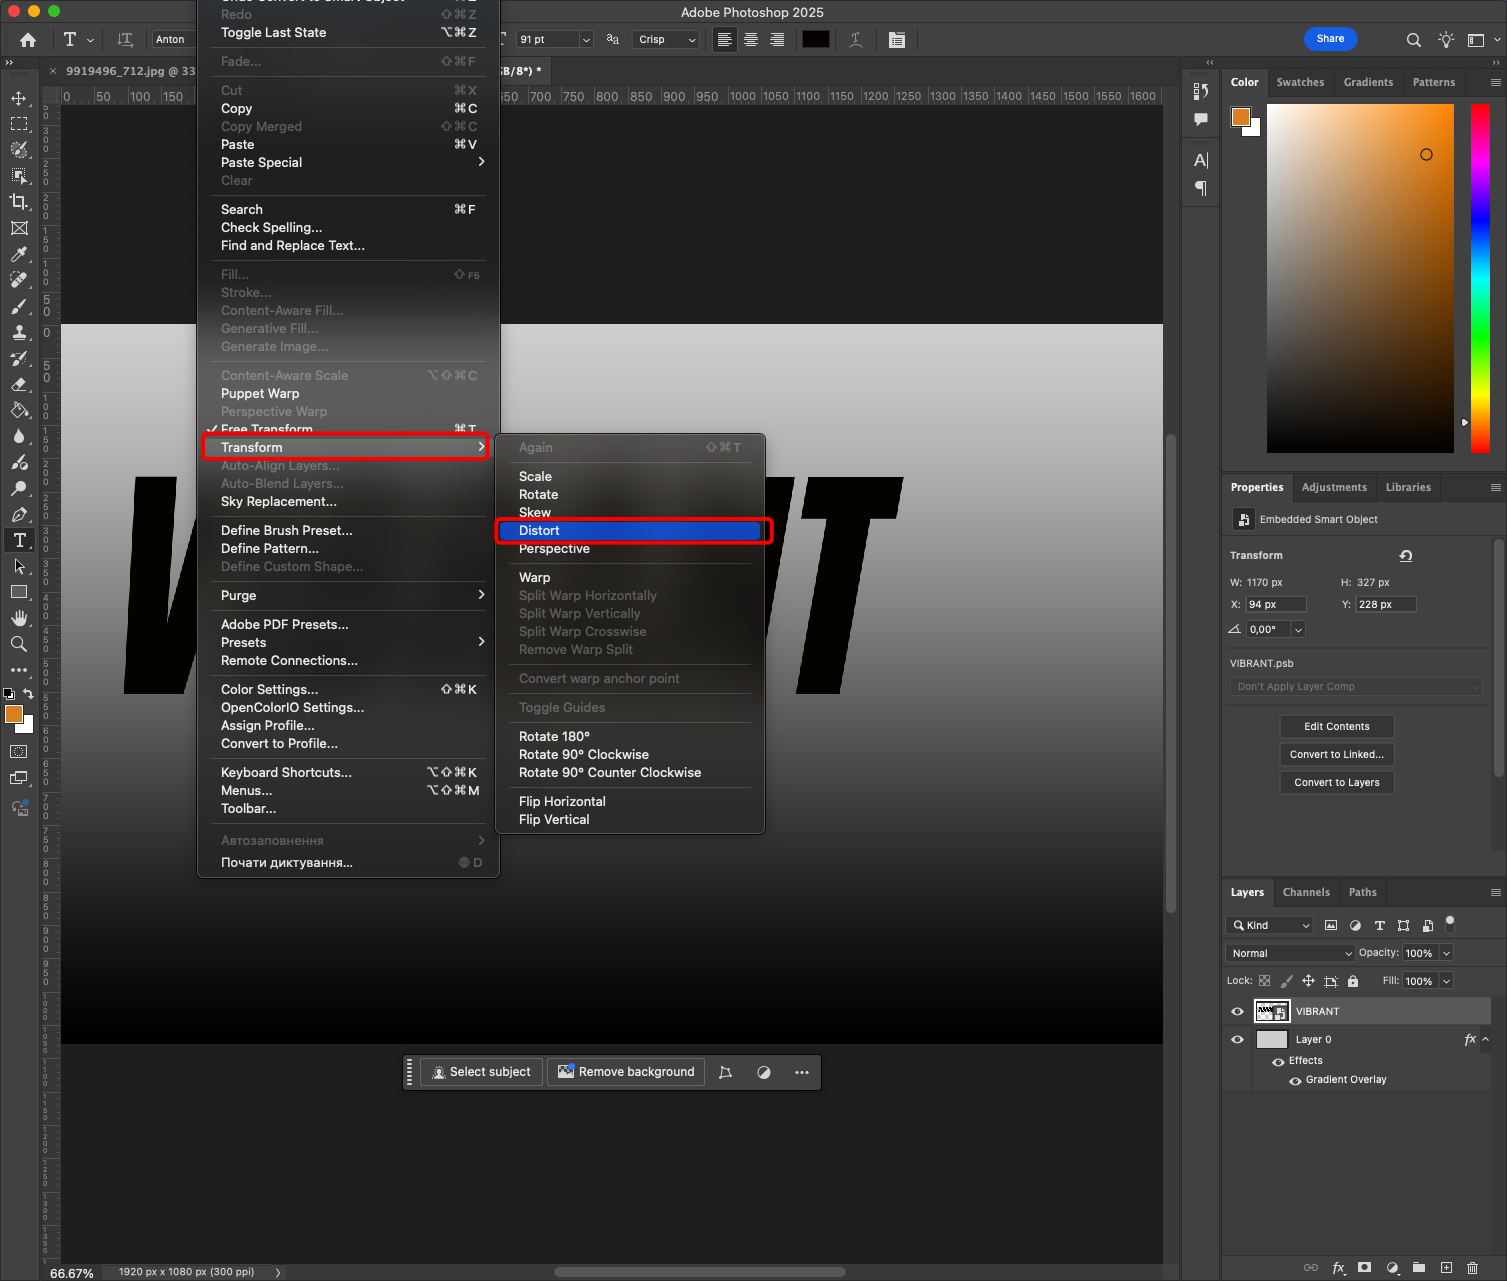
- In the top menu bar, switch from “Custom” to a predefined style like “Arc”, “Bulge”, or “Flag” — start with “Arc”.
- Adjust the Bend slider until the effect feels strong but readable (around +15 to +30%).
- You can also manually drag the control points in the mesh to fine-tune the shape.
Click Enter to apply. The beauty of using a smart object is that you can re-edit it any time. 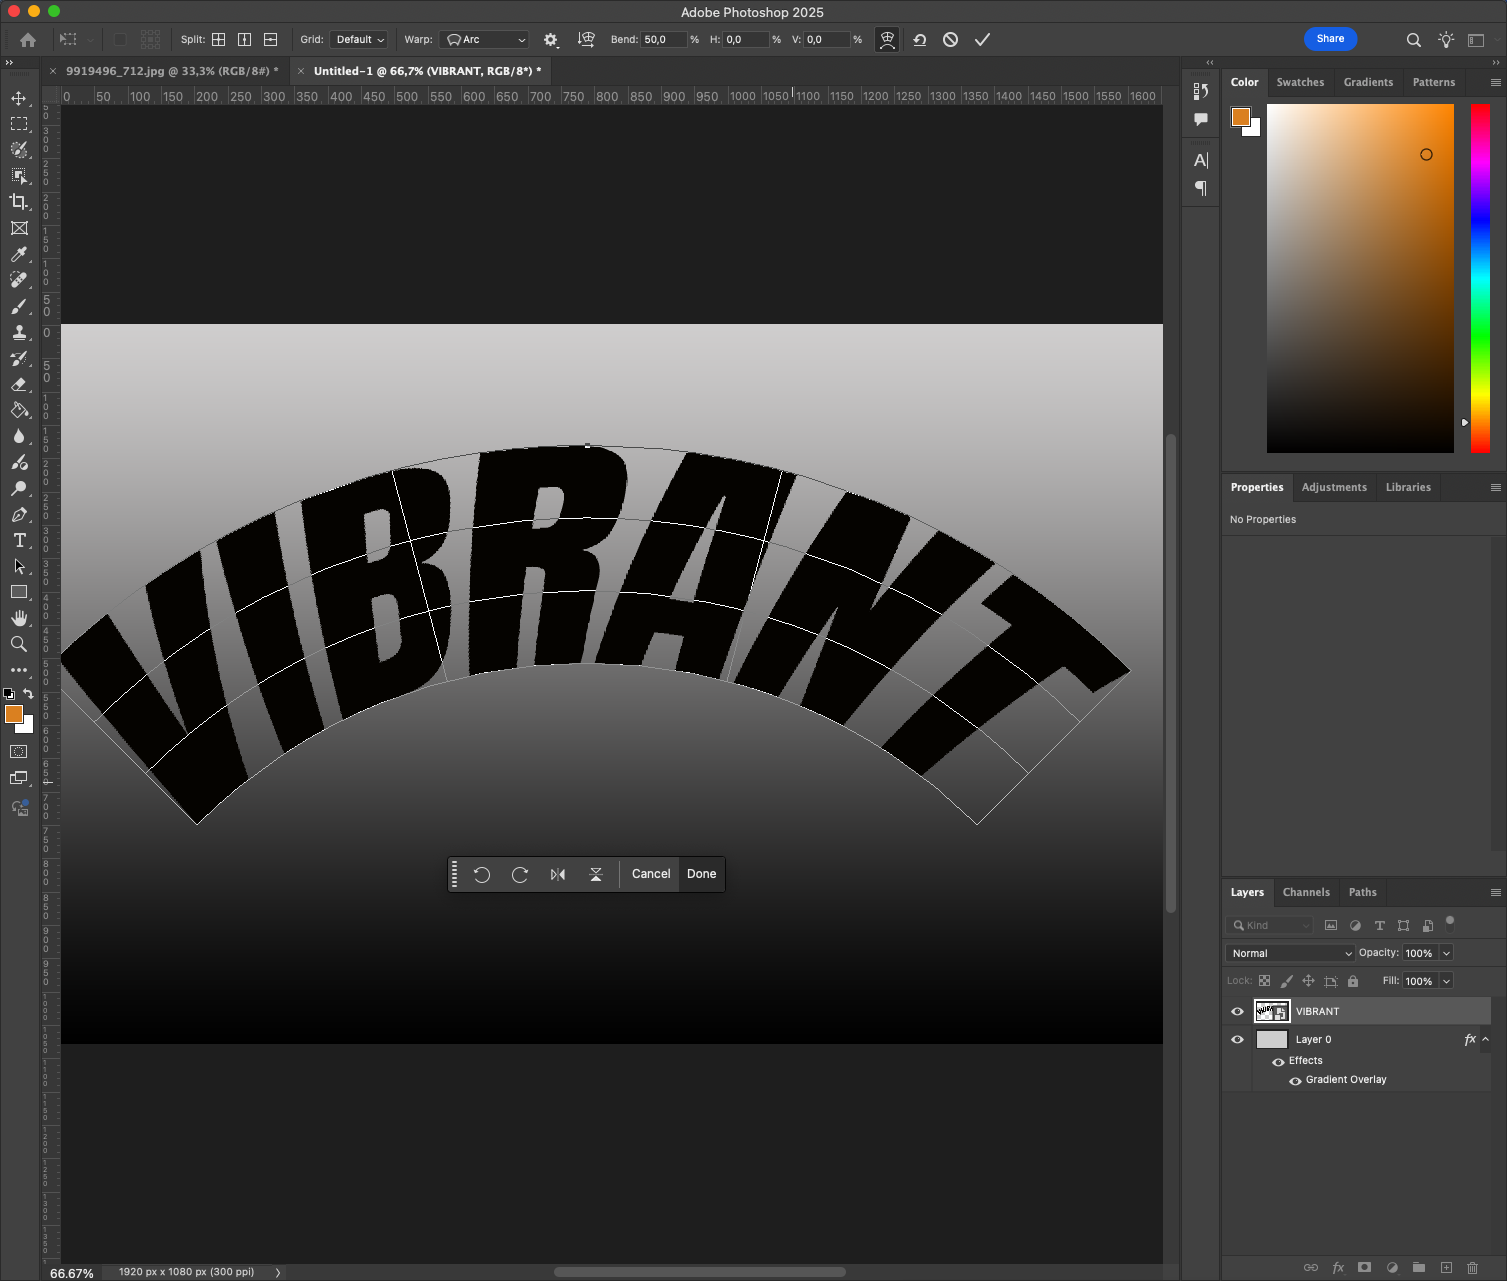
For advanced warping, switch the grid layout to 3×3 (click the gear icon in the Warp toolbar). This gives more control over local distortions without affecting the entire shape.
Step 4: Add a Layer Style for Depth 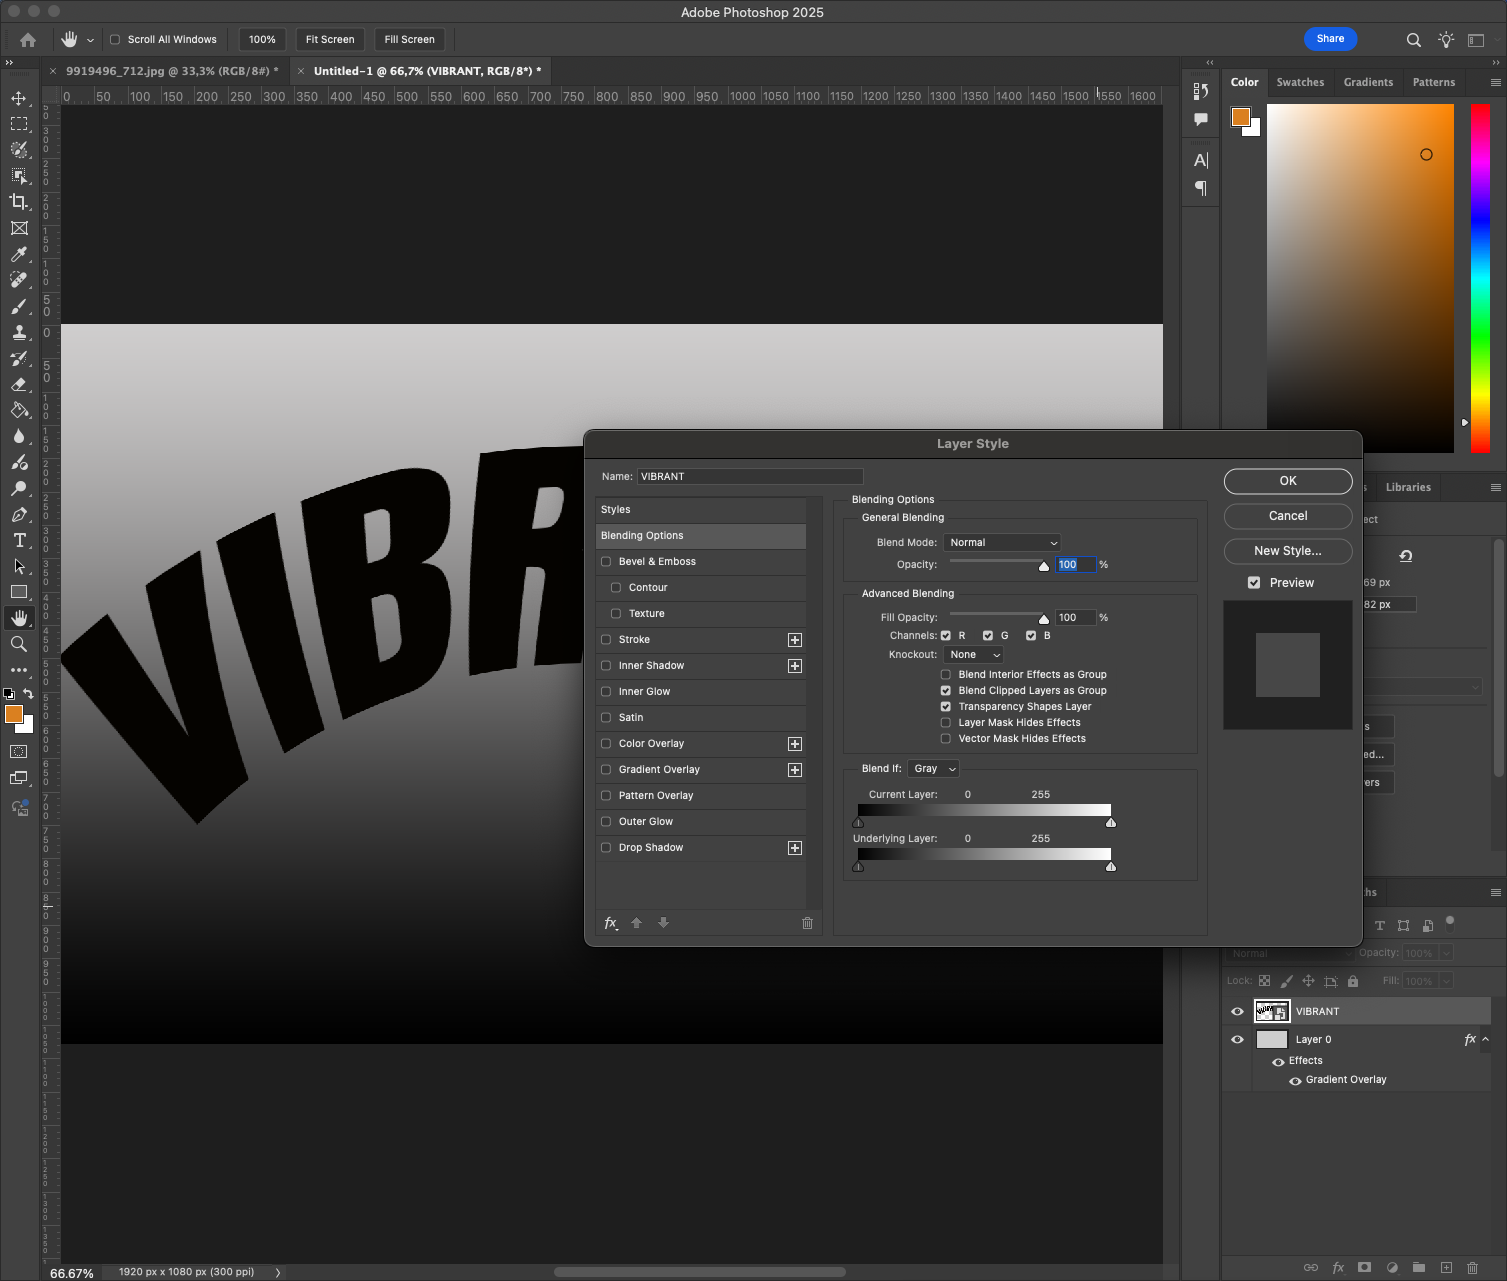
Let’s enhance the warped text with subtle shading and depth:
- Double-click the text layer to open Layer Style.
- Add a Drop Shadow: set distance to 8 px, spread to 0, and size to around 12 px.
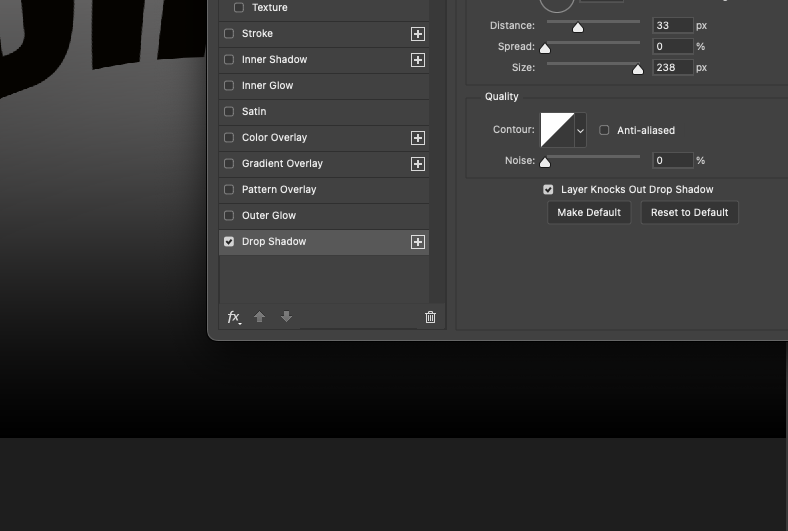 Reduce the opacity to 40–50%.
 - Add a Gradient Overlay: use a black-to-transparent gradient set to Overlay blend mode, with low opacity.
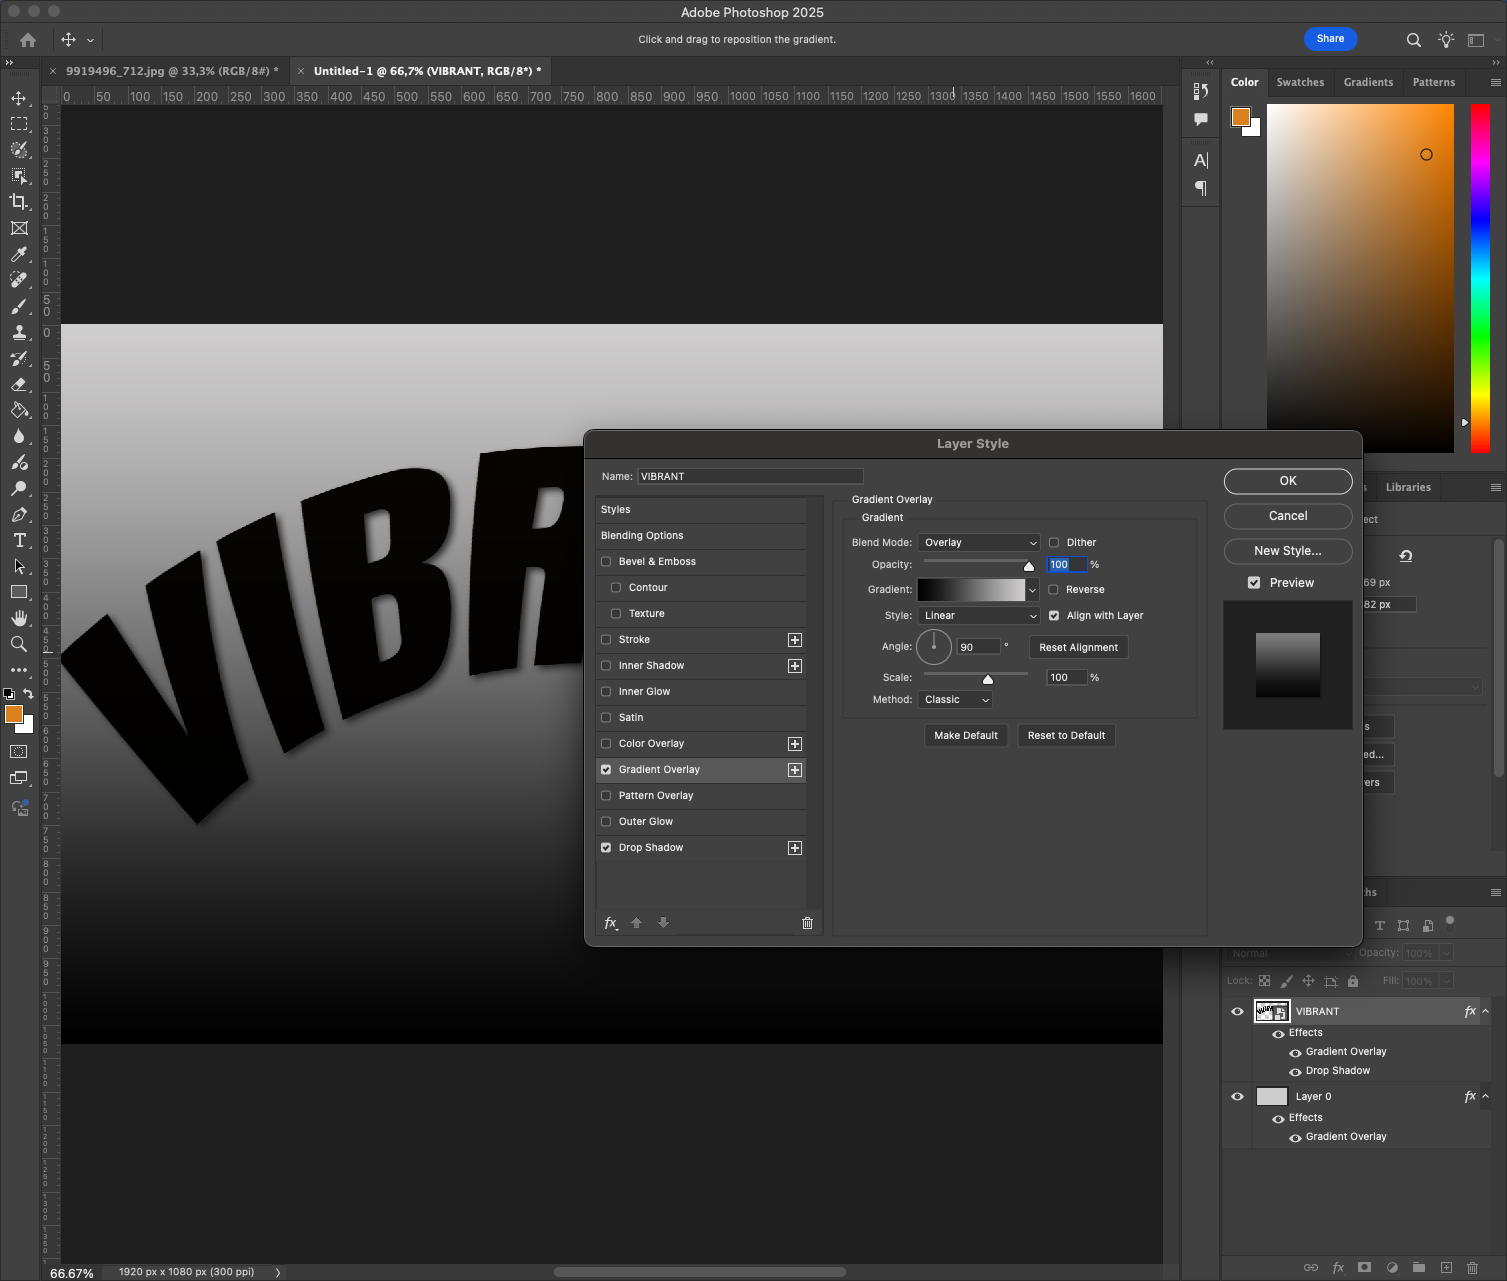
This helps the warp feel more 3D and integrated into the scene.
You might also try adding a Bevel & Emboss effect to gently elevate the text surface. Keep settings minimal for a clean, modern look.
Step 5: Duplicate and Offset for a Bold Look (Optional) 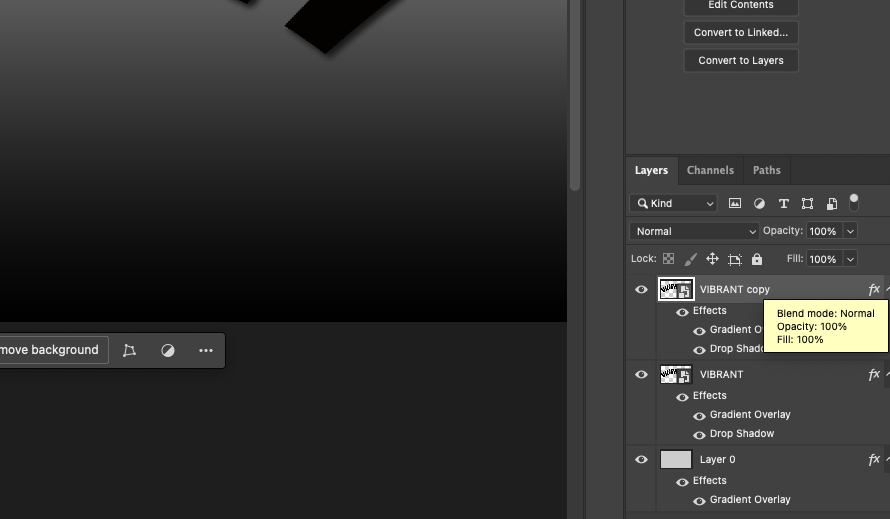
For a more layered or echo-style effect:
- Duplicate the warped text layer (Cmd/Ctrl + J).
- Change the color of the copy — try red, white, or electric blue.
- Move it slightly up and right for a 3D shadow effect.
- Lower the opacity or set the blend mode to Multiply for variation.

This works great for music covers, event posters, or bold banners.
You can experiment further by creating multiple offset layers in different colors and blending modes — for example, using Screen or Overlay for subtle visual interaction.
Step 6: Add Background Elements (Optional)
Complement the warped text with some simple accents:
- Use the Ellipse Tool (U) to draw overlapping semi-transparent shapes.
- Add a subtle noise or texture overlay to the entire canvas.
- Use color blocks behind parts of the text to create contrast.
Make sure these elements don’t compete — they should frame, not fight, your typography.
A great tip is to use color schemes from retro posters or bold ad campaigns. Harmonizing tones between background and text can unify the whole piece.
Step 7: Export and Save for Multiple Uses 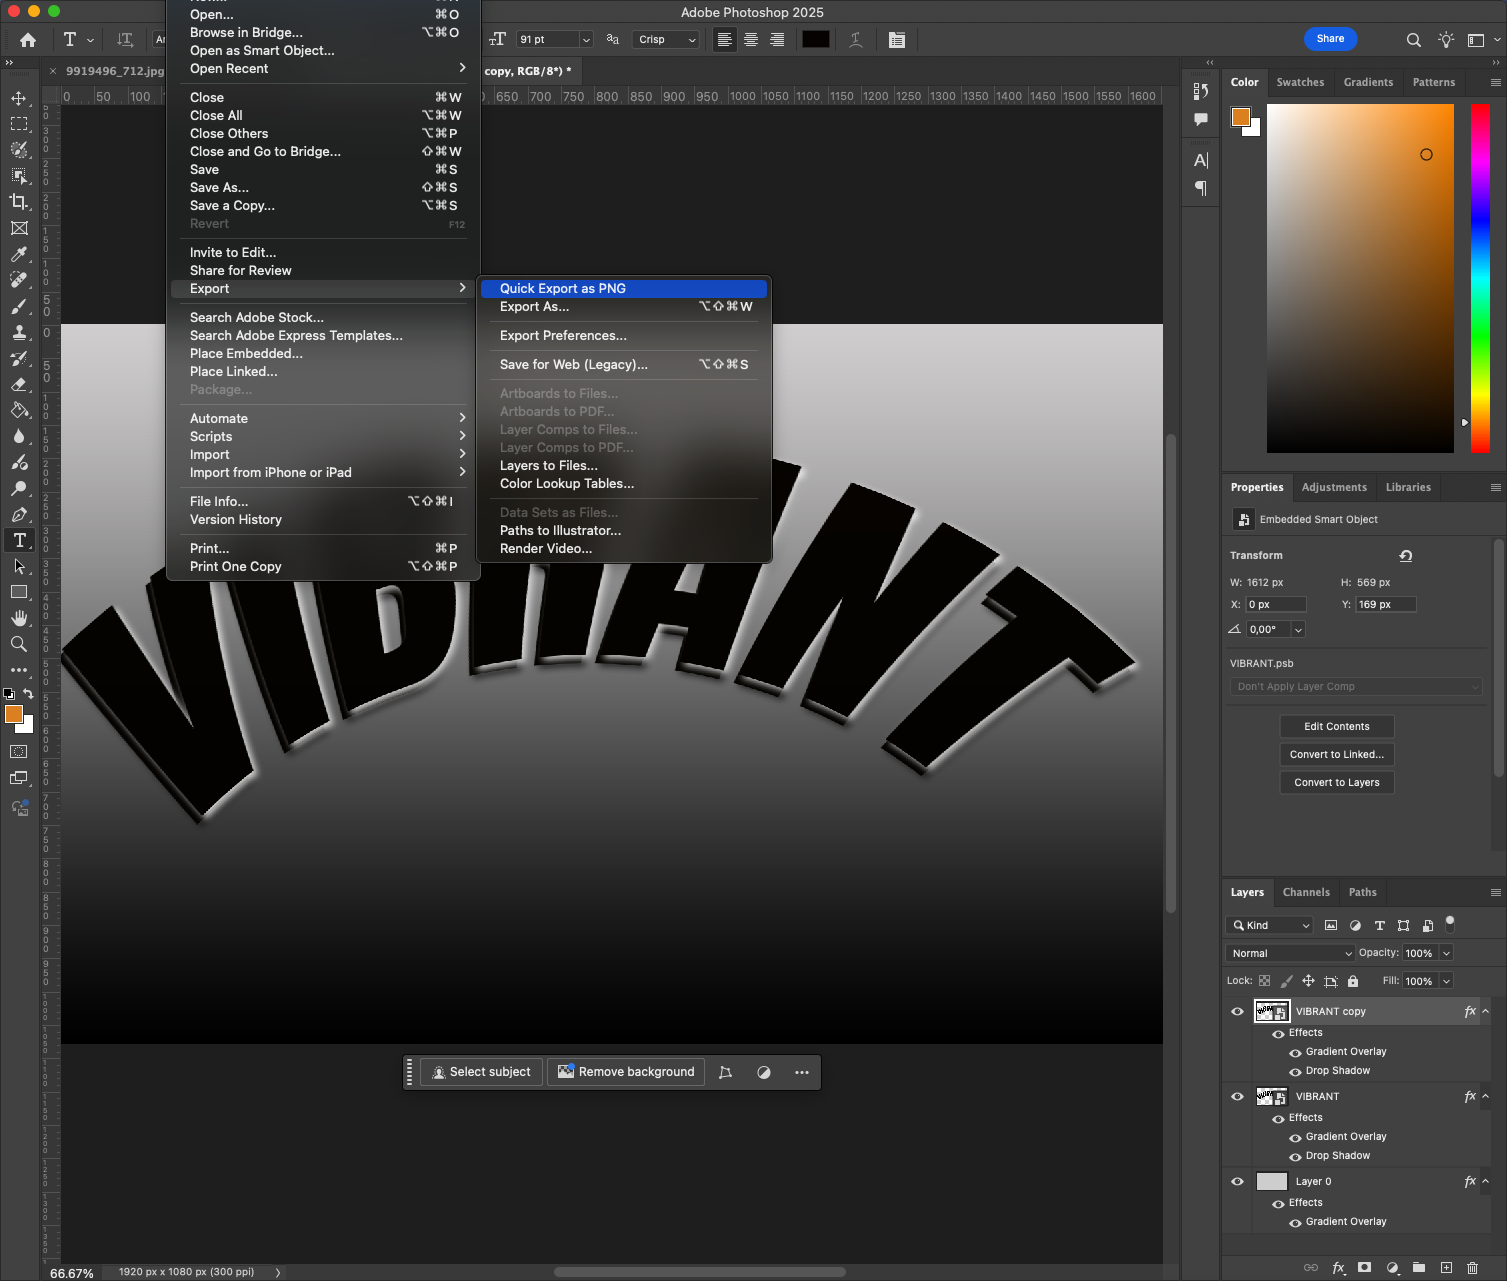
Once your design is complete, prepare it for different formats:
- For web use, export as PNG or JPEG via File > Export > Export As.
- To maintain layer data, save a PSD copy.
- For print, export as PDF or TIFF at 300 dpi.
You can also convert the text effect into a reusable template. Just change the phrase inside the smart object and save under a new name.
Helpful Tips for Advanced Text Warping
- Use Non-Destructive Editing: Always convert text layers to smart objects before applying transformations. This way, you can revisit the original typography without losing quality or readability.
- Customize Warp Beyond Presets: Don’t rely only on the built-in Arc or Bulge presets. Try switching to a custom grid (like 3×3 or 4×4), then manually nudge anchor points and handles. This opens the door to truly unique text flows.
- Mix with Perspective or Distort: After warping, consider applying Edit > Transform > Perspective to give your text a vanishing point or angle. You can combine Warp and Perspective for more immersive layouts, especially on banners or website headers.
- Keep Readability First: While it’s tempting to push the curve, always step back and ask — can this still be read in under 1 second? A warped headline should be expressive, not confusing.
- Pair with Matching Fonts: Try combining warped text with a contrasting, static font beneath — like pairing curved Bebas Neue with a small, simple Roboto or Lato tagline. This grounds the layout and improves hierarchy.
Conclusion
Text warping in Photoshop, when done purposefully, can make your design feel modern, expressive, and engaging. Whether you want a gentle curve or a dramatic arc, the Warp tool combined with smart object workflow allows you to explore ideas without flattening or losing flexibility.
You can use this effect across editorial graphics, album covers, social ads, or minimalist posters — and by mastering control over the bend, you unlock a whole new way to make typography speak visually.
Want to go further? Try animating the warp effect in After Effects or combine it with 3D extrusions for an even more powerful typographic result. With just a few extra steps, your text can become not just part of the design, but the focal point.


