
The need to adjust photo sizes in Adobe Photoshop arises both for beginners and professionals in the field of photography or graphic design. Regardless of the purposes for which you use the editor: photo processing for future publication on a website, preparing images for printing, developing content for social networks, etc., the ability to use the standard tools of the program will allow you to achieve your goals in the best possible way. Today we will consider several effective ways to adjust the size of the photo in Adobe Photoshop.
For what to adjust the size of the photo in Adobe Photoshop
Managing the size of a photo may be necessary in several cases. For example, if you have a desire to publish a photo on the Internet, it will need to be optimized for fast uploading to the network. And if you need to prepare a picture for printing, you should pay attention to the size, pixel density and resolution to get the best possible result. In each case, Adobe Photoshop has effective functions and tools that facilitate the work.
Step One: Opening a Photo in Adobe Photoshop
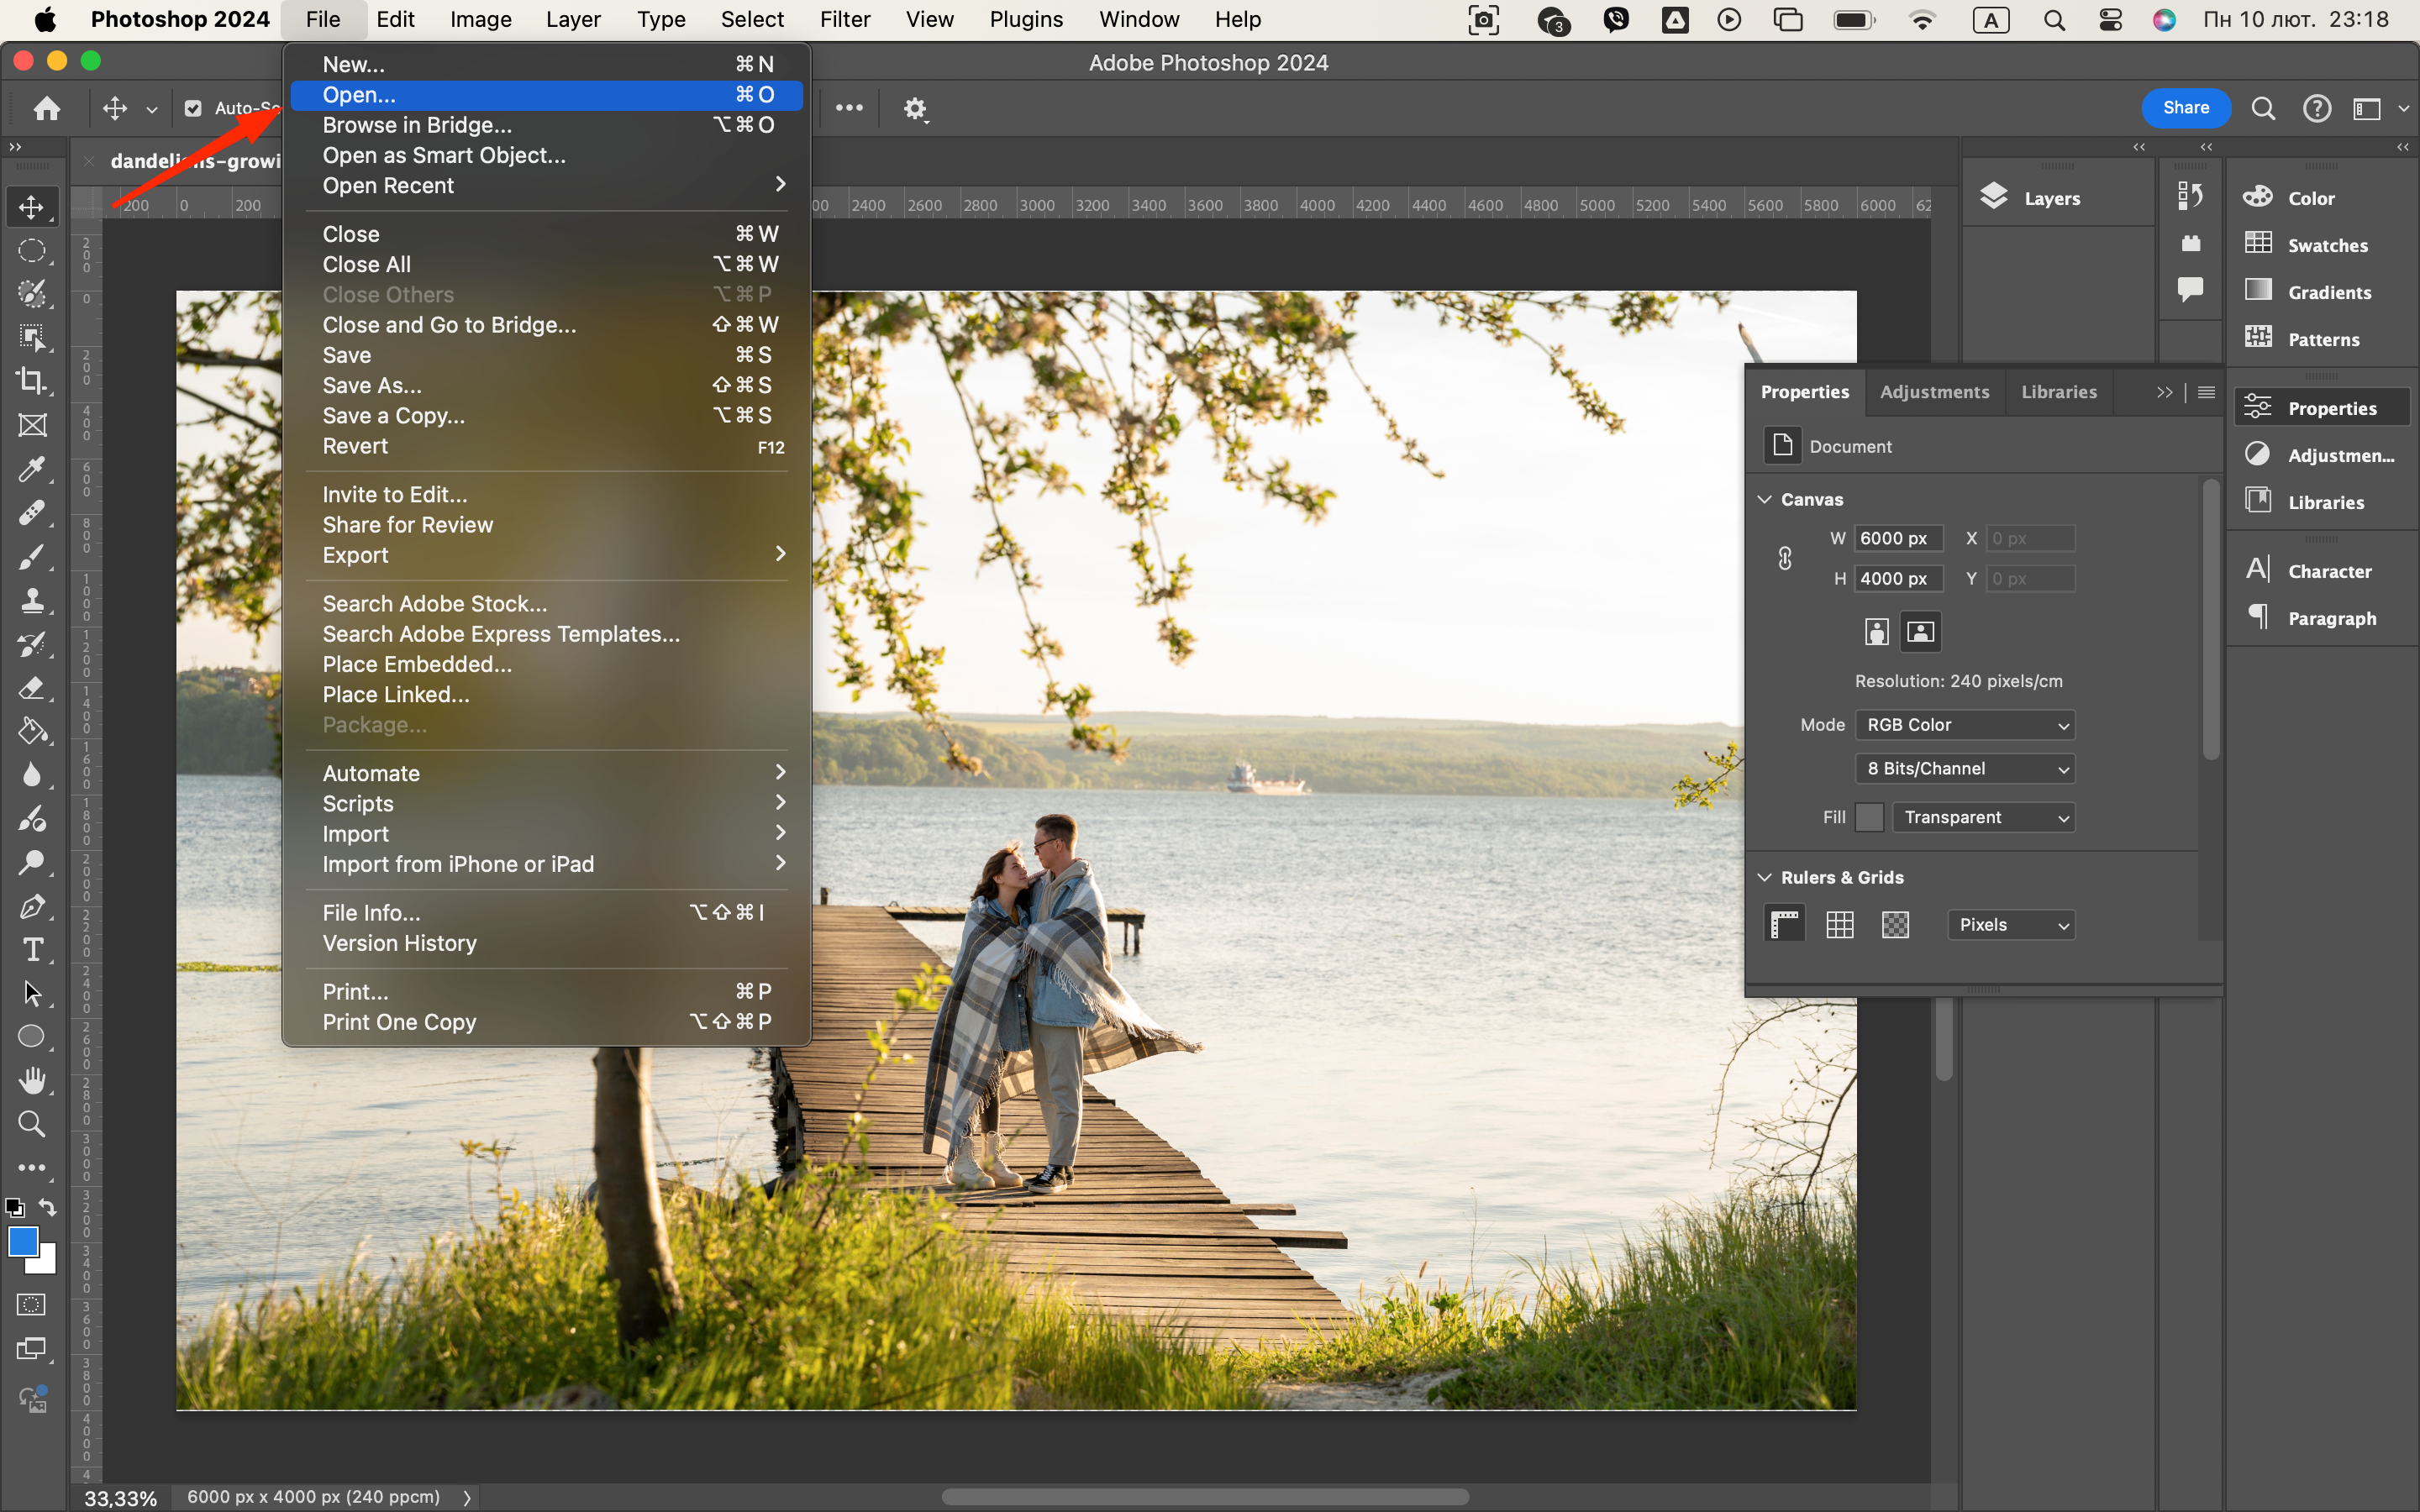
The first step is to open the original image file in the graphic editor. This is done as simply as possible according to the standard scheme:
- Launch Adobe Photoshop.
2. Open the File tab and click on Open.
3. Find the necessary photo on the device and click on Open.
After that, the image will appear in the Adobe Photoshop workspace, and you can perform various manipulations with it. If you have to process large volumes of files, it is better to separate them into separate folders to make it easier to find information. Also, Adobe Photoshop can work with different formats, including PNG, JPEG, TIFF and others, so it is a universal tool for graphic tasks.
Step Two: Applying the Crop Tool feature to resize the image
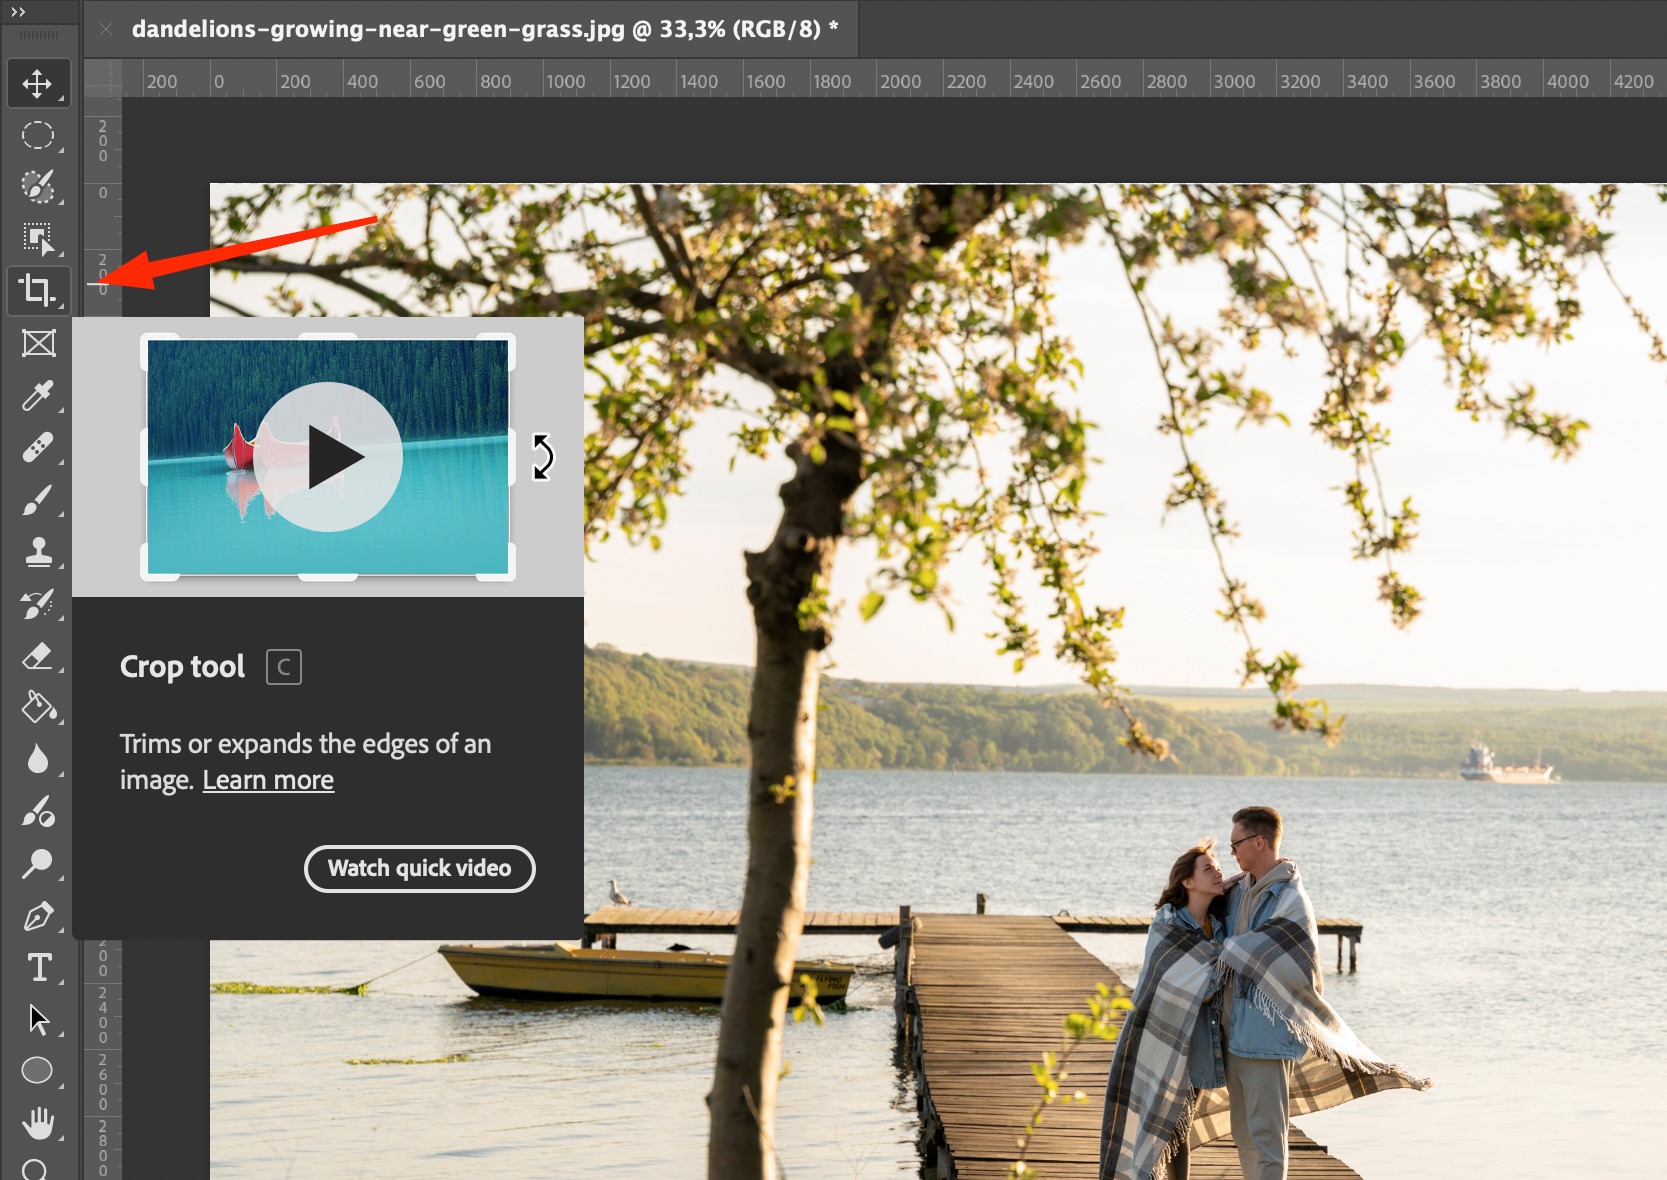
In the toolbar in Adobe Photoshop there is a special tool called “Crop Tool” (Crop Tool). With its help, you can adjust the parameters of the image as easily and quickly as possible. Using the option is quite simple:
- First, you should activate the Crop Tool at the top of the toolbar with the mouse, or press the C key.
- A frame will be displayed around your picture. You can manipulate the corners and sides of the frame to change the proportions and size.
- At the top of the screen are functions to get the exact dimensions. You are allowed to use pixels to display width and height, inches or centimeters.
- Once you have customized the dimensions, you should click on Enter or the checkmark icon at the top of the screen to activate the changes.
The method allows you to crop and resize the picture without much difficulty. Also, the Crop Tool function allows you to preserve the proportions of the photo, which is extremely useful for fighting distortions. For example, if you need to crop a photo for publication in social networks, you can adjust the exact parameters to make the file look professional. You can also use preset settings such as 4×6, 5×7, or 8×10, which will ultimately make cropping for printing easier.
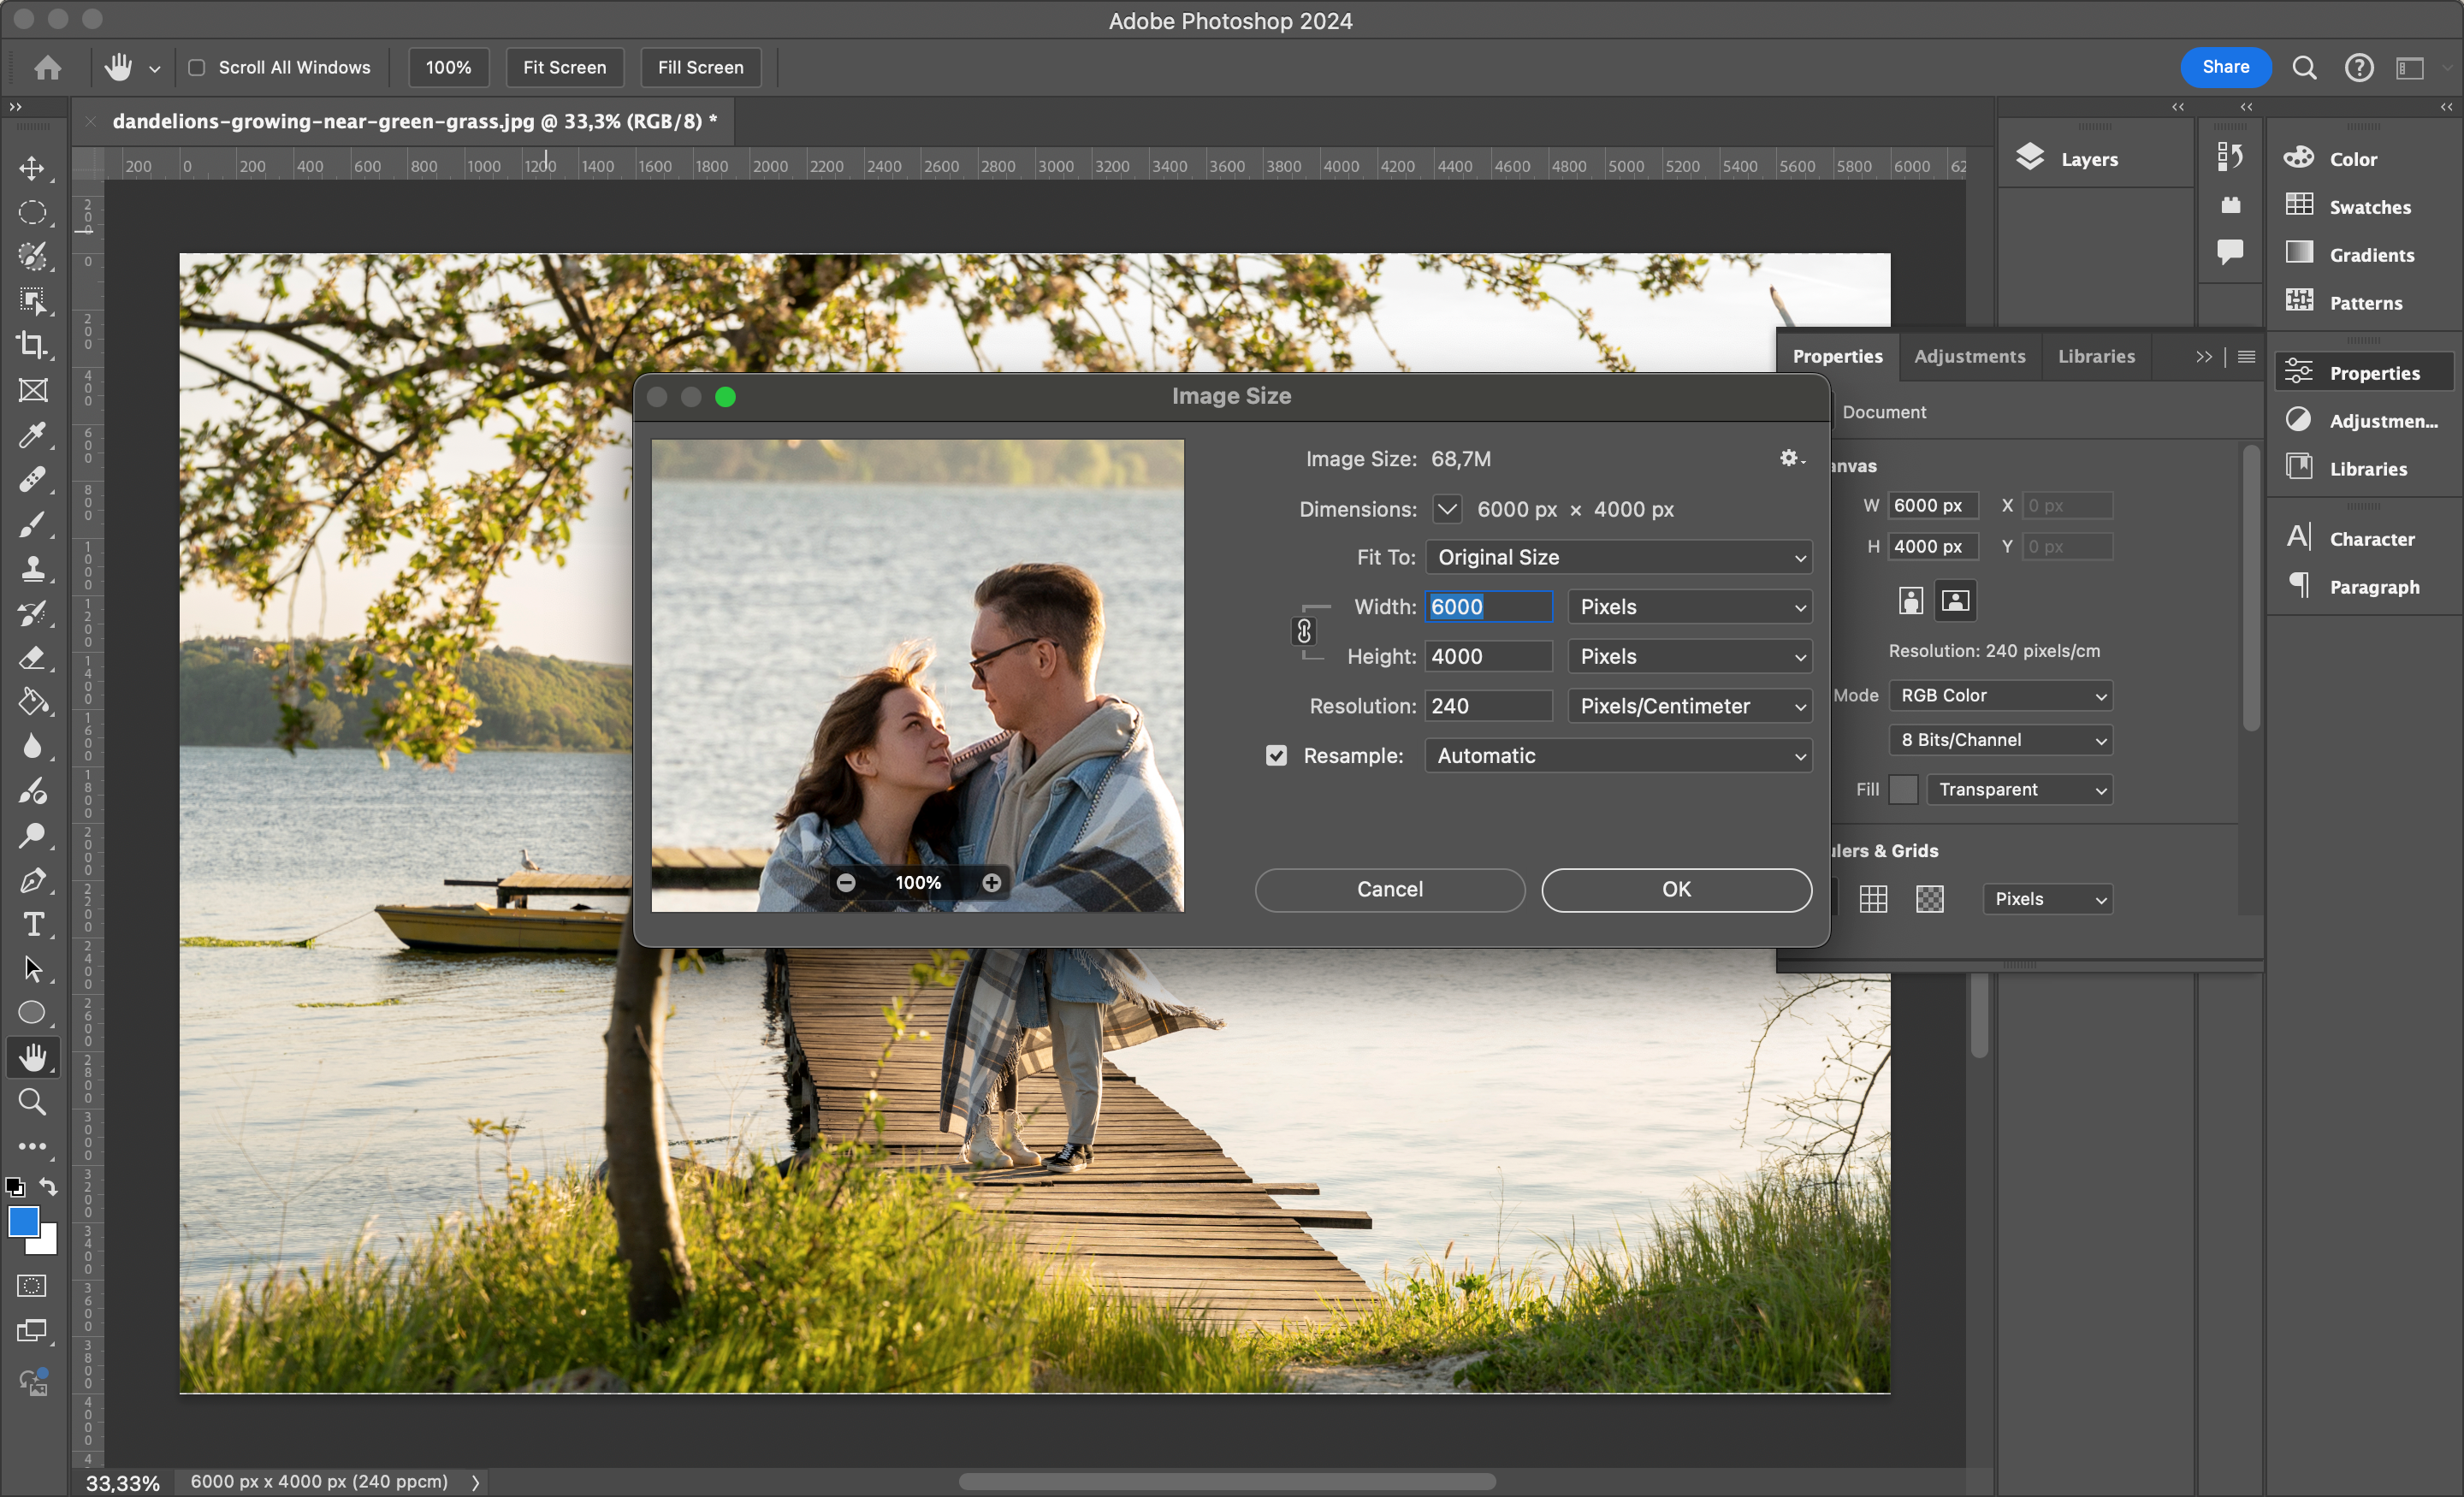
Step Three: Use the Image – Image Size menu to select specific dimensions

If you have a task to get the most accurate dimensions of the photo, it is better to apply the “Image Size” option. And you can do it according to the following scheme:
- Open the “Image” window and find the “Image Size” form.
2. After the dialog box is displayed, set the exact parameters of height and width.
3. Next, make sure that the “Keep Proportions” function is activated so that the photo is not distorted.
4. After that you need to specify the exact parameters of height and width. Different units of measurement are used, such as centimeters, inches, pixels, etc.
5. Finally, click on “OK” for the changes to take effect.
With the help of the method, you can subtly control the size of the photo. It is in demand in cases where accuracy comes first. The “Image Size” tab contains advanced settings, such as selecting the resolution (the value is displayed in dots per inch and determines how high quality the print will be). If you are interested in printing photos, the minimum DPI setting should be at least 300. For web posting, around 72 DPI will do. Resampling is still available to improve picture quality while adjusting the size.
Step Four: Using Free Transform to control the size of the image
Free Transform allows you to make manual changes to the size of your photo. It’s easy to use:
- Open the layer or image you want to resize.
2. Select the “Edit” menu and find the “Free Transform” item, or use the hotkeys “Ctrl + T” or “Cmd + T” for Windows and MacOS respectively.
3. A frame will appear around the photo with markers on the corners and sides. Move them to control the size.
4. To maintain the proportions, hold down the Shift key while dragging the corner markers.
5. Having adjusted the dimensions, you should press Enter and the checkmark icon at the top of the screen to apply the adjustments.
The method will allow you to quickly change the dimensions and see the result in real time.
Recommendations for optimizing and saving the image
Having changed the size of the photo, you need to competently save and optimize it. To do this, it is important to take into account such recommendations:
- The right format. Under web-posting is better suited formats PNG or JPEG. The first is designed for files with transparency, and the second for photos.
2. Optimize the quality. When saving a picture in JPEG format, use the Save for Web option in the File section. This will allow you to compress the size without significant loss of quality.
Adhering to simple recommendations and tips, you will be able to adapt the size of the photo in Adobe Photoshop specifically to your tasks.


