
In Adobe Photoshop, layers are one of the fundamental elements. They are used for combining different images into one whole, creating creative collages, overlaying text annotations and making corrections to the original image. Today we will understand the peculiarities of the work of layers and learn how to use them in practice.
Getting acquainted with layers in Adobe Photoshop

When you first get acquainted with layers in Adobe Photoshop, you can draw an analogy with the desktop of your computer, where there are many icons (in our case, layers). In the interface of the graphic editor there are tools for changing the order of images, overlapping, cutting out unnecessary objects and drawing letters from the previous layer.
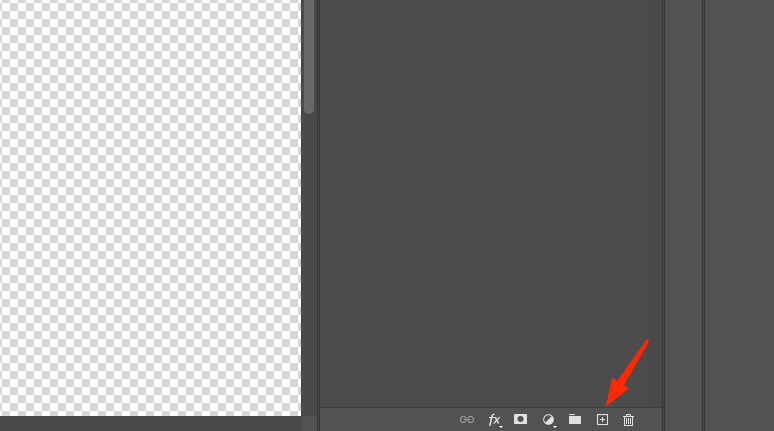
First of all, you should open the Layers section to familiarize yourself with their functionality. If this button is not present in the workspace by default, you can open it via Window – Layers or by pressing F7 on your keyboard. When you create a new document, you will see an empty field. This is a blank piece of paper with a white, transparent or any other background.

How to create a new layer in Adobe Photoshop
You can use two tools to create a new layer:
- Click on the “Create New Layer” key in the layers panel.
2. Use the keyboard shortcut Shift + Ctrl + N.
The first method creates a layer with basic parameters, while the second provides advanced settings where you can specify color, transparency level, blend mode, and document name. Each option is equally convenient, and the necessary parameters can be set later.
Also, the layer is added automatically after transferring the file from your storage to the Adobe Photoshop working window.
To create a collage, let’s move two images into the editor.
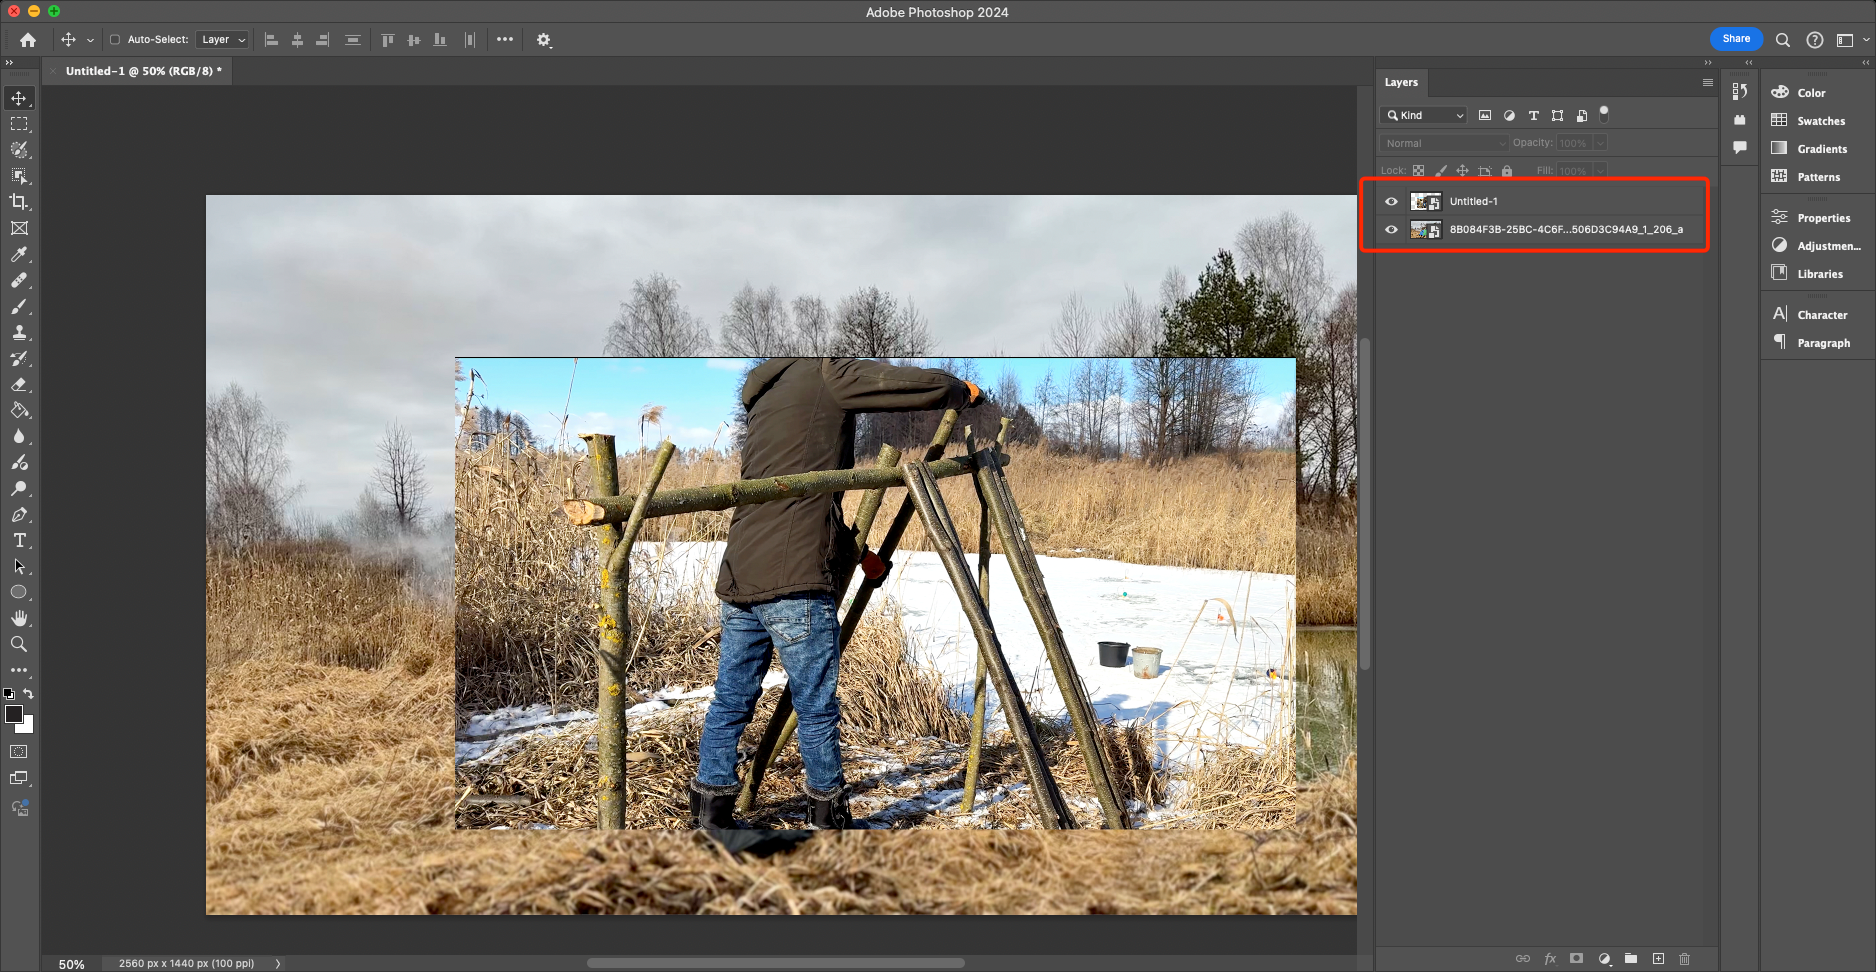
After that, they will appear as two separate layers.
How to select a layer
To select the necessary layer, just click on it through the “Layers” panel. All layers with thumbnails and names are displayed there. If there are a large number of them, it can sometimes be difficult to find the necessary one.
In this case, simply click on the photo of interest in the document: make sure that you have activated the checkbox in the “Auto Select” option, and then use the “Move” tool (hotkey V) to click on the desired picture.

How to hide a layer
If you want to hide one of the layers, then you need to click on the eye icon in the layers panel. In this case, you will be able to work with the background, and the top picture will become invisible.

How to copy a layer
Before you start creating a collage, you should make duplicates of all layers, so that if you make mistakes, you can easily return to the previous step. Here are some standard options for copying layers.

- Click on one or more of the layers you plan to copy. Next, press the Alt key and pull them down or up in the panel. In the same way, you can pull a picture directly from a folder on your computer. It will be copied and the duplicate will appear in the panel.
2. Right click on the desired layer, and from the drop down list, click on “Create duplicate layer”.
3. Activate one of the layers you want to duplicate and press “Ctrl” (Cmd) + “C” and “Ctrl” (Cmd) + “V”.
How to combine and lock layers
To combine several layers into one, you need to click on the layers that will be manipulated, and then press “Ctrl” (“Cmd”) + ‘E’. And if you need to lock a layer to avoid editing with it, just click on the lock icon or right-click on the layer and choose “Lock Layers”.

To remove the lock, you just need to click on the icon again. When the lock is activated, the layer will not be moved or selected.
How to move a layer
To move the order of layers, you need to change their order in the “Layers” menu. To do this, click on a layer and pull it down or up. You will be able to see how the layers move from the foreground to the background or vice versa. If a large number of layers appeared while working with the graphic editor, it is not quite convenient to click on each of them with the mouse. To save time, you can use special hotkeys.
Taip pat skaitykite: Darbas su sluoksniais ir kaukėmis programoje "Adobe Photoshop
What hotkeys to use to work with layers in Adobe Photoshop
For convenient work with layers and the graphic editor as a whole, you need to use hotkeys. With their help, it is much more convenient and easier to perform routine processes. Here are some popular combinations for Adobe Photoshop:
- Display or hide the Layers panel – F7 key.
2. Create a new layer – Shift + Ctrl + N.
3. Copy the selection to the new layer – Ctrl + J.
4. Merge the layers into one – Shift – Ctrl + E.
5. Merge the selected layers – Ctrl + E.
6. Make the selected layer the topmost – Shift + Ctrl + ].
Adjustment layer
The task of adjustment layers is to change contrast, tones and color without affecting the pixels. All the parameters are collected in the adjustment layer itself and are activated for all the layers underneath. This is a convenient way, as adjustments can be undone or changed at any time.
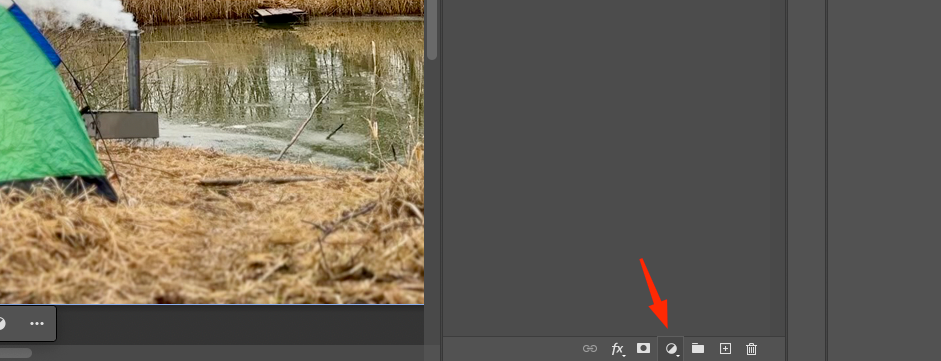
To prepare an adjustment layer, you need to click on the desired layer and select the black and white circle at the bottom of the panel.
Next, you should activate one of the available adjustments, such as “Curves”, to control the contrast.
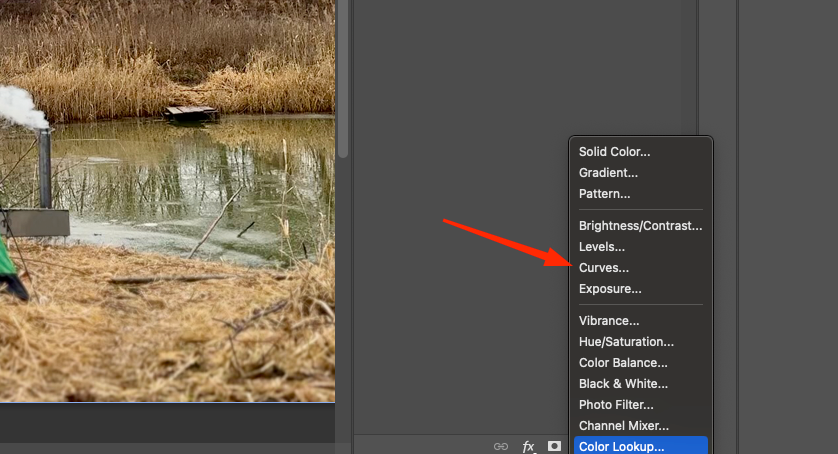
In the window that appears, you can change the contrast, set other parameters, and then close it. If you want to change the setting later, you should double-click on the black and white circle and the correction window will be displayed again.
To display the styles window, you need to double-click on the layer to which the effect will be applied. Many functions are available in this menu – for example, you can make a realistic glow, add a gradient or color, shadow, etc. It all depends on your imagination.


