
When planning to take photos or create graphic design, you should first of all learn the basic skills of working in Adobe Photoshop. Initially, this editor may seem extremely complex and incomprehensible, since it contains a lot of tabs and windows, there are various commands and tools that are not familiar to the average user. However, with a more detailed consideration of the key functions of the program, it will be possible to understand how everything is arranged here and how to work with it.
How to add a photo in Adobe Photoshop: an overview of the main methods
One of the main chips of Adobe Photoshop is that you can reach one result with the help of several methods. For novice users, this can make the task slightly more difficult, because if you remove the repetitive functions and commands from the interface, it will look much more logical and easier from a visual point of view. Nevertheless, everyone chooses the path that suits them.
Using the context menu
In this case, you need to act according to the following instructions:
- Open the Adobe Photoshop program.
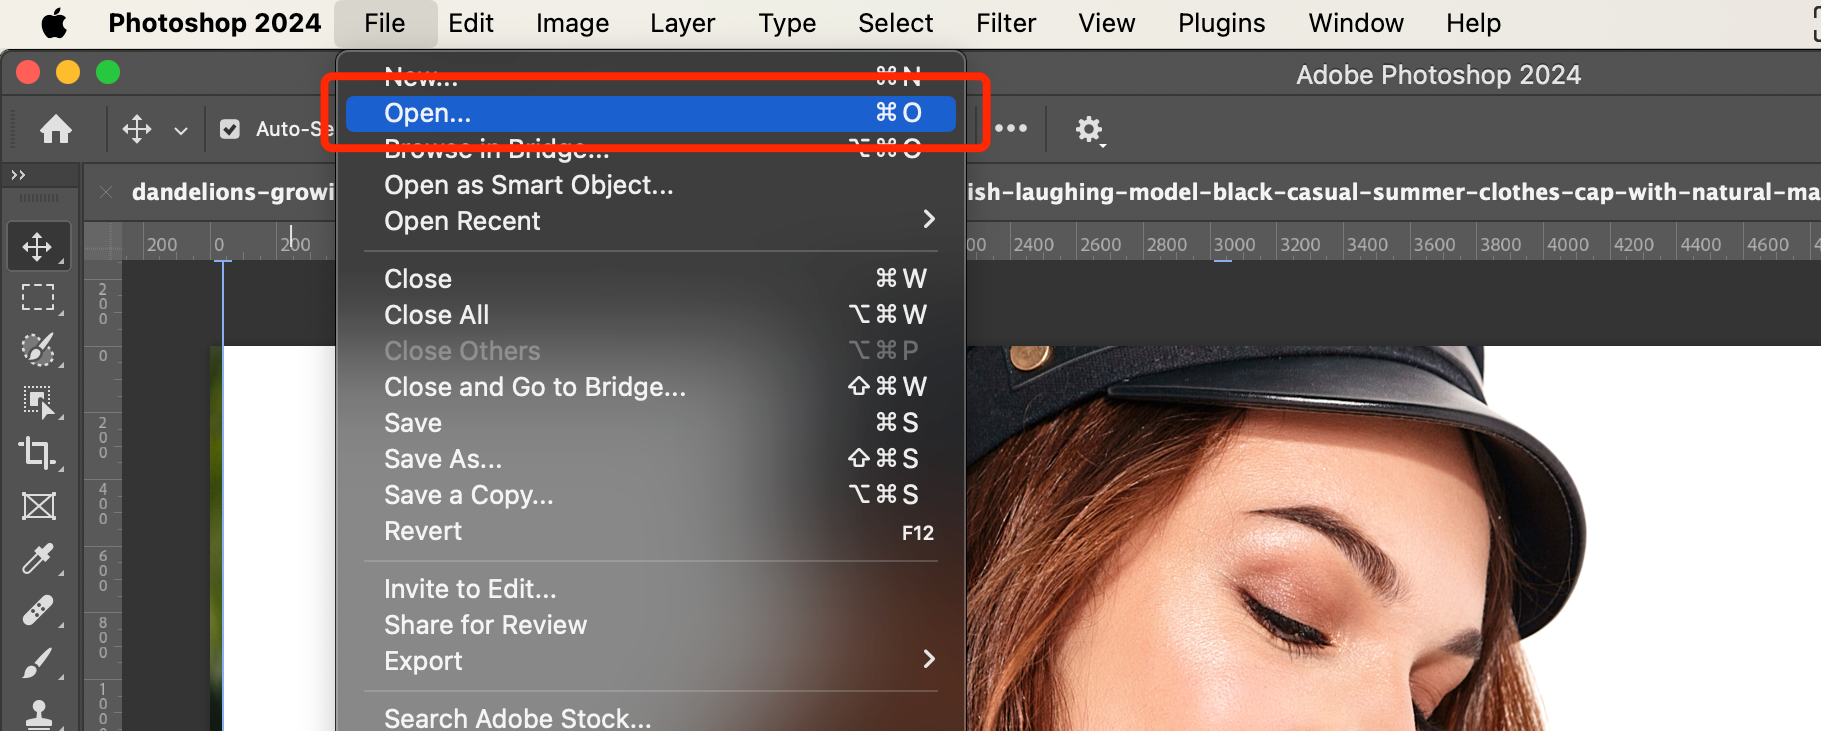
2. Find the File tab in the top panel and click the Open key.
3. Select File – Open. In the form that opens, specify the storage folder for the photo you want to add to the blank canvas.
The command menu contains all the basic tools of Adobe Photoshop, so you can familiarize yourself with each element in detail, which will help you in working with the editor in the future.
Transfer method
Before you is the standard and easiest way to add a photo in Adobe Photoshop. All you need to do is literally “grab” the image with the mouse and drag it into the working window of the editor. This method is also called “drag-and-drop”. The instructions are as simple as possible, as you need to perform two manipulations:
- Start the graphic editor.
2. Find a photo on your device, fix it with the left mouse button and drag it to the Adobe Photoshop icon. You don’t have to drag and drop only one photo. You can select them all and drop them in at once.
Using hotkeys
Hotkeys in Adobe Photoshop mean quick commands that facilitate work when solving a large volume of tasks. In single operations, the commands save a few seconds, but here when it comes to permanent retouching and image editing, they save a lot of time.
To activate the Open command, you should perform the key combination “Ctrl + O” or “Command + O”, depending on the peculiarities of your operating system. After performing these actions, a window will appear, in which you will need to find a photo in the PC folder, click on it with the left mouse button and open.
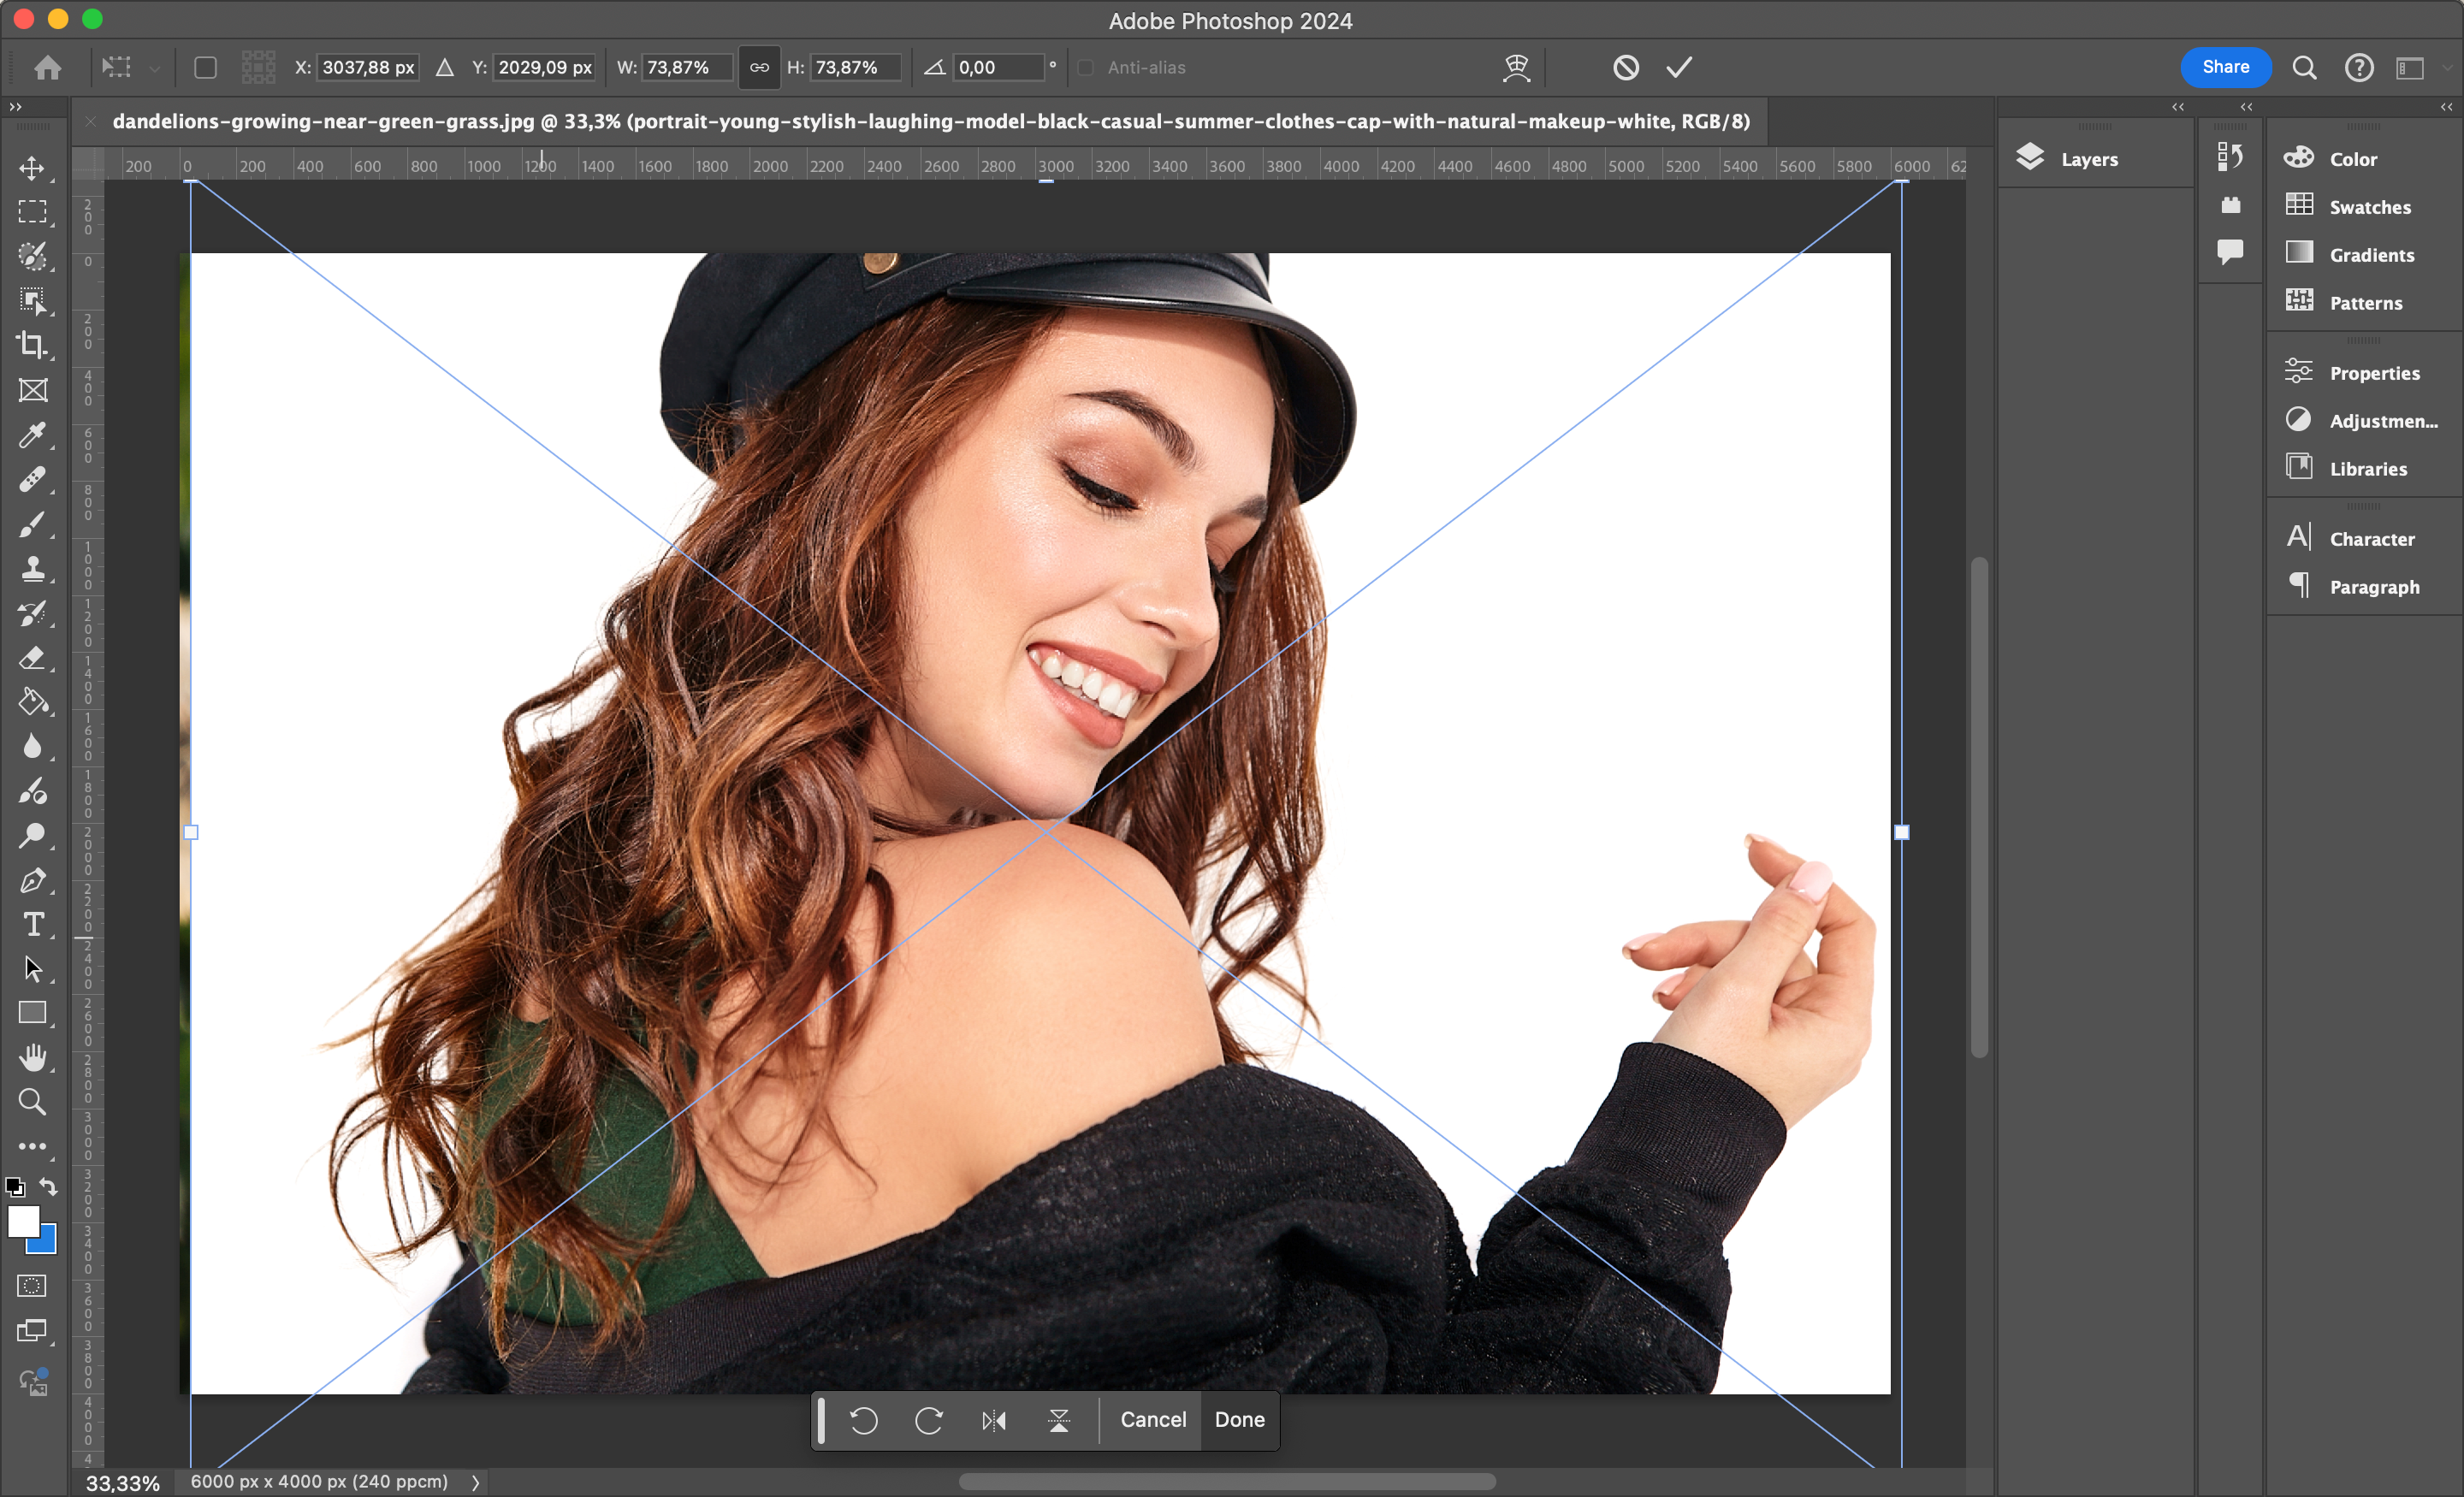
How to add a photo to a layer in Adobe Photoshop

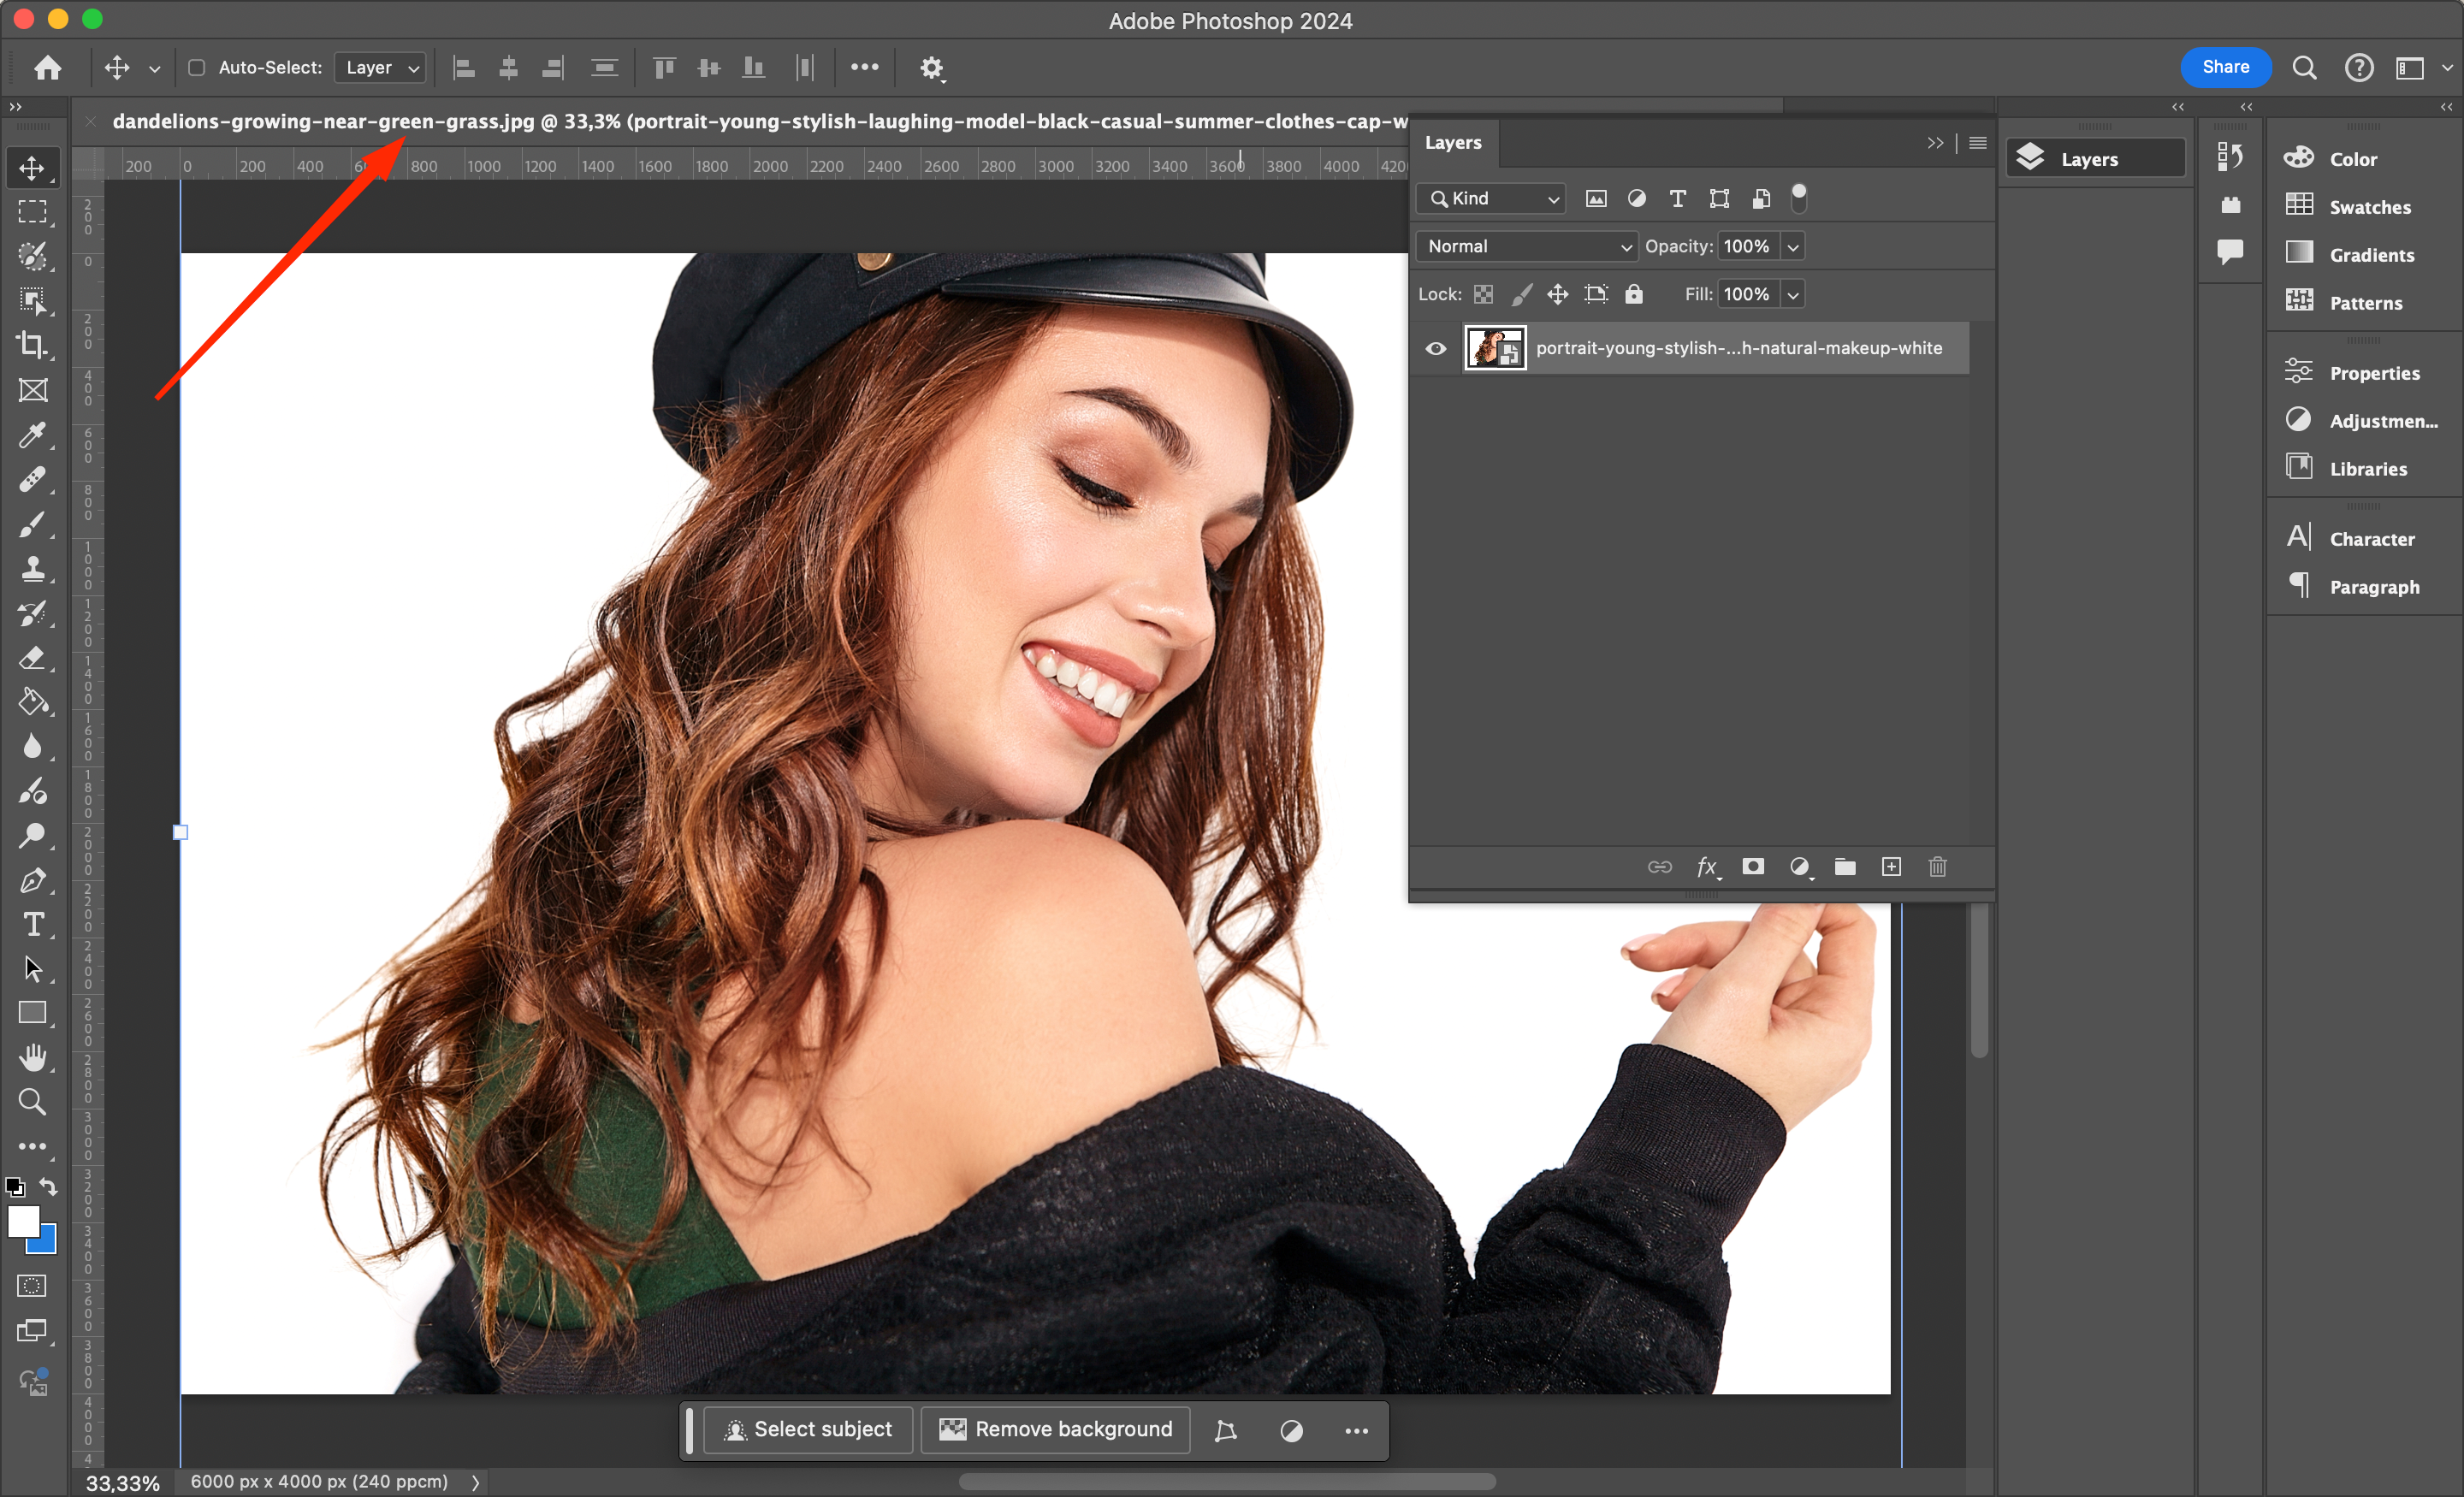
After adding a photo in Adobe Photoshop, a separate layer is automatically assigned to it. You can see this in the Windows – Layers menu.
Under the background layer means the base layer of the image, as well as the layer with the source. In the standard mode near it is a lock icon, that is, you can not move it, delete or transform. If you click on the lock, it will automatically disappear, and you can edit the layer as you wish. If you have opened a new document on which you plan to place an image, for example, to prepare a collage, an advertising publication for social networks, etc., then here you should act a little differently.
To perform this procedure, you need to proceed as follows:
- Open the graphic editor Adobe Photoshop. Using any of the convenient methods, open the picture, to which another image will be added.
2. In the Layers window, initially only the layer with the original file will be displayed.
3. Next, it is worth looking for a second photo on the computer, which you need to add to the background.
4. It should be picked up with the left mouse button and dragged into the working window of Photoshop.
How to add another photo in Adobe Photoshop
Often when working with Photoshop, you need to add several images in parallel. For example, to send adjustment layers from one material to another for faster retouching. Beginning users often do not understand how to do this, but in fact everything is quite simple. The following methods come into play:
- The first method is described at the beginning of this article and involves using the Open form in the File window. The opened image will appear in a neighboring window next to the one already running.
2. In the second case, you should pick up the image with the mouse and drag it to the working area of the editor. At the same time, you should drag it to the line under the command menu, which resembles a window with open tabs in your browser. Accordingly, the more photos are open, the more tabs there will be.
Working with RAW Format
Under RAW is a special image format, which contains a lot of data about the light and dark elements of the image. And novice photographers are all encouraged to shoot in this format, as it will give the opportunity to carry out darkening of the picture, remove noise, change colors and other manipulations without deteriorating the quality.
Often the operating systems of PCs and laptops do not support the opening of RAW-files without the use of third-party software. However, Adobe Photoshop can do this without much difficulty.
To open RAW, you need to pick up the file or all files, and then transfer them to the working area of the editor. Two other methods described above, such as hotkeys or the Open form, will also come into play.
In the opened window ACR (Adobe Camera RAW) you will see various settings, such as dimming, brightening, brightness and contrast control, changing colors, adding tinting and much more. But if you don’t need such deep configurations, you just need to click Open at the bottom and the photo will be moved to the standard Adobe Photoshop space.


