
A circle in Adobe Photoshop is as simple and standard geometric figure as possible, but not all users know and understand how to make it. The graphic editor provides several methods that are used to add circles. Some of them involve selecting a part of the image, some involve cutting or turning into a mask, and some involve applying blanks for art or design. Consider the different options for accomplishing such a task.
How to draw a circle in Adobe Photoshop with the Ellipse Tool
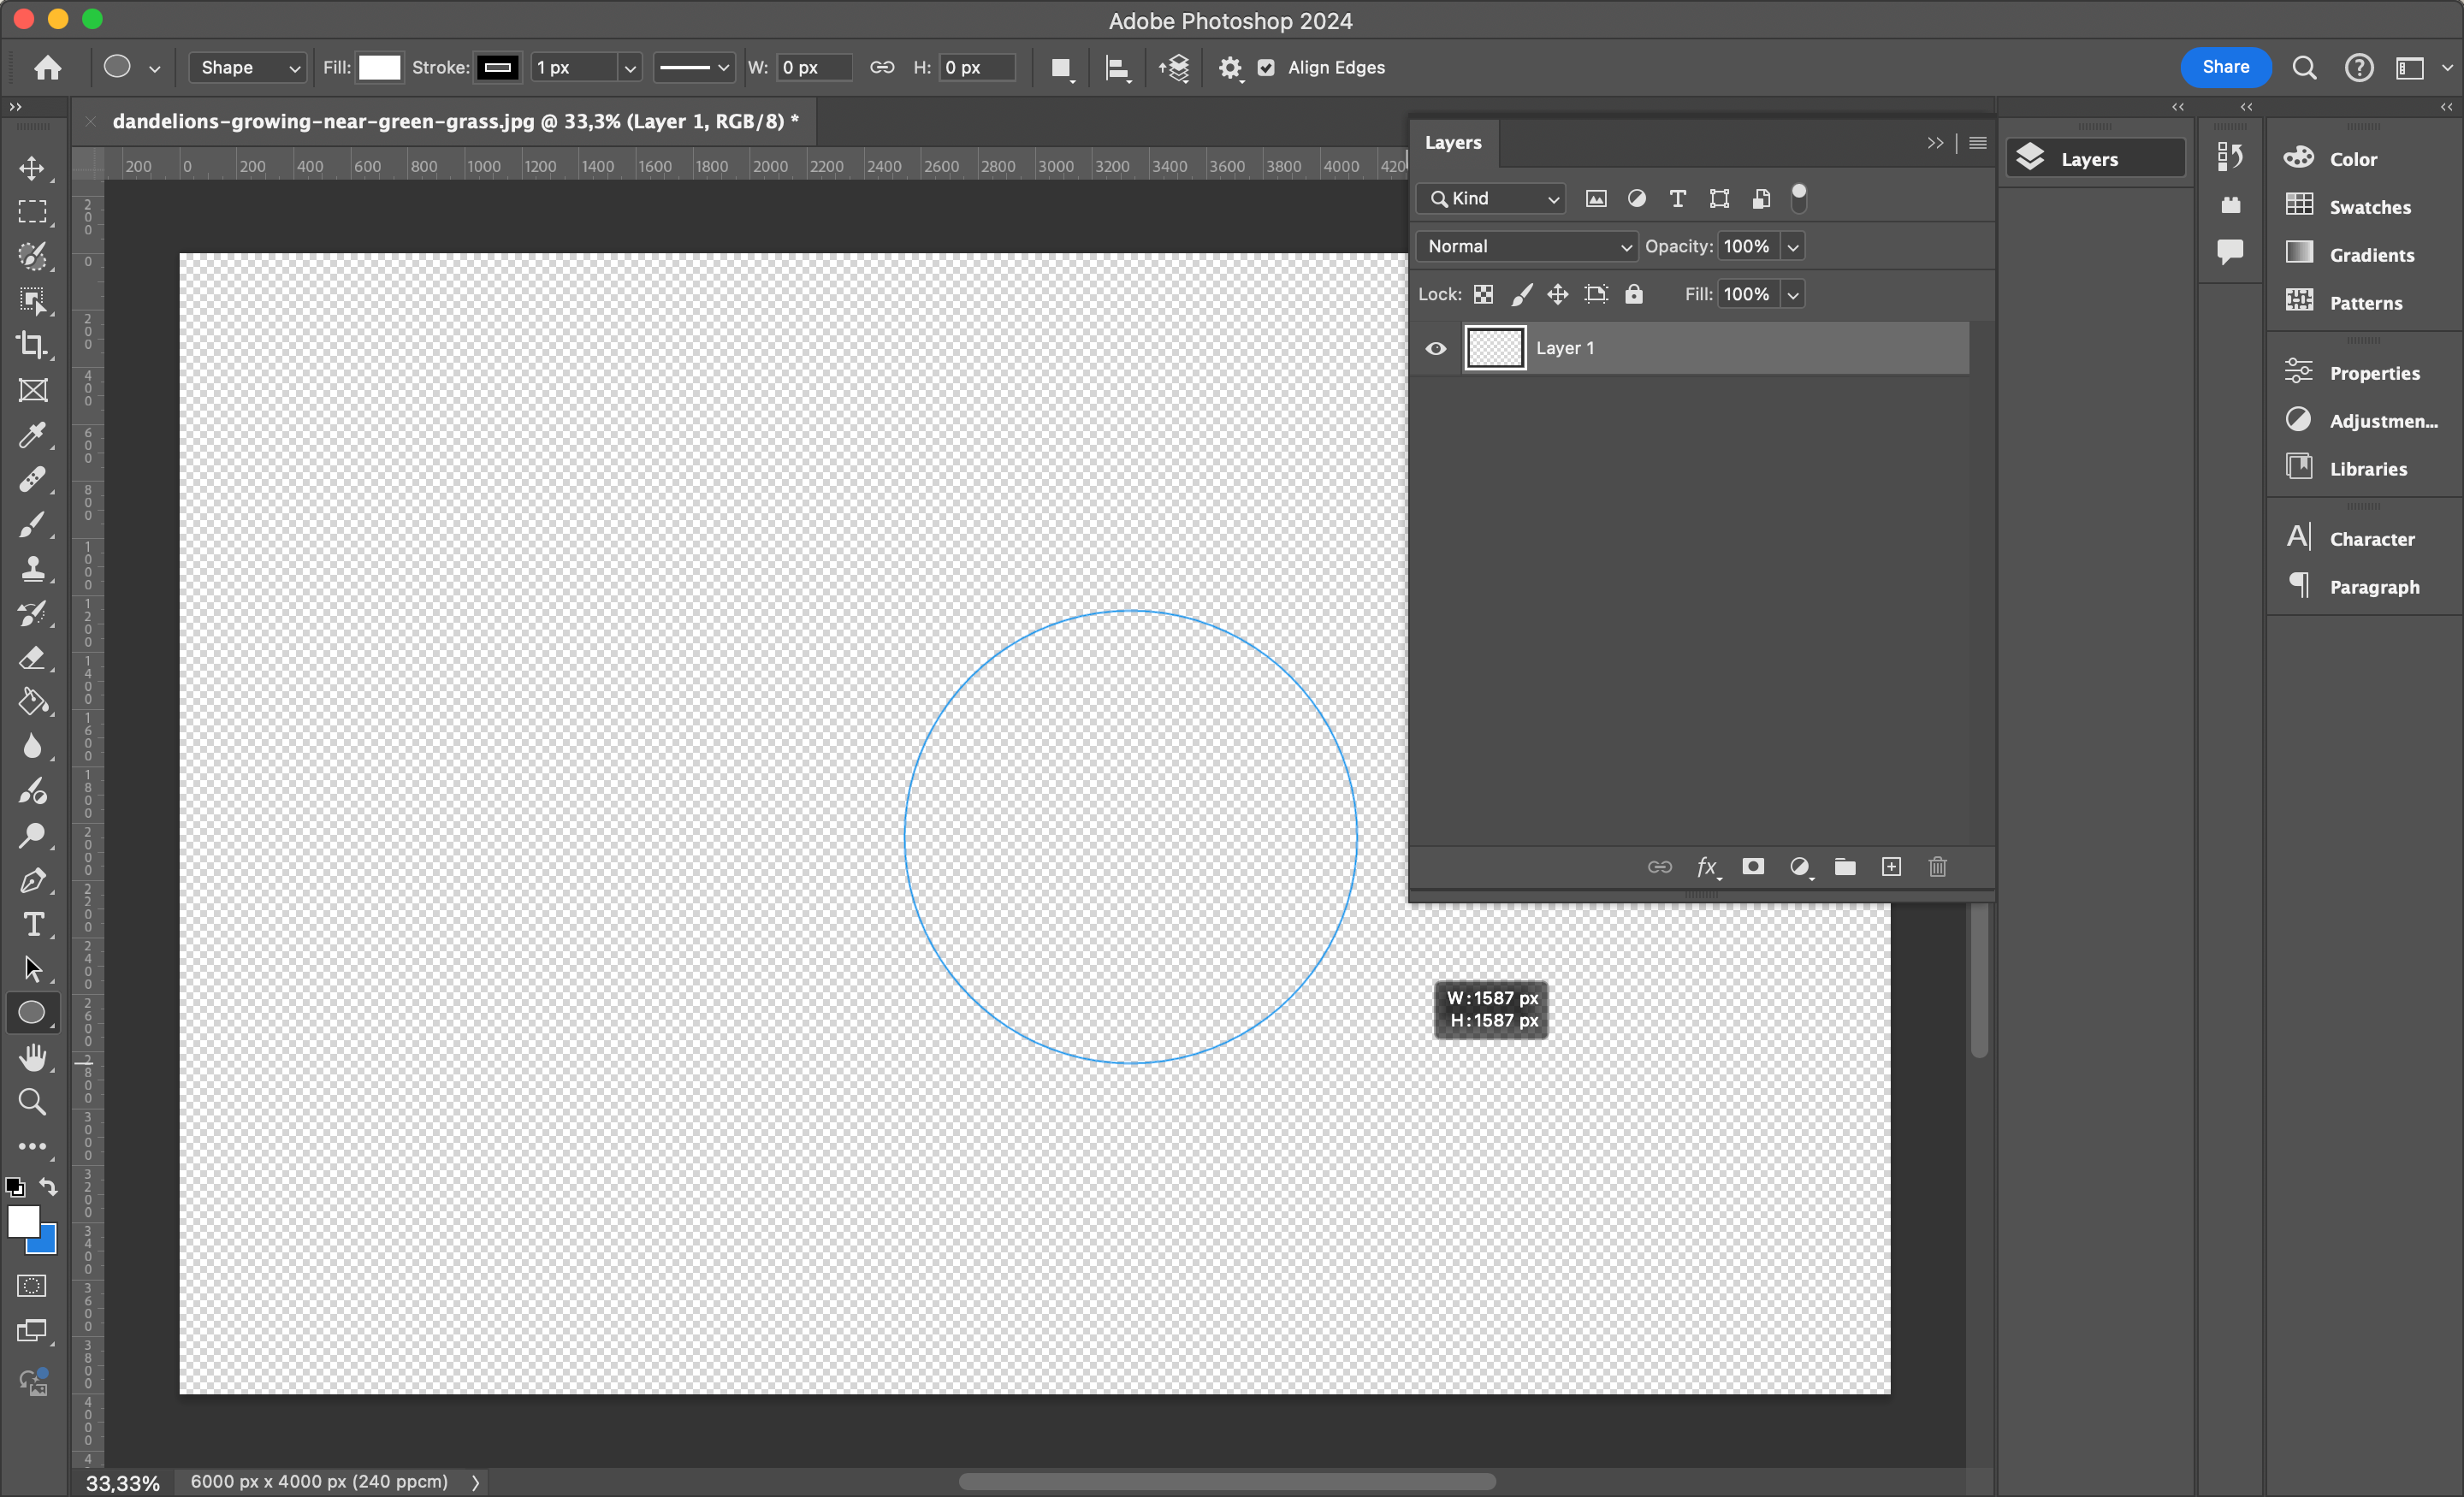
To create a circle using the standard Ellipse Tool, you need to follow these instructions:
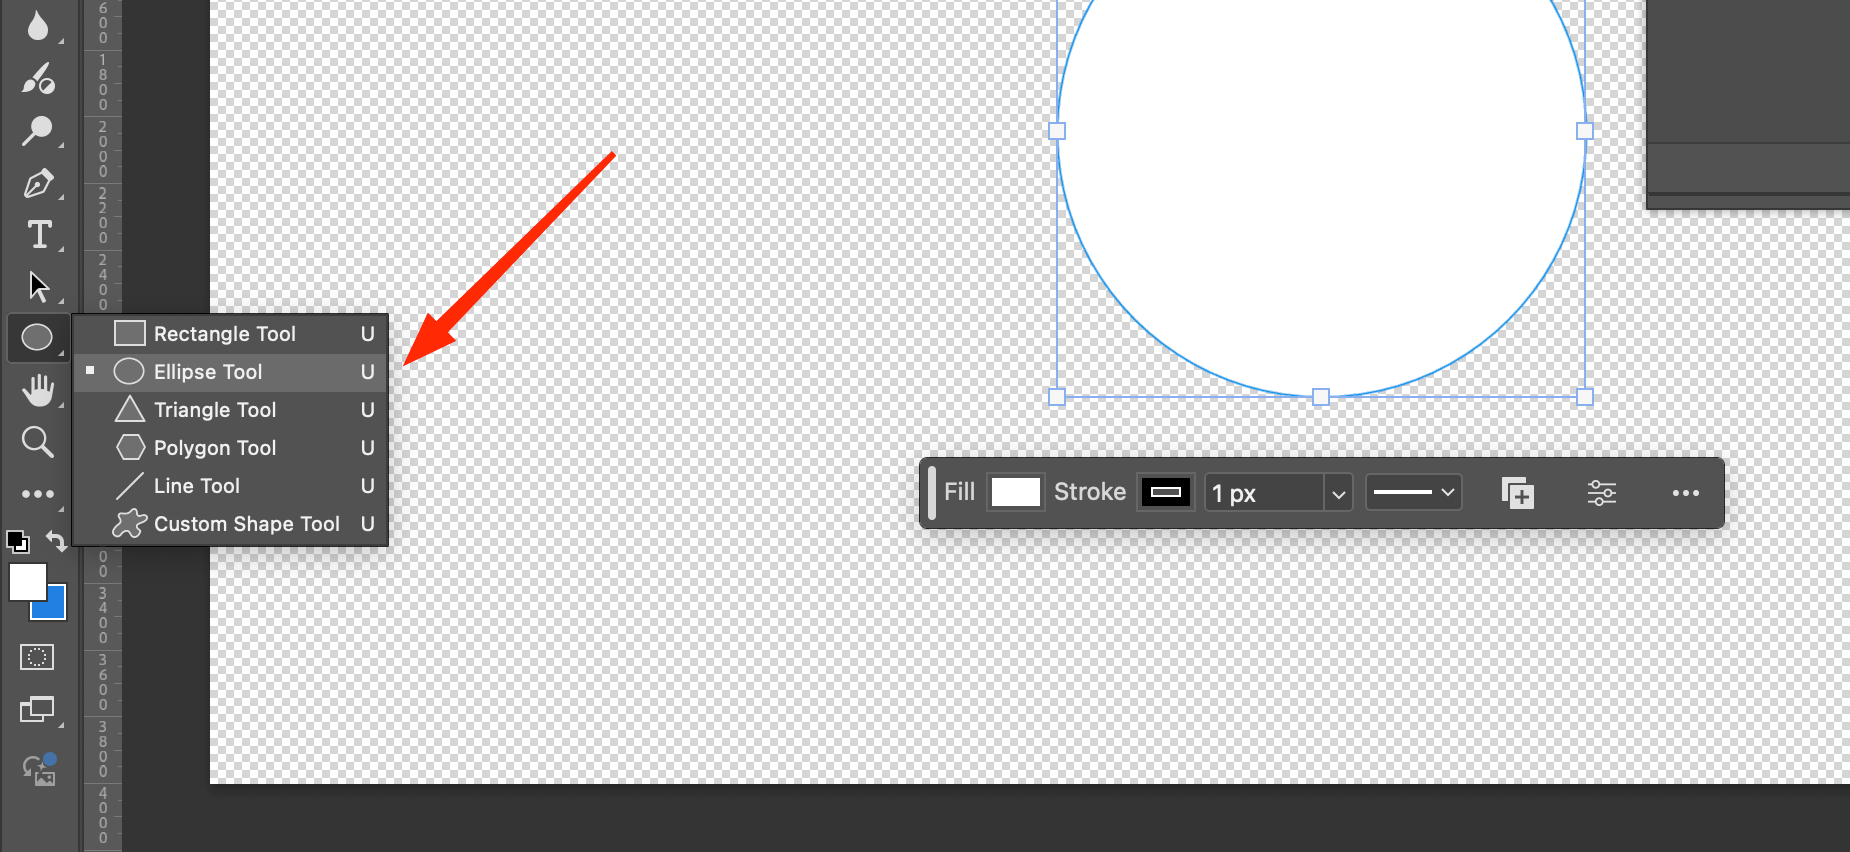
- Ellipse Tool is located on the toolbar on the left side of the working window. If it is not among the standard icons, you should click on “Rectangle” to see the advanced settings, and then find there the ellipse icon.
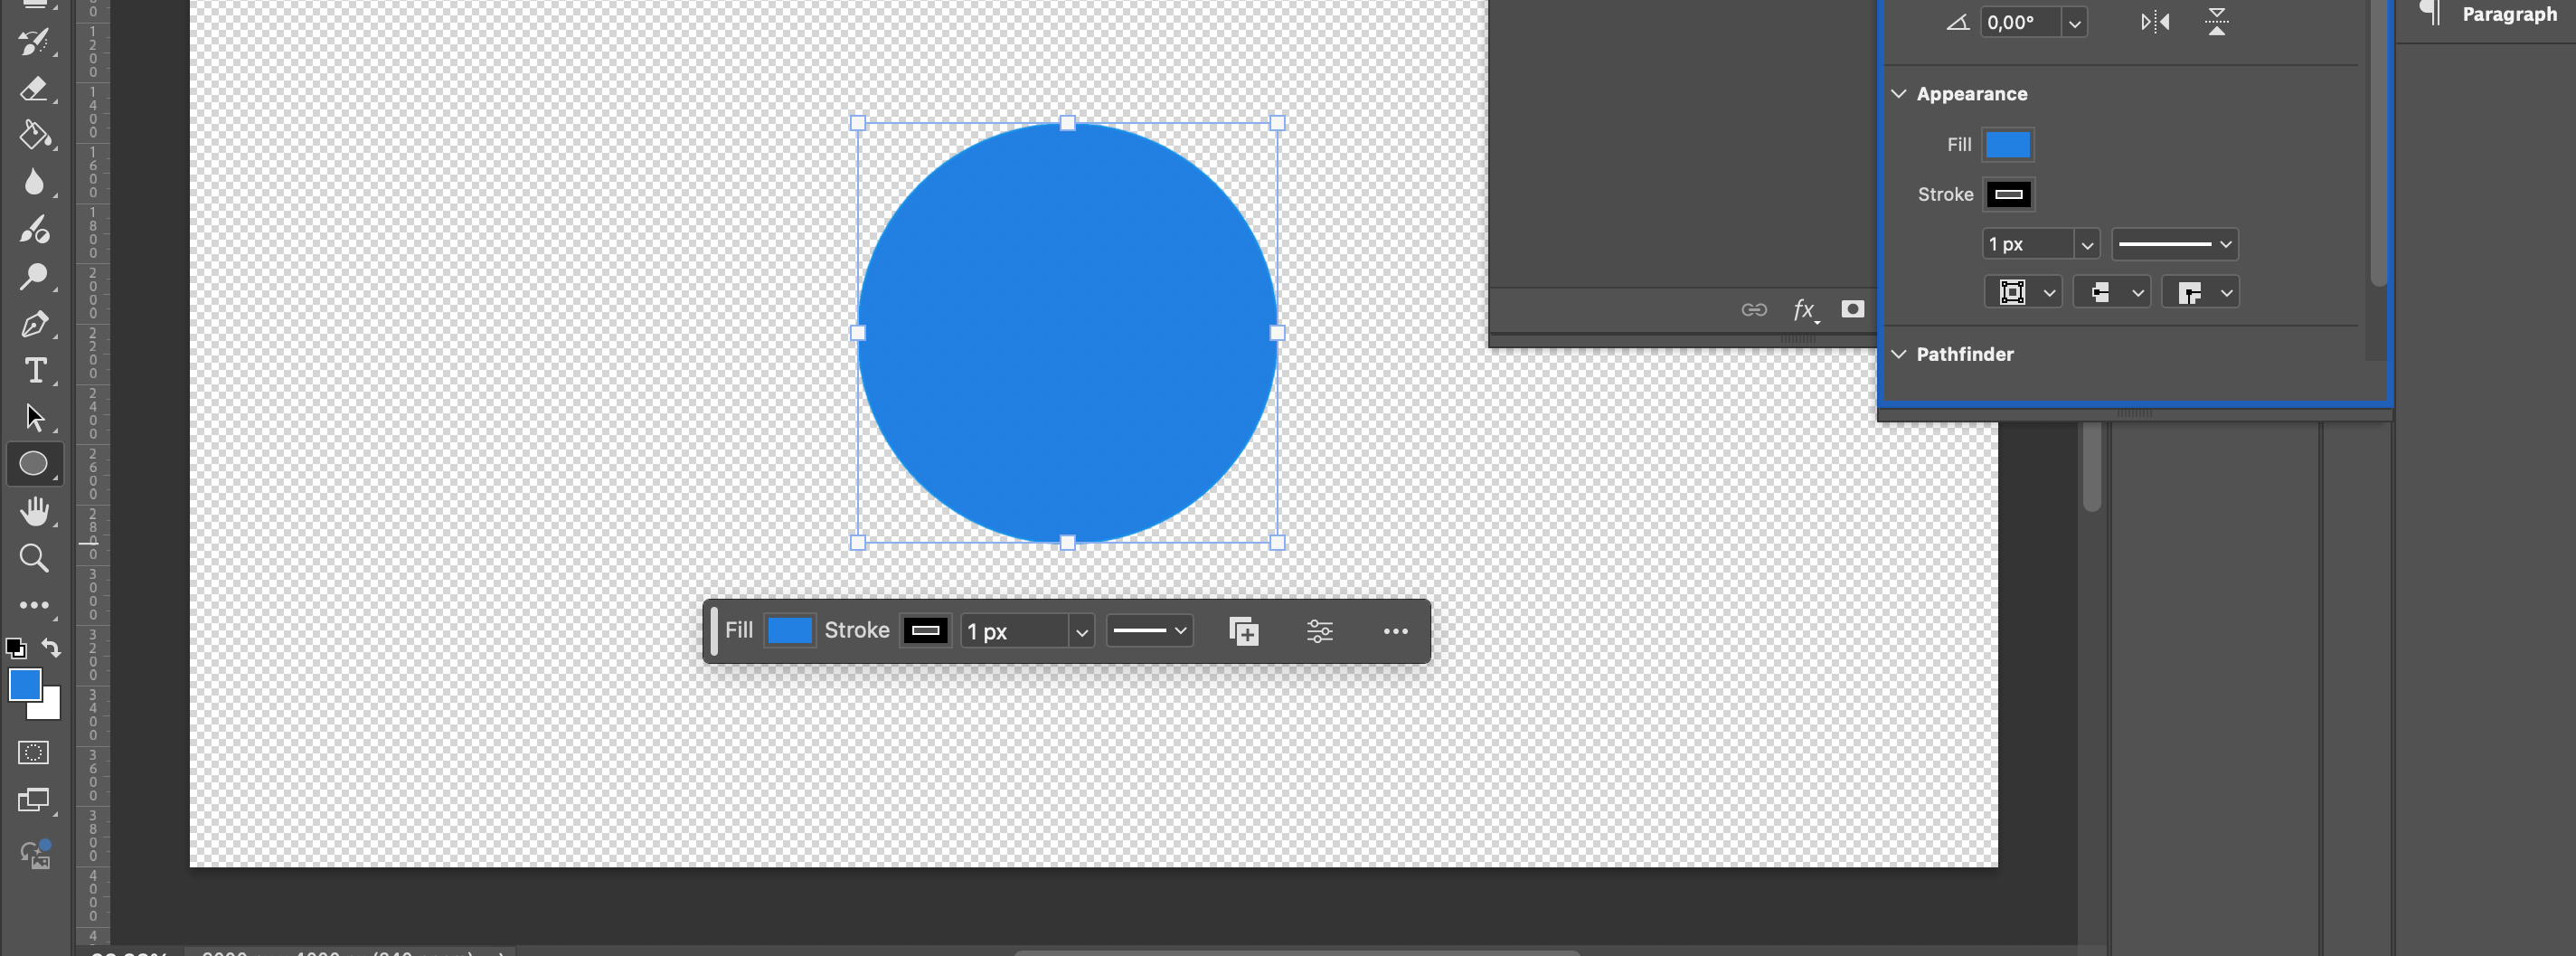
2. Next, in the options panel of the Shape tool, you will see some options like: Mode, Stroke, Fill, Height, Width, etc. Advanced settings for outlines and shapes and edge alignment are also available there.
3. To get an oval, you should place the cursor on the working area, click and drag it. A perfect circle can be obtained by holding down the Shift key during the dragging step. You can draw a shape from the center by clicking a point and dragging the cursor while holding down Alt (Windows) or Option (macOS). You can also set flexible oval parameters in a pop-up window.
4. After selecting the layer with the created shape, you can use the Move option to change the position on the canvas. Transformation and scaling are performed through the Edit and Free Transform windows. You can also use the Command + T (Mac) key combination.
On the toolbar in the left corner there is the Elliptical Marquee Tool window, which is used to create a circular shape – a blank for cutting or a future mask.

You can also select the Ellipse Tool (dark oval icon), press the left mouse button and drag it in the desired working area. This tool is more often used by graphic designers.
How to get a perfectly even circle and oval in Adobe Photoshop
To get a circle in your file as proportional and even as possible, you need to hold down the Shift button before drawing a figure with the Ellipse Tool or Elliptical Marquee Tool.
To get an oval, you don’t need to hold Shift, but just draw the shape in any direction. To create a blurred circle, you should choose Brush and adjust the Hardness slider to get the desired result.

If the circle on the contrary should be hard with clearly marked edges, you should use the same Brush tool, located on the left side of the toolbar, click on the canvas or find a circle with a number to realize the task.
Lire aussi : Les bases du travail avec un tampon dans Photoshop

How to create a circle with a specific size in Adobe Photoshop
In this case, it is necessary to be guided by such instructions:
- Select the Ellipse Tool.
2. Press the LKM and draw an oval or a circle.
3. In the upper part of the graphical editor find the line with advanced tool parameters.
4. In the Width and Height boxes, specify the size of the circle in pixels.
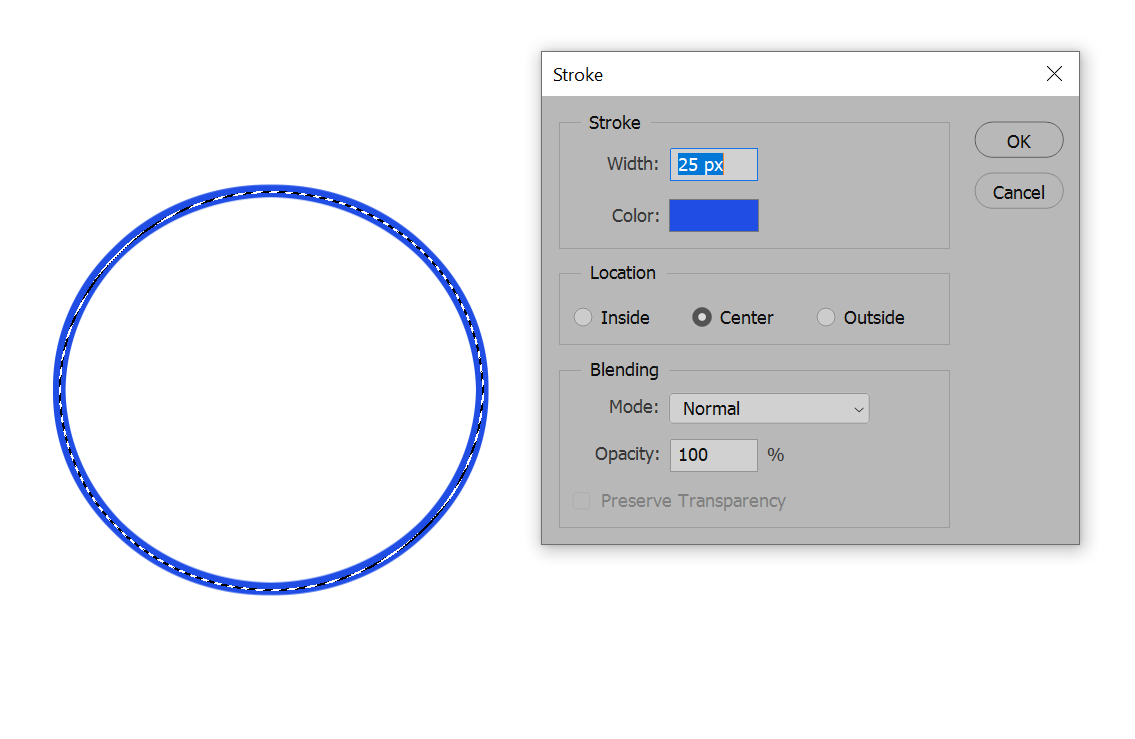
If you want a circle with a specific color, you should draw it with the Elliptocal Marquee Tool and then right-click on the canvas. A drop-down box will appear on the screen. After that you need to click on the Fill line.
Next you need to select Ellipse Tool and form a circle. Given the selected settings, it can have a specific default color. If this option does not suit you, click on the rectangle on the top panel with the fill settings.
Use a brush to draw a circle of the desired size and color by hand. You can use the Elliptical Marquee Tool to get a semi-transparent circle shape. Right-click and specify the Stroke value.
Next, use the Ellipse Tool and prepare the object. In the Effects palette there is an item Properties. You can also apply the settings panel at the top of the program.
How to make a round text in Adobe Photoshop

Using the standard tools of Adobe Photoshop, you can create a beautiful round text on the contour of the figure. To do this, you need to follow these instructions:
- Take the Ellipse Tool and prepare a circle of the required size.
2. Disable Fill by clicking on the colored rectangle and select the white rectangle crossed out with a red line.
3. Nearby, locate Stroke and specify multiple peaks for easy thickness selection.
4. On the toolbar, select Horizontal Type Tool, which is marked with a T.
5. Left-click on the previously formed circle, insert or write the necessary text.
Adobe Photoshop will automatically adjust it to the contour of the figure.
Conclusion
Knowing how to draw circles in Adobe Photoshop gives designers great opportunities in the field of graphic design and Digital art. As you might have realized, the editor opens up a large number of features and tools to produce perfect circles with maximum precision and ease. Despite the method used (standard Ellipse or more flexible and advanced tools with hotkeys and settings), the result will be appropriate only if the instructions are strictly followed.


