
An electronic PowerPoint presentation refers to the most convenient and effective solution for visualizing various data. Regardless of the task at hand, the presentation slides should look attractive and intuitive. After all, this directly affects the emotionality and constructiveness of the speech.
But how to act in conditions of limited time, when you need to quickly create a beautiful presentation, because you are expected to report, and you do not have time to formalize everything?
In this case, you can act in several ways. For example, you can order a presentation on a freelance exchange or in a professional studio. However, it will take a lot of time, and you will have to pay for the work. Choosing a studio, you should be prepared for high prices, which is due to the cost of services. If there will be compensation for the presentation, it is acceptable, but if you have to cover the costs yourself – the option is clearly not the best.
You can also entrust the task of creating a PowerPoint-presentation to a colleague, comrade or “personal” pro. The method works, but if the other person wants to do it. Yes, and he should have minimal knowledge and skills in the program.
How to create a presentation in PowerPoint?
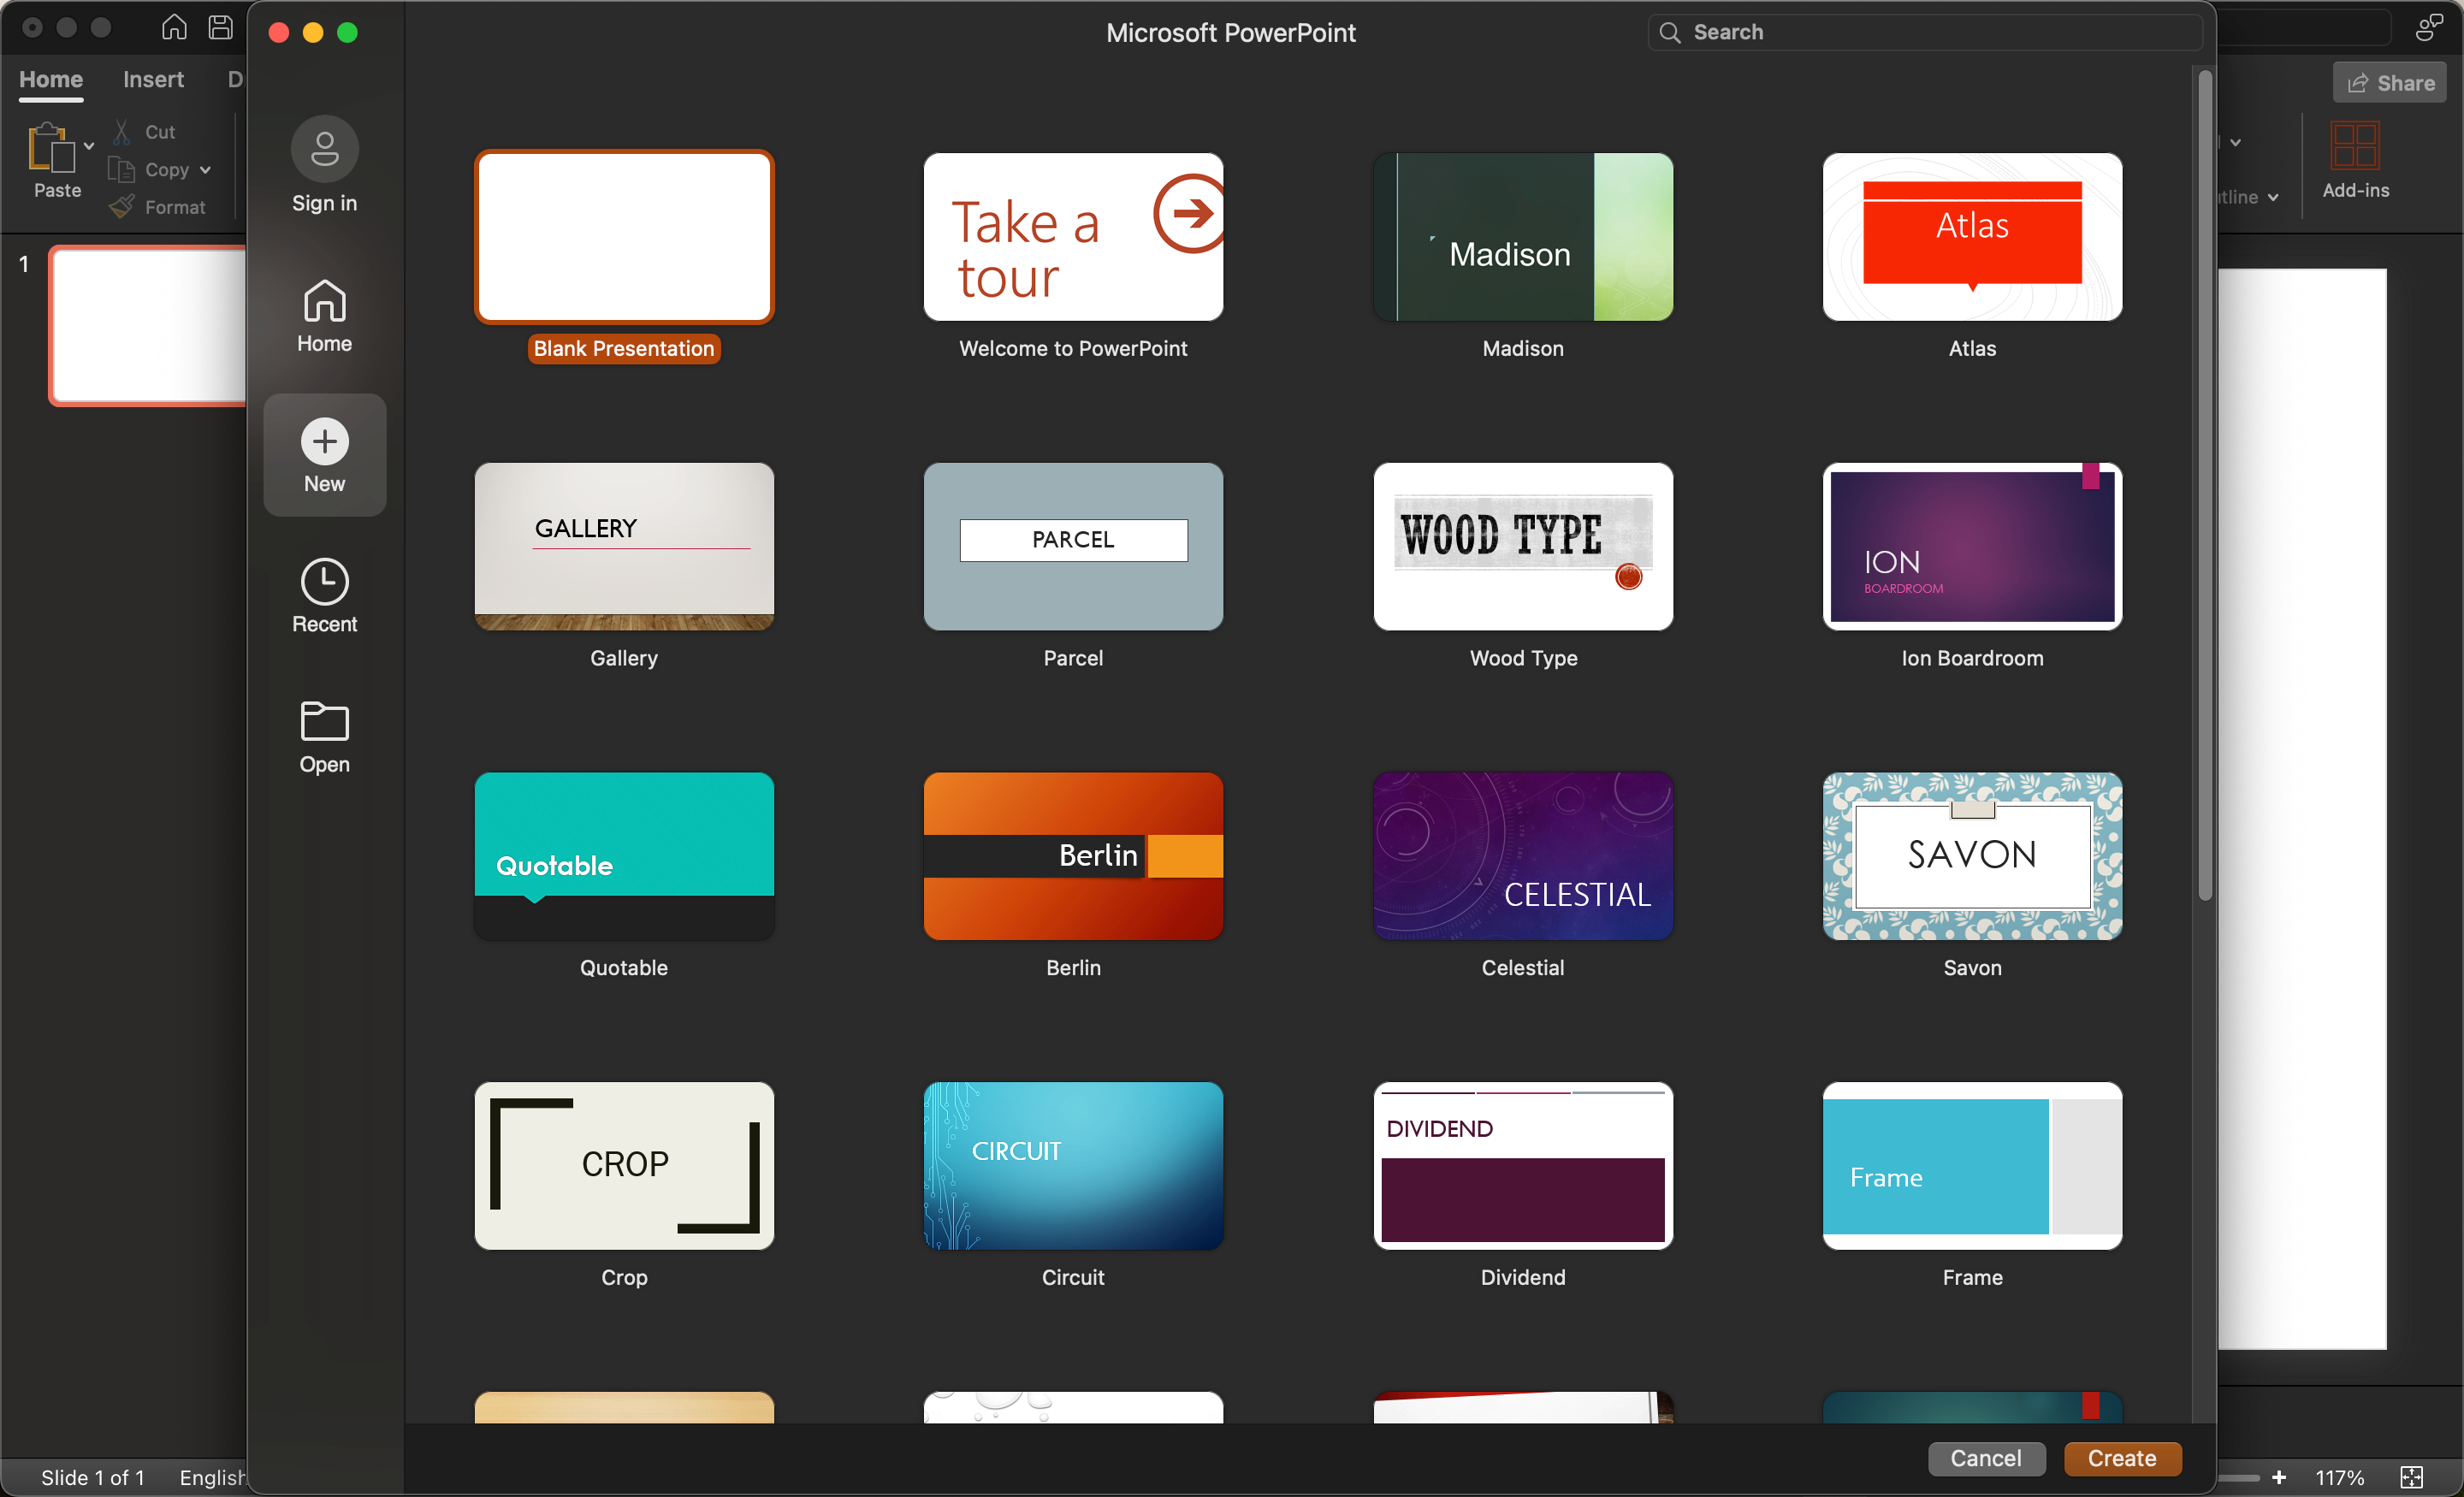
The instructions for creating a presentation in Microsoft Office PowerPoint look simple:
- Open PowerPoint on your computer.
2. Click on “New Presentation” or “New Presentation from Template”.
3. Open the template.
4. Make changes based on your preferences.
5. Save your changes.
It is important to note that you can add different charts, diagrams, and other graphical elements to your presentation by using the Insert section.

How to create a background for a presentation
In Microsoft Office Power Point, starting with the 2010 version, you can add various backgrounds and artistic effects to graphic elements. For example, you can turn a shape into an image and then add a unique effect to it afterward. More photos can be used as a background document or as a presentation object.
In a couple of clicks, you can turn a figure into a background. And if you don’t want to waste time, just choose one of the available suggestions in the PowerPoint settings menu.
Instructions for creating a PowerPoint presentation background
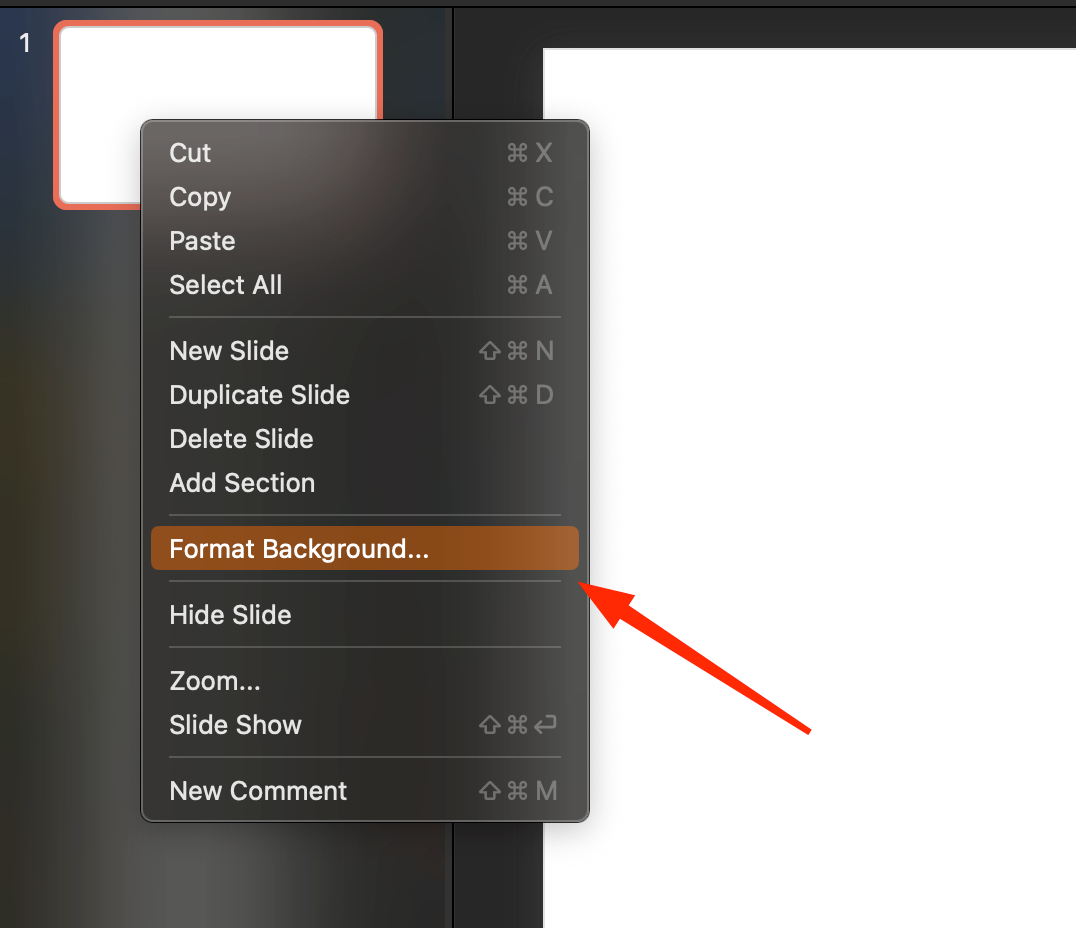
To create your own background in PowerPoint, you need to follow these instructions:
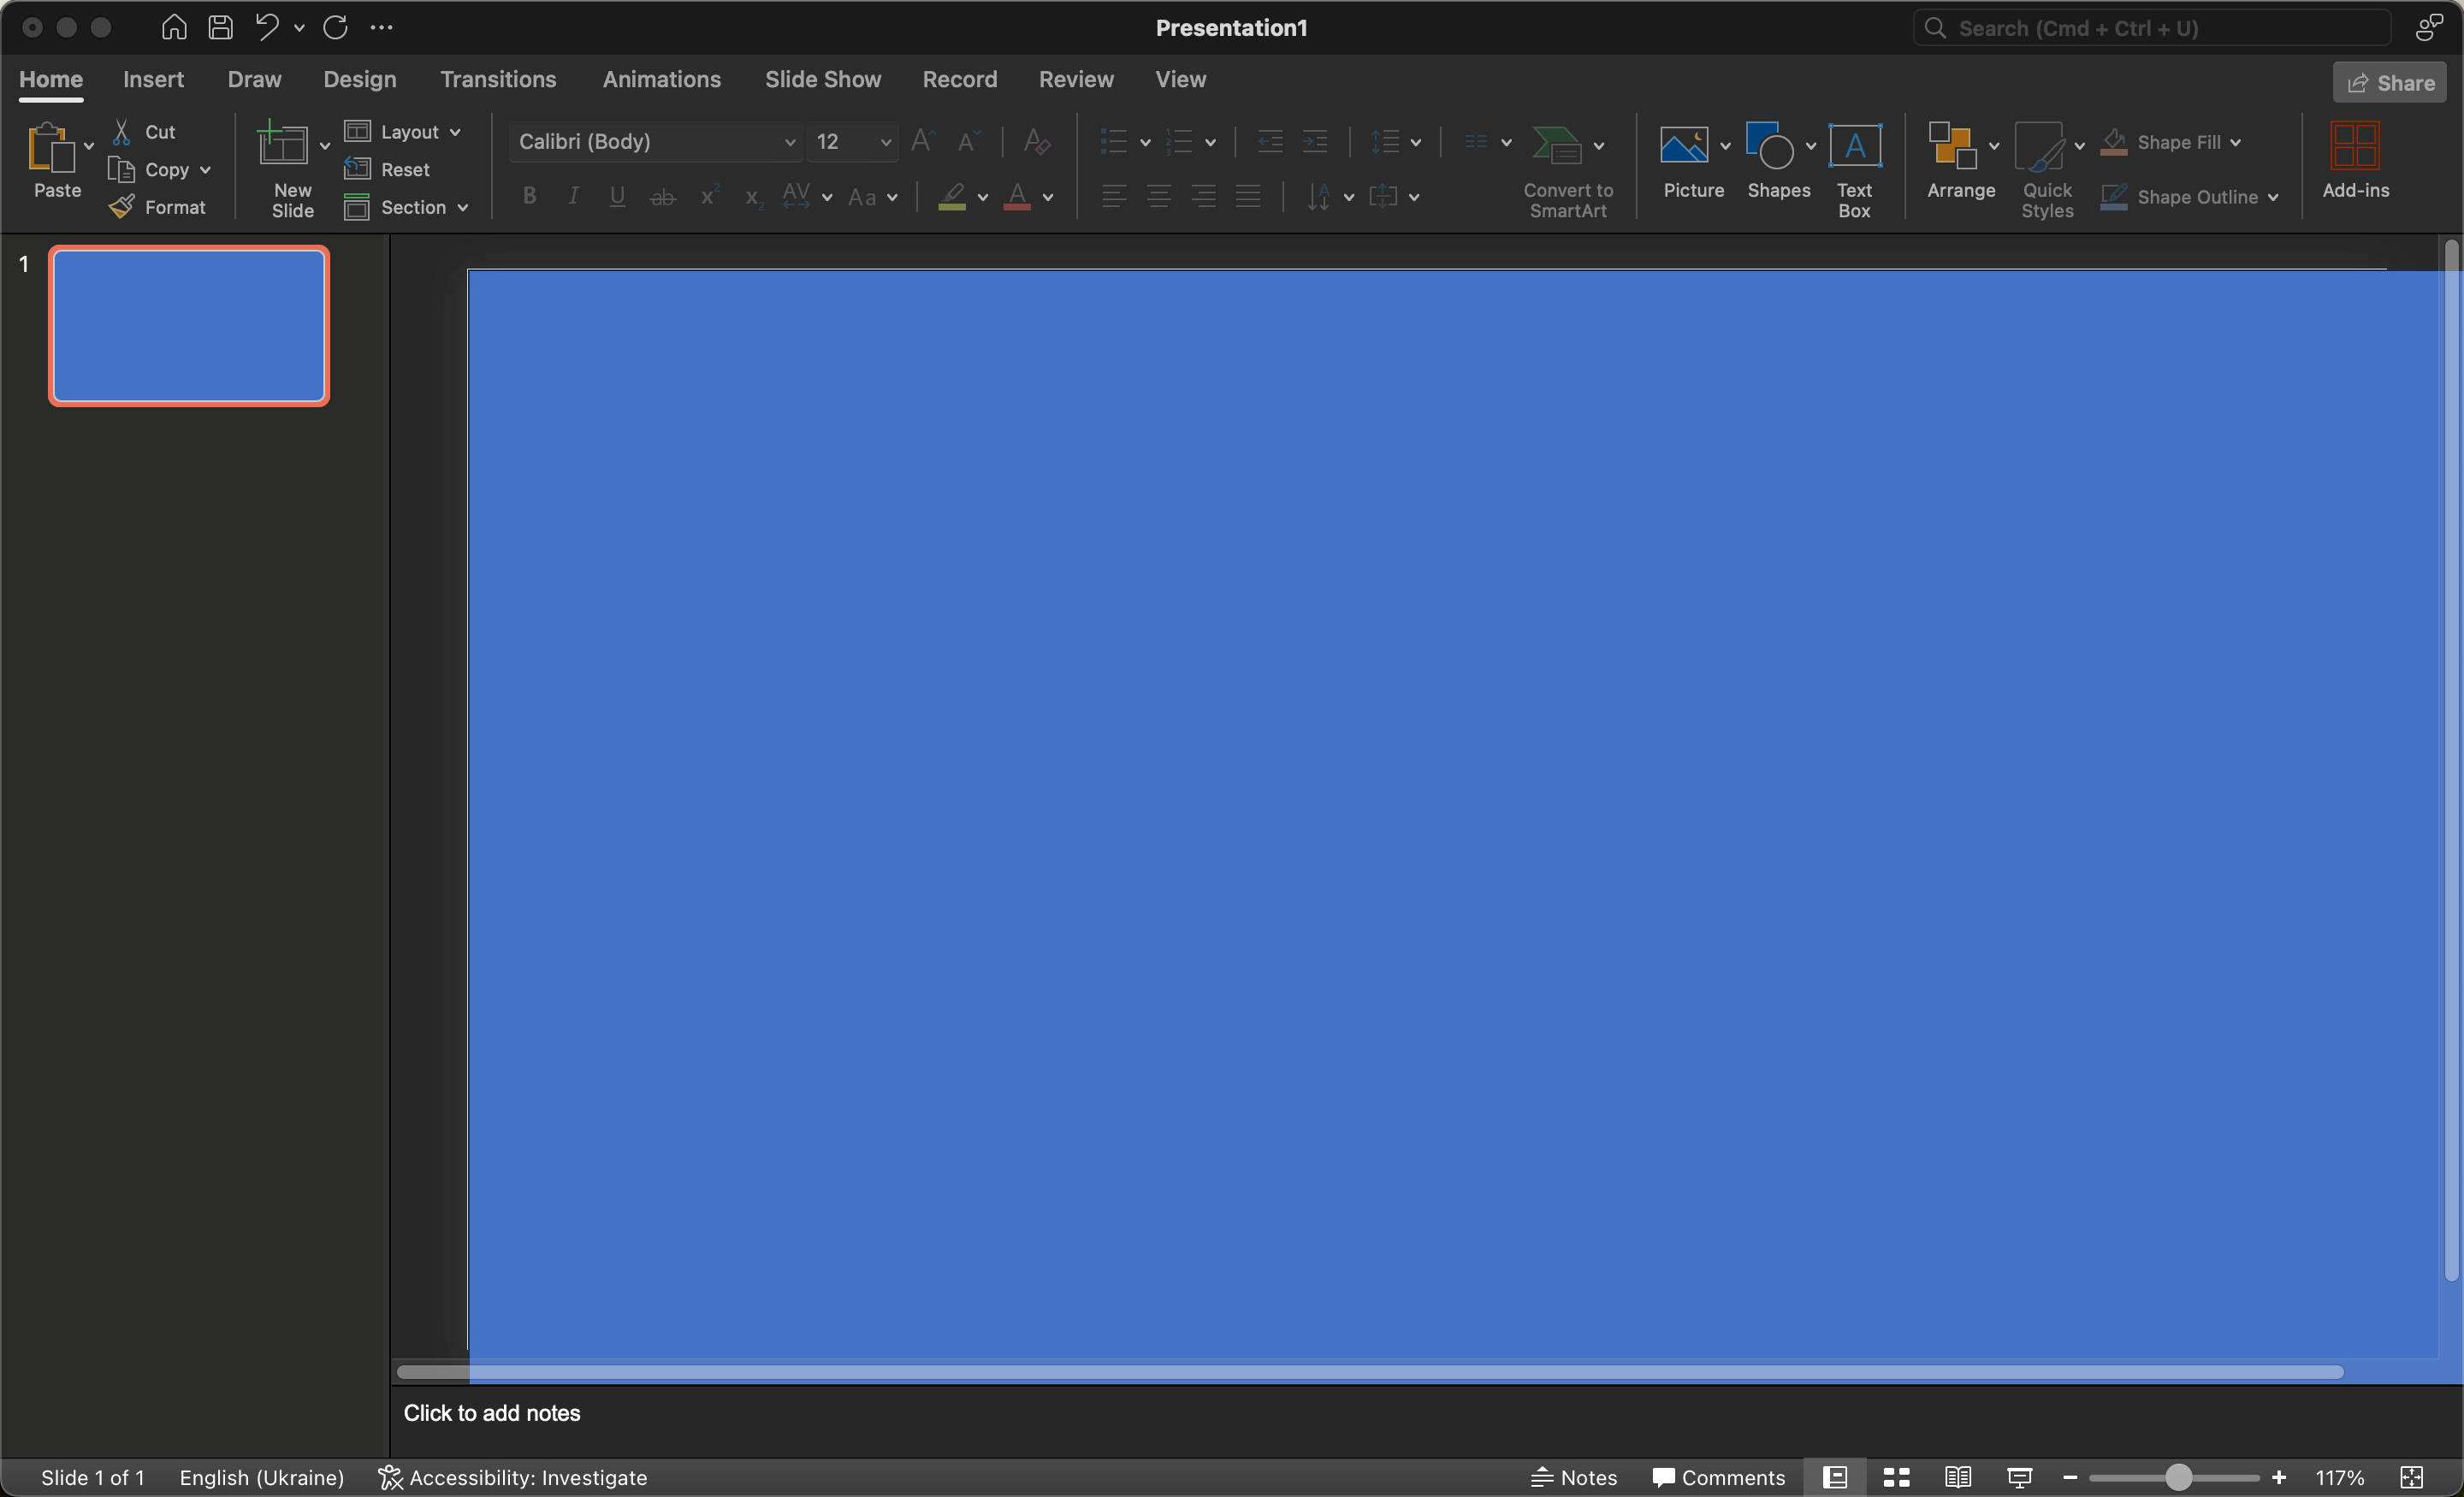
- Insert a rectangle shape on the slide. You can stretch it across the entire slide right away or do the stretching later.
2. Go to the Format – Shape Outline – No Outline menu.
3. Copy the rectangle to the program buffer by clicking the left mouse button to select it and then selecting the “Home” – “Copy” menu.
4. Using the right mouse button click on the rectangle and find the menu “Paste Options” – “Picture”.
5. In the “Format” window, specify the artistic effects you like.
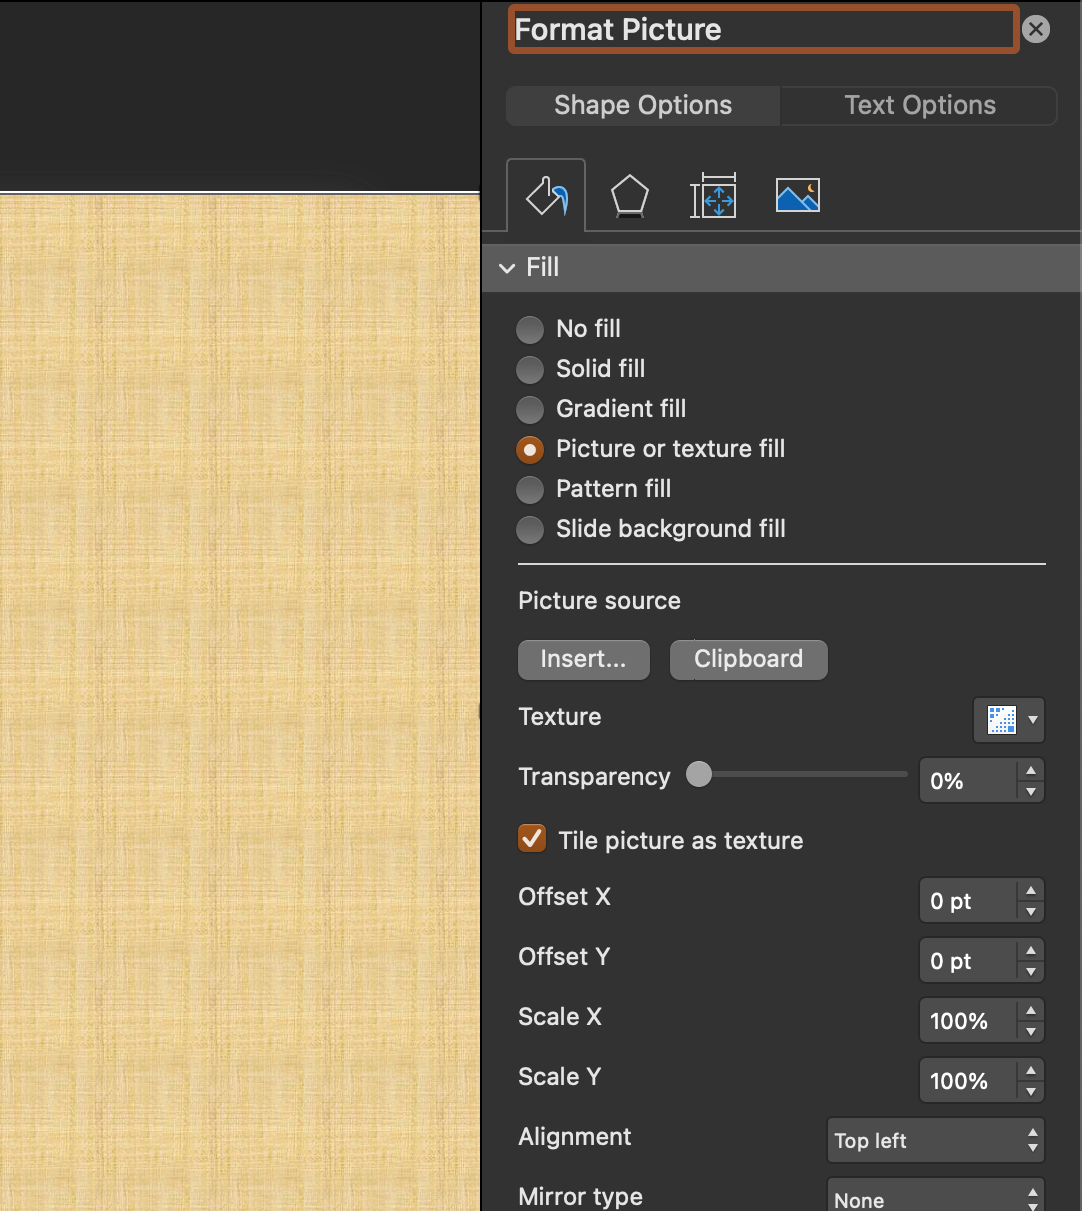
We’ve taken one of the program’s standard textures as a background. You can also continue to work with it as a separate element of the slideshow. After you can make changes to the image, as advanced settings will appear in front of you, such as:
- Color. The tool provides control over saturation, give you the opportunity to recolor or add shades.
2. Correction. The window is used to change brightness, sharpness and contrast.
You’ll also see other other advanced options to experiment with customizing your drawing. As a result, the task of creating a background is greatly simplified, and there are advanced tools for working with photos.
How to create a tooltip?
To make the presentation more aesthetically pleasing and informative, you can add pop-up annotations or windows on the slides. If PowerPoint is used to demonstrate the report, then the feature may not be necessary. But it is extremely useful for presentations for personal use.
For example, if you want to prepare a step-by-step guide, an electronic manual or a textbook where interactivity is important. In PowerPoint, you can prepare tooltips in a couple of clicks.
The instructions are as follows:
- To begin with, you should start the program and specify the design theme for the slides. Ready-made templates are available in the PowerPoint selection.
2. Next, you should insert 2 photos per slide.
3. After you need to go to the menu “Insert” – “Shapes” and “Footer”, and then add text information with a hint.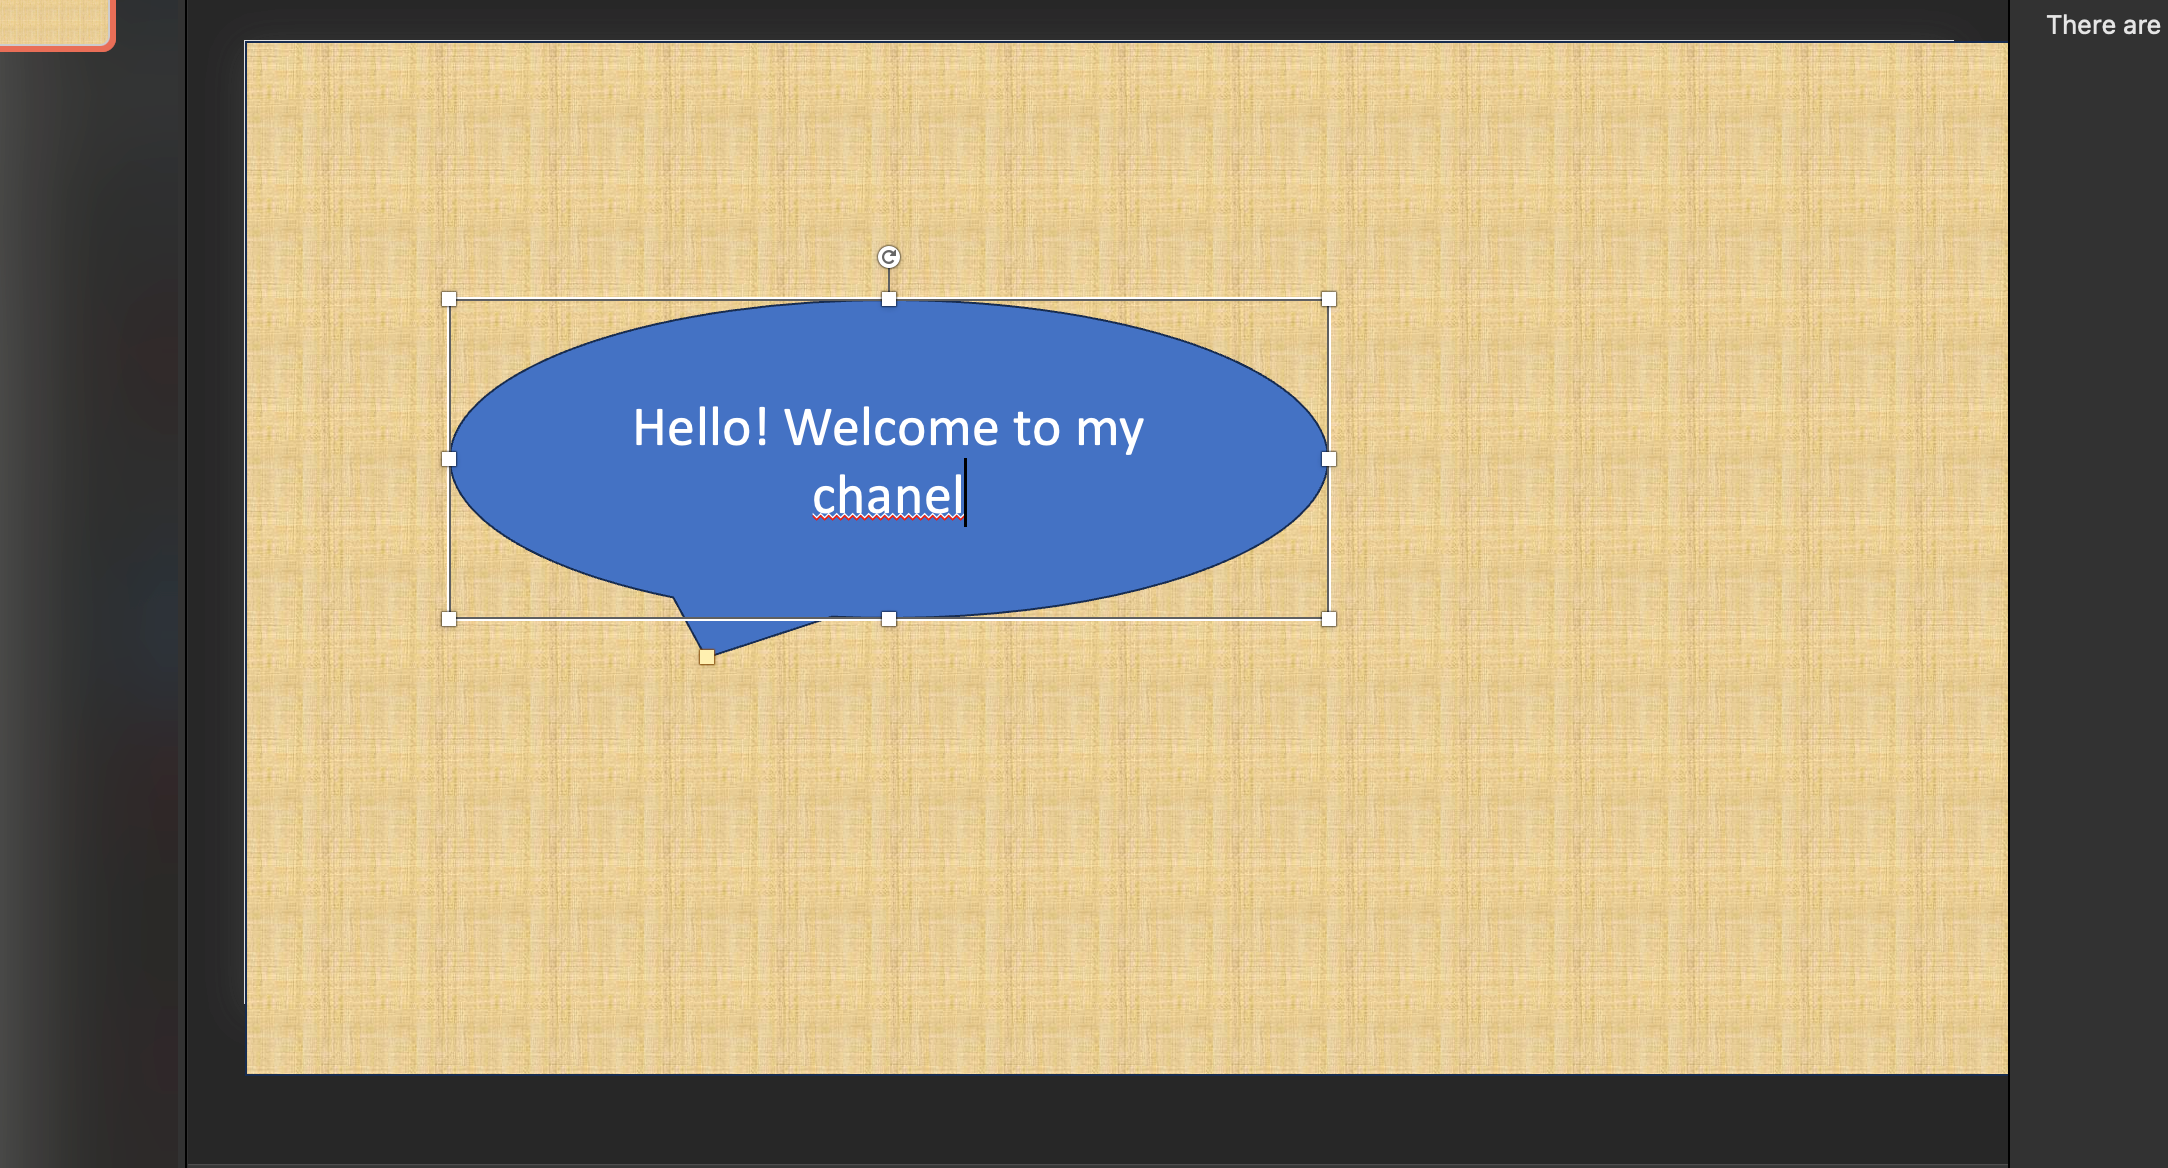
To animate the anotation you need to:
- Highlight the tooltip.
2. Go to the “Animation” menu.
3. Adds an animation.
4. Enable the desired effect.
5. Customize the trigger.
Next, select the effect and the “Time” parameter. In the dialog form you should configure the actions for the click:
- Click on “Switches”.
2. Set the effect to start after the click.
3. Specify a picture to click to trigger the effect.
We’ve covered the simplest example of creating a pop-up window in PowerPoint. You can experiment a bit with animations and triggers to prepare a beautiful effect.
How to create animations?
Also one of the interesting tools for decorating PowerPoint presentations are animations. But here it is important to understand how to work with them and learn some basic skills.
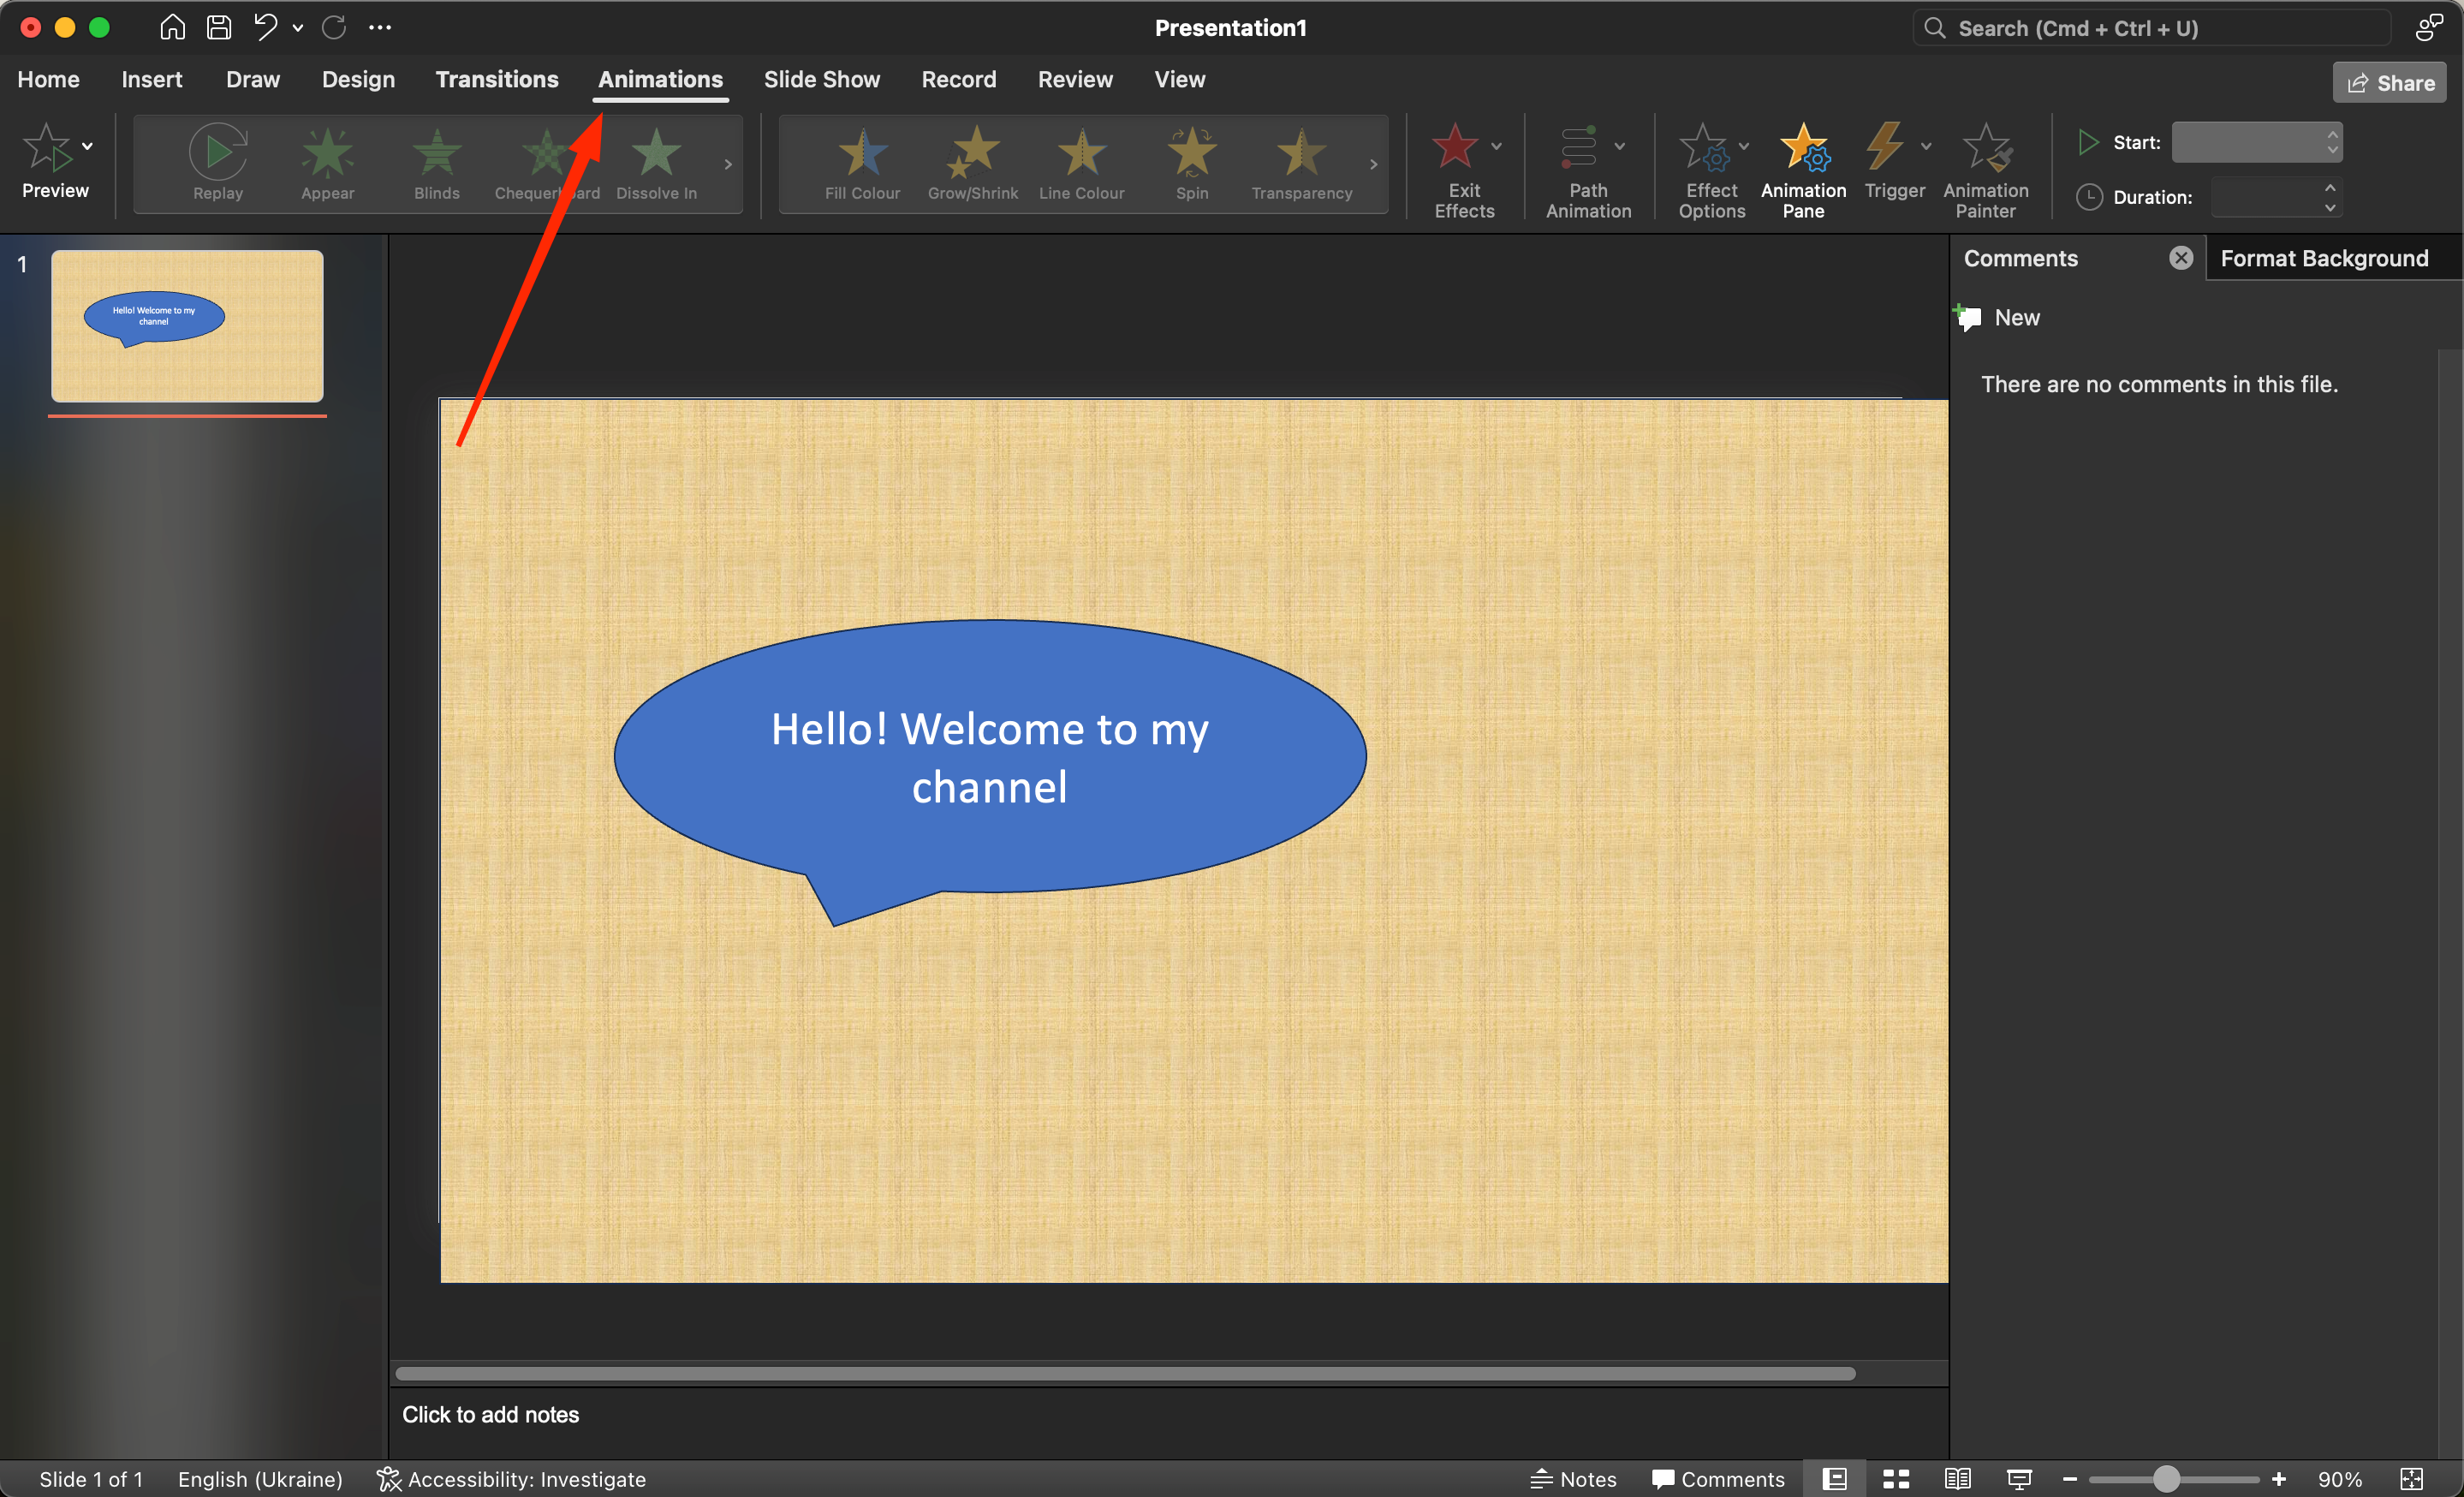
The built-in settings are designed for different tasks and operations, and with their help you can create animation effects to suit any taste. All animation settings are available in the tab of the same name on the top panel. There you can choose one of the standard animation variations, or create it manually by setting the necessary parameters. Thus, to quickly create a presentation in PowerPoint, you just need to get a few basic skills and follow simple instructions.


