
PowerPoint is one of the key programs in the Microsoft Office suite, which is intended for creating and demonstrating various presentations. The tool is used not only in the sphere of education when preparing training materials, but also in the corporate segment. The software is distributed together with other products of the company, namely Excel and Word. In today’s world there are other alternatives for creating presentations, but PowerPoint is considered a “classic of the genre” and an established industry leader. And if you have not had to work with the program before, then to master its basic functions, you should familiarize yourself with the interface, sections and functional elements.
The intricacies of working with PowerPoint’s system interface
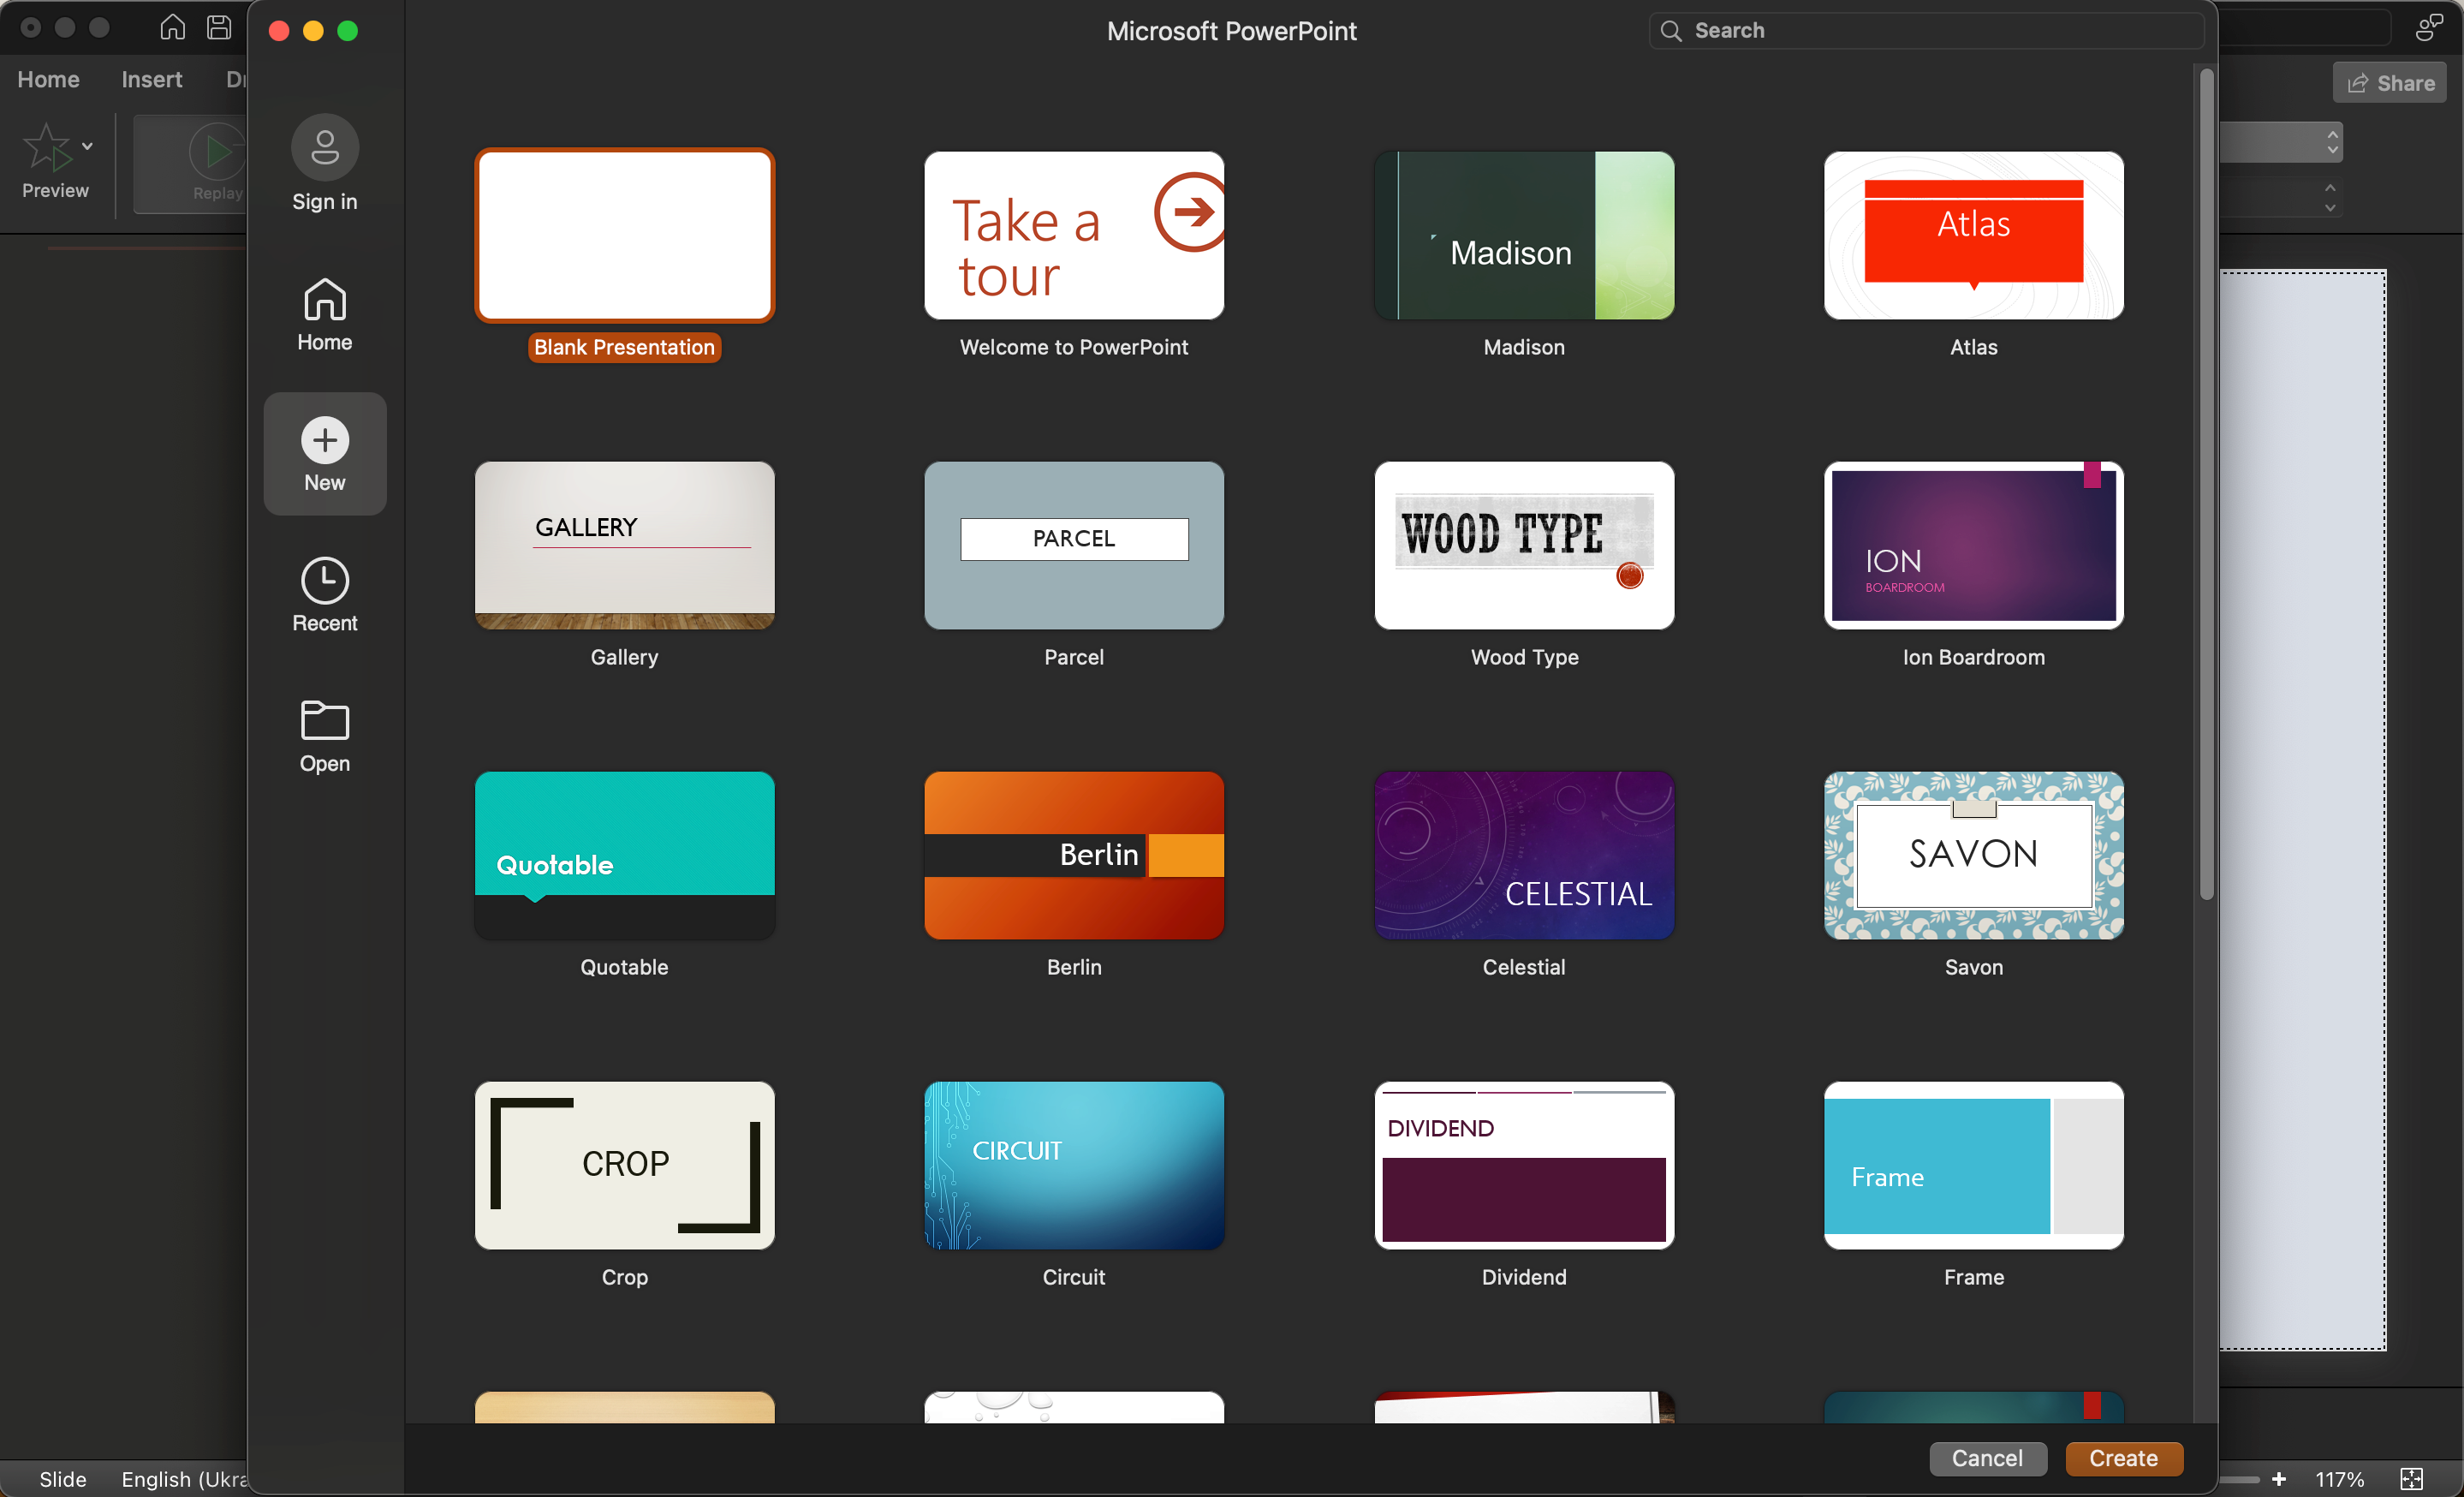
After turning on PowerPoint, you will see the start menu with all the main sections and tabs.
On the left side are the recently opened presentations that you have launched earlier, and below them there is a button to call a form to display other projects. Just to the right you can find presentation templates, and the very first one is the blank presentation form.
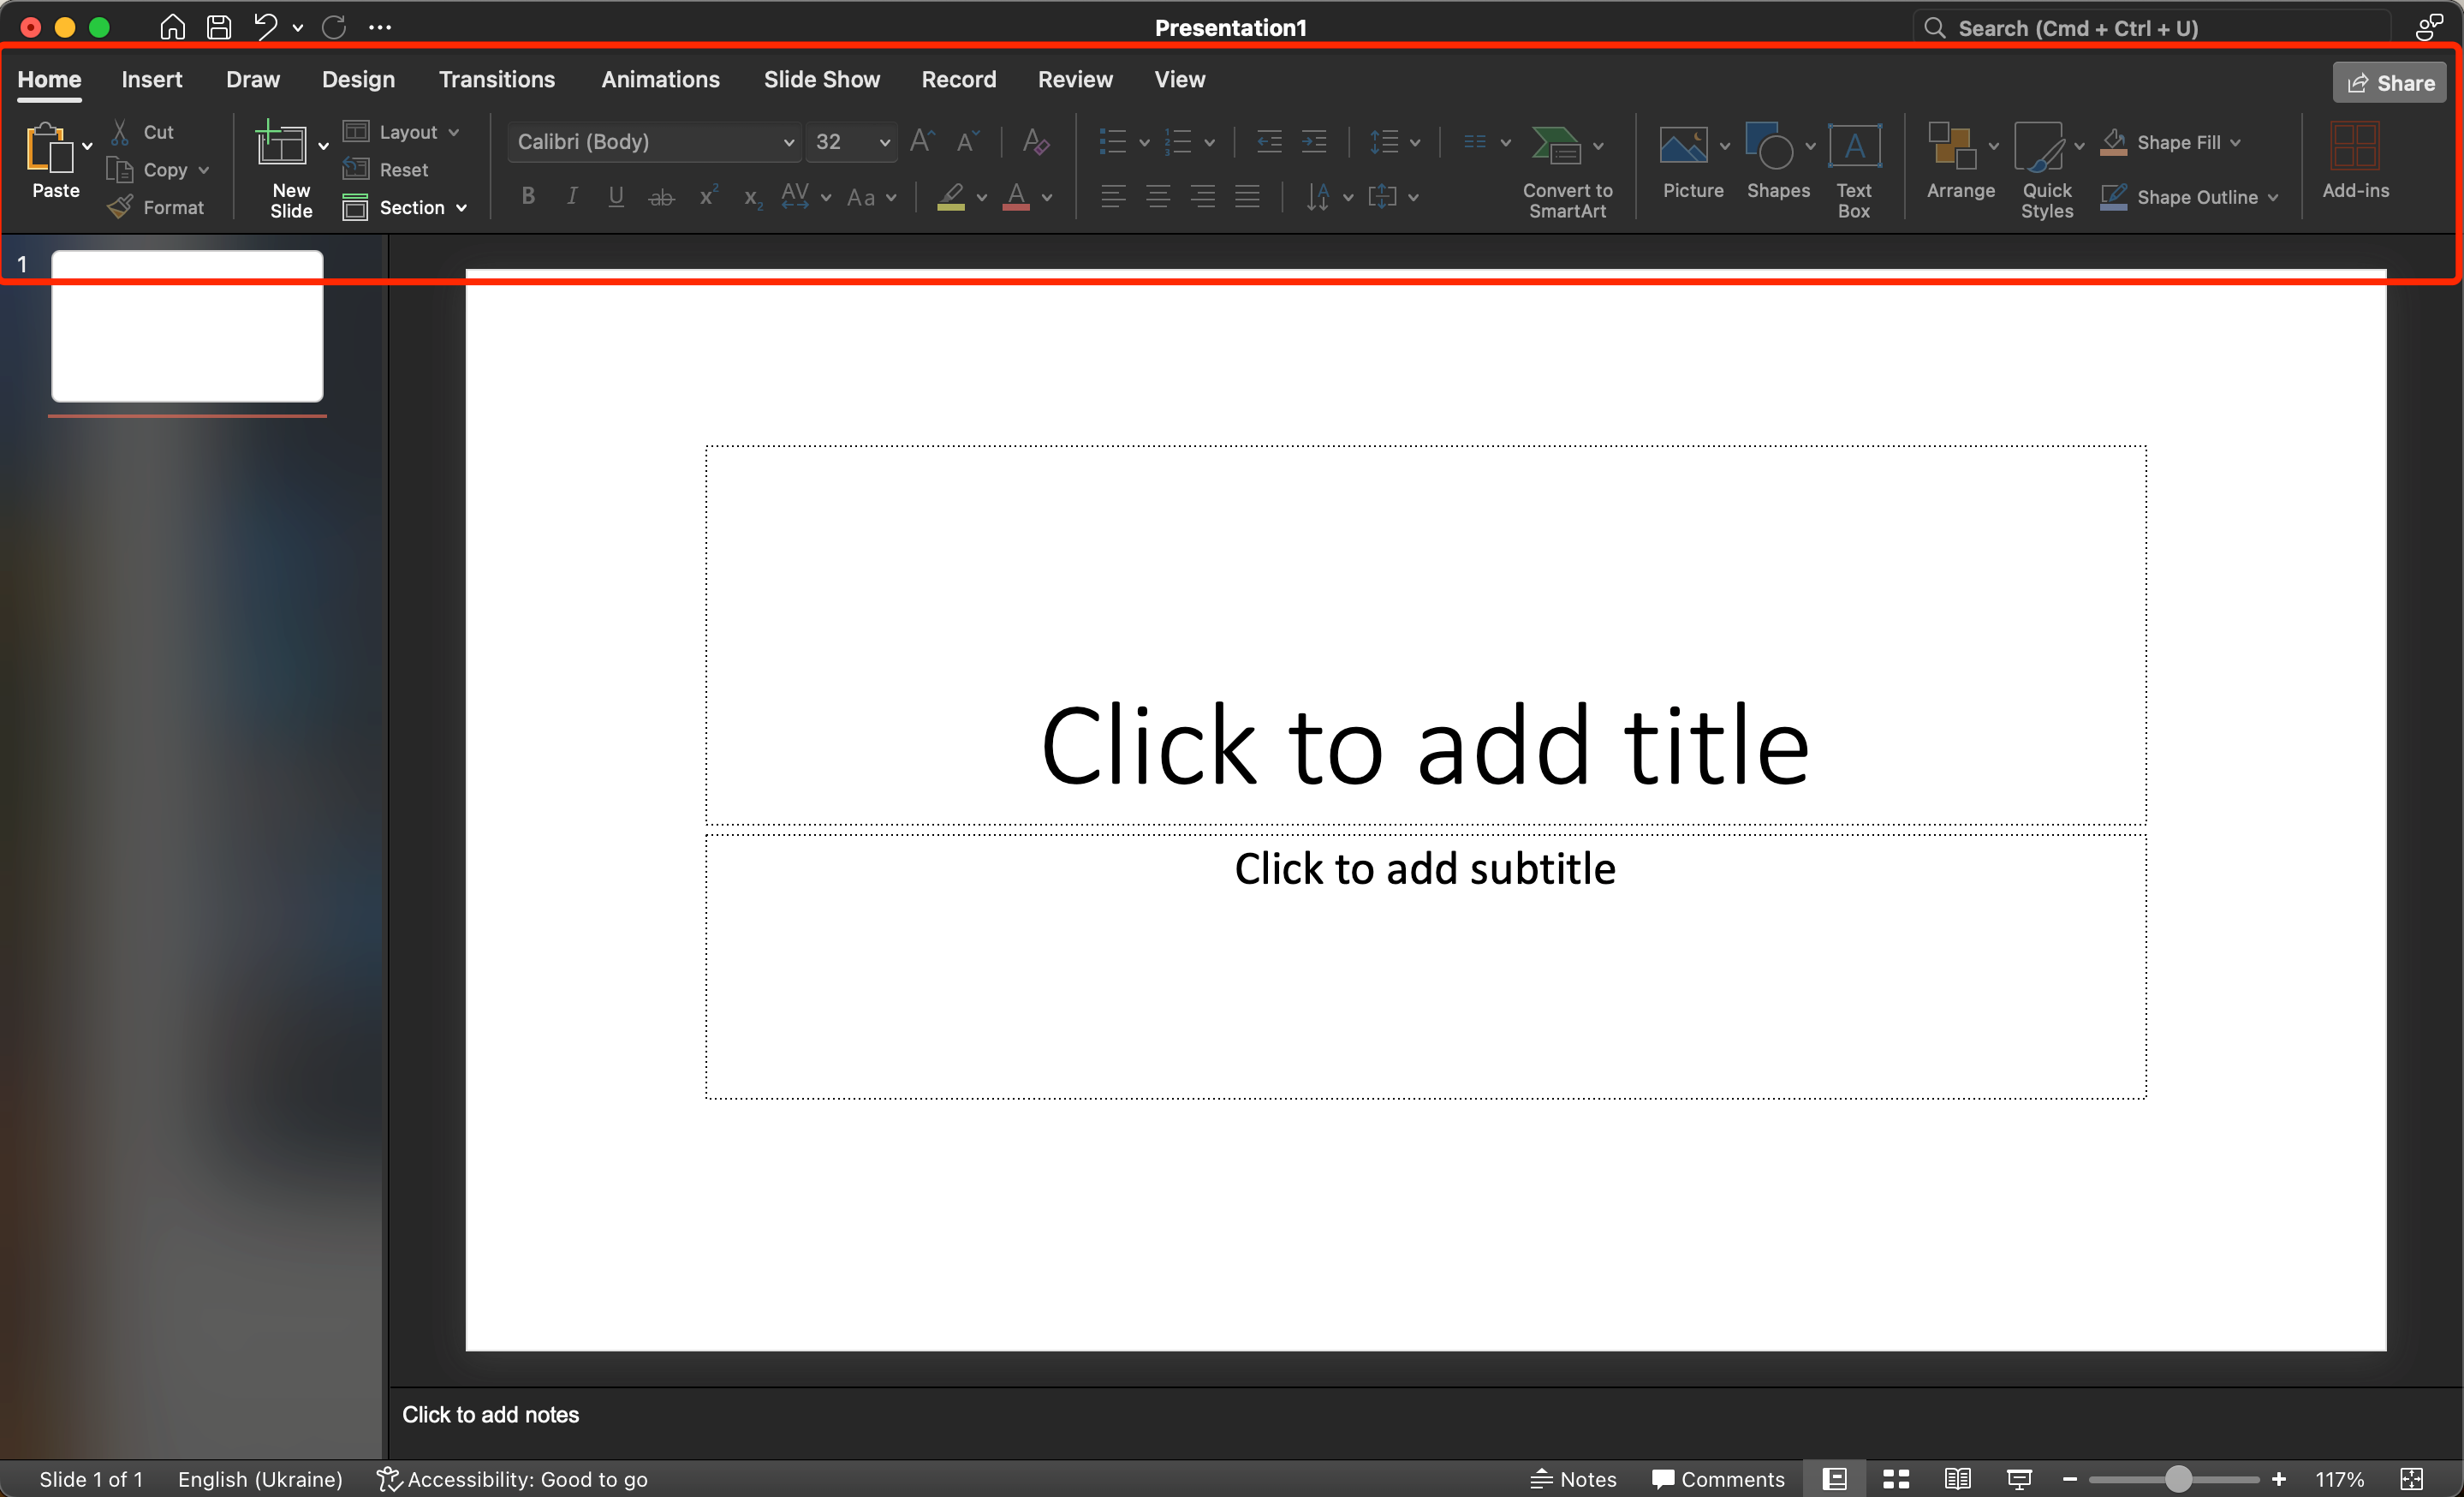
The working window consists of two sections:
- the left section contains the slide control panel;
- the right side contains the menu of the selected slide.
To adjust the size of the areas, just drag and drop them with the mouse.

By clicking on the slide bar, you can create a blank presentation based on a template. It is important to note that the PowerPoint interface repeats the general design concept of other products from the Microsoft Office suite. It has similar tabs and sections, and some additional settings appear after the Advanced Options dialog box is displayed.
If you don’t yet know what a particular button/command is responsible for, hover over its icon to display a tooltip. All the information will be displayed there. If you are working on a project on a small laptop or computer screen, you can click the button to minimize the ribbon. There is a small triangular arrow in the bottom corner for this purpose. You can also use the hotkeys specified in the program settings.
Also in PowerPoint there is a mini-panel – a special pop-up form, which duplicates important tools from the categories “Paragraph”, “Font”, there are tabs “Home” and so on. It appears after selecting a part of text and is displayed in a semi-transparent format. Through this window it is easy to quickly remember font, alignment, color and font and a number of other values without returning to the ribbon.
Working with the Quick Access Toolbar
In the default interface settings, the Quick Access Toolbar is located in the upper left part of the interface. By default, it contains commands to undo or redo recent actions, save the presentation, and start the show.
In the right part there is a triangle icon. If you click on it, you will see a selection of commands that often appear in the quick access panel. Still through this section you can change the placement of elements, for example, drag the panel under the ribbon.
PowerPoint Ribbon Overview

All PowerPoint controls are intelligently divided between tabs on the top panel. The Ribbon can change, adjusting to the specific tasks that are currently in progress. Among the main tabs of the ribbon are:
- Home. This part contains the basic tools for slides and text editing. For example, here you can change the text style and font, format paragraphs, add new slides or duplicate slides.
2. Insert. This menu is used to insert various elements into your slides, including graphs, tables, audio, shapes, and video.
3. Design. This window is used to change the appearance of the project using styles and themes. Here you can change the background of slides or customize the layout.
4. Animation. It is used to control animations on objects (images, graphics and texts). Here you can select the parameters of movement, disappearance and appearance of objects.
5. Slideshow. This section allows you to customize the presentation display. Here you can start the slideshow from the start or a slide, control the duration of transitions and automatic display.
6. Reviewing. The tab includes tools that check grammar and spelling. You can also see here windows for tracking changes or adding comments.
7. View. Through the section it is convenient to control the way the project is displayed. You can see several modes including “Slide Sorter”, “Normal”, “Read Format” or “Slide Show”. You can also activate or deactivate rulers, customize grid and guides here.
8. Transitions. Through this tab you can customize the effects of switching between each slide (for example, you can choose the format of flipping, dissolving, etc.), and also customize the duration.
It is worth considering that in some versions of PowerPoint there is no “Transitions” section, but this does not mean that you can not manage the transitions between slides.
Advanced elements

Advanced interface elements are located in the quick access panel in the upper left corner. There you can find frequently used commands, namely “Undo”, “Redo”, “Save”. The panel is customizable and you can add auxiliary windows to it. The key for customization is located near the already selected buttons.
The zoom bar in the rightmost corner is available at the bottom. You can use the “+” and “-” buttons to change the scale for easy editing.
PowerPoint’s user interface looks intuitive and simple. It is designed to provide easy access to all sections and tools. Tabs and ribbons group operations by option, and a working window with thumbnails and icons makes editing easy. As a result, PowerPoint becomes a convenient and effective tool for both novice users and professionals.


