
Adobe Photoshop has a lot of special tools that can become an indispensable assistant for every photographer or retoucher. But if you don’t know where they are and how to work with them, they are just useless icons of no practical value. Let’s deal with such tools as “Stamp” and “Healing Brush”.
Basics of working with the “Stamp” tool in Adobe Photoshop
Under the “Stamp” tool (Clone Stamp Tool) means one of the most popular and oldest solutions from the group of “healing tools”. It duplicates several parts of the picture using the concepts of “donor”, “recipient” (retouching zone) and brush.
A brief instruction on how to use “Stamp” in Adobe Photoshop
The task of the “Stamp” is to copy pixels from one segment of the picture to another. The instructions for application are as follows:
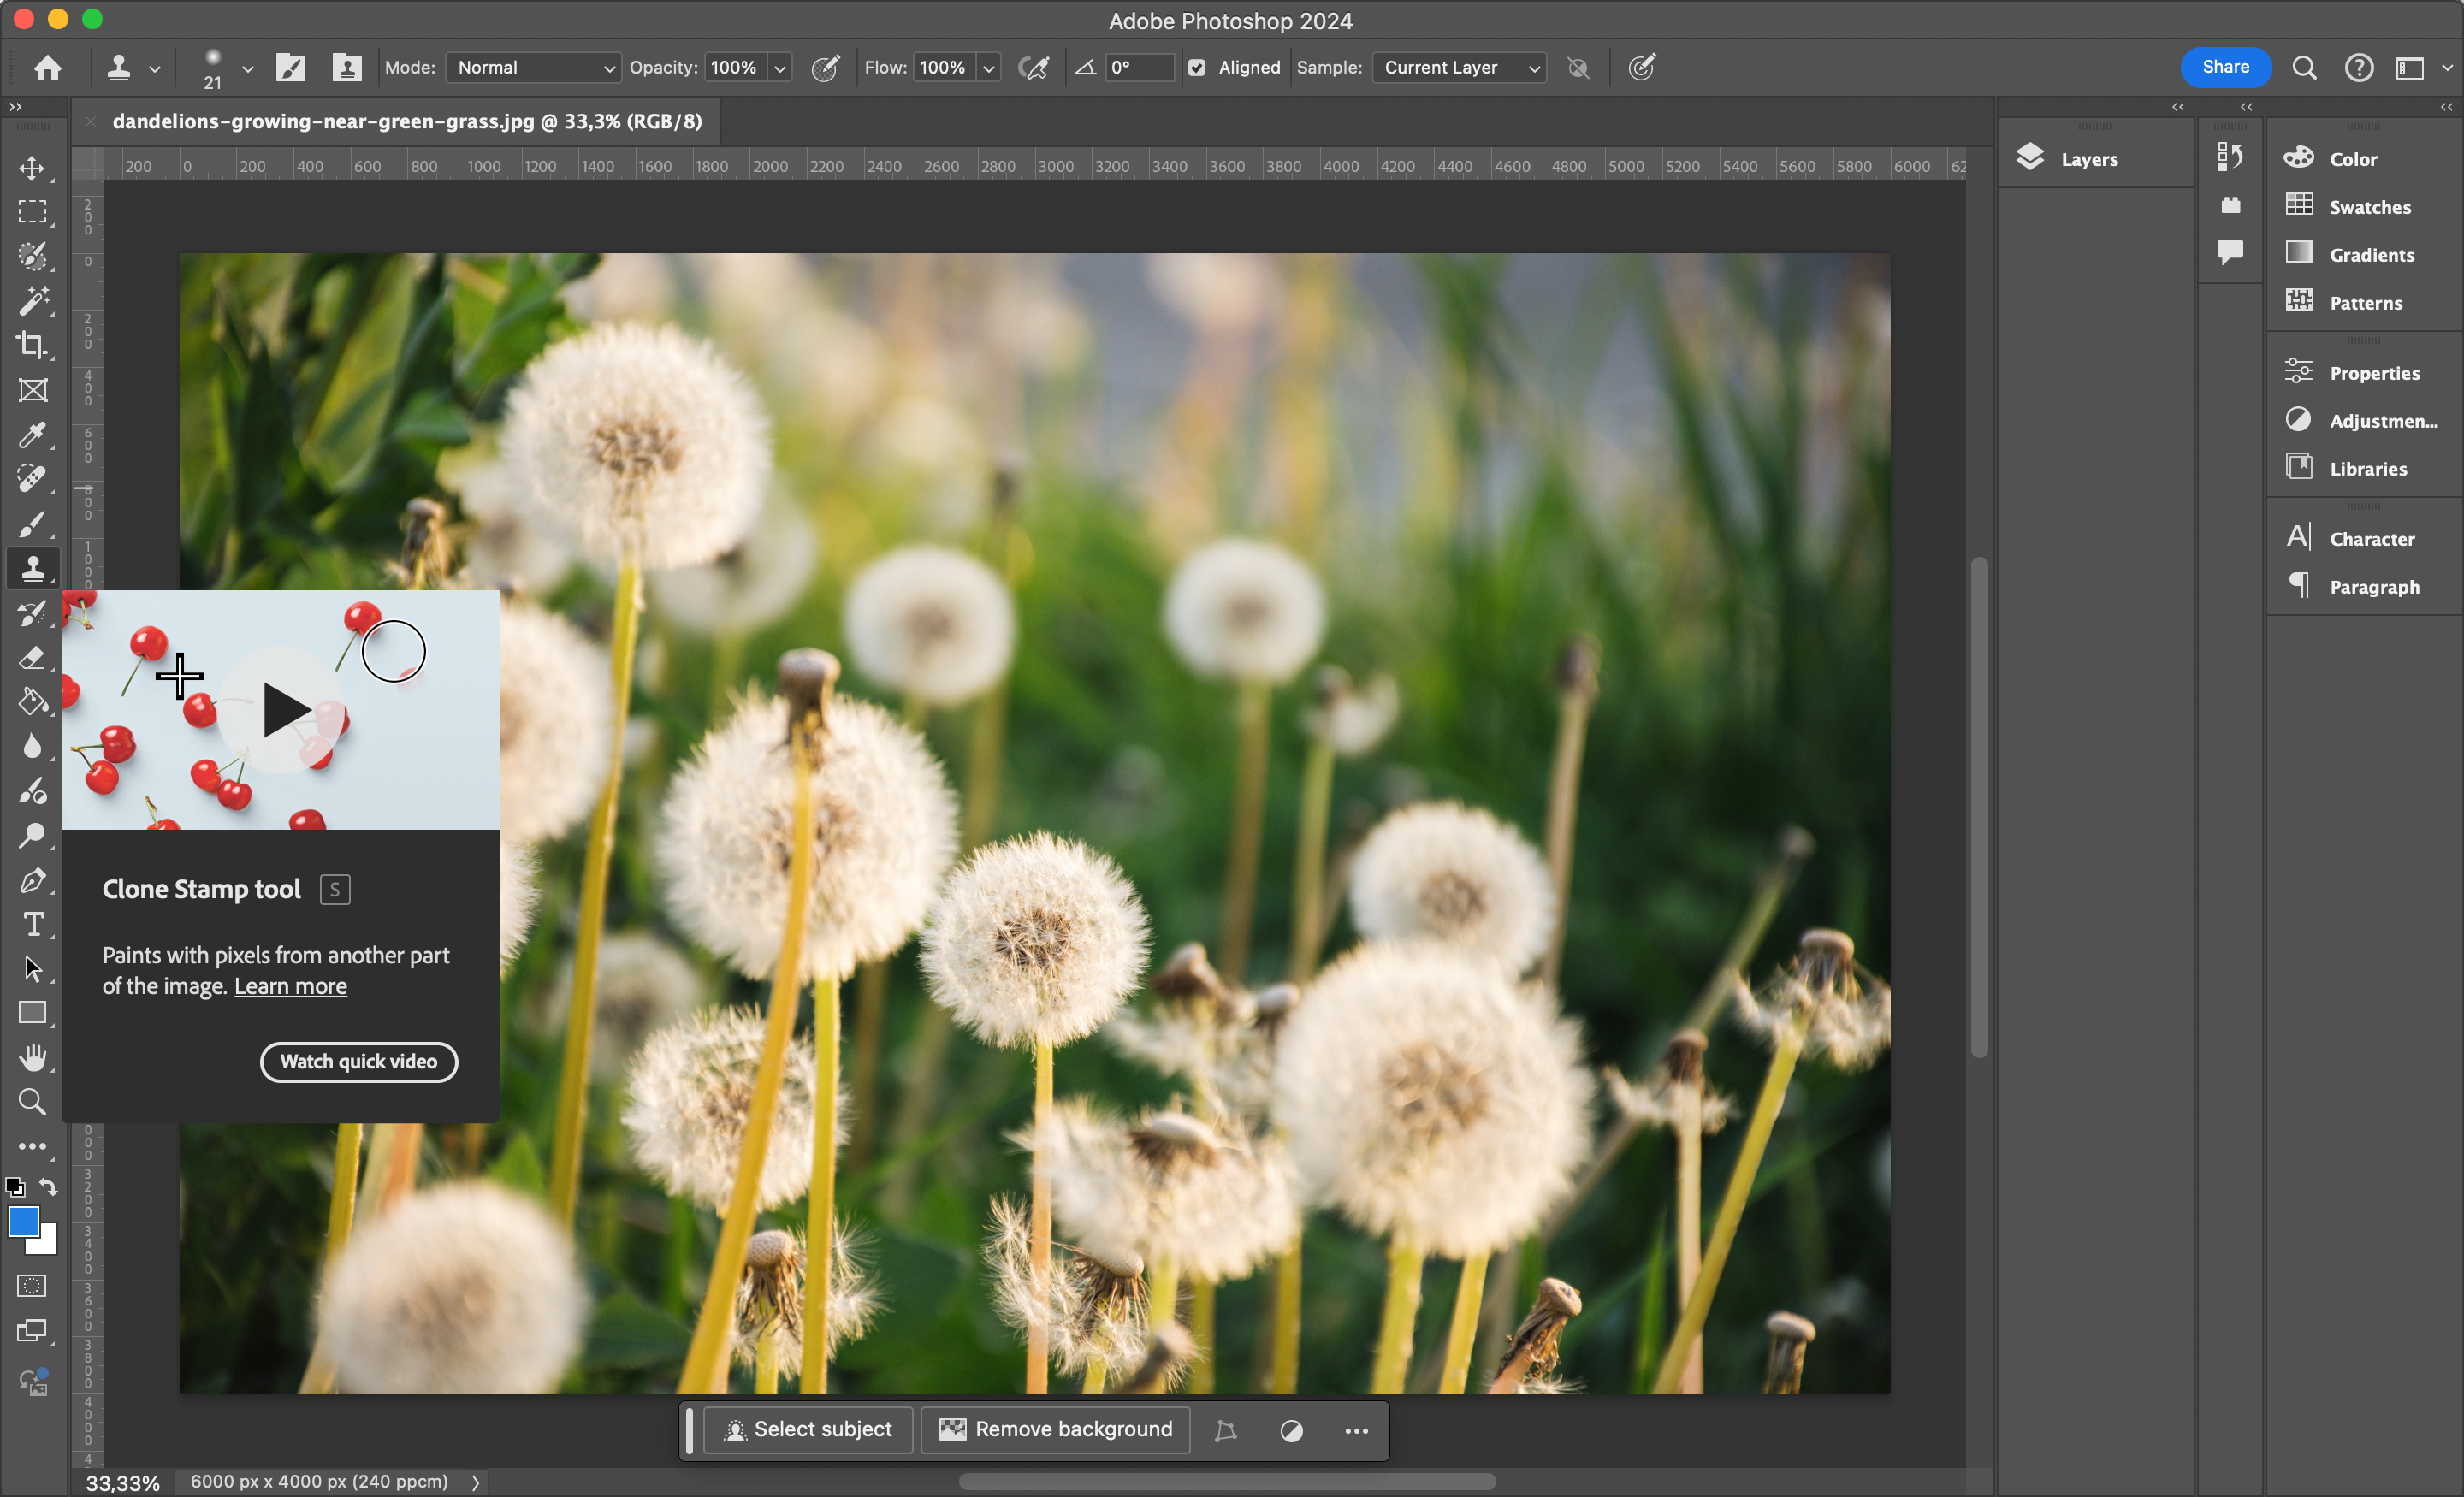
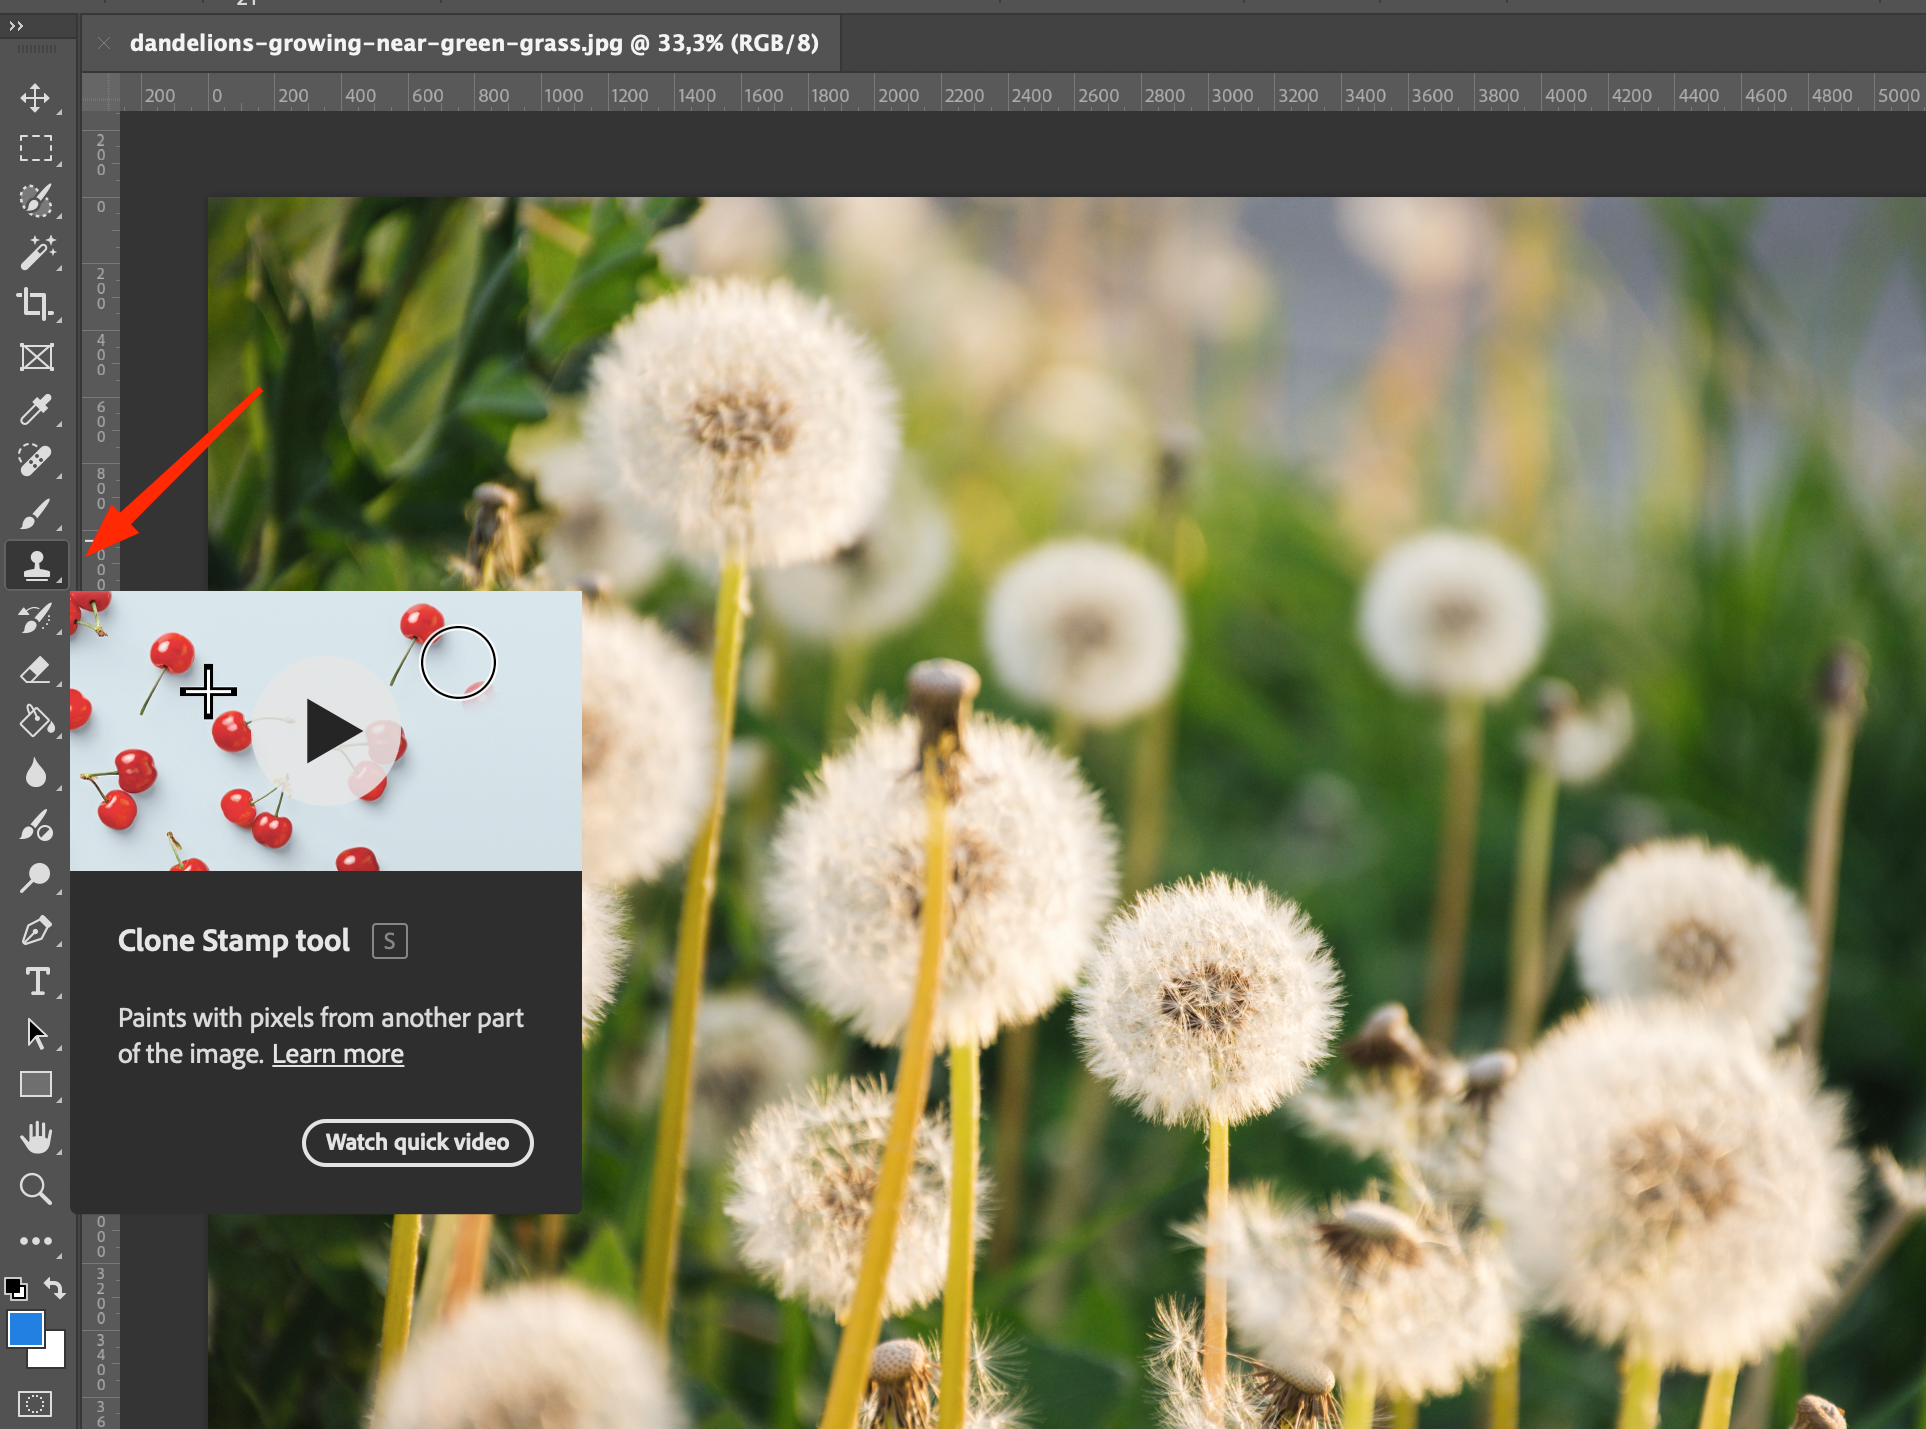
- Activate “Stamp” in the toolbar. You can also apply the “S” hotkey.
2. In the “Options” menu, select “Size”, “Harshness” and “Blend Mode” to achieve your goals.
3. Click on the “Alt” or “Option” button (for Windows and macOS, respectively), and then select the part of the picture to be duplicated.
4. Next, you need to release the pressed key and drag the tool over another area where the cloning area will be moved.
5. The tool will duplicate the content and move it to the new location.
There is one point to consider while using the tool – if you release the mouse button and click on it again, the copying process will start from scratch from the sample area. If the “Alignment” option is activated, copying will be determined by the pointer location.
To specify the source, you should first select a part of the starting layer that will match the color, texture and brightness of the area to be retouched. In our case, this is a part of the grass that will overlap the dandelion.
The first thing to do is to select the “donor” area by pressing the Alt key, and then without any actions move it to the desired part of the picture. The “donor” will serve to overlap the “defective” place. To increase the efficiency of the tool, it is worth familiarizing yourself with its basic settings.
Brush stiffness

The screenshot shows the basic settings of the “Stamp” tool, which are suitable for many tasks. The first involves working with the stiffness of the brush. Adobe Photoshop has no restrictions on the application of brush settings for the “Stamp”, so you can expand the area of use of the tool. As a rule, a soft brush of a small size is used.
If you use a “hard”, that is, too hard brush, the borders will be too noticeable. To “soften” the transitions, you should use a soft brush.
The “swatch” settings
In the “Swatch” drop-down tab, you can see 3 basic tools:
- Current layer.
2. Current and previous layers.
3. All Layers.
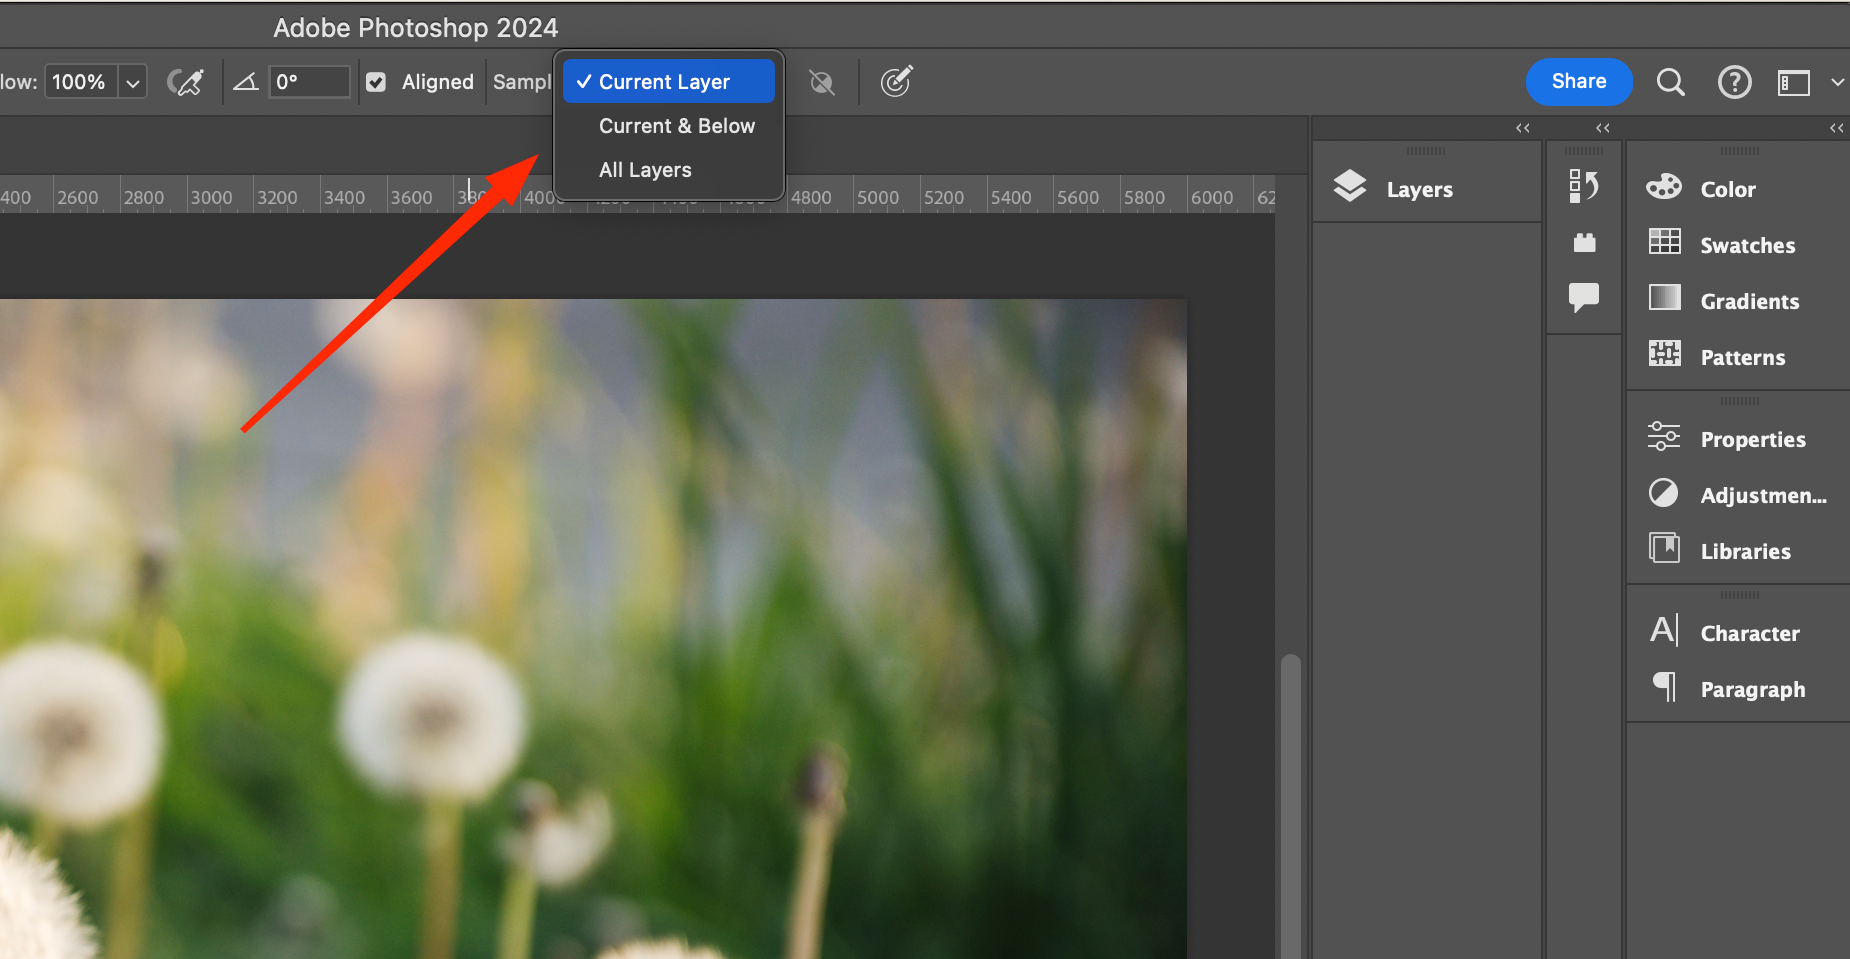
These can be used to determine which layers will be used as a source of information for stamping. If you activate “Current layer”, “Stamp” will apply pixel data that are not related to the active layer. And if you select “All Layers”, “Stamp” will apply information from visible layers. The “Current and previous” item allows you to apply data about the active and underlying layers. This tool is used most often.
Adjustment Layers
This is the very last category of settings that is responsible for whether or not adjustment layers will be taken into account when using Stamp.
Settings such as “Color Tone/Saturation”, “Brightness/Contrast” and others allow you to change the picture without destructive actions. If you activate the “Ignore adjustment layers during stamping” option, it will make it easier to work with the “All Layers” mode. In this case, you will be able to perform stamping using the original pixels as a source. This is a useful feature while performing manipulations within the layer structure.
Healing Brush
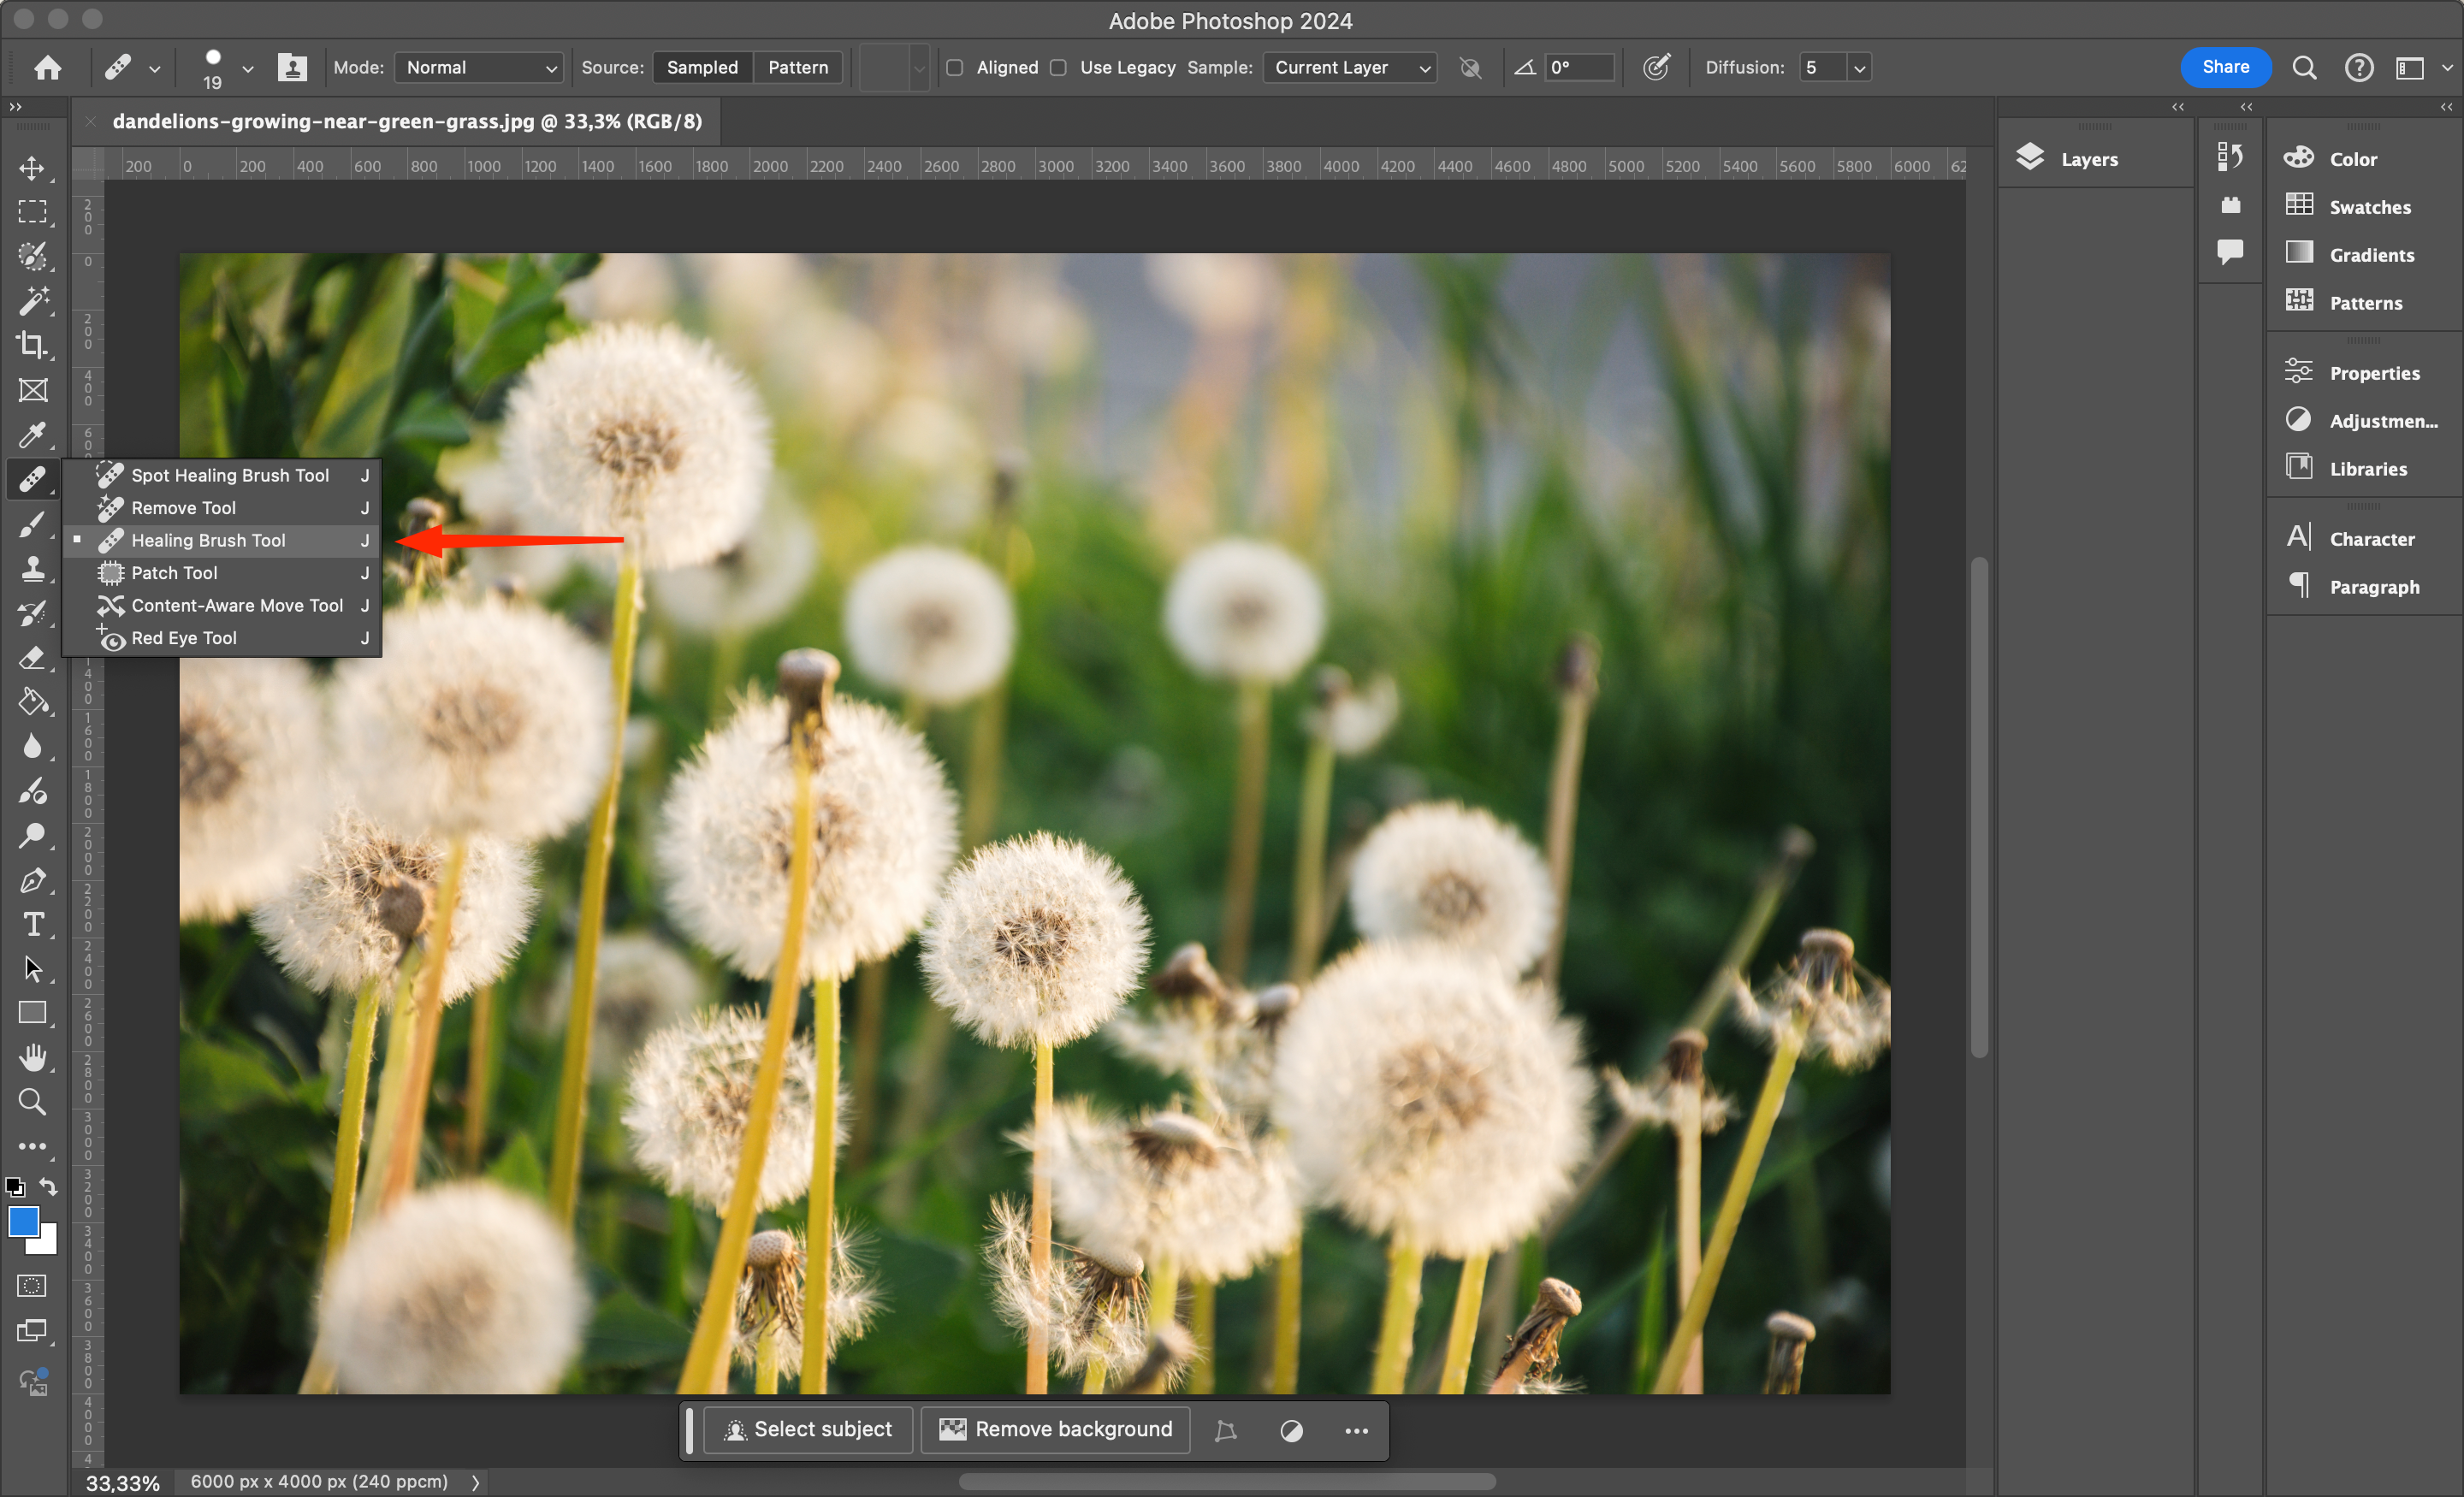
The “Healing Brush” tool is located in the healing part of the tools and is opened after pressing the J key. In terms of functionality, it resembles the “Stamp” and is used according to a similar scheme. You should start by selecting the “source” of treatment by pressing Alt + LKM on a similar texture zone. Having identified the “source”, you should carefully hide the defective place. The task of the “Healing Brush” is to move the data from the “source”.
It’s important to note that the Healing Brush doesn’t simply copy a layer, but adjusts the brightness and contrast to match the parameters of the area being retouched. Because of this, visually noticeable areas become unnoticeable. As a result, this makes it the most useful tool for processing complex shapes, gradients, and surfaces.
It’s important to keep in mind that any soft brush, including the Healing Brush, has an opacity drop-off point. While retouching areas, texture will be applied in a semi-transparent manner, causing it to visually weaken. In practice, the skin may become overly “washed out”, so the result will deteriorate. In practice, use the stiffest brush possible.
Contrasting borders
When using the Healing Brush, you need to be careful when working near the contrasting borders of elements. The tool does everything to adjust to the retouched area in contrast and brightness. And if the parameters are inappropriate, such adaptation will lead to the appearance of gradient artifacts. They often appear when working with hair that has been knocked out of the hairstyle.
Therefore, when processing hairstyles, the “Stamp” is usually used, and the “source” should have the necessary brightness difference.
Conclusions
In the end, we have considered the main features of working with the “Stamp” in Adobe Photoshop. If you use it competently, you can use the full potential of the graphic editor and significantly facilitate the processing of images in the application.


